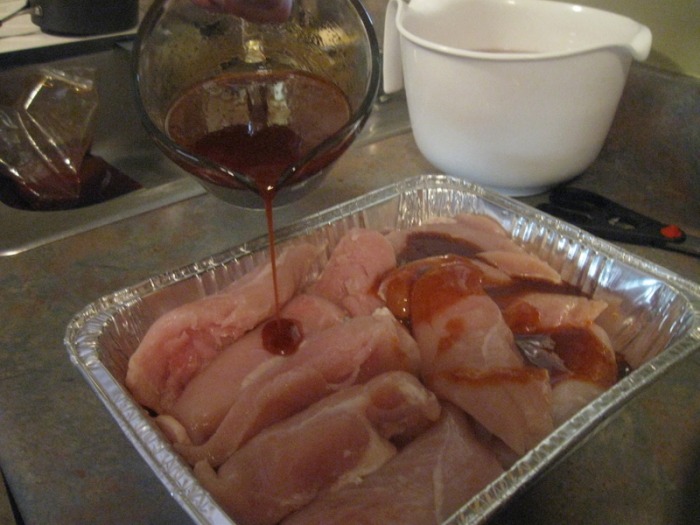
 let's dig in! I'll be the first to admit that I don't do much cooking. Yes, I went to culinary school, but I really only went for the baking; the hot food side of it was interesting and fun, but that's not where my heart lies. I like to cook "occasion" meals, like Thanksgiving or Christmas dinner, but I find trying to figure out what my family wants for dinner each and every night to be a huge challenge. That's The Chef's job when he's home! Since my kids have this crazy need to eat and insist on dinner every night I do have to make something, however, I tend towards a lot of "breakfast for dinner" type meals.
We have kind of a crazy schedule once evening hits. M1 (the oldest kid) has swim practice every night and we have to drop him off at the pool. The Chef is usually at work, so I come back home with M2 and M3 (the middle and the youngest). I've got two and a half hours to get dinner together, eat, get M2 showered and then both kids into their jammies. Then we load back into the car to pick M1 up from practice. Occasionally I'll forget to think of something for dinner. (Okay, that's a total lie, I pretty much never think about dinner until it's almost time to eat).
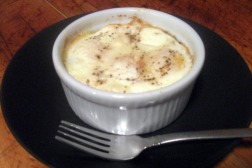
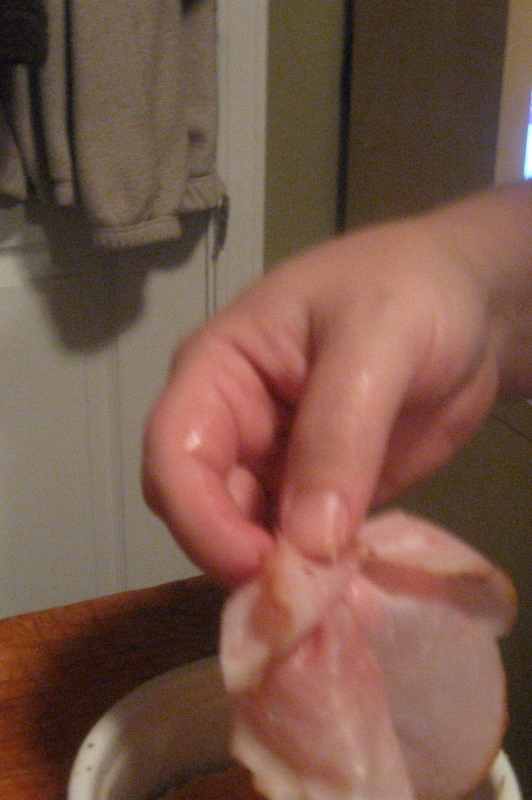
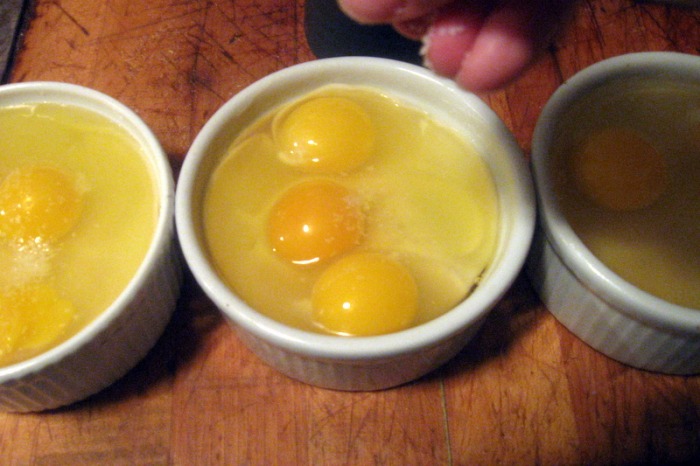
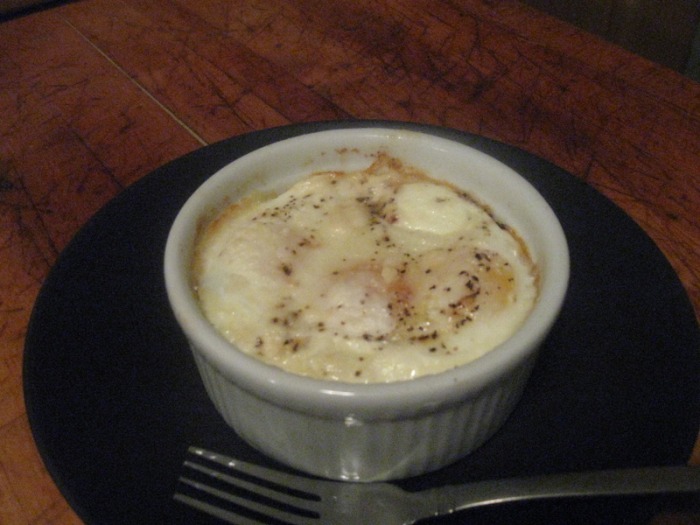
Times like those require me to think quickly and throw together something that can be whipped-up and cook un-monitored so I can help M2 with her shower. So the other night we surprisingly found ourselves in that very position. I took a quick look in the refrigerator and pulled out the eggs, whipping cream, ham, cheese, and a few other things and put together shirred eggs to bake in the oven while she showered. ("Shirred eggs" sounds so fancy, but really it just means "baked egg", but I like to show off my culinary school education.)
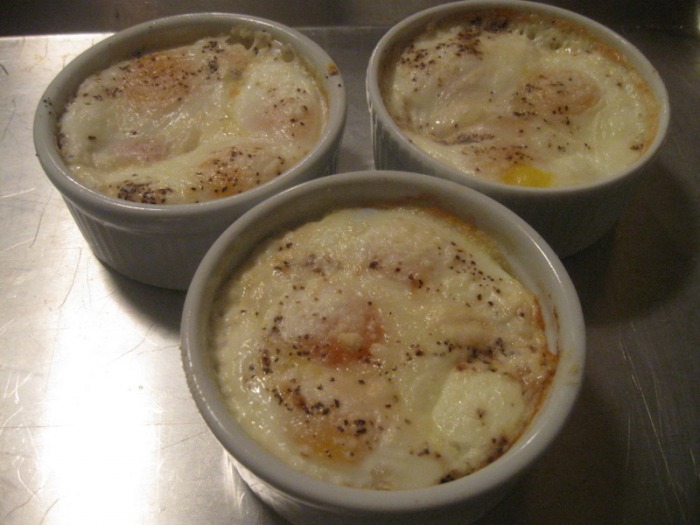
By the time M2's shower was done and the little kids were both in their jammies the eggs were finished cooking and we ate and left to pick M1 up. Mission accomplished!
Now, for the rest of you "normal" folks out there that would never in a million years serve this for dinner, it makes a fabulous breakfast, particularly for a special occasion, like Mother's Day, or Easter.
These are very versatile, and you can put pretty much anything you want in the dish. You can also go as simple as just butter and eggs. They're so quick and easy you'll find lots of variations in no time! Enjoy with a fresh croissant and top the baked eggs with something decadent like caviar and sip a mimosa and it's a party! (We just ate some toasted wheat bread, but it was still a party!)
-The Baker
SHIRRED EGGS- 1 T Butter
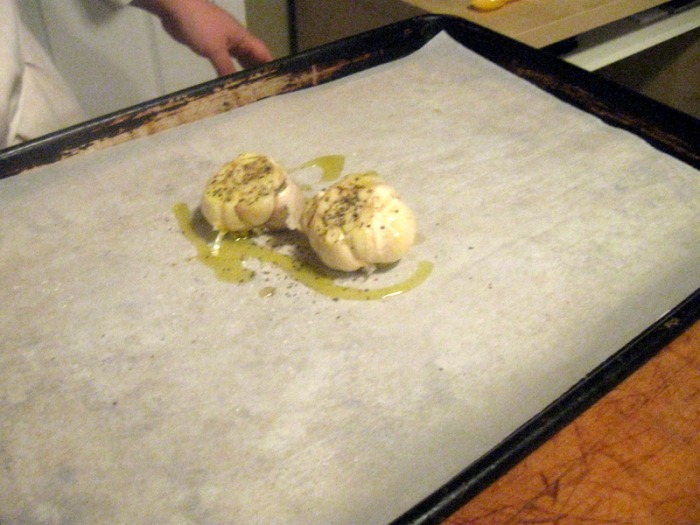
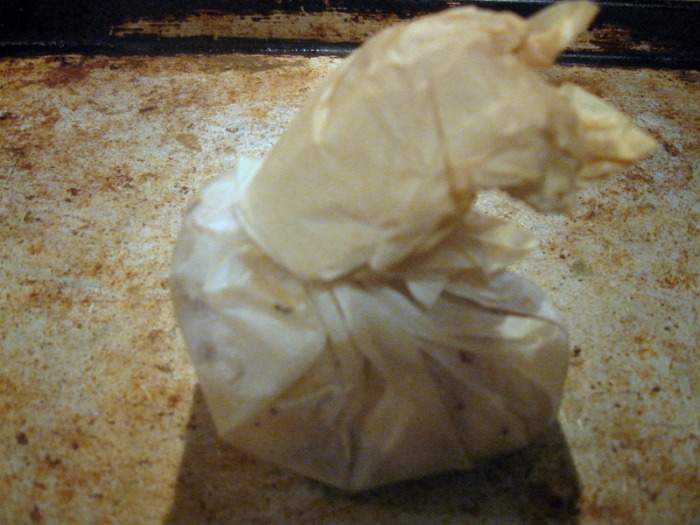
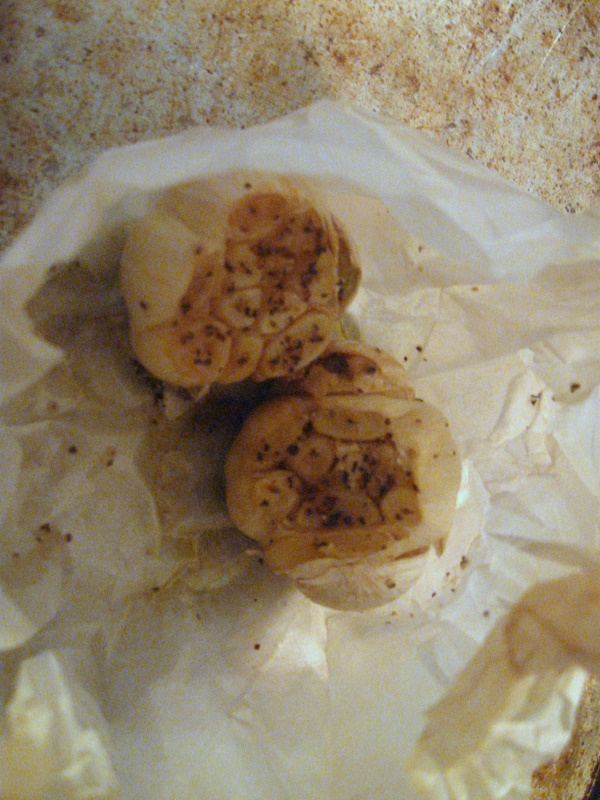
- 1 clove Roasted garlic (optional)
- 2 slices Ham, thinly sliced
- 1 slice Cheese (use any that you like)
- 3 Eggs, whole
- 1 T Whipping cream
- Salt, to taste
- Pepper, to taste
- 1 T Parmesan cheese, grated
- Butter the inside of the ramekin
- If using, smear roasted garlic into ramekin
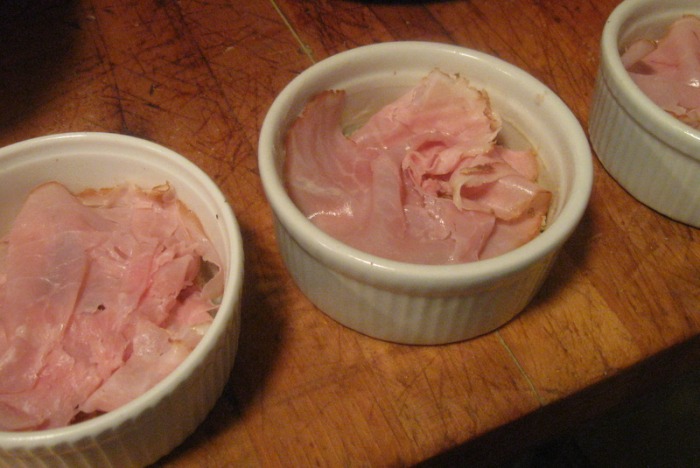
- Lay the slices of ham into the bottom
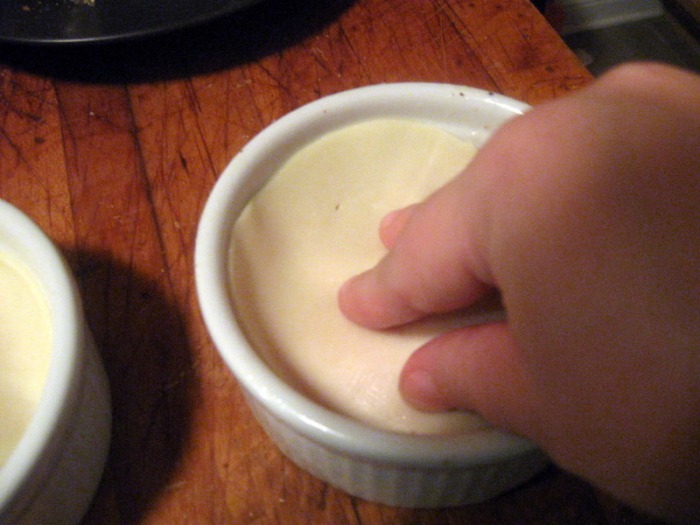
- Put the slice of cheese on top of the ham
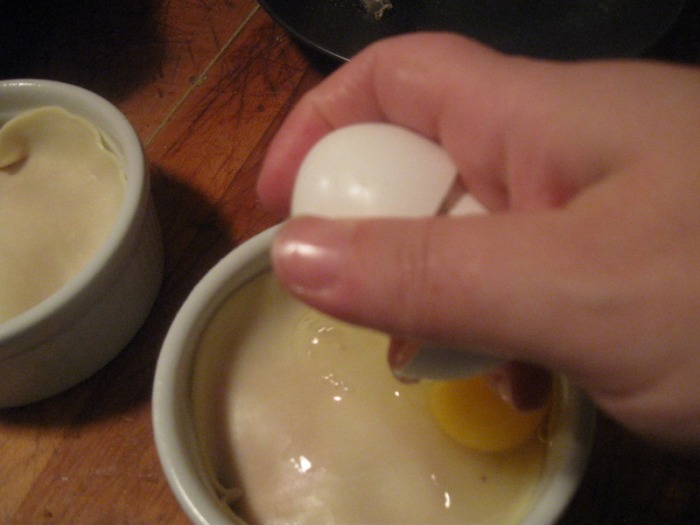
- Crack the eggs on the ham
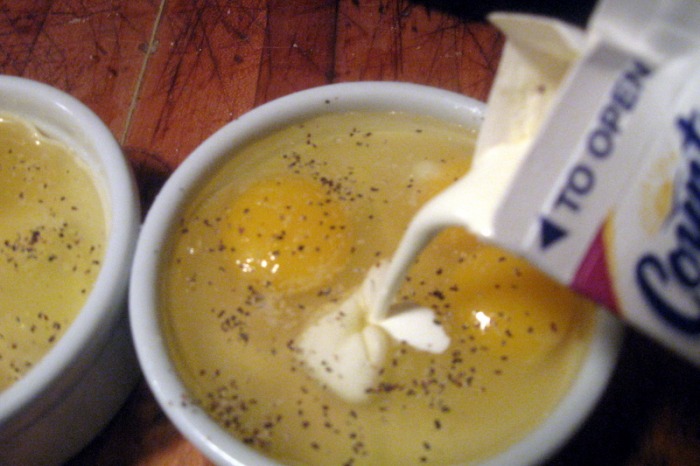
- Pour the whipping cream over the eggs
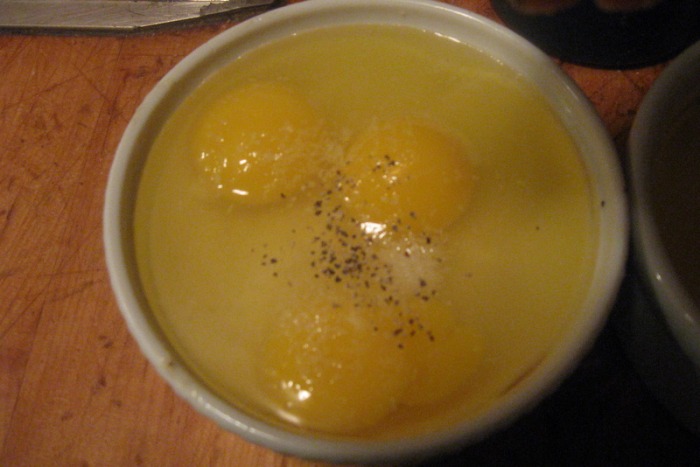
- Season with salt and pepper
- Sprinkle the Parmesan cheese over the top
- Bake at 350 F for approximately 15 minutes, however, the length of time will depend on how cooked you like your eggs, so start checking them at about 10 minutes
- You can top the finished eggs (with salsa or sour cream, for example)
- Serve with toast
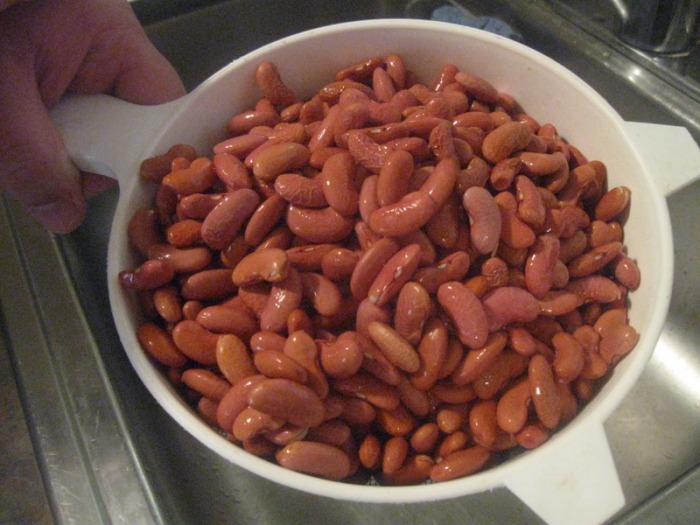
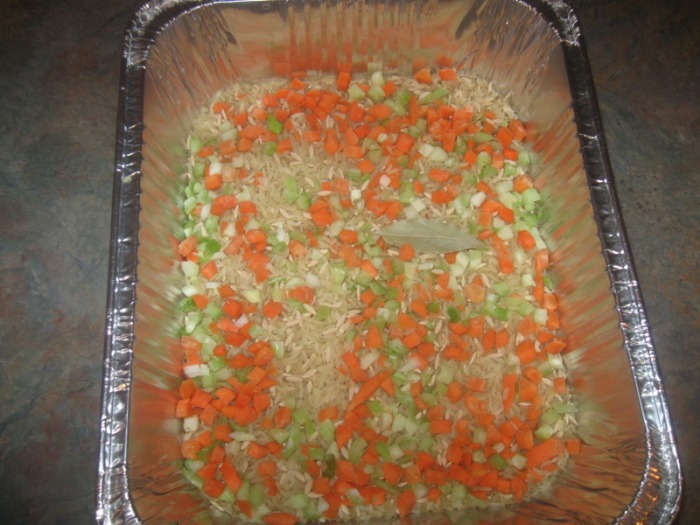
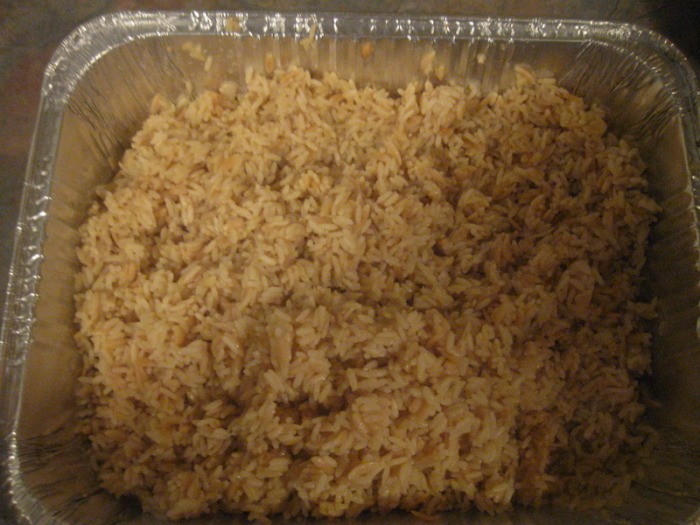
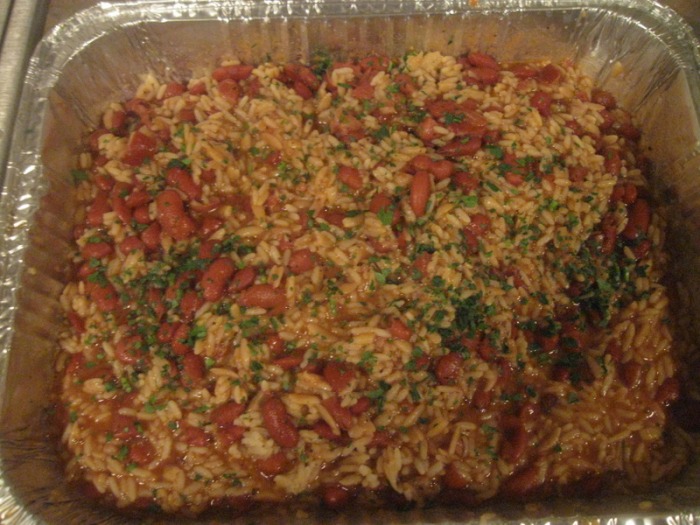
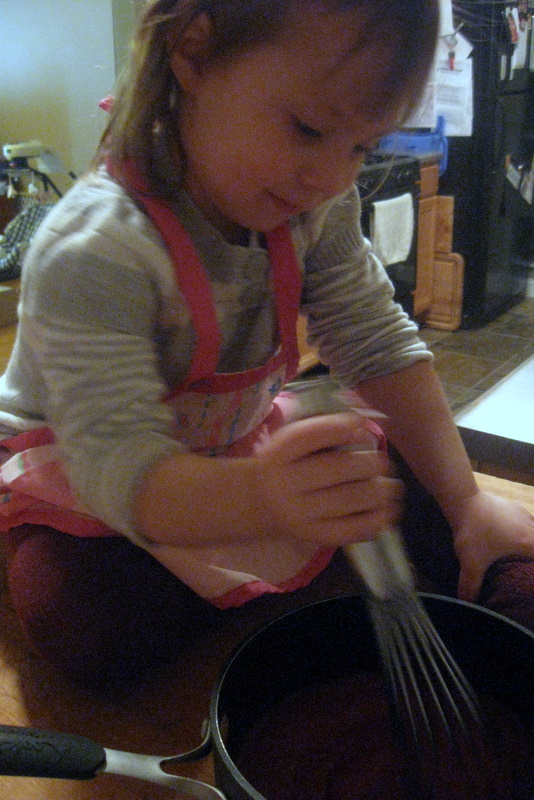
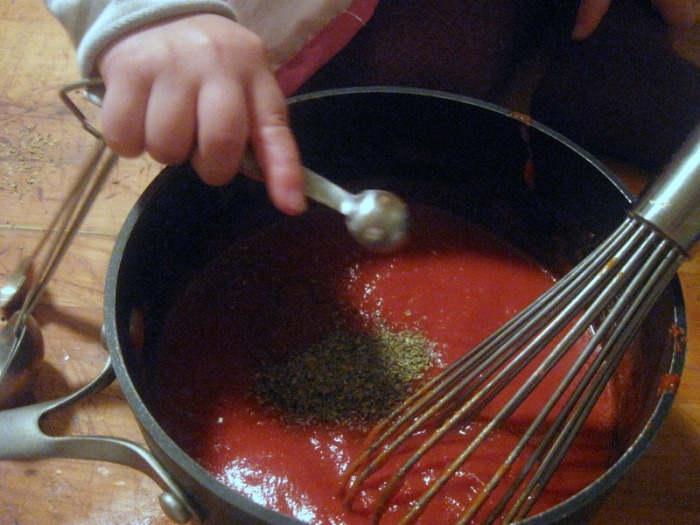
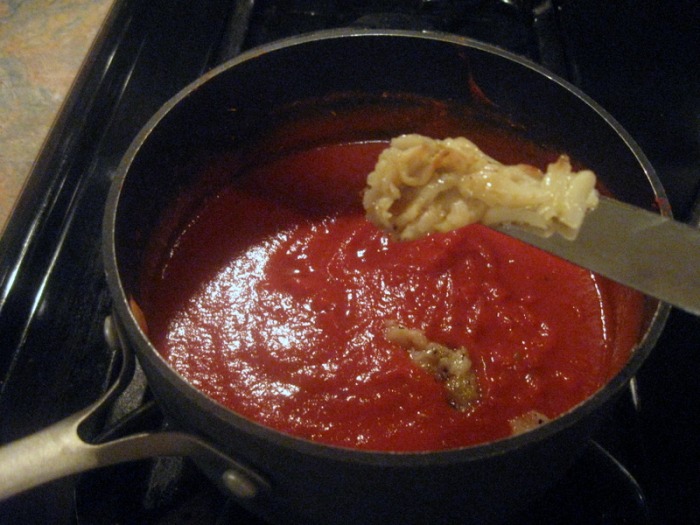
 I think about food, seriously, 24 hours a day. It's my job. I'm always thinking about how I can improve on a dish at the restaurant, or create something new and exciting, or make something my family loves. So, the other day my GM starts talking to me about the dinner he made a few nights earlier. Hey, that's what we do in the restaurant world. Other people talk about TV shows, or Hollywood gossip, we talk about food. Constantly! The dish he made was Red Beans and Rice. He didn't have the time to use dried beans so in his version he used canned beans. Hey, do what you can with the time you've got, right? My first encounter with Red Beans and Rice was actually at Popeye's Chicken. Say what you will about fast food places, I know I do, but I think they have a fairly decent Red Beans and Rice. And so, for the rest of that day at work all I could think about was making Red Beans and Rice. When made right, they have a delicious smokey-ness, nice spice, and rich gravy that should make for a yummy meal. Feel free to adjust the amount of spice to your own level. If you cannot find ham hock at your grocery store, you can substitute diced ham steak, or andouille sausage. Enjoy!
-The Chef
Spicy Red Beans and Rice Ingredients: - 1 lb dried red beans
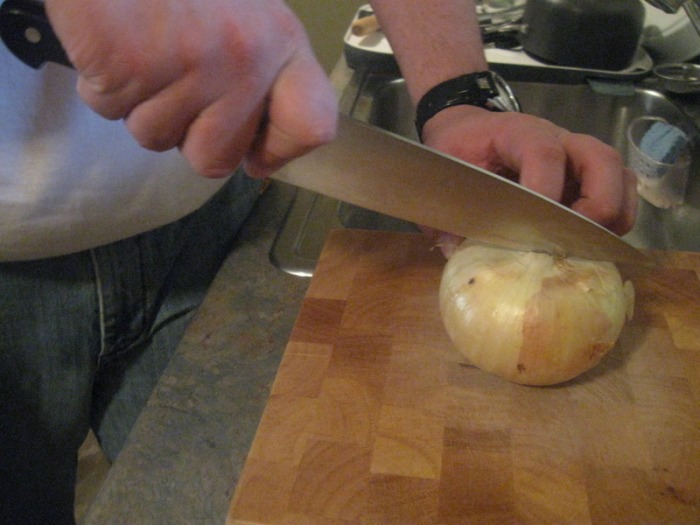
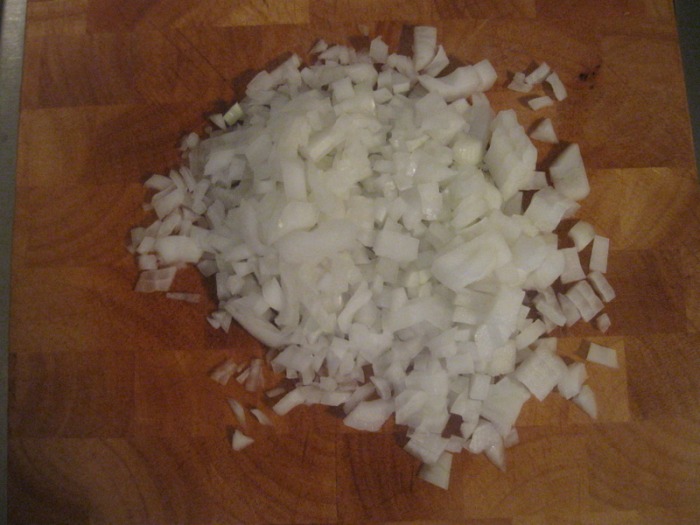
- 1 med size onion, diced
- 2 Tbsp vegetable oil
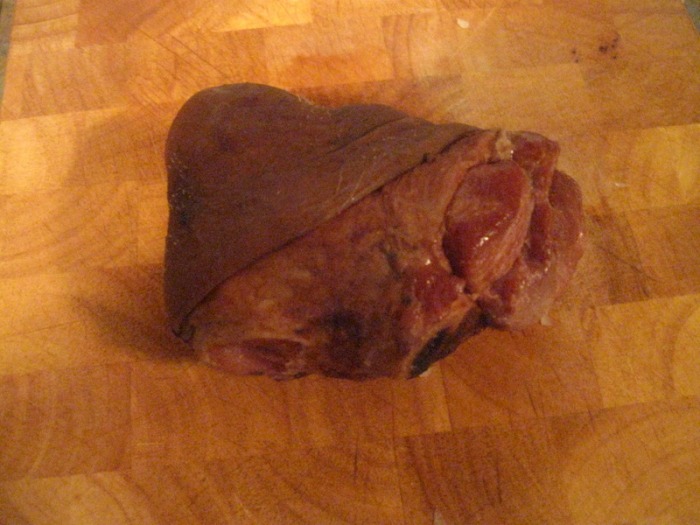
- 1 ham hock
- 16 cups water, divided
- 1 tsp cayenne pepper
- 2Tbsp black pepper
- 1 Tbsp salt
- 1 tsp oregano
- 1/2 tsp garlic powder
- 1/2 tsp onion powder
- 8oz tomato sauce
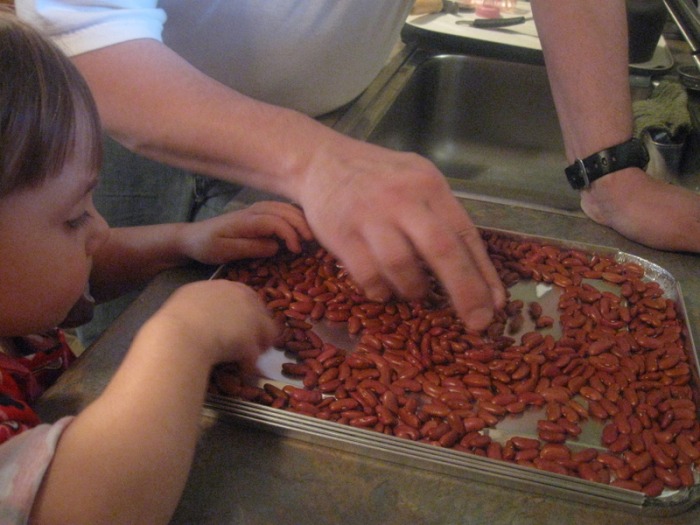
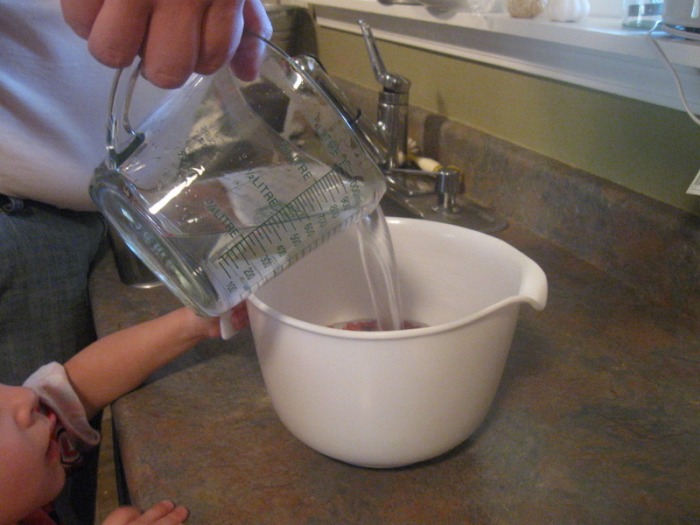
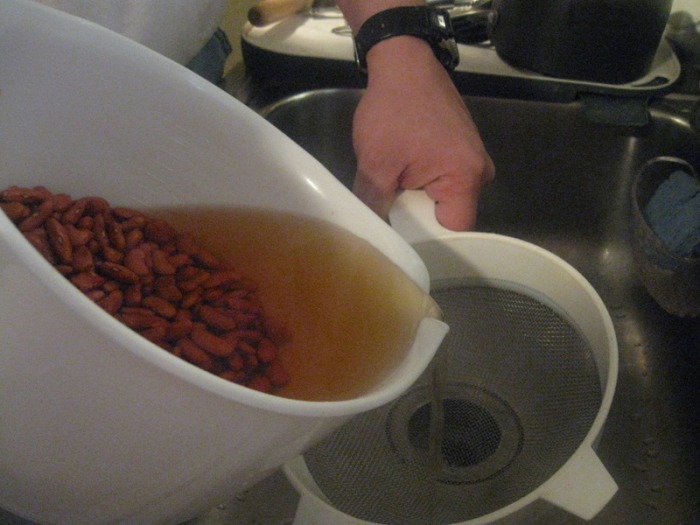
Procedure: - Pick through beans, discarding any stones, gravel or dirt that may be present. Rinse thoroughly. Soak beans with 8 cups of water for a minimum of 4 hours, overnight is best, at room temperature.
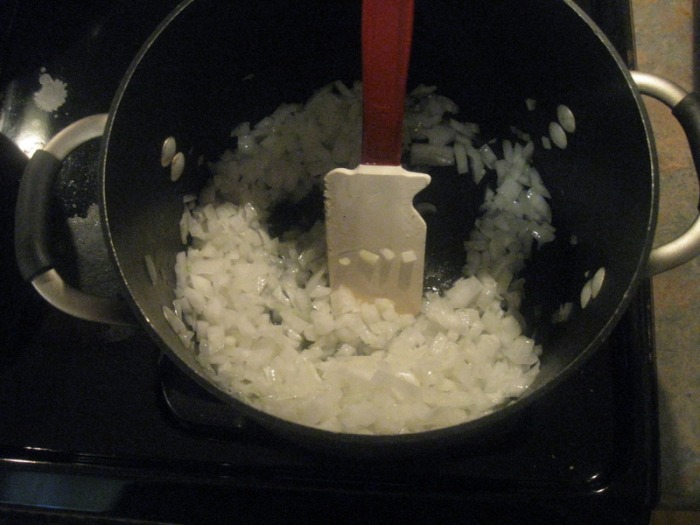
- Drain beans. In a medium sized stock pot, heat oil over medium heat and saute onions until tender, about 4 minutes.
- Add drained beans, ham hock, and cover with 8 cups of water.
- Bring to a boil, then simmer, covered, for about 3-4 hours, or until beans are soft and liquid has begun to reduce and thicken.
- Add remaining ingredients, stir well, and continue simmering for 10 minutes.
- Taste. Adjust seasoning as needed.
- Serve over cooked white rice.
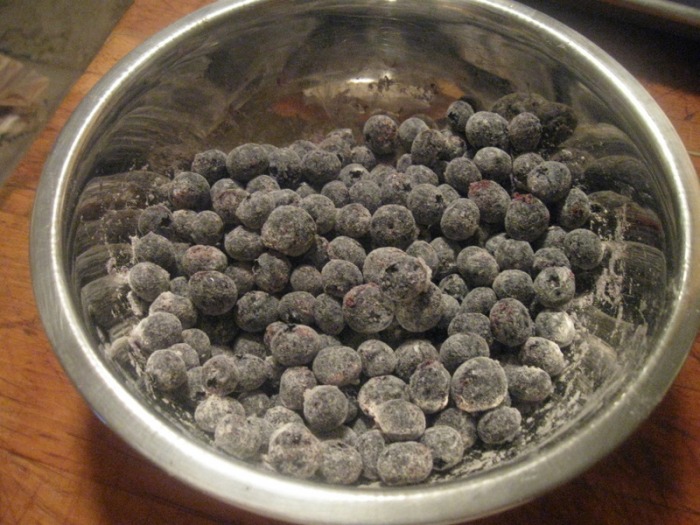
 The Chef was home yesterday and we decided to tackle cleaning out the refrigerator. (Cue scary music.) We found all sorts of things that we'd forgotten about. Lots of expired salad dressing and moldy slop that was once food. Yuck. When we got to the freezer I found the blueberries that my friend Abbi had given me a while back that I stuck in the freezer and forgot all about. Now that it truly is fall the produce isn't as tasty as it was just a few weeks ago and my mouth watered thinking about what I could do with them.
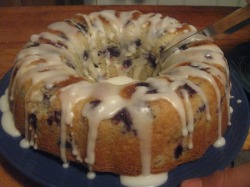
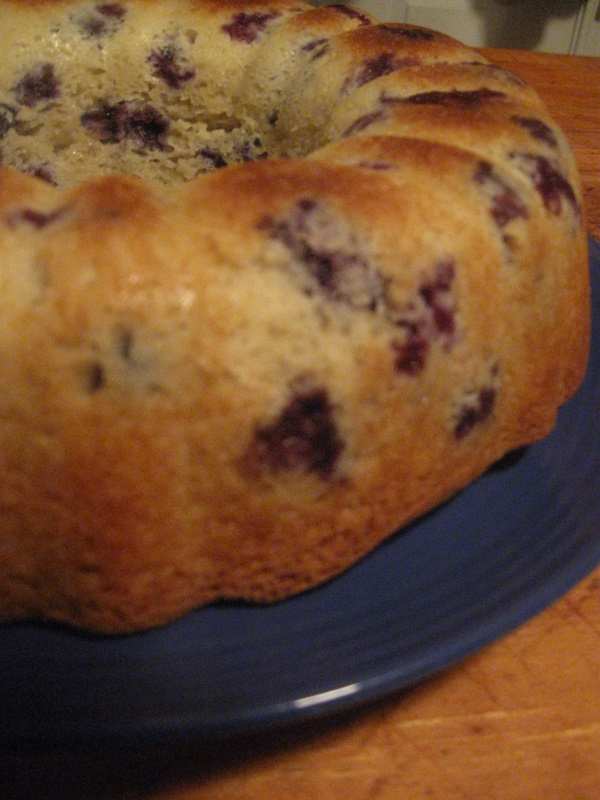
An obvious choice would be blueberry muffins, but Abbi and I (with the kids) did that already. How about a bundt cake so I can use that bundt pan I insisted on buying but have never used? I reached into the cobwebs of my mind for a recipe from a bakery I used to work at and stirred it all together and popped it into the oven.
This is such a versatile recipe, you could make muffins, mini-muffins, muffin tops or loaves out of it. You also could use other fruit or even cinnamon chips. (Unfortunately cinnamon chips aren't carried in many stores, although they used to be, but you can still find them at King Arthur's Flour, www.kingarthurflour.com, and several other online places.)
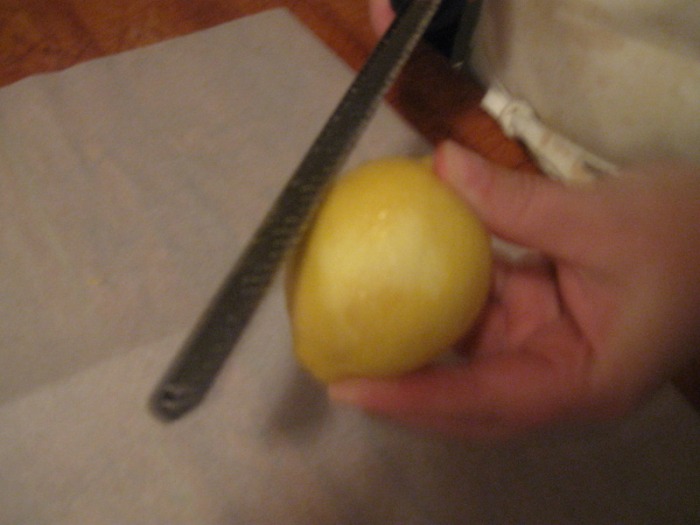
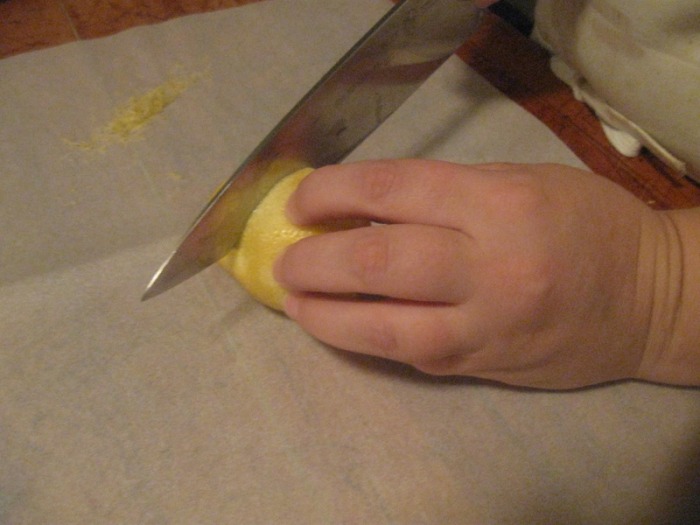
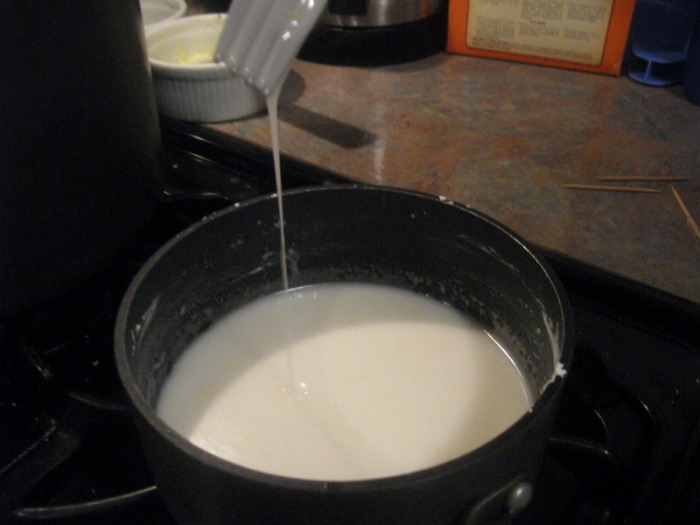
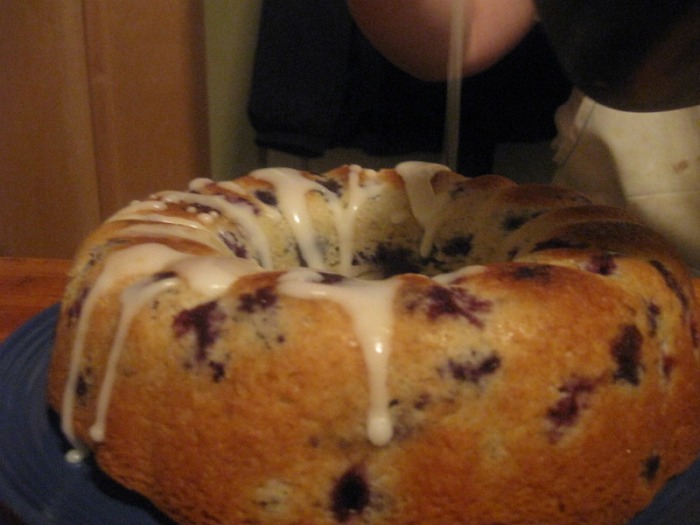
Fresh out of the oven the cake looked delicious, but I decided to add a lemon glaze since I'd also rescued a lemon in the "Great Refrigerator Clean-Up of 2009". Blueberry and lemon is a match made in Heaven as far as I'm concerned! If you use a different fruit that doesn't go with lemon, or a chip, just leave the cake plain or use an appropriate Streusel. A nice neutral Streusel is: 2/3 C brown sugar, 1/4 C All-purpose flour, 1/4 t cinnamon, 2 T butter. Mix with a fork until it has nice coarse texture.
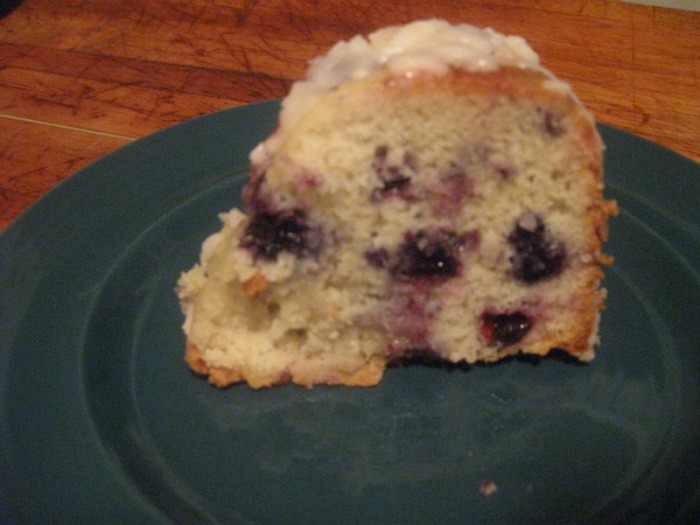
This is a great dessert or a really decadent breakfast. There's enough that you could have it for both, which is what we did!
-The Baker
Cake Base:- 3 C (400 g) All-purpose Flour
- 1 1/2 C (295 g) Sugar, granulated
- 1 t (7) Salt
- 1 T + 1 t (16 g) Baking Powder
- 2/3 C (130 g) Vegetable Oil
- 2 ea (100 g) Egg
- 2/3 C (165 g) Milk
- 2 C Blueberries
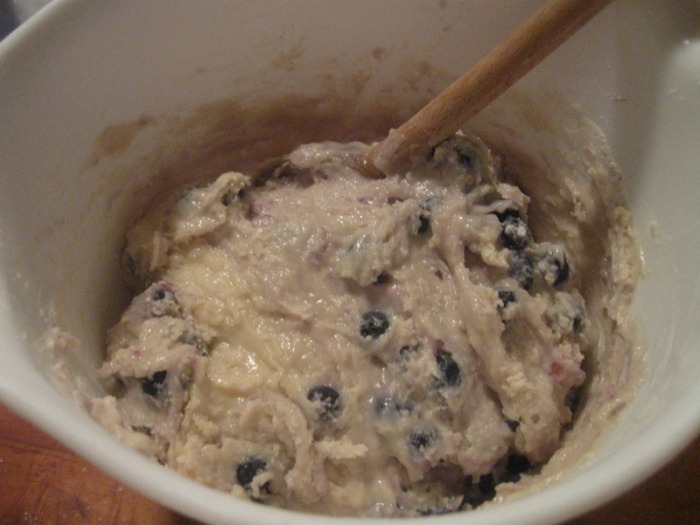
- Toss the blueberries in a small amount of the flour (this will prevent them from sinking to the bottom of the pan); set aside
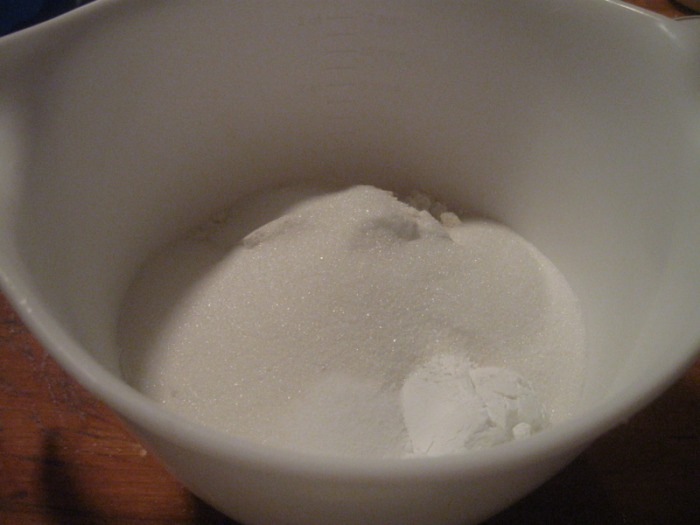
- Sift flour, sugar, salt and baking powder into a bowl; set aside
- Combine oil, egg and milk in another bowl and whisk together
- Mix together all the dry ingredients with the wet; stop mixing before it's completely combined; stir in the floured blueberries; stir just until just barely mixed, streaks of flour is all right (over-mixing will cause the cake to be very heavy and dry)
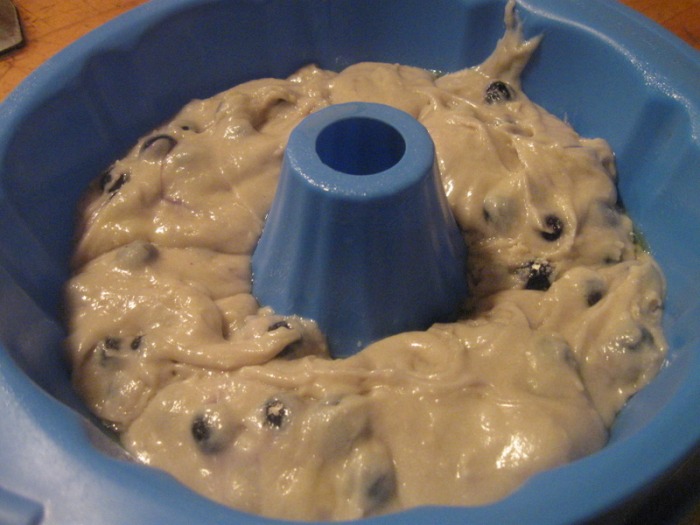
- Spoon into prepared 9" x 3" bundt pan
- Bake at 350 F for 65 minutes
- Let the cake cool in the pan and then flip out onto a platter
- Drizzle the warm glaze over the cake
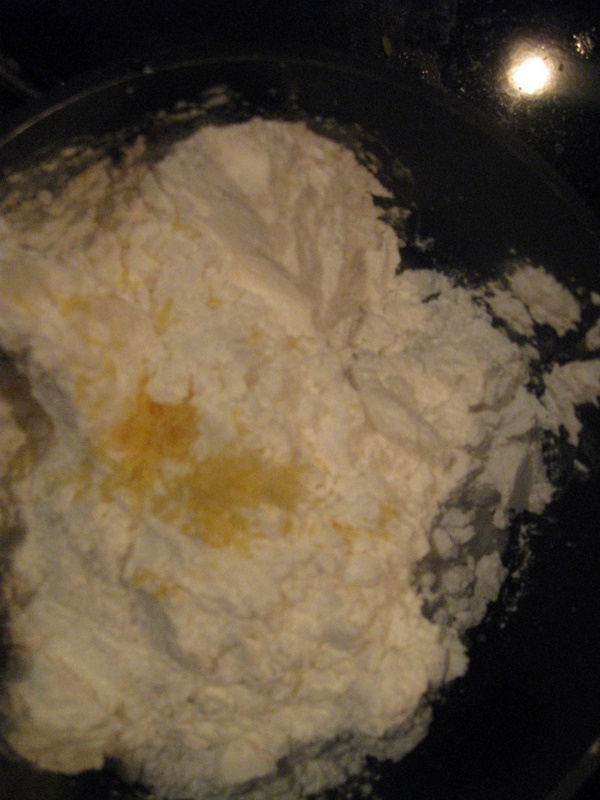
Lemon Glaze:- Zest from 1 lemon
- Juice from 1 lemon
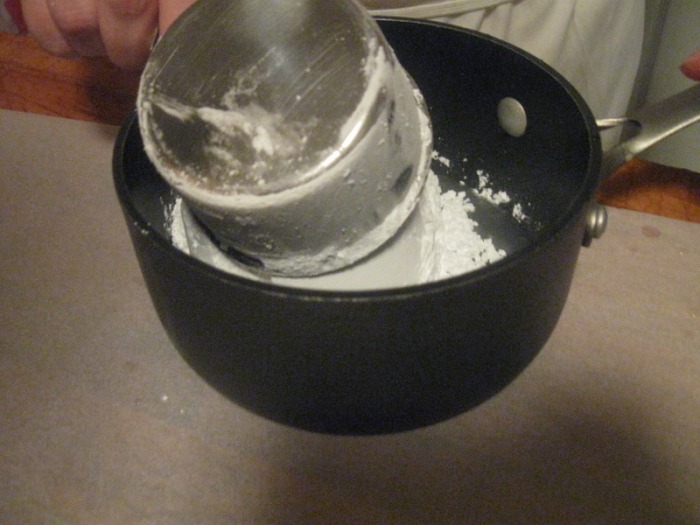
- 1 C Powdered Sugar
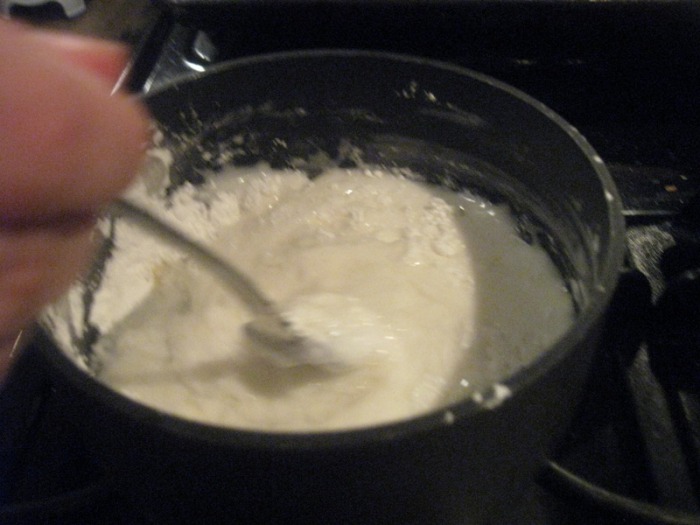
- 1 T Water
- Zest and juice lemon into a small pot
- Add the powdered sugar; stir
- Place pot over low heat; add the water to help dissolve the sugar; if you want the glaze to be thinner add more water, thicker add less water
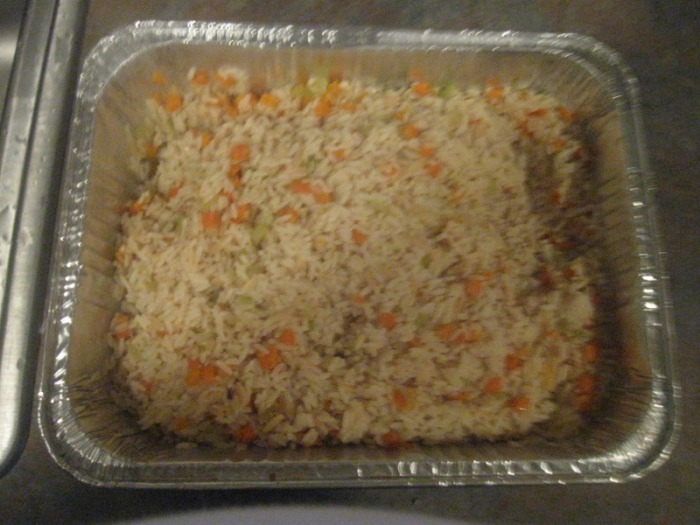
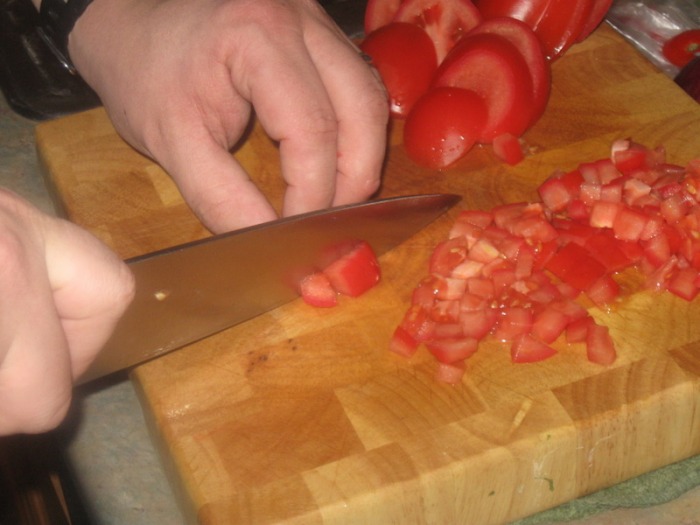
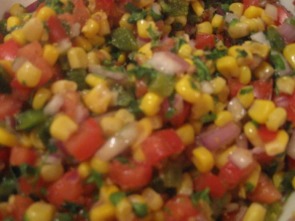 So our 15 year old had a craving for, of all places, Chipotle. Baffled by this, I asked him, "why Chipotle"? He said, "their corn salsa is sooooo good". Now, I don't necessarily think Chipotle is bad, but a $10 burrito? Surely, I thought, I could do it better. And so a challenge arose to see if I could produce a corn salsa better than Chipotle's. It's the middle of October here in Chicago, and unfortunately there is no fresh sweet corn to be had. If there was, I would have used that instead of canned corn and thrown it on the grill to impart a smokey-ness for this recipe. This is such a versitle recipe. Use it on fish, grilled meats, chicken, pork, even burgers. We used it not only for our burritos, but for the "Little Fatties" that The Baker made for dinner.
Roasted Poblano and Corn Salsayield: 6 cups - 1 poblano pepper, Roasted (recipe follows)
- 1 medium size red onion, small dice
- 6 large size Roma tomatoes, small dice
- 1 med size can of corn, drained (approx 12oz)
- 1-2 limes
- 2 Tbsp chopped cilantro
- 1 tsp ground cumin
- 2 cloves chopped fresh garlic
- salt and pepper to taste
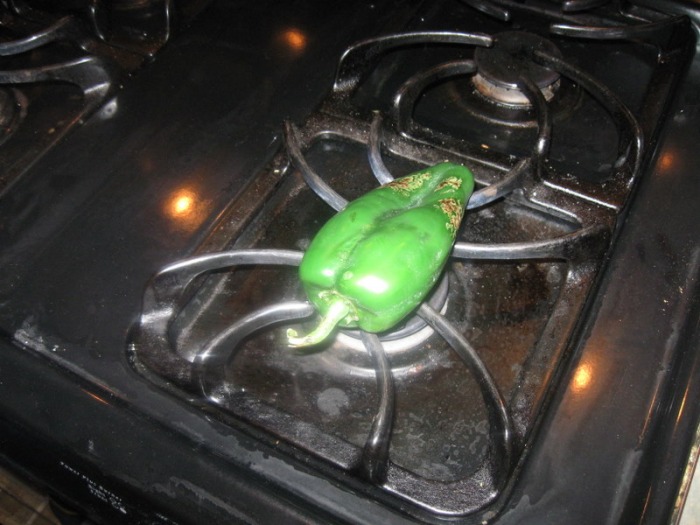
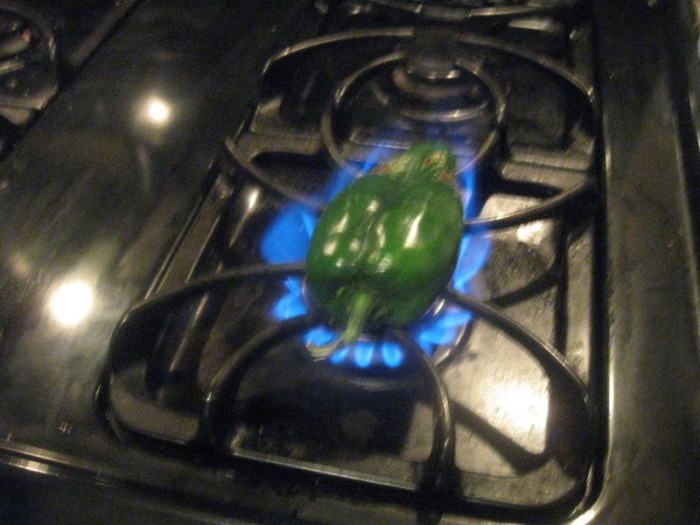
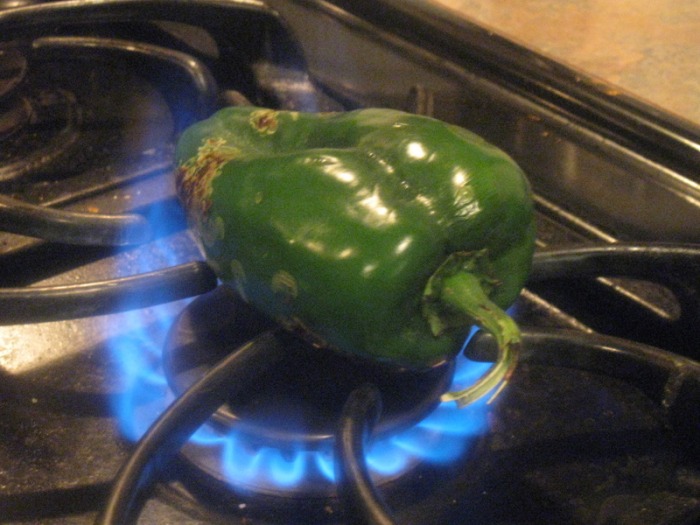
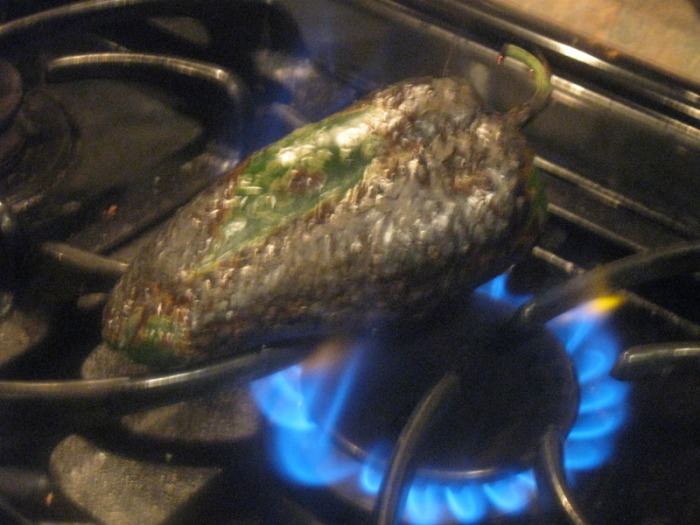
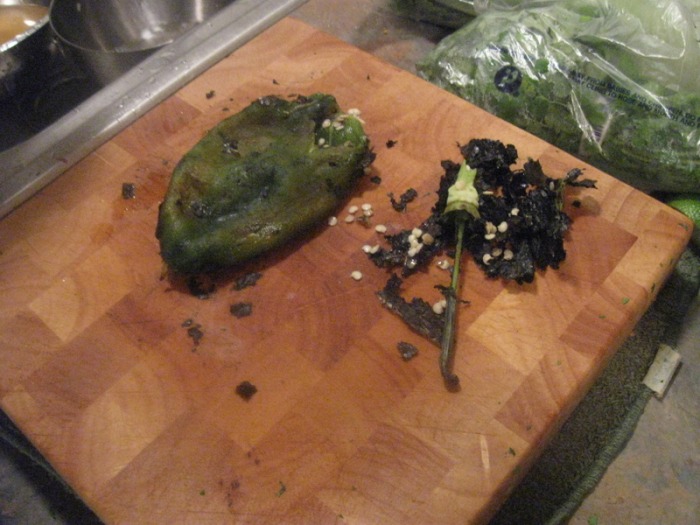
Roasted Poblano Peppers - Wash peppers under cold water. Pat dry and set over open flame until skin is completely charred and black, turning as needed. Place in bowl and cover with plastic wrap for 15 minutes.
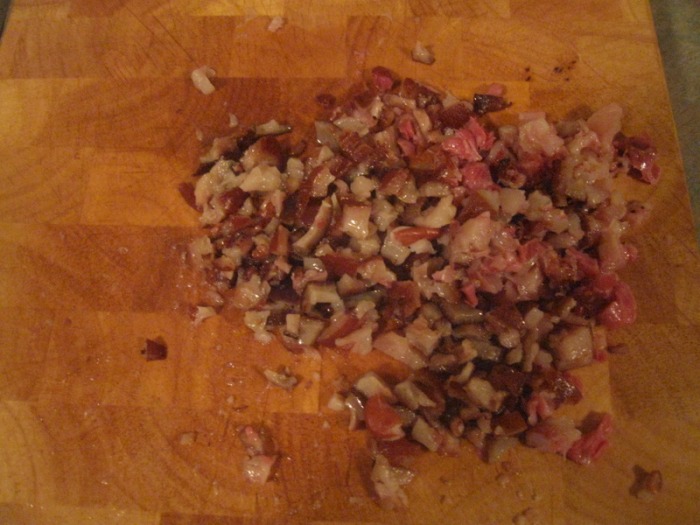
- Peel away charred skin of peppers with fingers, discard skin. Slice pepper in half and remove stem and seeds. Cut pepper into small dice.
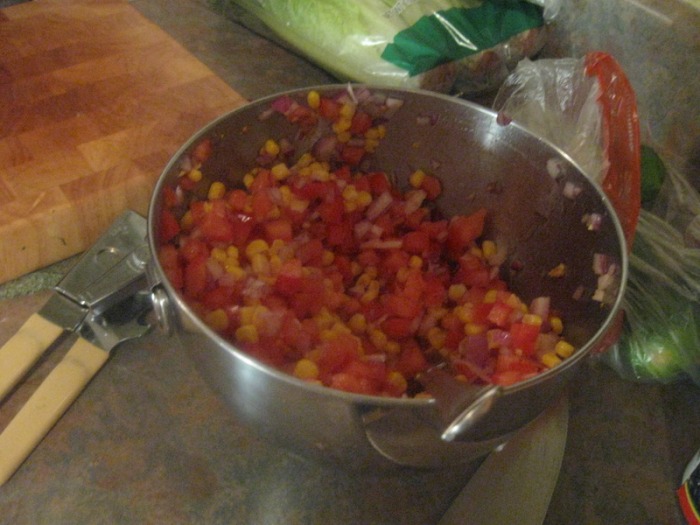
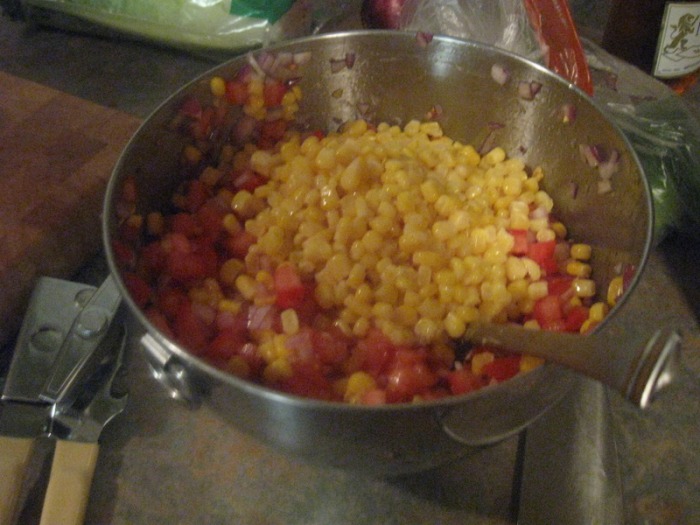
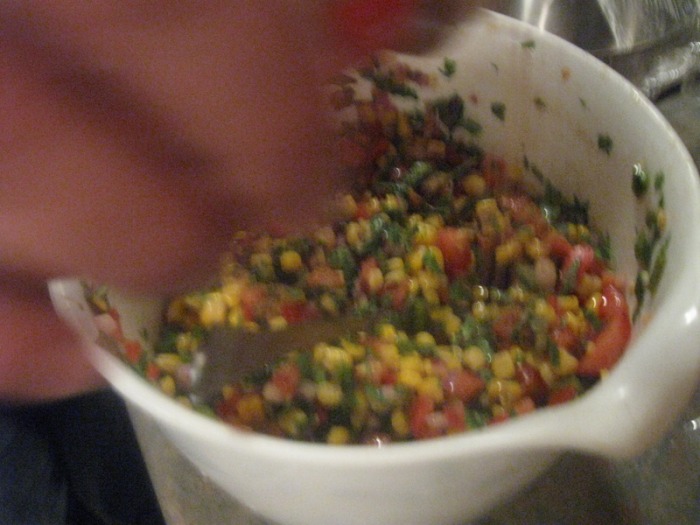
Assembling the Salsa - Combine the roasted diced poblano pepper, onions and tomatoes into medium sized mixing bowl.
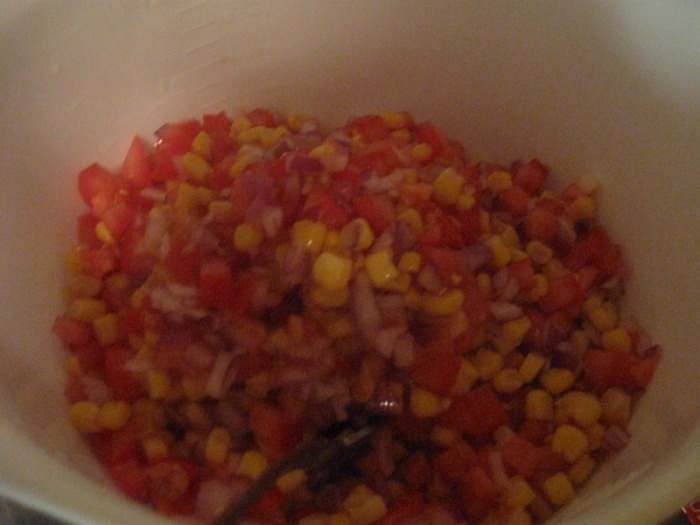
- Add corn, juice of 1-2 limes, cilantro, cumin, and garlic. Stir to combine.
- TASTE! Add salt and pepper to taste.
-The Chef
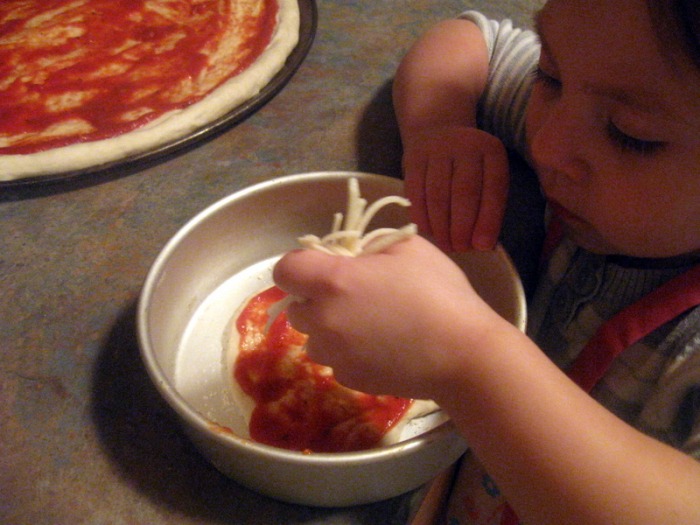
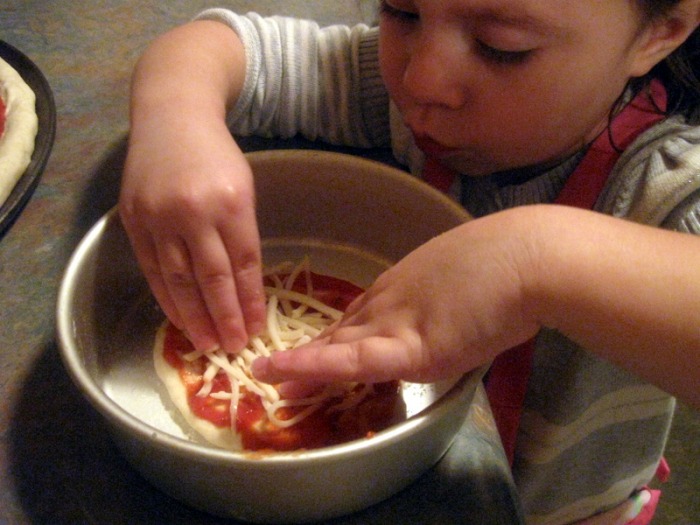
 Who doesn't love a nice hot fresh pizza? I remember when I was a kid and my mom was pregnant with my younger sister, she craved pizza constantly. I honestly think we ordered from River Pizza at least two times a week, if not three. It was a small neighborhood place with real Italian food, and their pizza was to die for. You would think after nine months of non-stop pizza eating we would all hate pizza, but I still think about that place.
I didn't know how good the pizza was until I moved away and ordered what turned out to be the first of many years of bad pizza. Every pizza I've had since then gets compared to that pizza and none measure up. Periodically I get the urge to make my own pizza thinking that I would somehow match the taste of their pizza, but they never turn out as good. It's not difficult to make pizza, but it is time consuming and who wants to spend a good chunk of their day making what they know will be so-so pizza when you could just pick up the phone and order one?
Until now. I finally found the right combination of ingredients. Actually, I was motivated by the economy. Dropping $35 on a couple of pizzas just didn't seem smart. I'll admit, I've become the queen of the bargain hunt. I don't think it should matter how much money you have, if you can pay less for something why wouldn't you? So I got re-motivated to make good homemade pizzas.
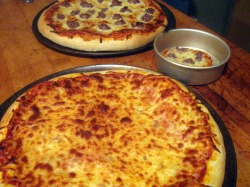
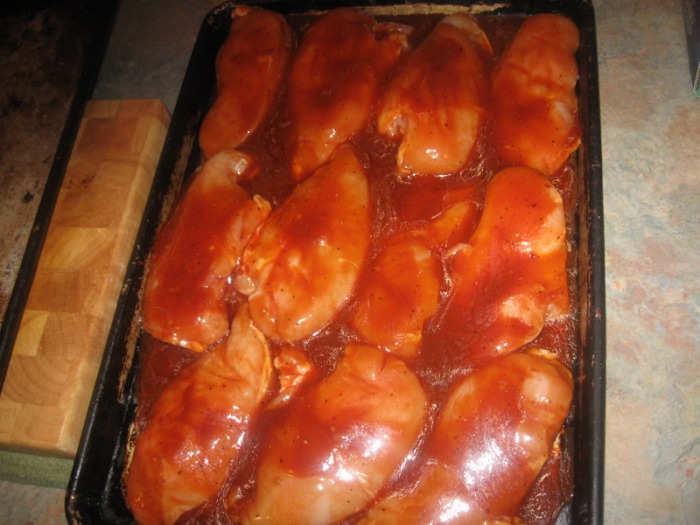
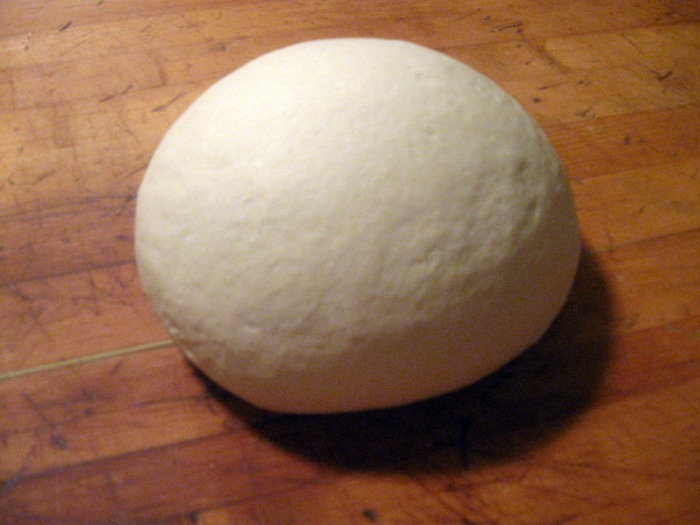
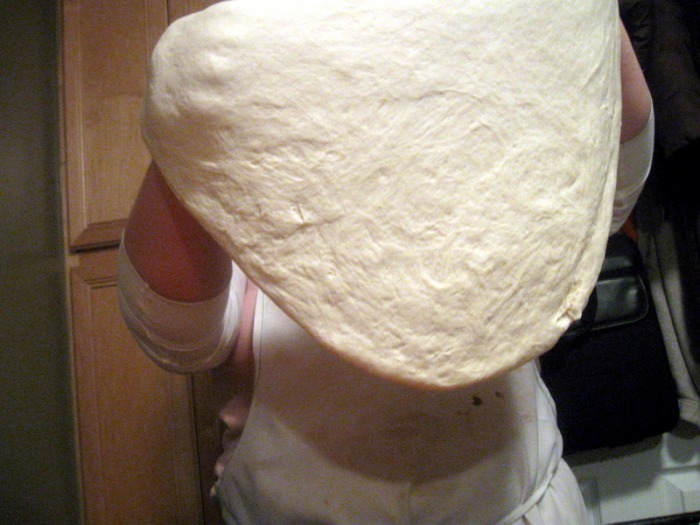
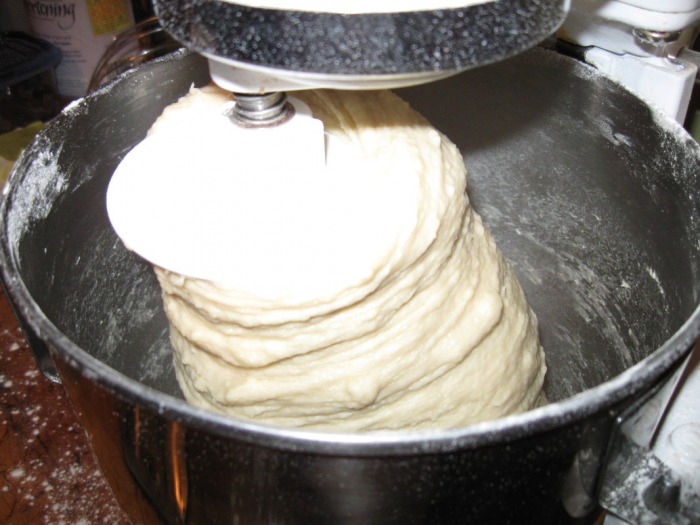
We started out making our own pizza using dough that The Chef would bring home from the restaurant. I can admit that's kind of cheating. The taste of the crust is so important and I just didn't want to waste a good pizza craving on a boring crust. Finally fate intervened. I wanted to make barbecue chicken pizza and The Chef was at work and wouldn't be home until late. I started researching through my books and on the internet and through my cabinets to see what I ingredients I had available and I came up with this dough recipe. It's fantastic! I couldn't believe it. After all the bad pizza dough I've made over the years, this dough was great!
It was so good, in fact, that when The Chef came home that night and warmed some up for himself he said, "You know, we're considering changing our pizza dough recipe at the restaurant. This is really good, could you give me the recipe so I can test it out?"
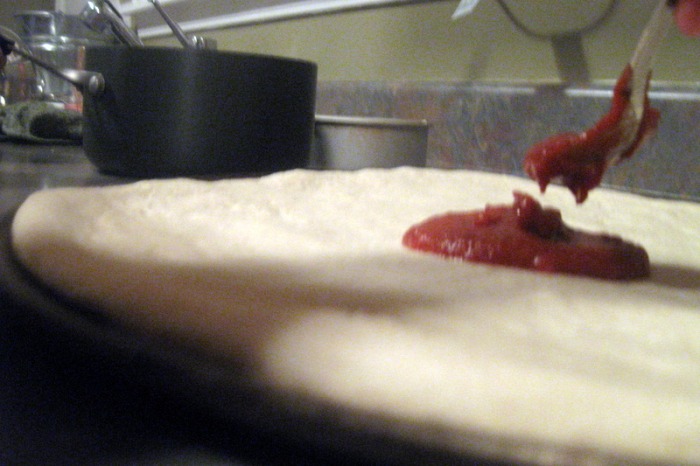
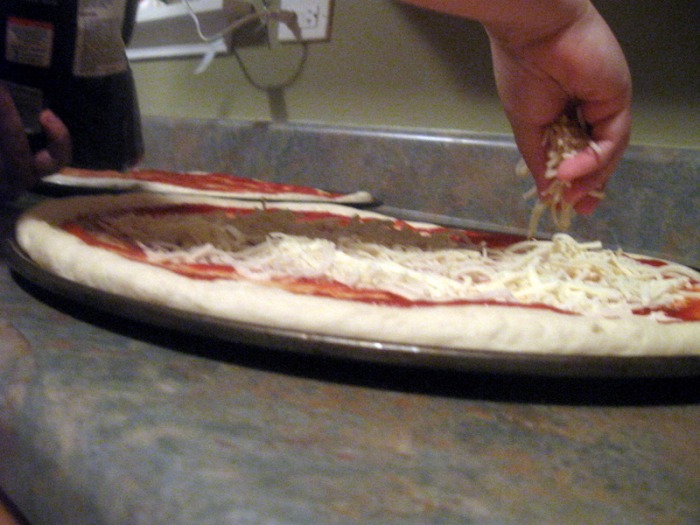
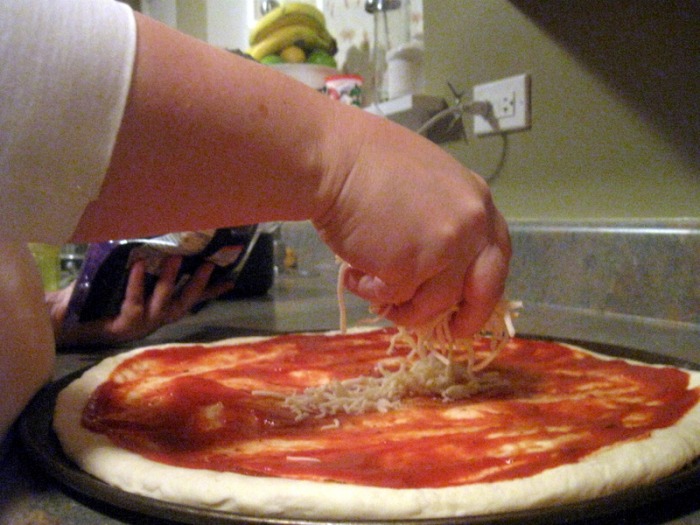
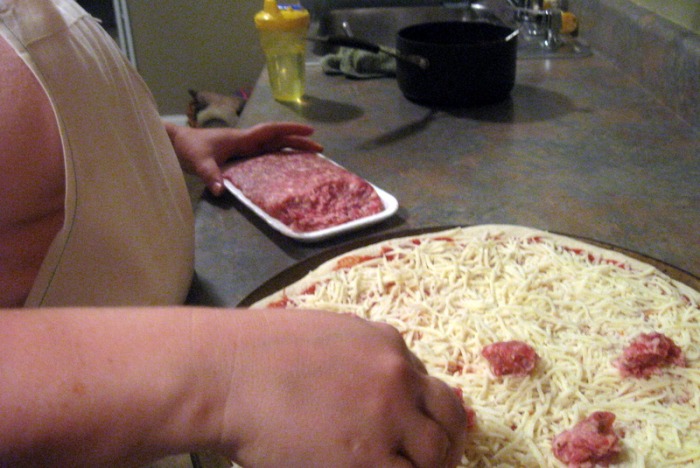
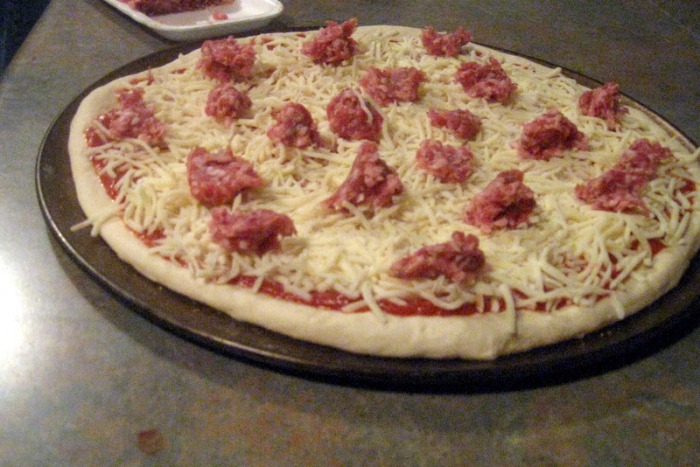
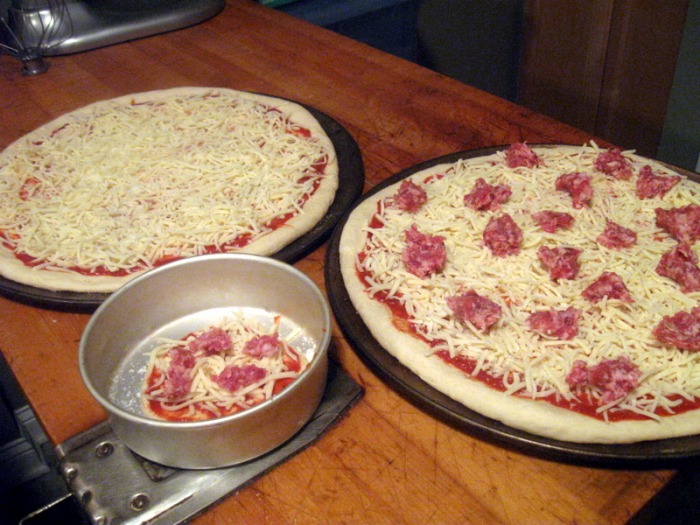
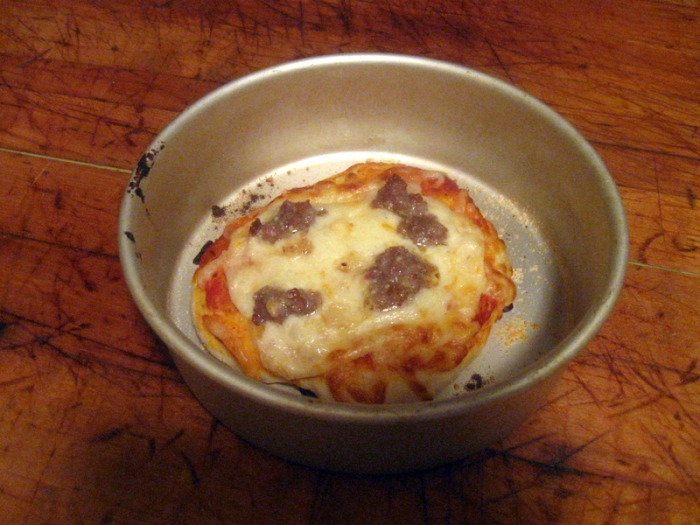
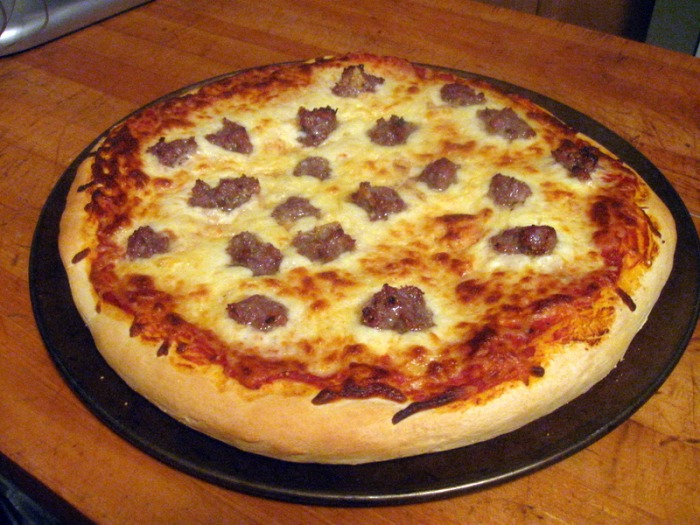
I'm really picky when it comes to pizza sauce. I'll be honest, I'm not much of a fan, and when you look at the pictures you'll see I don't put much on. I always order my pizza with easy sauce, which drives the rest of my family crazy, but too much sauce makes me gag. To me, the sauce was never the highlight of the pizza but I decided to make some that even I would like. I decided to roast some garlic and add it to the sauce and it was delicious!
So the next time you crave pizza skip the phone and try this out. It's so good you'll be glad you kept your $35!
PIZZA DOUGH
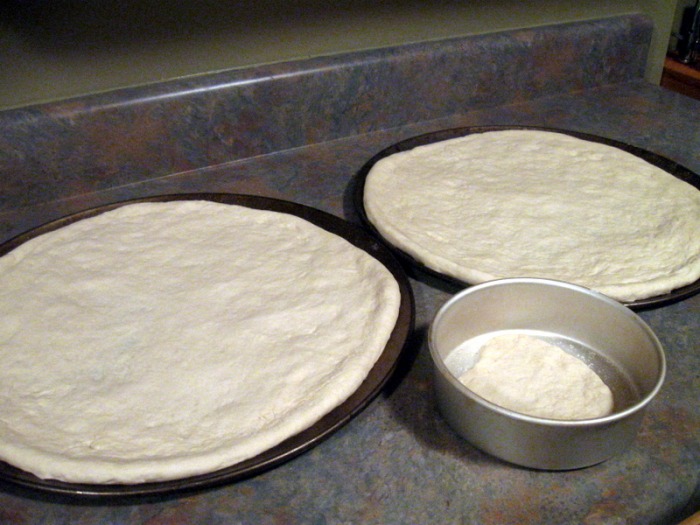
yield 2 - 16" thin crust pizzas - 1/2 oz Active Dry Yeast
- 2 C Water, warm (110 ° F)
- 4 C Bread Flour
- 2 C AP Flour
- 1/4 C Olive Oil
- 2 t Sea Salt
- 1 T + 1 t Sugar (separated)
- Dissolve yeast in warm water; whisk together to activate yeast; let stand until frothy (about 10 mins)
- In large mixing bowl combine bread flour, olive oil, sea salt and sugar; add yeast mixture; stir well to combine
- Using a dough hook, knead dough; as the dough kneads begin adding AP Flour (about 1/2 C at a time) until the dough is no longer liquid and is smooth and stretchy; you may not need all of the AP Flour, and sometimes you may need more than the 2 C called for, you have to use your judgment to know how much to use
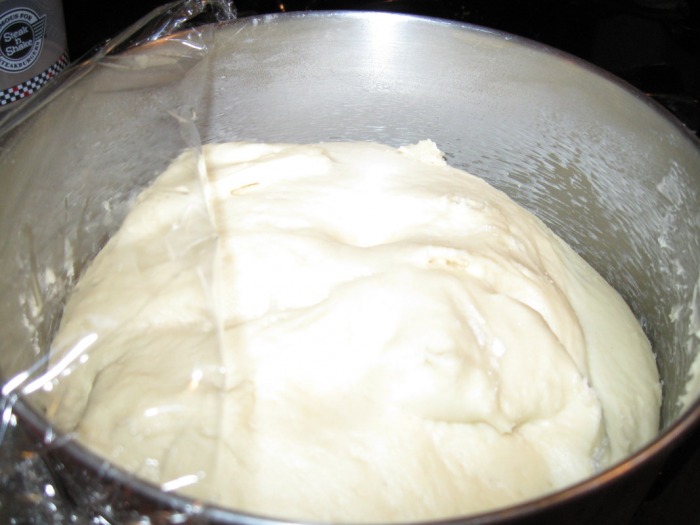
- Cover bowl and let dough rise until doubled
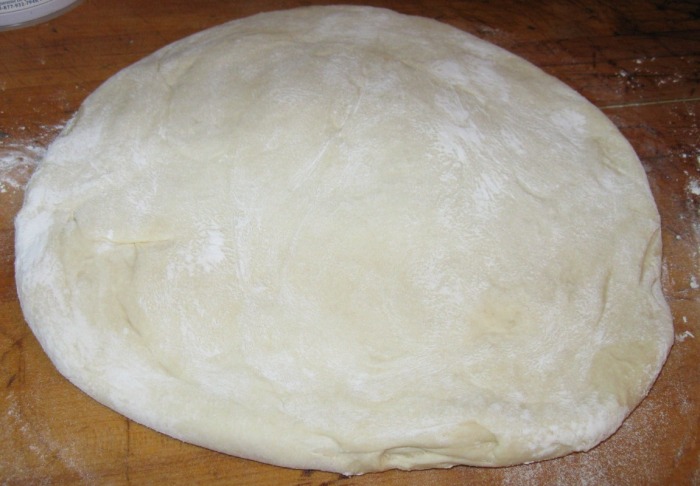
- After rising, punch down dough; divide into boules, cover with plastic and allow to rest on bench
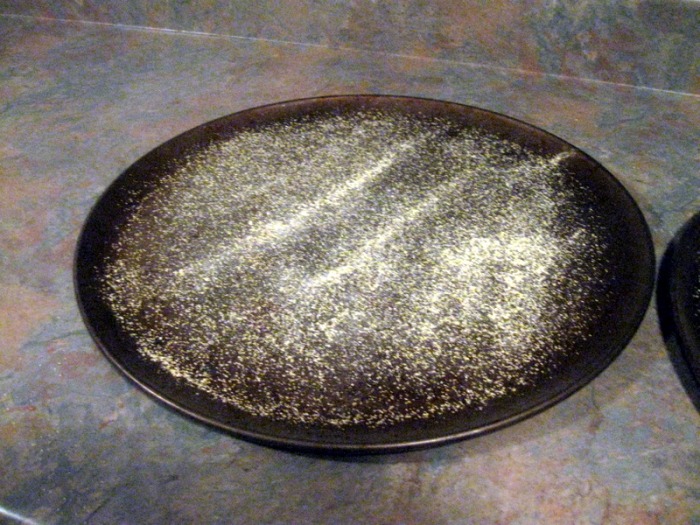
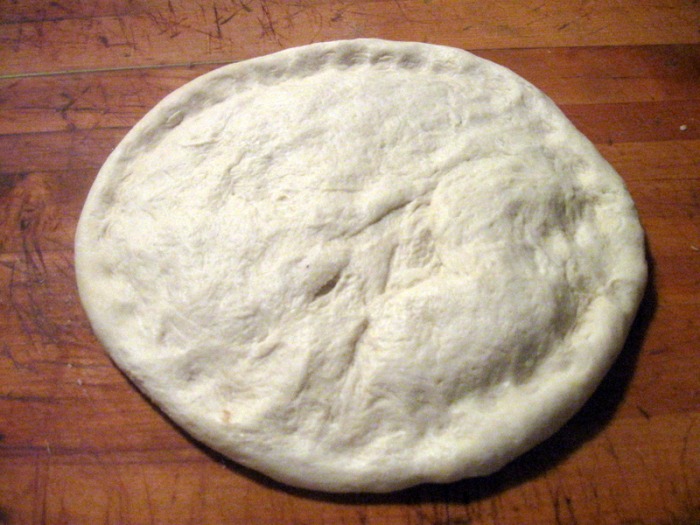
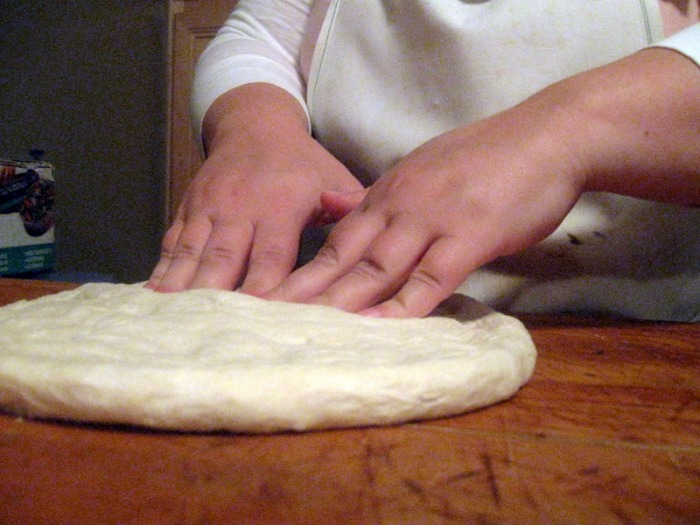
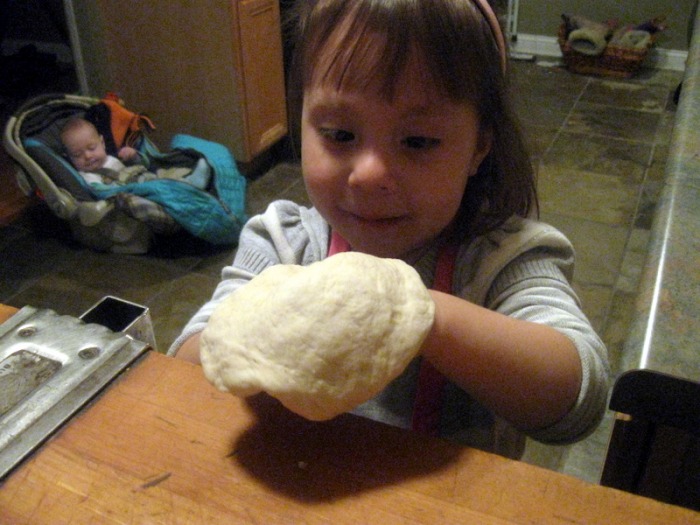
- On a floured board punch down boules and shape into pizzas; top with ingredients
- Bake at 500 for 16 mins
ROASTED GARLIC PIZZA SAUCEyield approximately 2 1/2 Cups - 16 oz Tomato Sauce
- 6 oz Tomato Paste
- 4 oz Water
- 1 t Italian Herbs
- 1/4 t Cayenne Pepper
- 1/2 t Sugar, granulated
- 1/2 t Onion powder
- 1/2 t Salt
- 1/2 t Black Pepper, ground
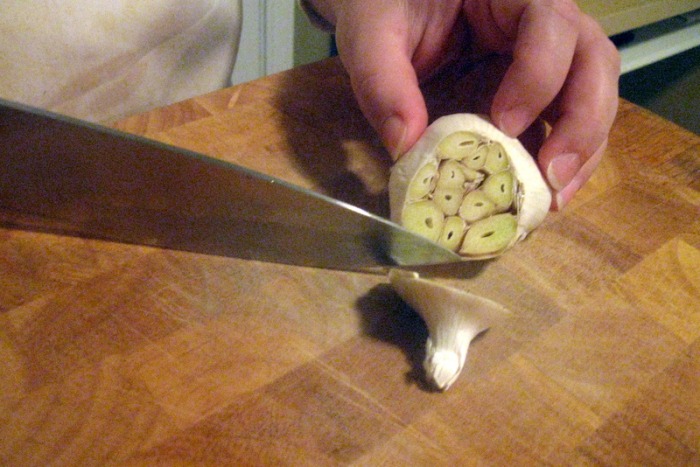
- 3 cloves Garlic, roasted
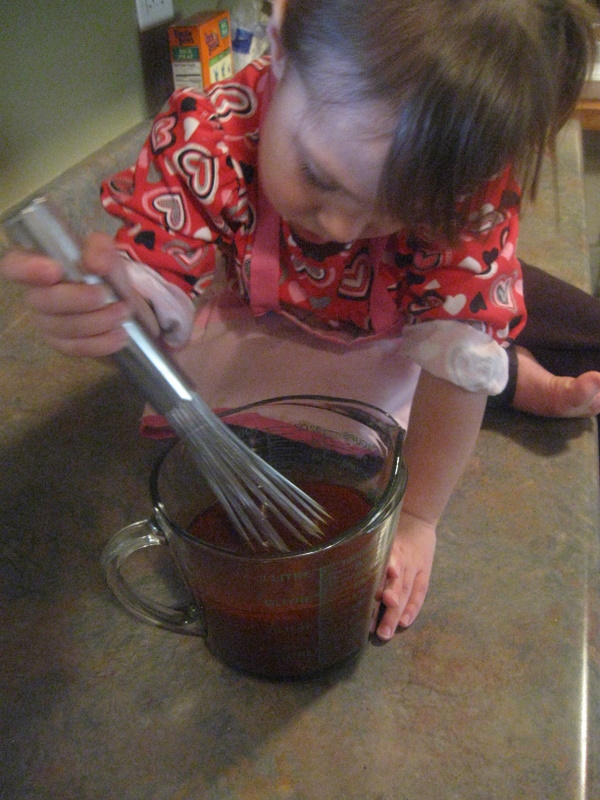
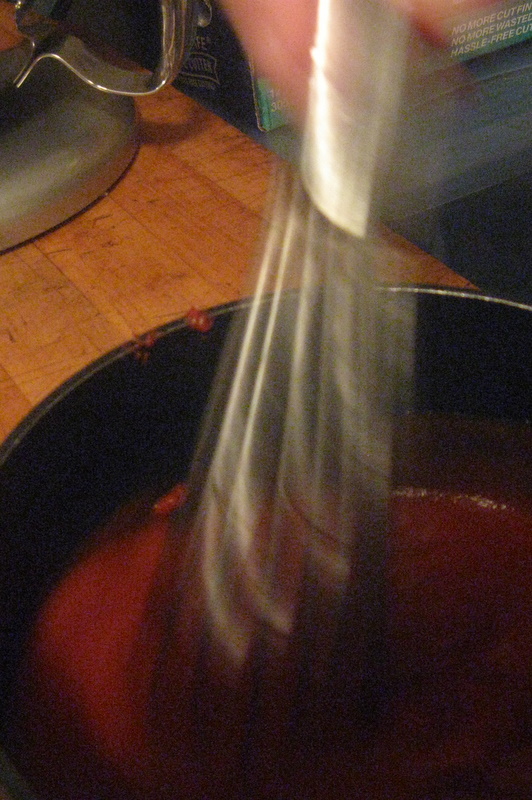
- pour tomato sauce, tomato paste and water into saucepan; whisk together
- add Italian herbs, cayenne pepper, sugar, salt and pepper; whisk together
- squeeze the bulbs of roasted garlic into sauce and whisk together
- place over a low flame and just let it warm to allow flavors to marry, for as long as you like
Hints: All of the flavorings can be increased or reduced according to your tastes. If you don't have time to heat the sauce it can be used right after mixing, it just won't develop as much flavor. -The Baker
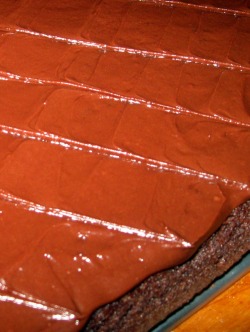
It's easy to make a good brownie. All it takes is some expensive, high quality chocolate. More and more grocery stores are carrying quality chocolate, but if yours doesn't, just run over to your specialty food shop. What? You don't have one near you? Well, with the internet the world is getting smaller every day. So, hop online and order some chocolate to be shipped overnight to you. Oh, but hopefully you're not in the midst of a brownie crave during the hot summer months, because a lot of companies won't ship chocolate to you for fear of it melting during transport. Once you've tracked down your chocolate all you have to do is put your craving on hold until it arrives and then you can whip up a batch of brownies and pop them in the oven. Almost instant gratification! Yeah, not quite. When I want instant gratification, I want it NOW, not tomorrow or the day after, or even worse at the end of the summer.
That just wasn't good enough for me. I want to be able to make a killer brownie at the drop of a hat without needing to hunt down chocolate or keep expensive chocolate on hand, which let's face it, I'd just end up eating between brownie cravings. So I began a quest to find a brownie recipe that would make luscious brownies out of regular ingredients most of us just have on hand.
How does a brownie recipe quest work, you ask? Well, I'd find a promising recipe and make it and it would fall flat. It would too dry, too cakey, too bland, too blah. Believe me, I made a lot of bad brownies. You know when people say things like, "well, even a bad xyz is still a good xyz", not true when it comes to brownies. Look, I told you, I'm up front with myself when it comes to eating baked goods... they're loaded with fat and calories and I know I shouldn't eat them as much as I do, so when I do eat them I want them to be GREAT. To die for, even. So I kept trying. Then I talked to my friend Wendy and told her of the "Brownie Quest" and she asked if I wanted to try her recipe. So she sent it over to me. And I made it. And they were good, but not "fight to death over the last one" good. So I started tweaking. I put my culinary degree to work and really broke down the recipe and analyzed why each ingredient was there. After several more attempts and several more changes I had completely re-worked the recipe and they're fabulous!
BROWNIES
yield 1 - 1/2 sheet pan(approximately 18" x 13")
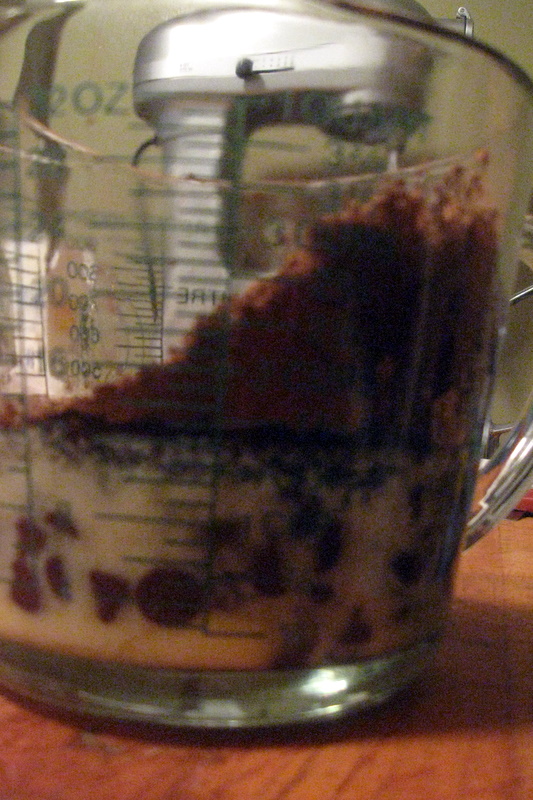
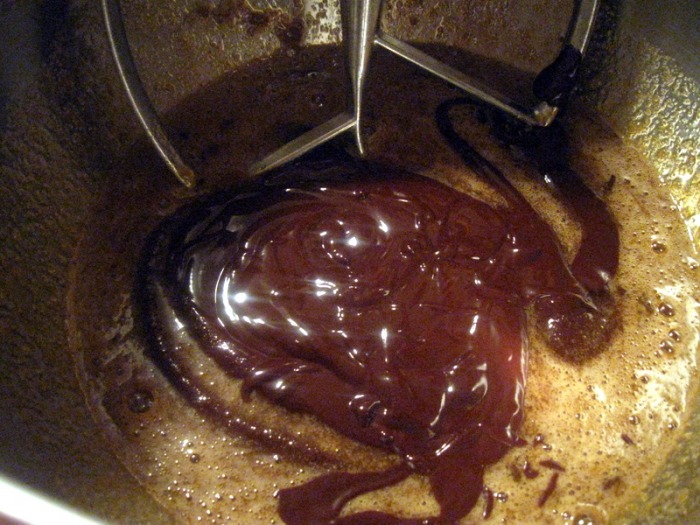
- melt butter, 1st portion chocolate chips and cocoa (can be done in microwave)
- whisk in sugar and eggs
- stir in dry ingredients
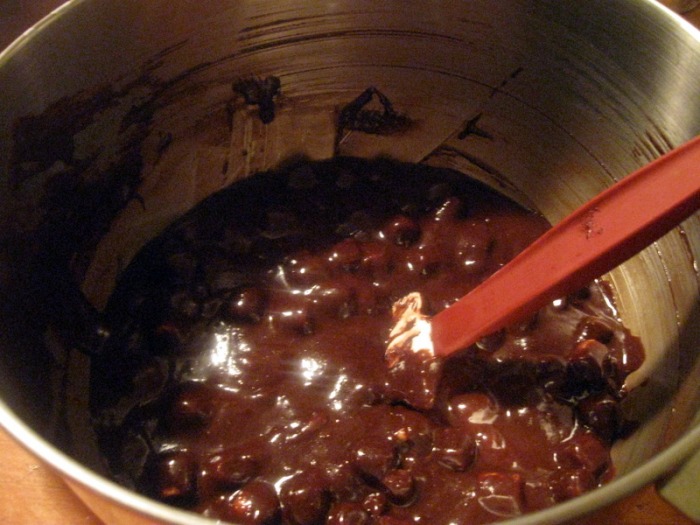
- stir in 2nd portion chocolate chips
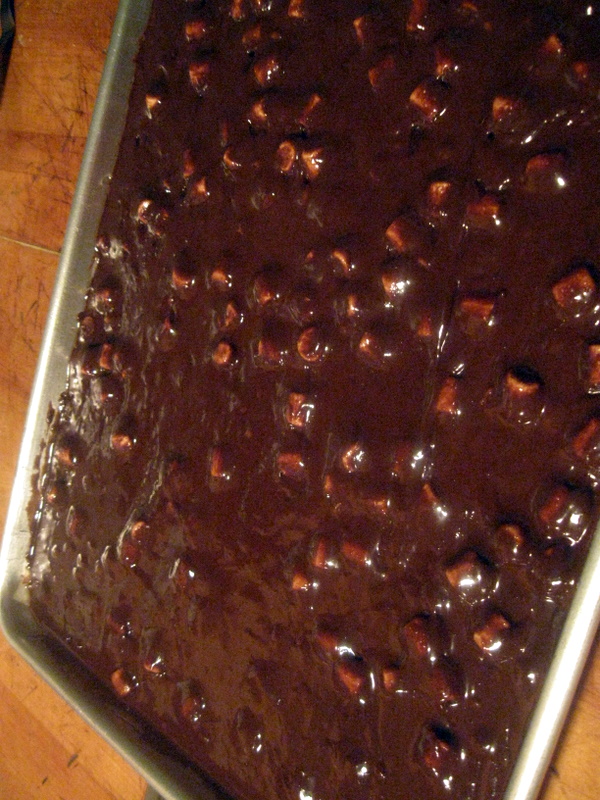
- pour in prepared pan
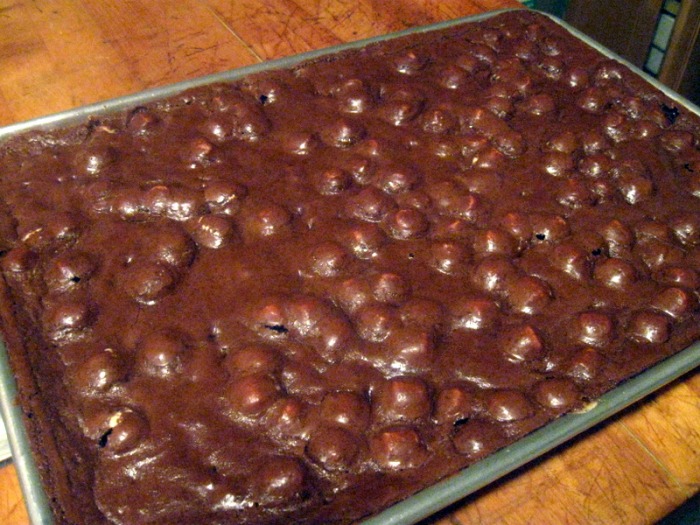
- top with miniature marshmallows and push under batter
- bake at 350 30 mins for ½ sheet
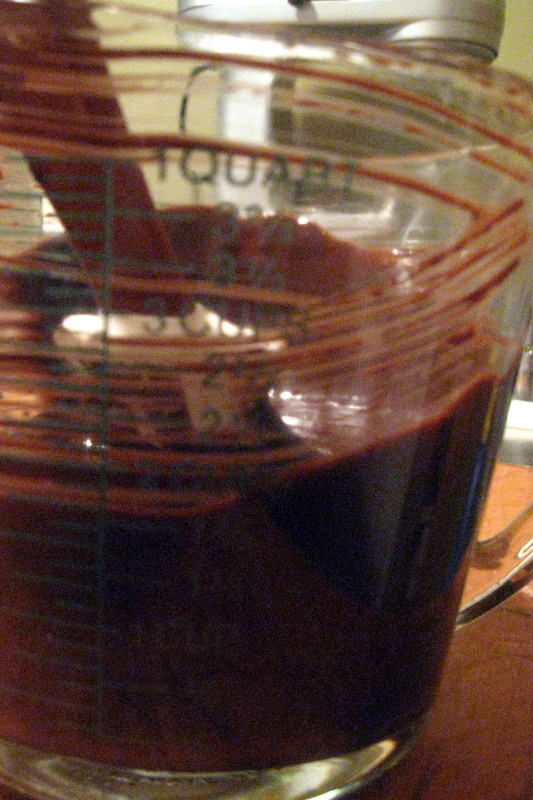
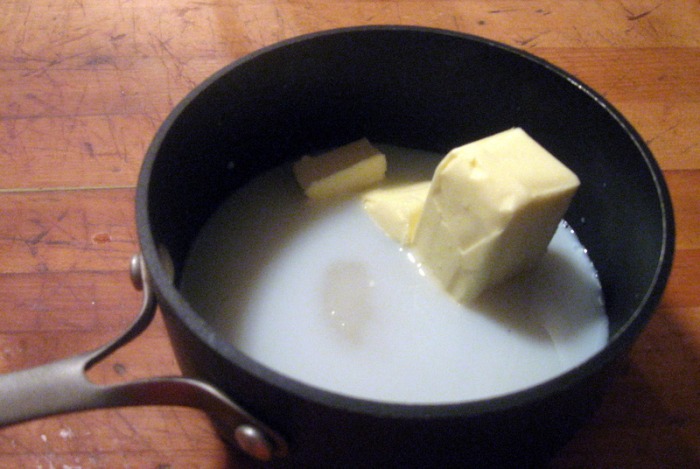
Chocolate Fudge Frosting:
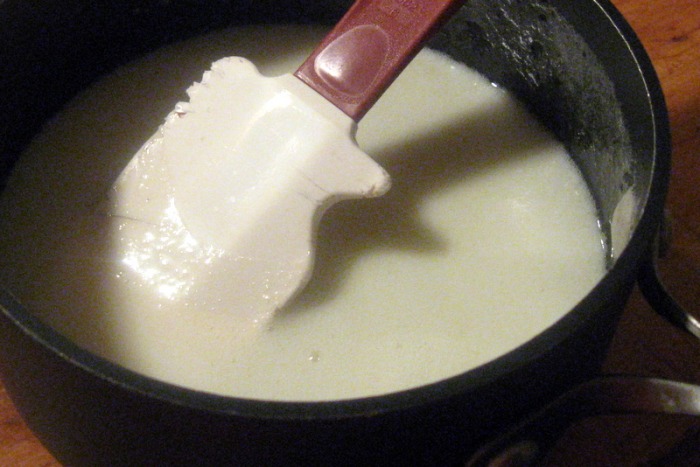
- Scale sugar, milk and butter into a pot; bring to a boil, stirring constantly.
- Remove from heat; add chocolate chips, stir until melted and incorporated.
- Whip in mixer until creamy and cool.
- Frost warm brownies or cover with plastic and put in cooler. When ready to use, warm in microwave for 15 seconds, stir and then frost.
-The Baker
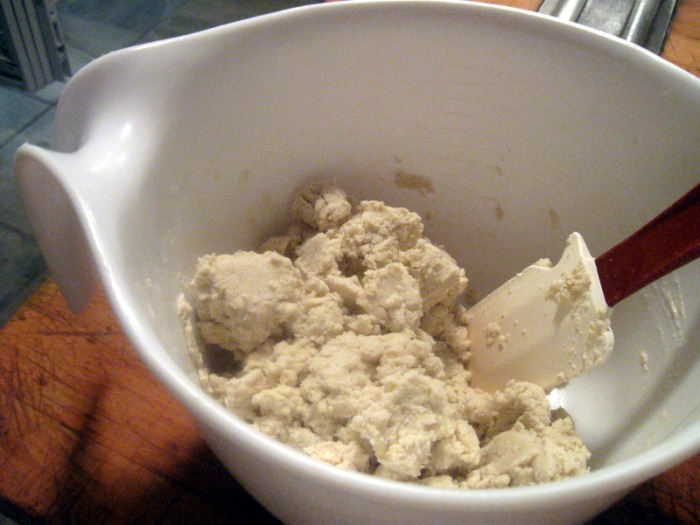
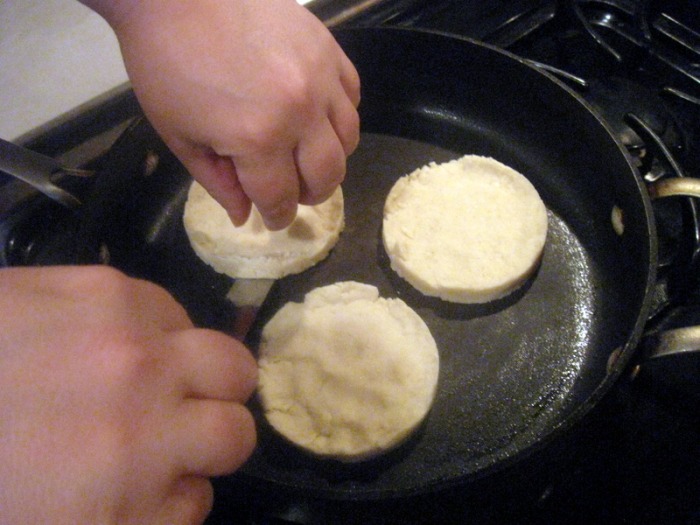
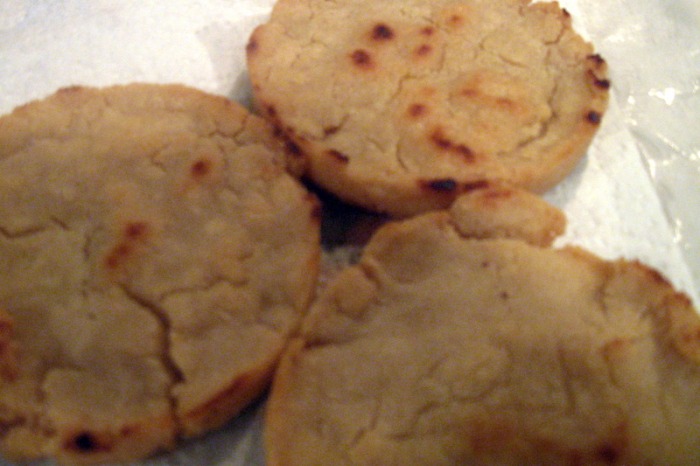
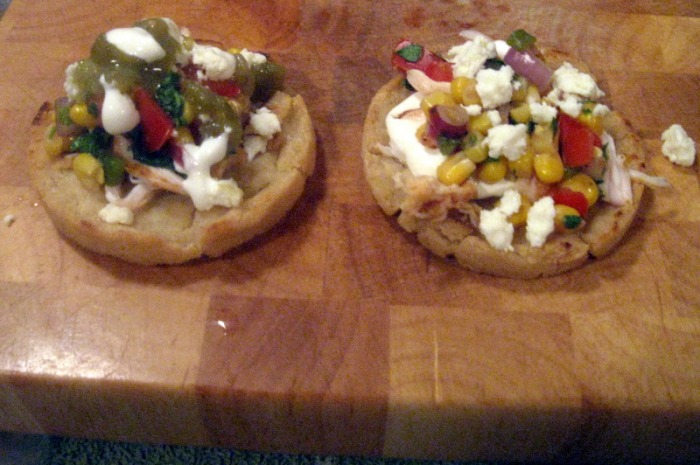
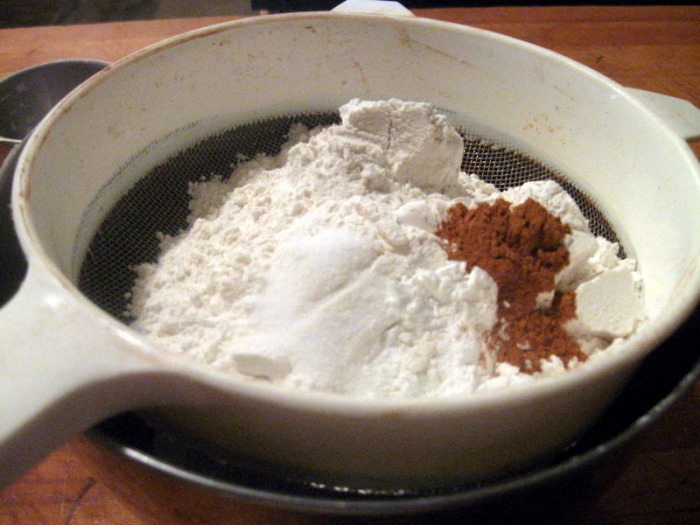
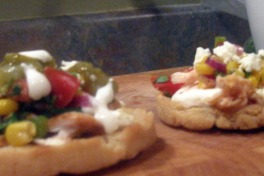 The other day in the mail I received the newest copy of “Food & Wine” magazine. Maybe it’s the time of year, or the fact that I’m still nursing, but everything in there looked delicious! I dog-eared several of the pages of recipes I want to try out, but the first one I decided to make were the gorditas. We had decided to make burritos for dinner and these looked like the perfect accompaniment. I’m so glad I made them, because they were fabulous and so easy! I’ll definitely make them again, and if we ever need to make appetizers for anything this will work beautifully. (If you do decide to make these for appetizers, you will probably want to make them smaller than the 3 inches the recipe calls for, but you know your friends better than I do, so make them as big as you’d like!) Gorditas literally means “little fatty” in Spanish, which is exactly what these are. They were wonderfully crisp on the outside and soft on the inside with a nice corn flavor. You can top them with pretty much anything that sounds good to you, but we made a fresh corn salsa and roasted some cumin seasoned chicken and served each one with some queso fresco, sour cream and a squirt of fresh lime juice. My mouth is watering just thinking about them! Don’t confuse these with the Americanized “gorditas” Taco Bell served (serves?). Those gorditas more closely resemble a very thick tortilla or pita. These are much more like the toasted bread you serve bite sized appetizers on, like a piece of bruschetta. When you make these, don’t get all hung up on the specific sizes stated in the recipe. I figured if these are being made successfully in a remote Mexican village with a very rustic kitchen I probably couldn’t mess them up because I don’t own a comal! It’s a very simple recipe, so don’t over-think it. Just mix the dough until it sticks together and use your eyes to guide you when you cook them. Don’t set a timer for two minutes and remove them from the pan because the timer says so but they’re not brown. In culinary school, when someone asked, “how long do I cook it?” our chef would always answer, “until it’s done”. That’s your guide here. GORDITAS recipe from Food & Wine magazine, November 2009, page 162 yield 10 - 3” gorditas - 2 C masa harina (they recommend Bob’s Red Mill, but I used Maseca)
- 1 1/4 C water
- 1/4 C vegetable oil, plus more for frying
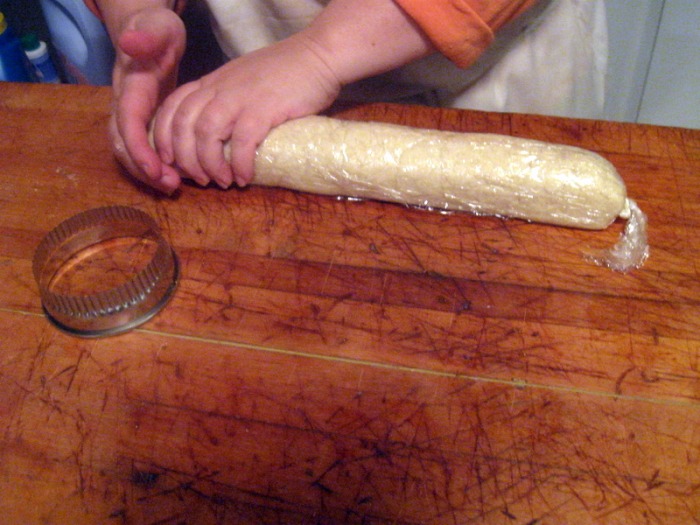
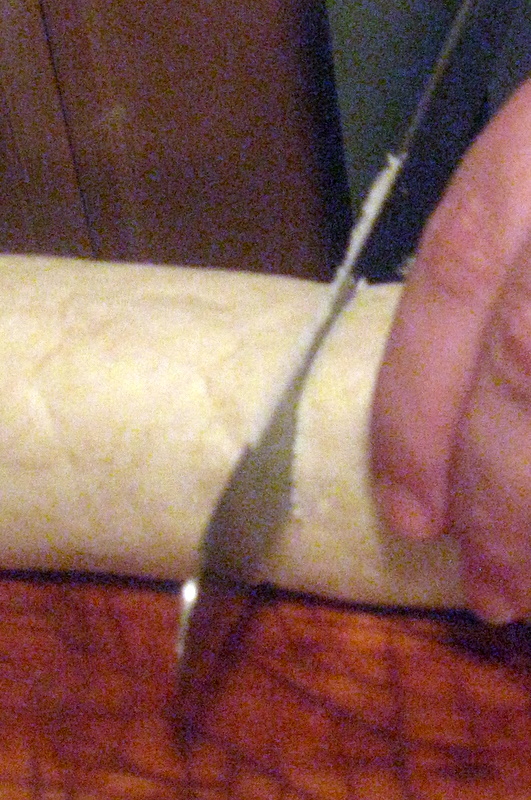
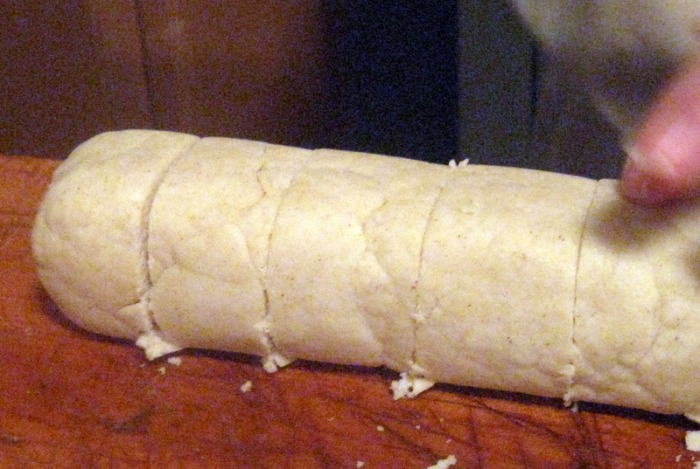
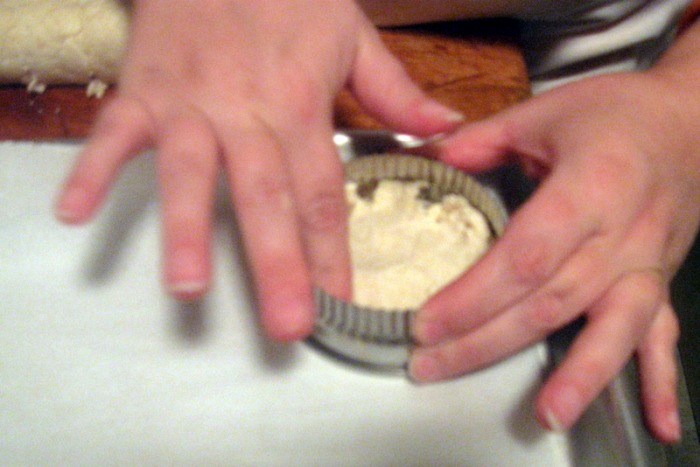
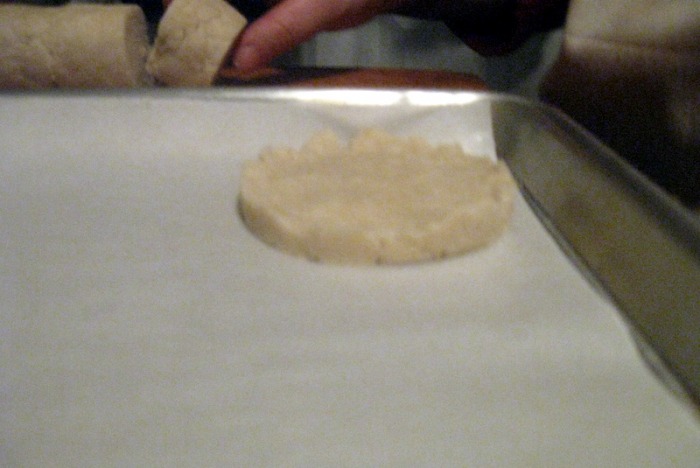
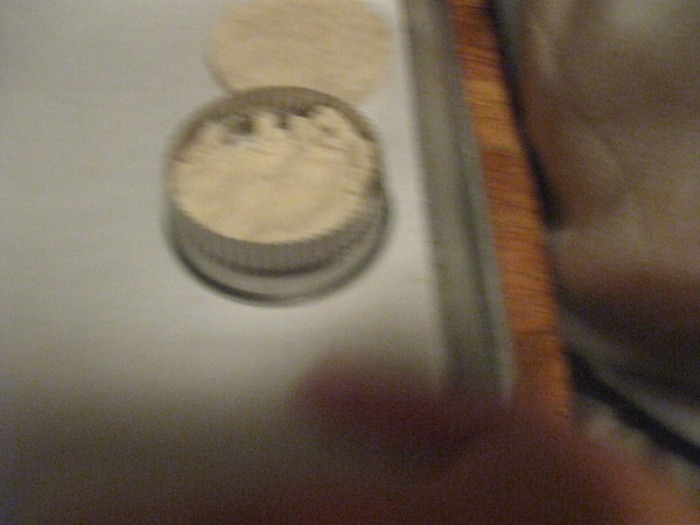
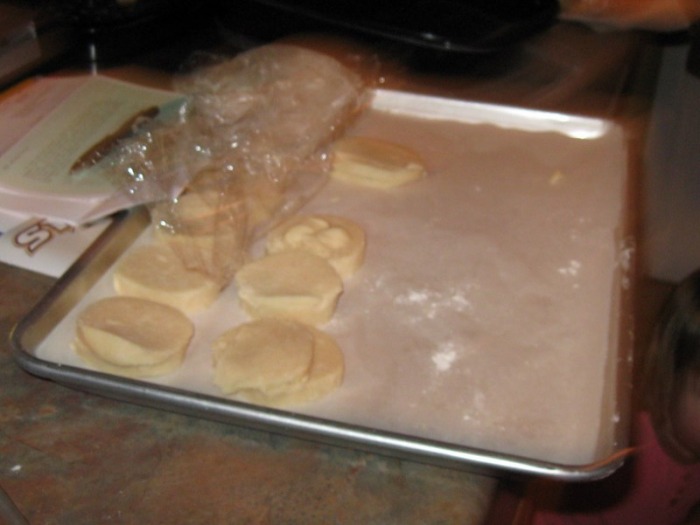
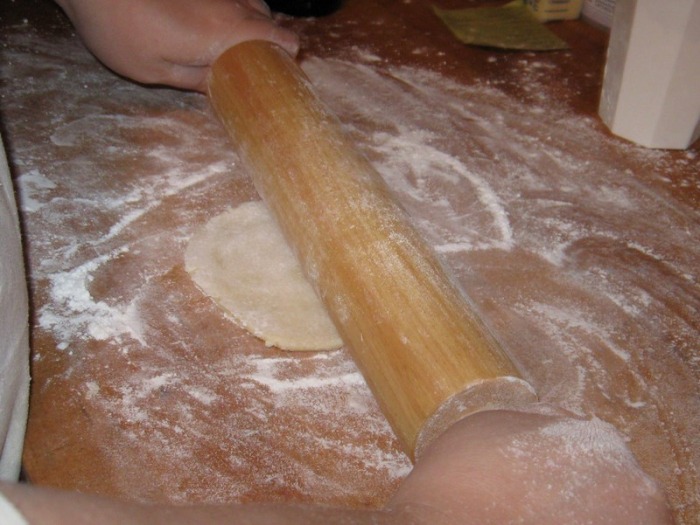
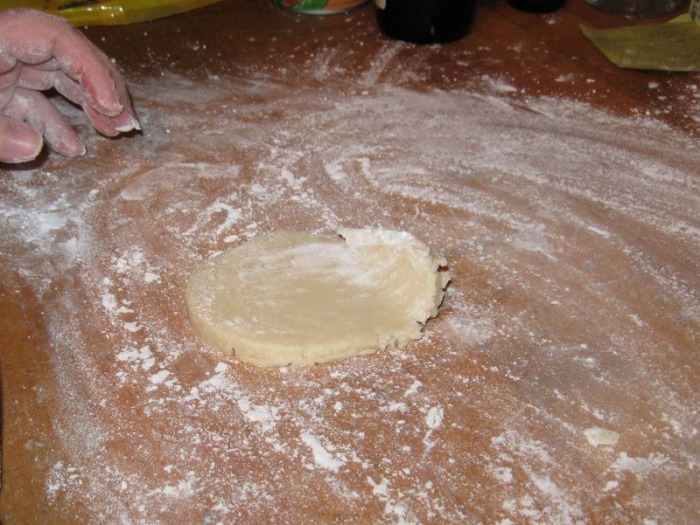
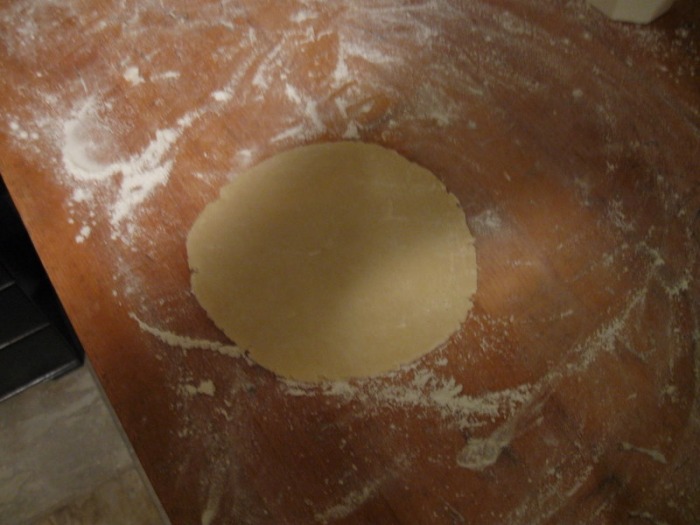
- In a large bowl, mix the masa harina with the water and the 1/4 C vegetable oil. Transfer the dough to a sheet of plastic wrap and roll into a 10” log; cut into 10 equal pieces. Using a 3” round biscuit cutter, mold the pieces into flat disks a scant 1/2” thick.
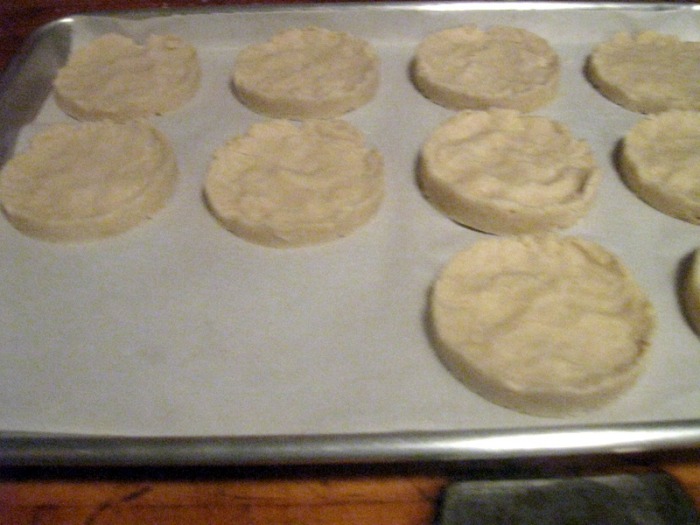
- Heat a large griddle or comal (a round, flat griddle). Add the gorditas and cook over high heat, turning once, until lightly browned in spots, about 2 minutes per side. Using the back of a spool, lightly press an indentation in the center of each gordita. (This took a lot longer than 2 minutes to get the nicely colored brown spots that you’re looking for. I also didn’t bother to press an indentation into each one. There is a natural lip that is formed when you press the dough into the round cutter so I just left it alone.)
- In a large skillet, heat 1/4” of oil until shimmering. Add the gorditas and fry over high heat until golden and crispy, about 2 minutes per side; drain on paper towels. Top with your choice of toppings. (The frying also took longer than the 2 minutes they recommend. You just want them to turn a nice light golden brown, but not too dark.)
Hints: The uncooked gorditas can be refrigerated in an airtight container, between sheets of wax paper, overnight. -The Baker
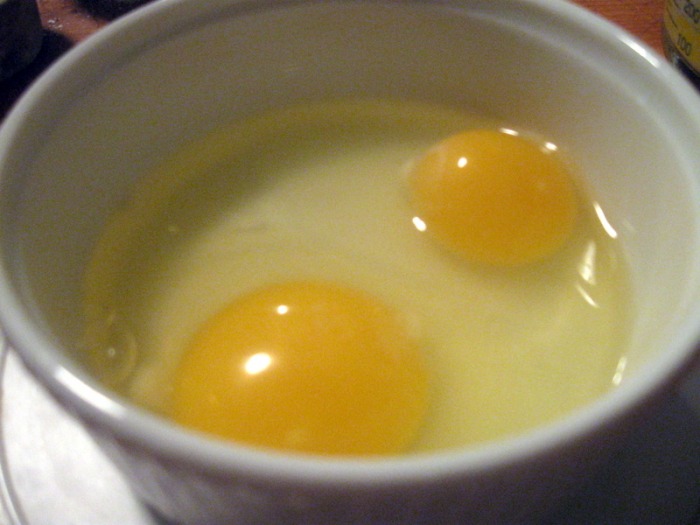
 When I walked into the kitchen this morning I found…
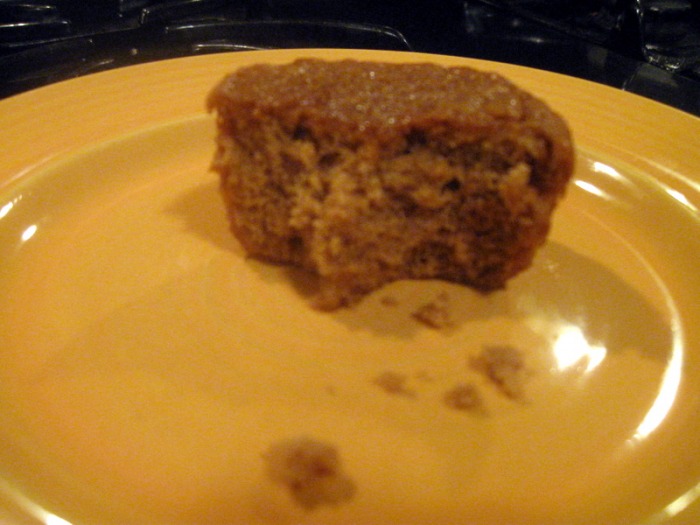
I think we all know what this means - BANANA MUFFINS! For me, when I hear something is a “muffin” that implies a certain healthiness. In this case nothing could be further from the truth. Other than the fact that they’re not loaded with preservatives there’s nothing healthy about these muffins. But, the taste, oh the taste! They’re sweet and rich with just the right amount of banana flavor and the edges are crispy, which is so unlike most other muffins. It’s almost like having a crisp little cookie sitting on top of your muffin. But, they’re ugly, and I mean really ugly. One taste, though, and you won’t care. BANANA MUFFINSyield 21 standard sized muffins (recipe from cooks.com website)- 2 1/4 cups all purpose or white whole wheat flour
- 1/2 teaspoon salt
- 2 teaspoons baking powder
- 1/2 teaspoon ground cinnamon
- 1/2 cup melted butter
- 2 cups firmly packed dark brown sugar
- 2 large eggs
- 2 large extra ripe bananas (peeled and mashed; I like to use a potato masher)
- 1 teaspoon vanilla
- 1/2 cup walnuts or pecans, chopped (optional)
- In a large bowl sift together the flour, salt, baking powder, and cinnamon
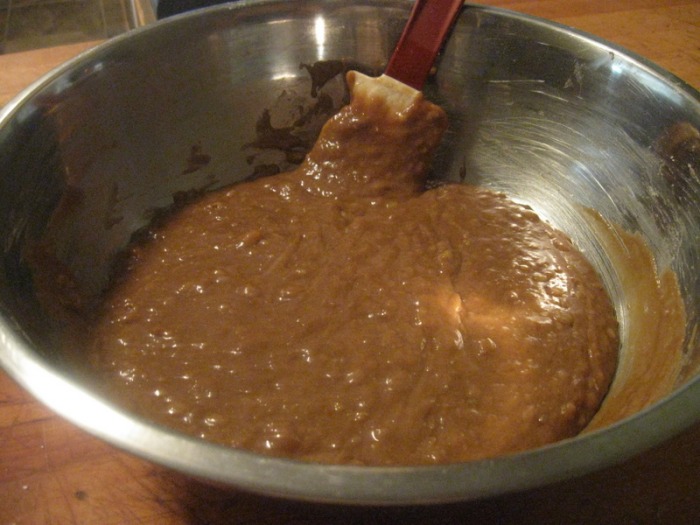
- In a separate bowl, mix the butter and brown sugar; stir in the eggs; then add the bananas; stir in the vanilla
- Combine the liquid mixture with the dry ingredients, stirring together only until mixed; stir in chopped nuts, if using
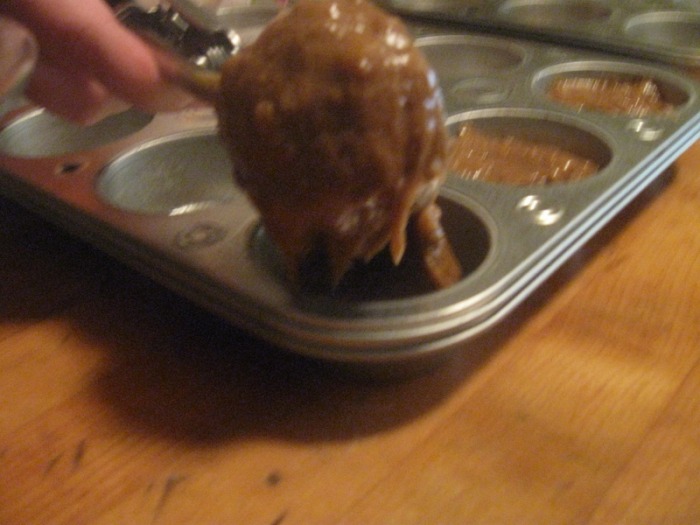
- Scoop the batter into greased muffin cups, filling 2/3 full
- Bake in a 350°F oven for 25-30 minutes or until a toothpick inserted in a center comes out clean.
Hints: I like to cool the muffins in the pan just until they’re not falling apart fragile. If you let them cool completely in the pan the heat will steam them and they’ll be soggy. After you’ve removed them from the pan cool them on a wire rack upside down to, again, prevent them from getting soggy. -The Baker
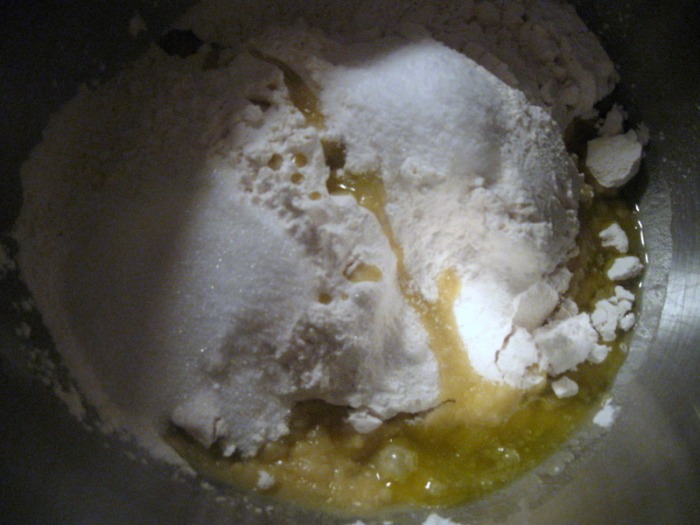
This is your new blog post. Click here and start typing, or drag in elements from the top bar. 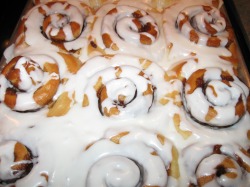 I’m realistic about my baking. I know it’s full of fat and calories and all that bad stuff you’re not supposed to have. But, the way I see it is if you went to the trouble of baking something you’ve kind of earned a free pass to eat it. Sure, you could pop open a can of cinnamon rolls and make your house smell good. Or you could go out and buy a cinnamon roll and scarf it down. But, have you really EARNED it? I’m all about justifying my bad habits. Who doesn’t love a good cinnamon roll? It’s comfort food at its yeastiest. So warm and sweet right out of the oven; slightly salty, slightly sweet. Mmm… So I went on a quest to make the perfect cinnamon roll. I didn’t want bread with a cinnamon filling; I wanted a sweet dough that was delicate to eat yet hearty enough to stand up to an ooey, gooey, cinnamon-y filling. I searched through cookbooks and all over the internet, constantly tinkering, until I came up with this recipe. During my search I made a lot of cinnamon rolls… some downright awful, some okay, but these were the hands down winner. I’m not sure how much of this recipe is my own creation and how much I pirated from someone else’s recipe. If this looks awfully similar to your mom’s recipe let me know, I’d love to give her credit!
Cinnamon rolls can be time consuming, so it’s best to plan ahead when you know you’ll be wanting some for breakfast. If you wait to start them until the day you want them you won’t be eating them until afternoon, which isn’t necessarily a bad thing. You can bake them ahead of time and then re-warm them in the morning when you’re ready to eat them. You can also get them all the way to the point of being in the pan and then pop them in the fridge until the next morning when you’re ready to bake. Pull them out of the refrigerator while your oven heats up to allow the rolls to come to room temperature and then bake them off as usual.
CINNAMON ROLLS yield: approximately 16 large cinnamon rolls, depending how thick you slice them Sweet Yeast Bread: - 2 packages (4 1/2 t) Yeast
- 1 C Water, warm
- 2/3 C + 1 t (separated) Sugar
- 1 C Milk, warm
- 2/3 C Butter, warm
- 2 t Salt
- 2 Eggs
- 7 C AP Flour
- Proof yeast in the warm water with the 1 t of separated sugar
- Combine milk, 2/3 C sugar, butter, salt and eggs
- Add yeast mixture to milk mixture
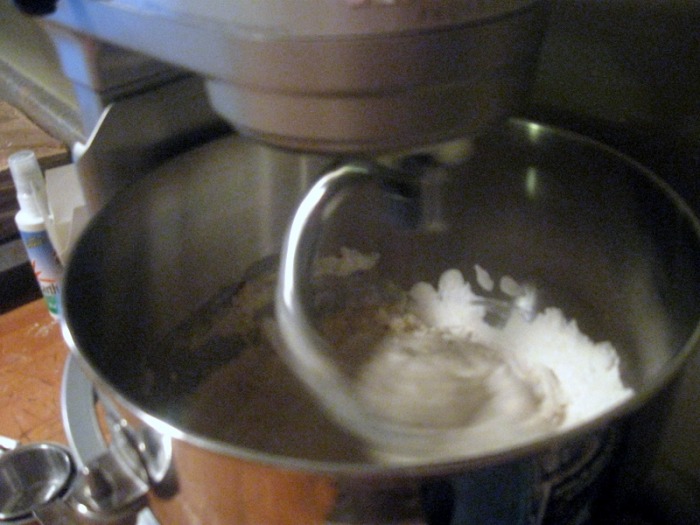
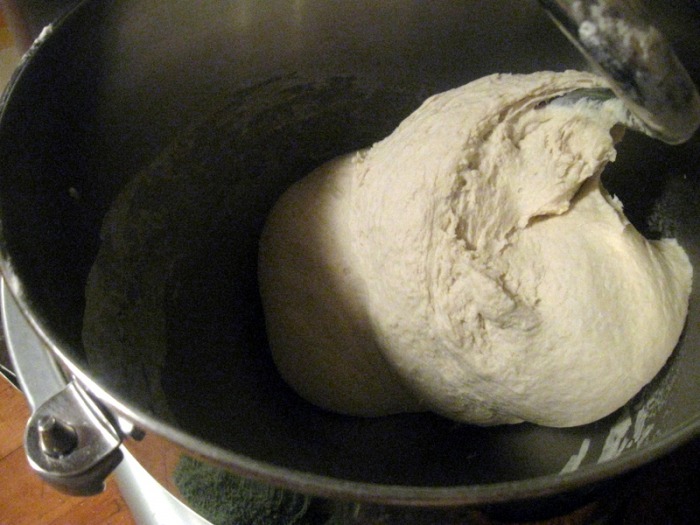
- Add flour and knead
- Let rise in bowl
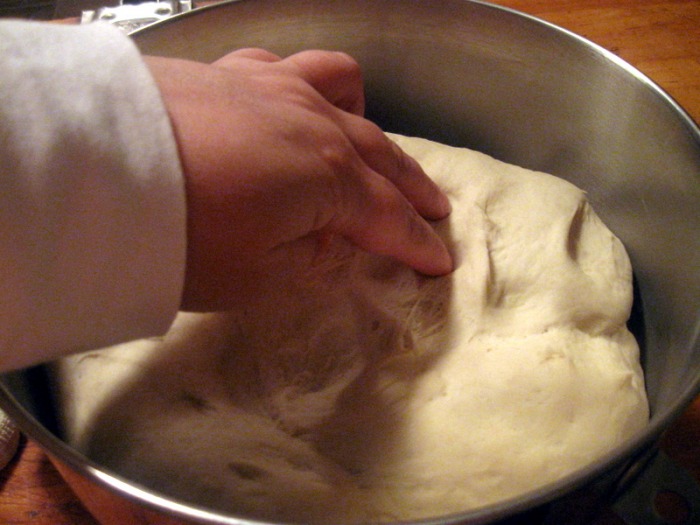
- Punch down, let rest 5 minutes
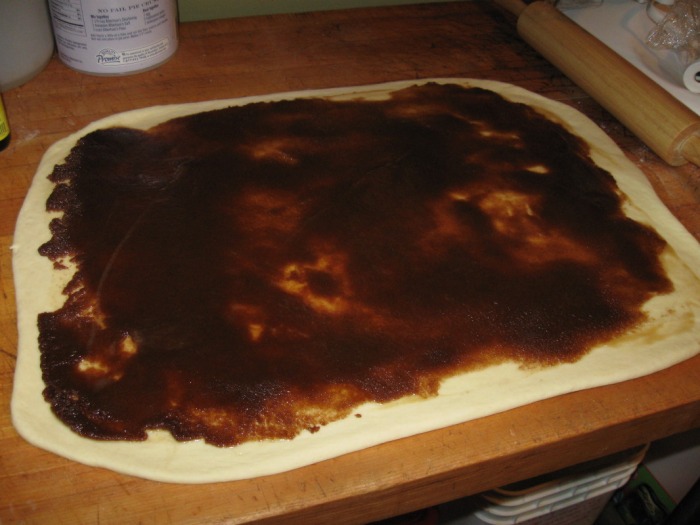
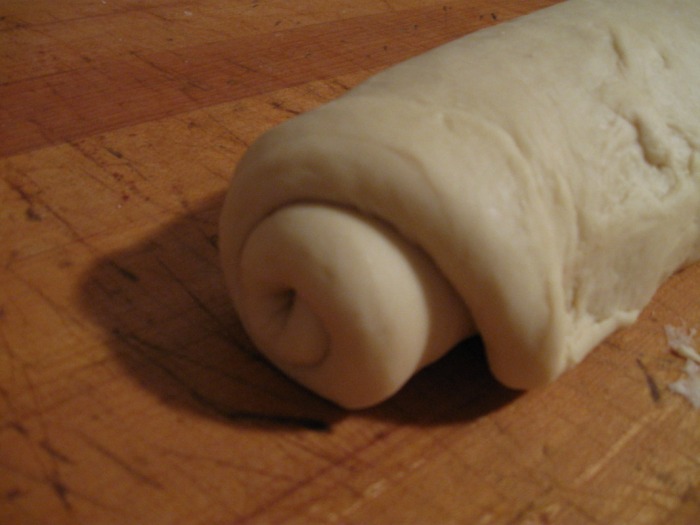
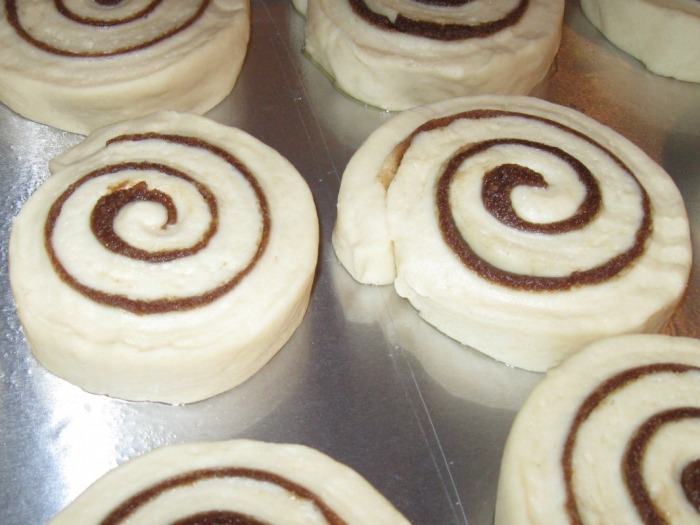
- Roll out to a large rectangle; smear on the cinnamon filling almost to the edges; roll up into a fairly tight log; and using a very sharp serrated knife, slice into rolls about 1” thick
- Place on buttered pan approximately 1/2” apart
- Let rise on pan
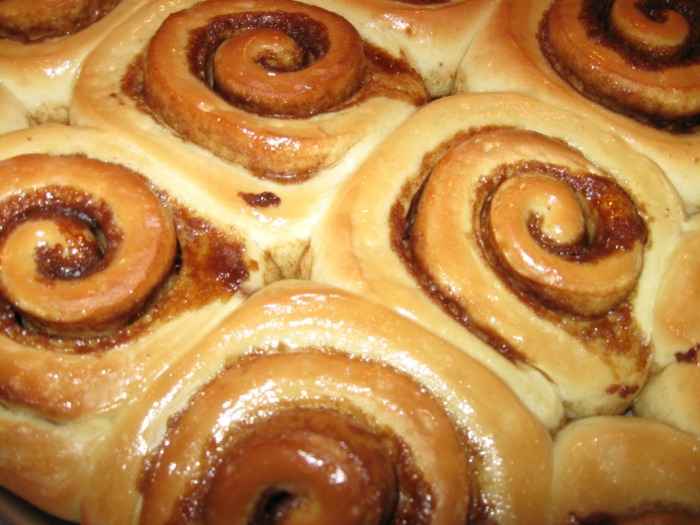
- Bake at 350 F for approximately 30 minutes; take care not to over-bake
Hints: During the last rise and the baking, the rolls will grow so that they’re touching; you want the rolls on the outside of the pan to be golden brown, but the rolls on the inside to be just starting to brown; the inside rolls will continue to bake from the heat of the other rolls; if you bake until the inside rolls are golden brown the outside rolls will be over-baked and dry. Cinnamon Filling: - 8 oz Butter, melted
- 3 C Dark Brown Sugar
- 1/4 C Ground Cinnamon
- 1 C Raisins (optional)
- Melt butter
- If using raisins you may want to soak them in warm water or warm brandy to soften them and to add a little flavor
- Stir in brown sugar, cinnamon and raisins (if using)
- Set aside until ready to fill rolls
Icing: - 4 oz Butter, melted
- 1/4 C Milk, warm
- 5 C Powdered Sugar, sifted
- Melt butter
- Warm milk (this will prevent the butter from re-solidifying when you stir the milk and butter together)
- Slowly stir everything together
- If you want thicker icing add more powdered sugar; if you want thinner icing add more milk
- Drizzle onto warm rolls
-The Baker
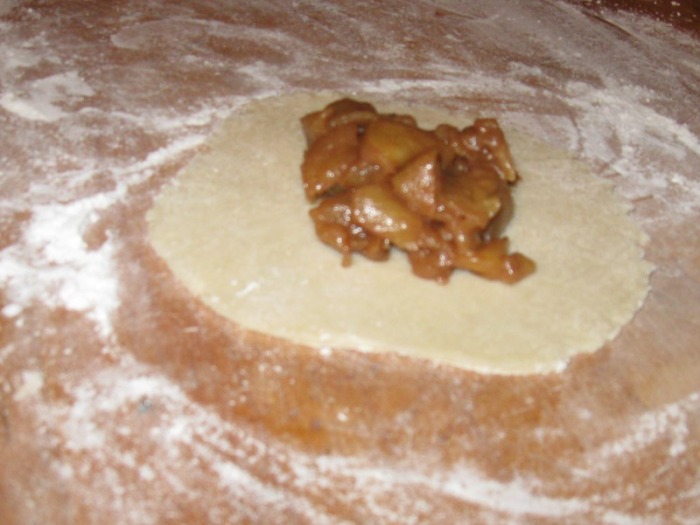
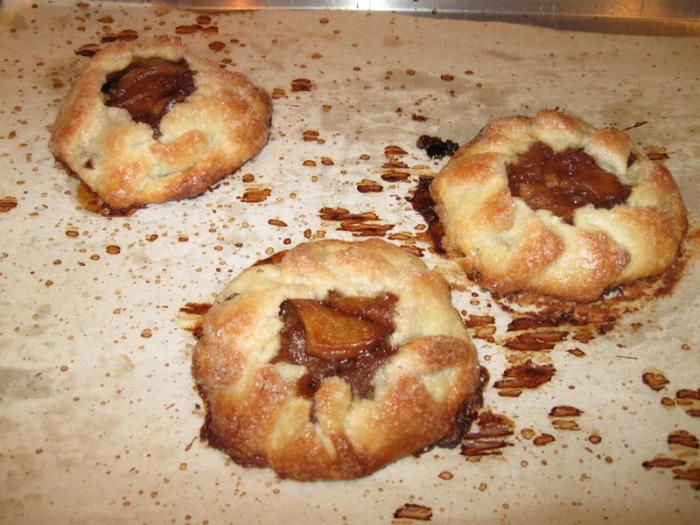
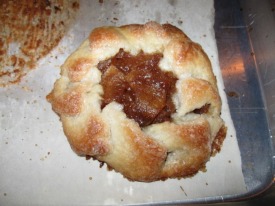 It’s fall in Chicago and that means it’s time to start figuring out what to do with all the apples. One of my favorite things is a delicious apple crostada. It’s basically an individual apple pie with a pastry crust instead of a traditional pie crust. Served warm with some homemade caramel sauce and vanilla bean ice cream and you’ve got a little spot of cozy heaven.
APPLE CROSTADAS sweet dough (yield 2 1/2 lbs of dough): - 1 lb (454 g) Butter, cold
- 1 lb 2 oz (511 g) AP Flour
- 4 oz (115 g) Sugar, granulated
- 1 3/4 t (12 g) Salt, iodized
- 3 oz (92 g) Water, ice cold
- cut butter into 1” cubes
- place 1/2 of the flour, sugar and salt in food processor and pulse to mix
- add 1/2 the butter and pulse 10 times, until blended and the butter is pea sized (the flour and butter should not be completely mixed)
- repeat steps 2 & 3 with the remaining ingredients
- transfer to a mixer with a paddle, pour in water (strain out the ice cubes), while mixing on low (speed 1) just until incorporated for approximately 20 0 30 seconds; do not let it become a solid mass
- roll dough into logs; wrap in plastic; chill overnight
Apple Filling (yield 1 lb 8 oz filling; enough to fill 2 1/2 lbs dough): - 1 lb 4 oz Granny Smith apples, peeled and sliced
- 1 C Raisins, optional
- 2 1/2 oz Sugar, granulated
- 2 oz Butter, whole
- 2 T Cinnamon, ground
- 1/4 t Nutmeg, ground
- 1 T Cornstarch
- 1 T Water
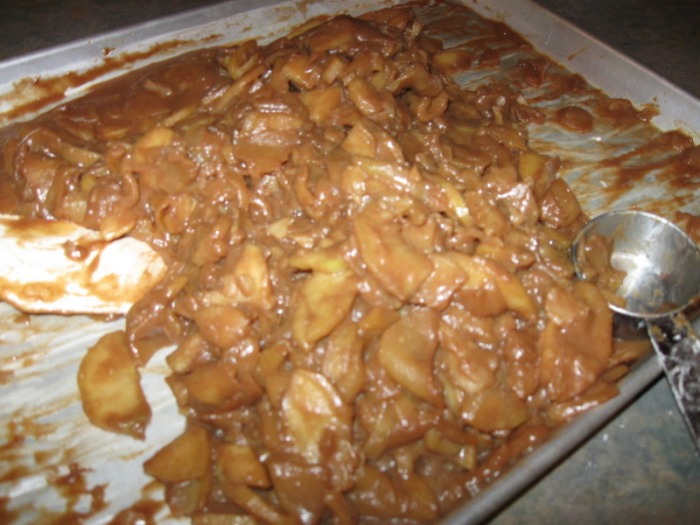
- in saute pan, melt butter, stir in sugar and cook until light brown
- add apples and raisins (if using), increase heat, and cook until apples are slightly soft (approximately 5 - 7 minutes)
- add spices, mix well and cook for an additional 5 minutes
- mix cornstarch with water in a small mixing bowl and add to apple mixture and continue cooking for another 2 - 3 minutes, or until thickened, (don’t overcook)
- remove from heat, spread evenly over parchment lined sheet pans and allow to cool
Notes: 6 small apples yields approximately 1 lb 4 oz of peeled and cored apples 1 lb 4 oz peeled, sliced and cored apples = approximately 5 cups (volume) Putting it all together (this will yield 24 crostadas): Assembly instructions: - roll 1 portion of dough into 3 1/2” round disk (a portion of dough is 2 oz; or just divide the logs into 24 equal pieces)
- using 1/4 cup measuring cup, fill dough circle with 1 portion of filling (mounded)
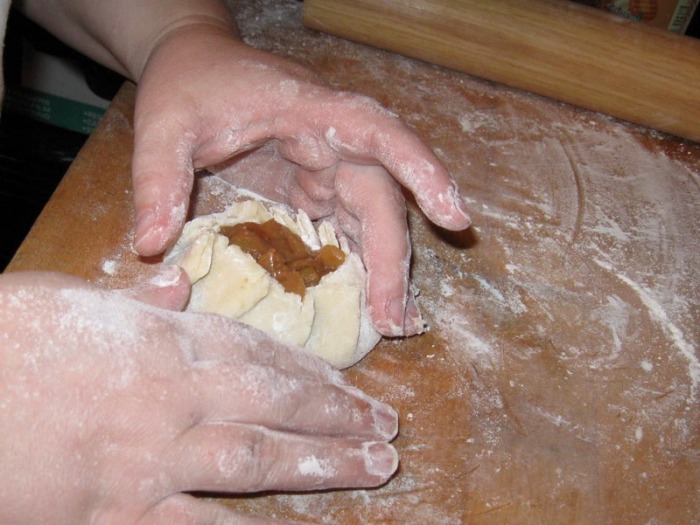
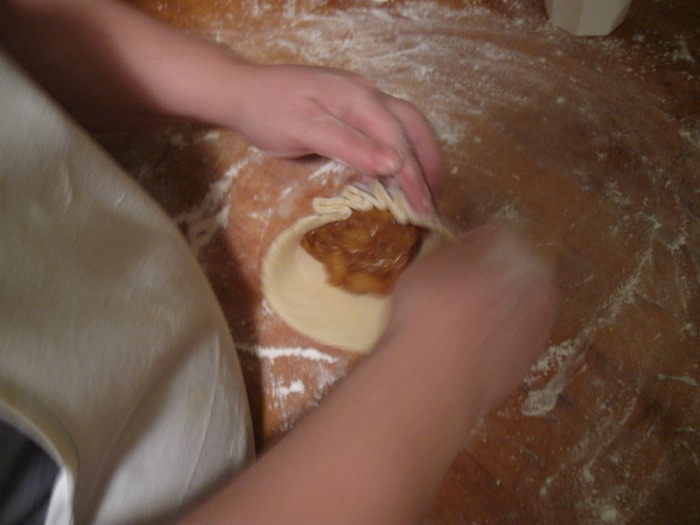
- form an open beggar’s purse using 8 folds and creating a 1” opening
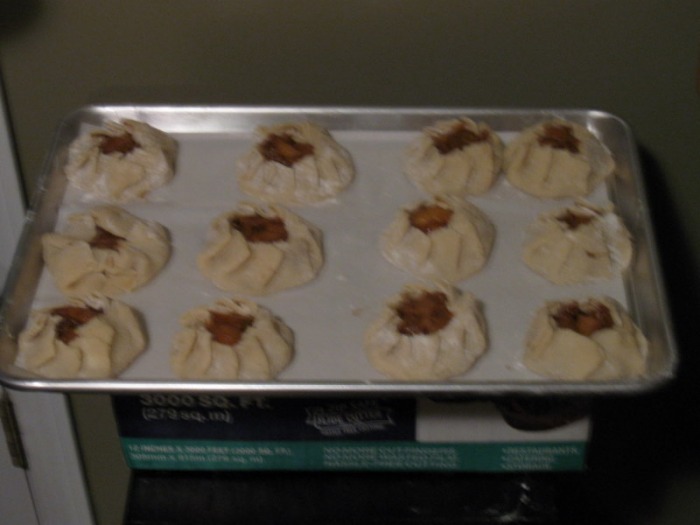
- transfer to a parchment lined sheet pan; cover with plastic; and freeze (the crostadas hold their shape better when baked from solidly frozen)
Baking instructions: - brush the entire crust of the crostada with warmed heavy cream; then coat the crust with either granulated sugar or crystallized sugar (just sugar the crust, not the opening)
- bake in a 375 F oven for 50 minutes
-The Baker
|


 RSS Feed
