 I love when people ask me to make them something for a special celebration they're having. I like to try to come up with something that will really wow them. So when the GM at The Chef's restaurant asked if I could make a cake for his brother and sister-in-laws baby shower I was all over it.
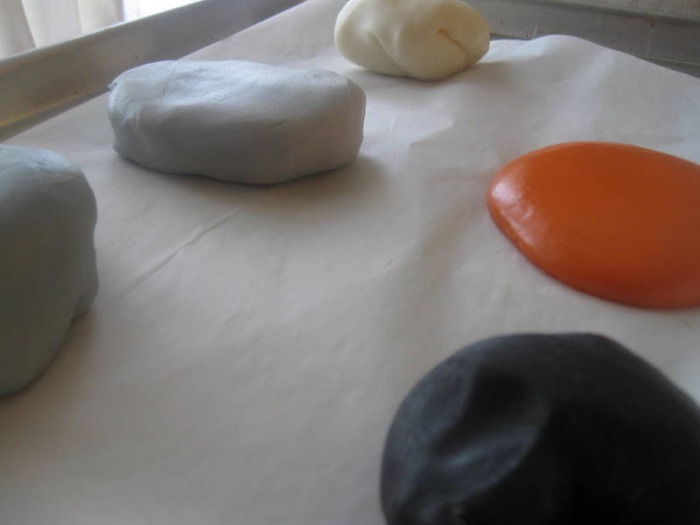
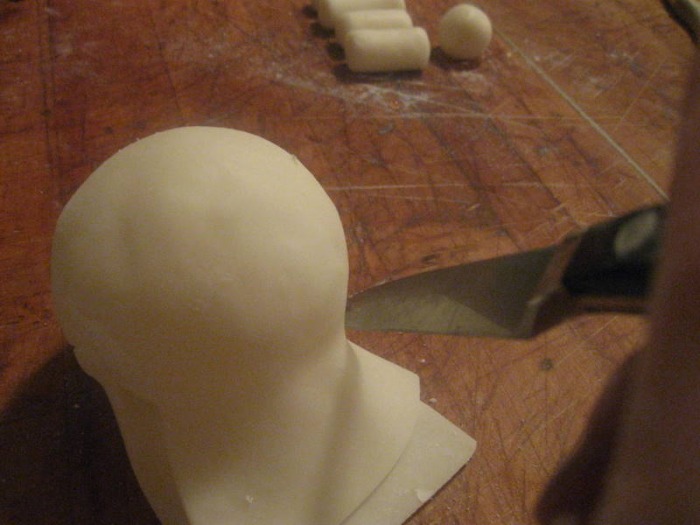
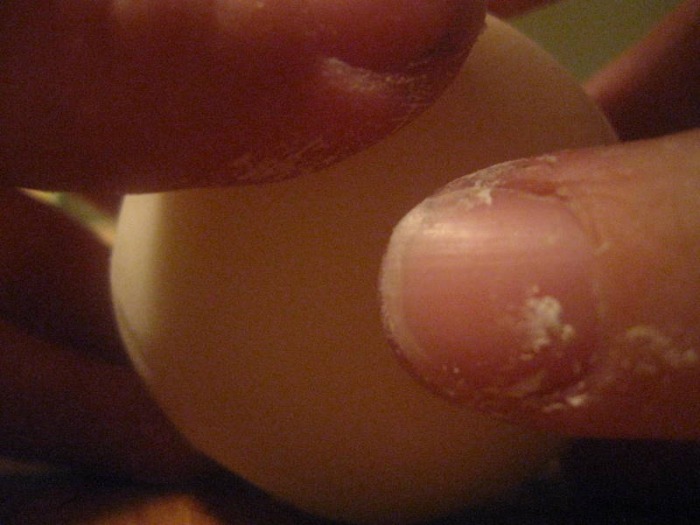
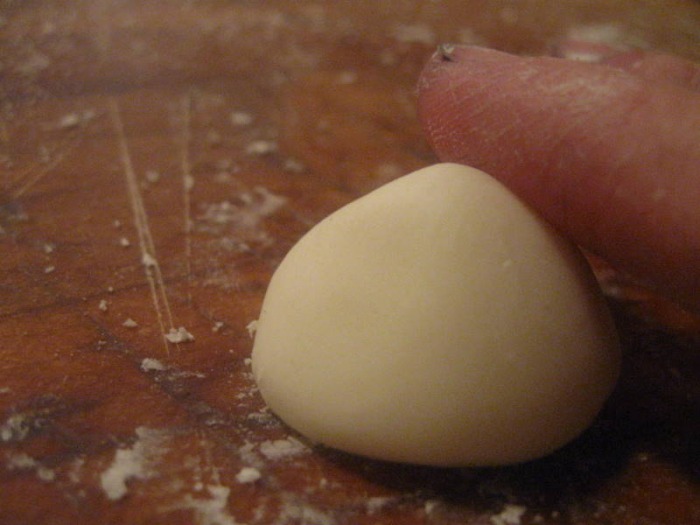
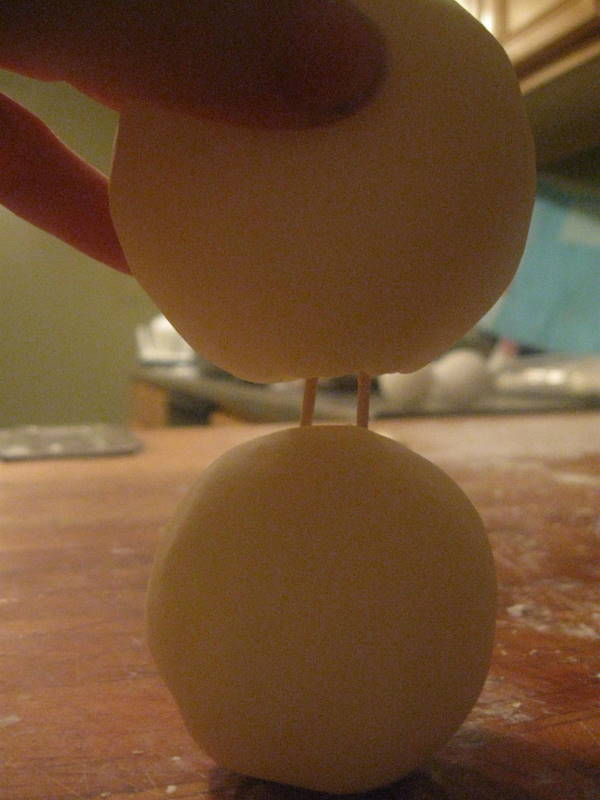
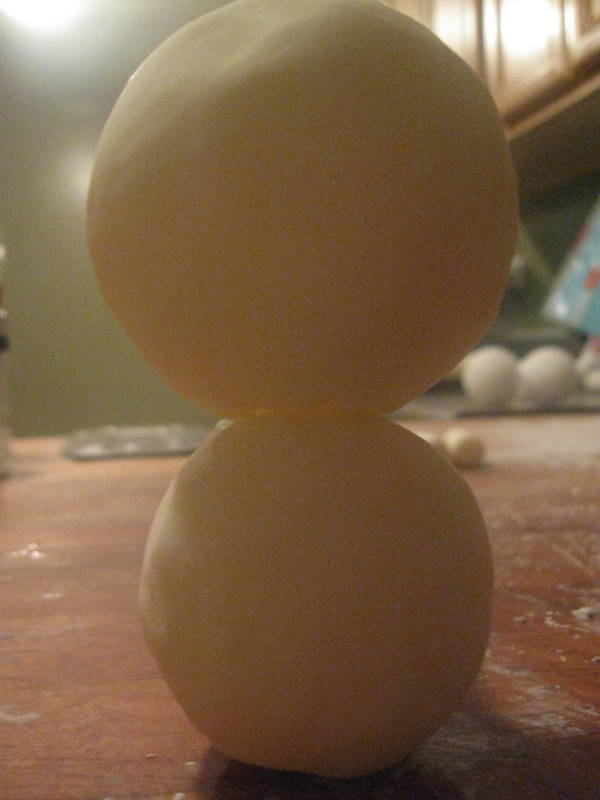
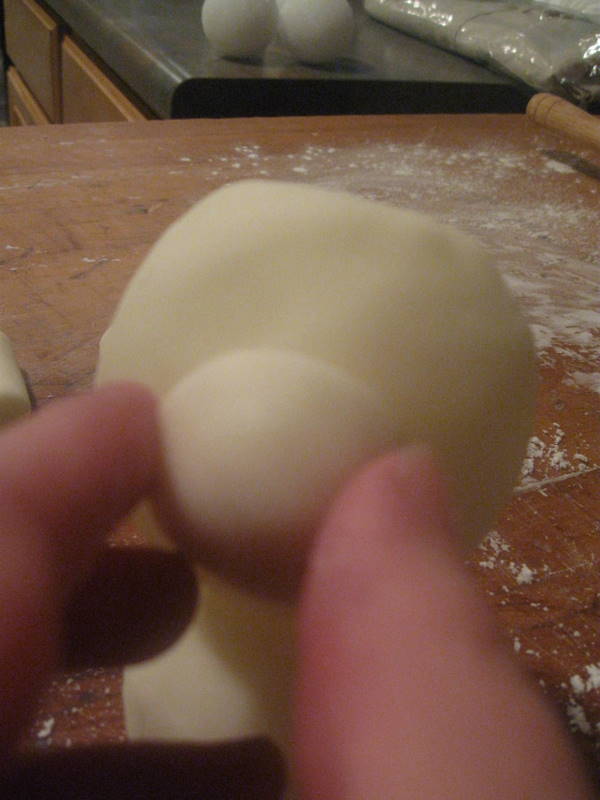
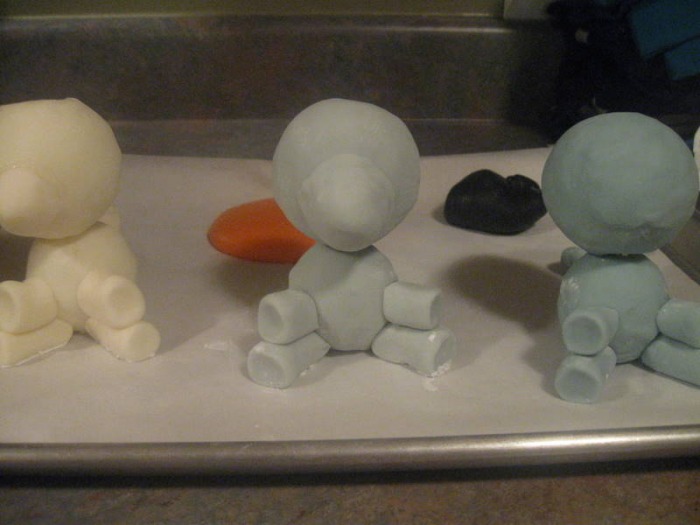
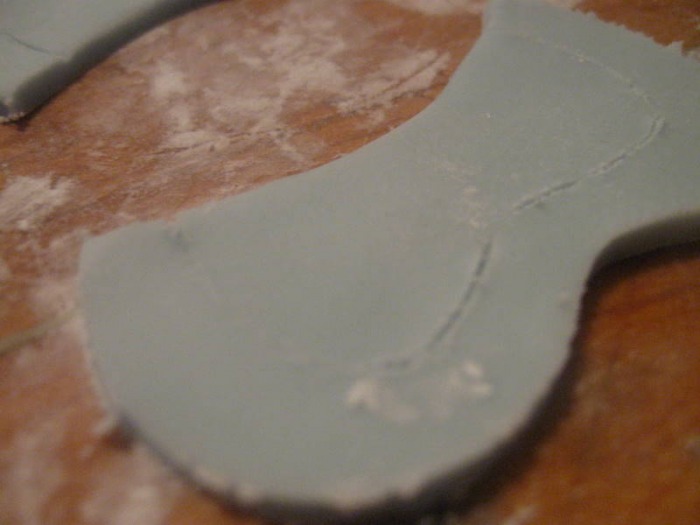
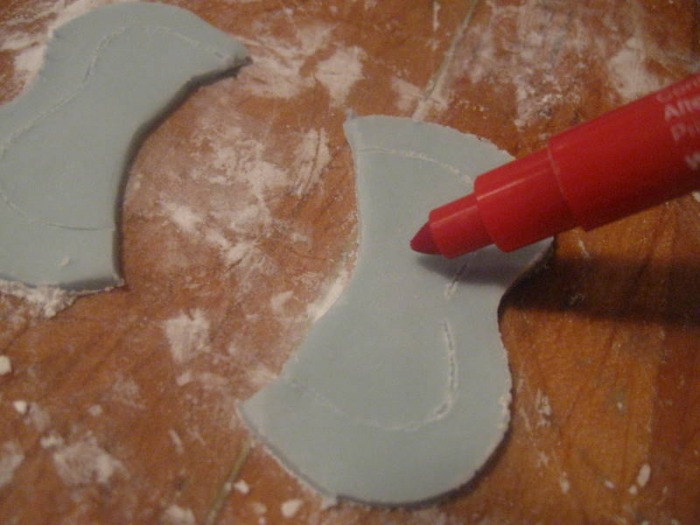
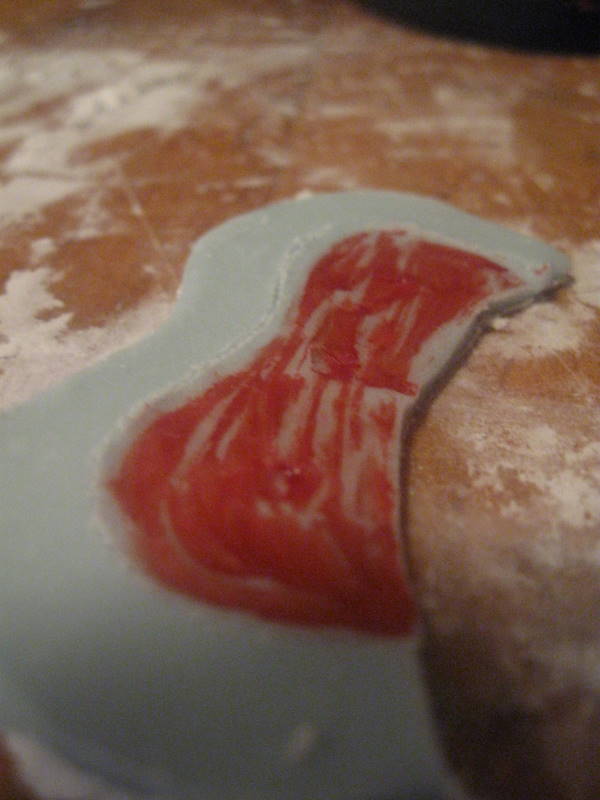
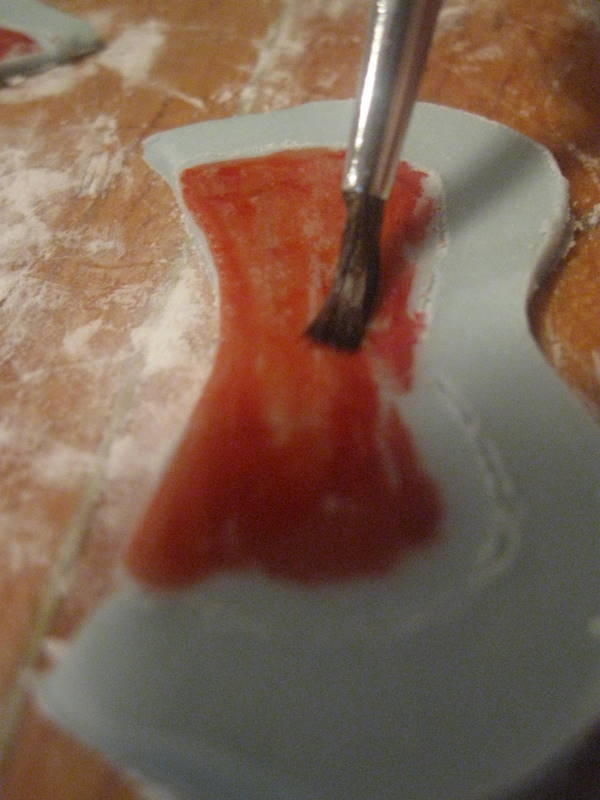
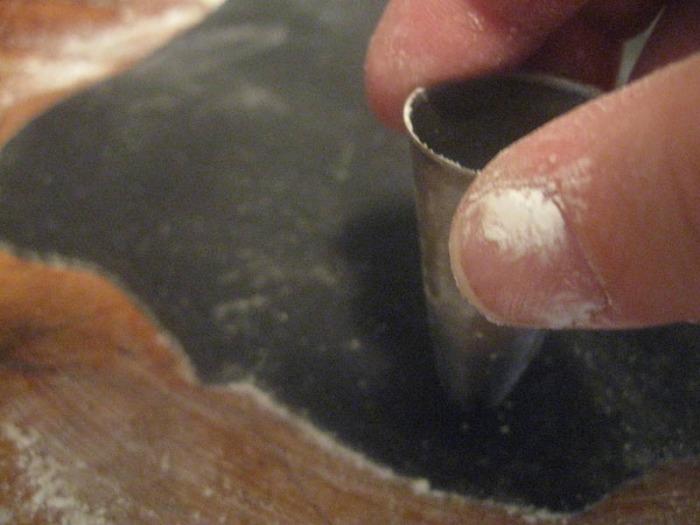
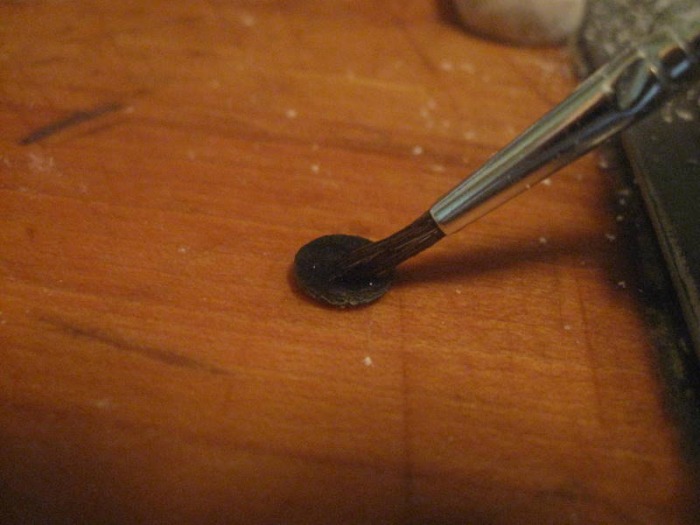
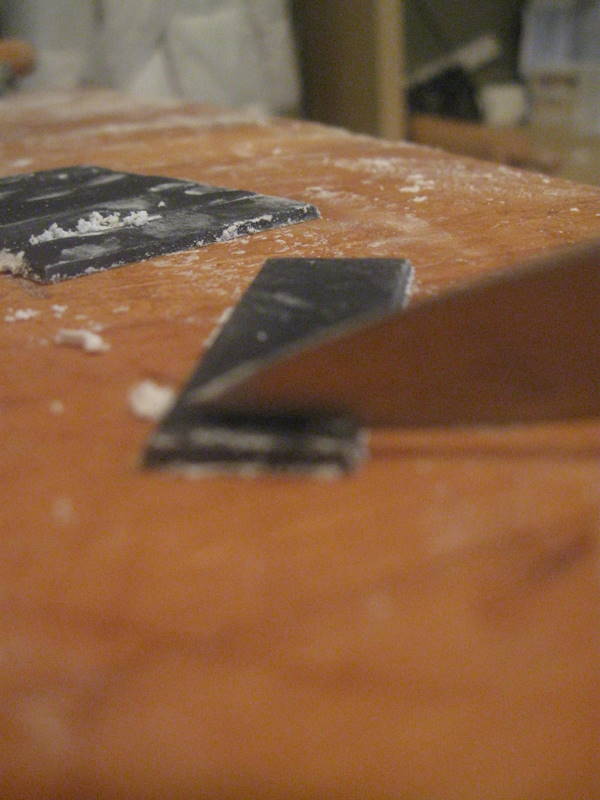
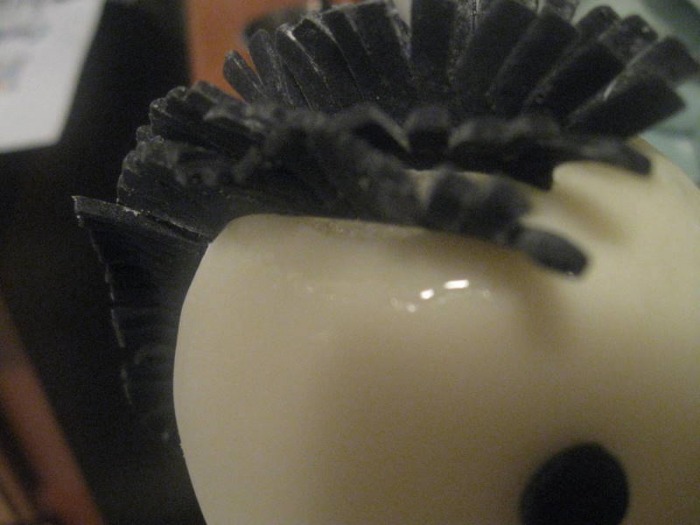
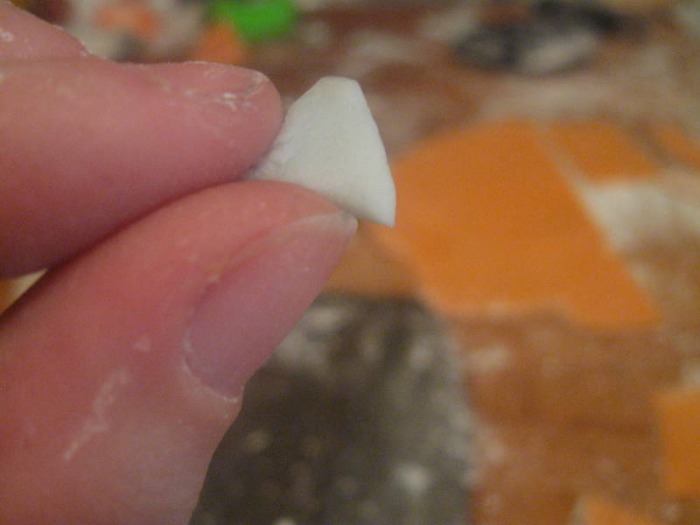
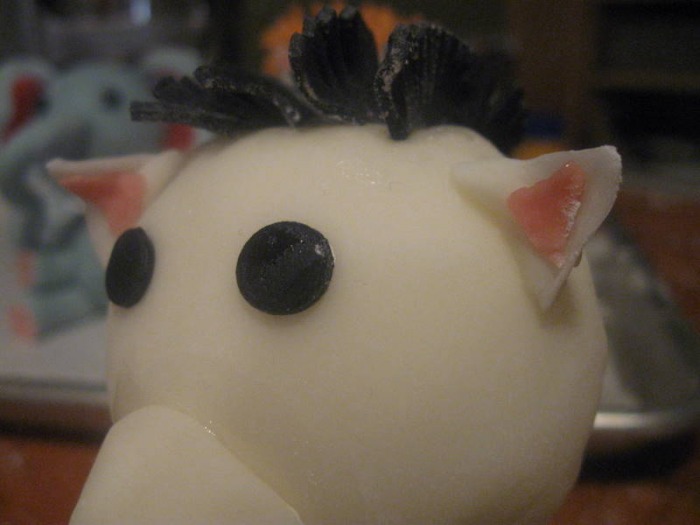
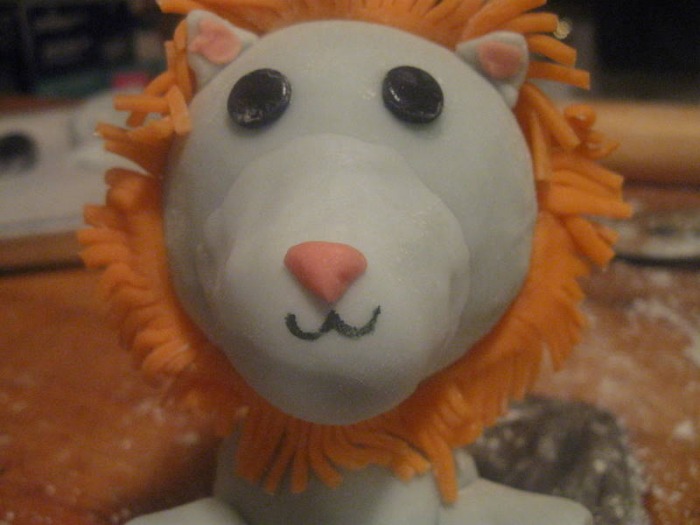
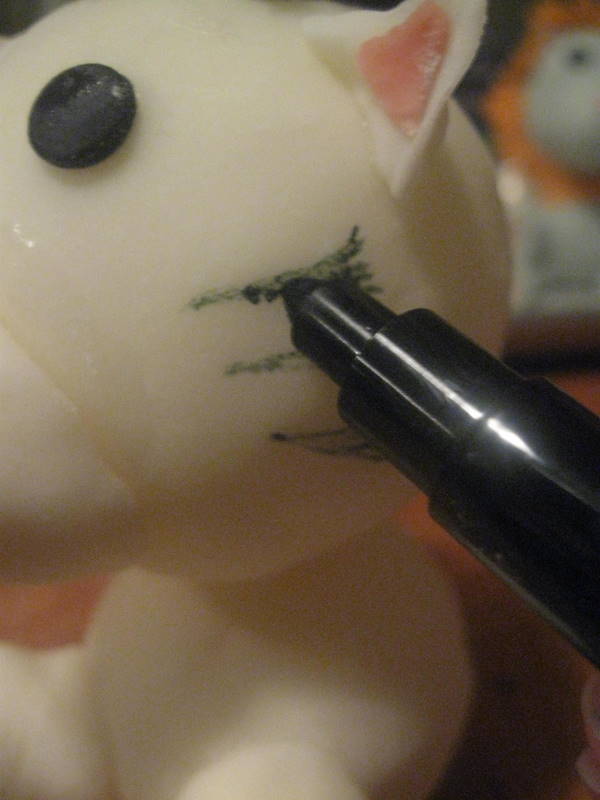
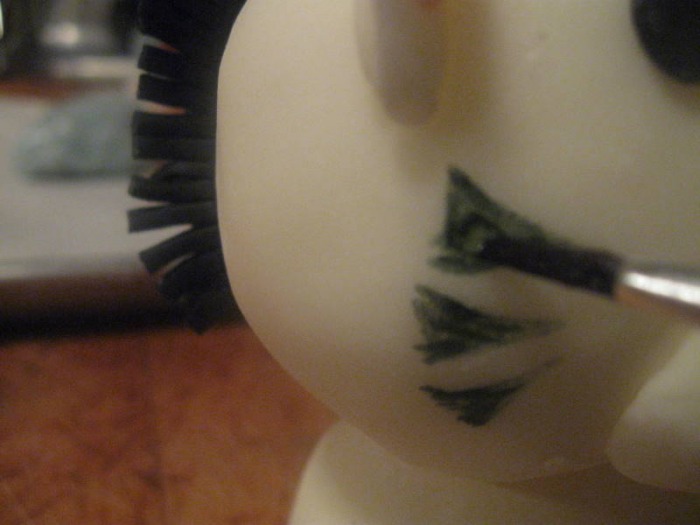
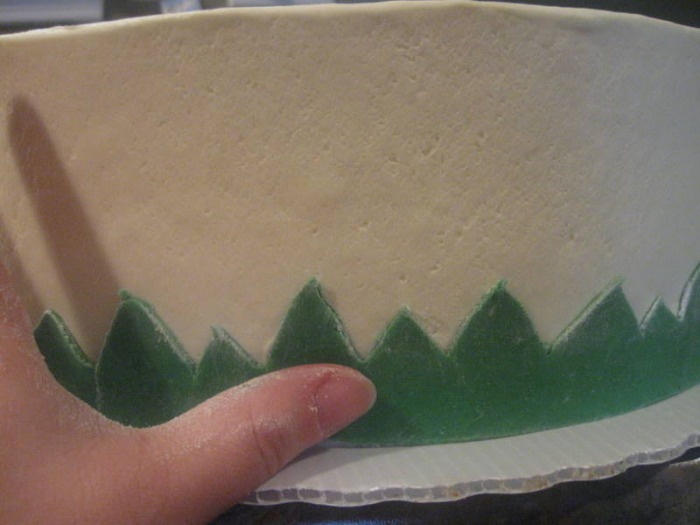
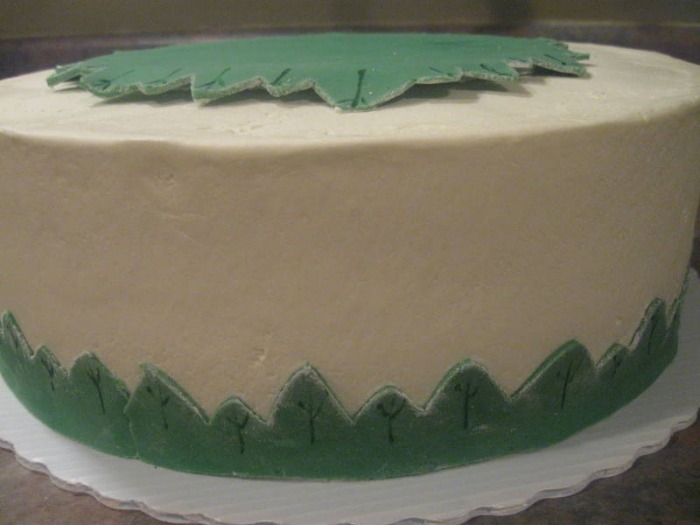
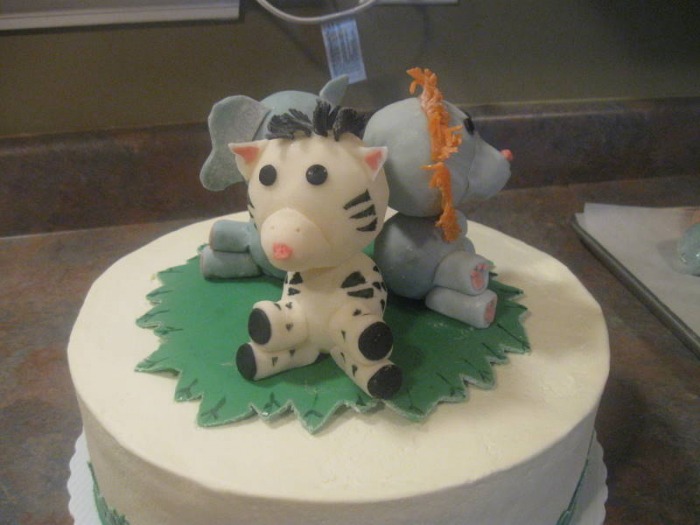
He sent me a copy of the invitations and wrapping paper they were using. My idea was to make a cake with animals modeled out of chocolate to match the theme. The only problem was I had no idea how to model animals out of chocolate. I'm not even really good with play-doh. Really long snakes are about the best I can do. I swore The Chef to secrecy just in case I couldn't pull this off. I even came up with a Plan B so when the day of the shower came and I was sobbing in a heap on the floor I would have something to give them.
I remembered a Wilton cake that was decorated with animals and so I quickly googled my little heart out and found the cake. Gulp. I was pretty sure there was no way I could pull this off. I stalled and texted a couple of friends to whine that there was no way I could do this.
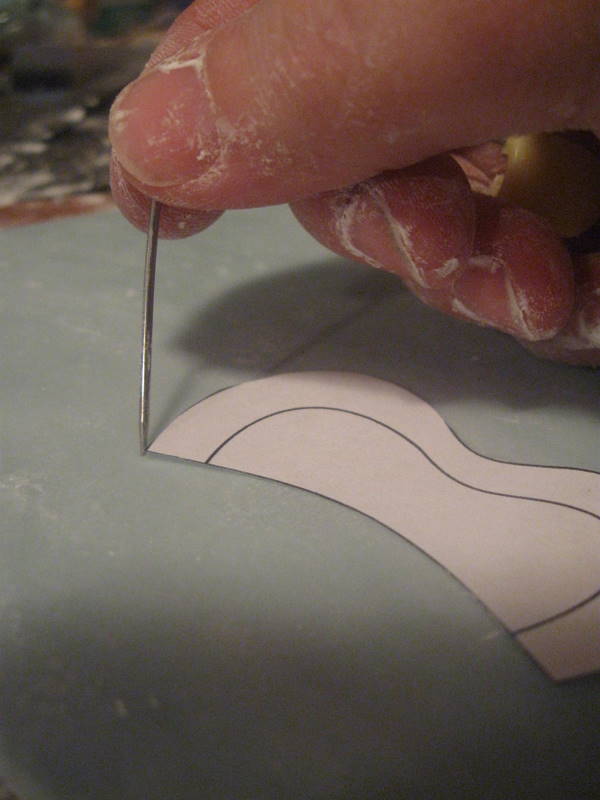
Finally I sat down and figured out exactly what I would need, wrote a list and went to the store. Then I came home and paced. And then paced some more. I figured I would just start and see what happened. So I worked my way step by step through the modeling of the animals. It was incredibly easy! They turned out so cute and I really couldn't believe I had made them. And, apparently the guests of honor loved them, which makes me immensely happy! Congratulations to them and their twin baby girls!
-The Baker
The January 2010 Daring Bakers’ challenge was hosted by Lauren of Celiac Teen. Lauren chose Gluten-Free Graham Wafers and Nanaimo Bars as the challenge for the month. The sources she based her recipe on are 101 Cookbooks and www.nanaimo.ca. 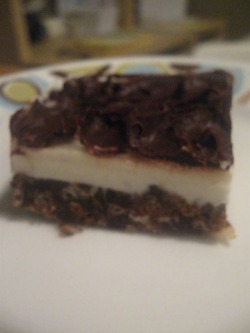 I just joined Daring Bakers! This is my first challenge and I had quite a lot of fun. The way it works is one or two members choose a baked good that they would like the group to prepare. The challenger finds a recipe they want to use and then the group (The Daring Bakers) all prepare it and blog about it. We all agree to only post the recipe on a certain day so that we all do it on the same day. It's a lot of fun and definitely can take you out of your comfort zone if someone chooses something really challenging.
The rules are simple: prepare the item using the same recipe that the challenger posts. No substituting a recipe you already use or tweaking of recipes except in the case of allergies or personal beliefs (so, if like me you can't have nuts or if you're vegan). The only changes that can be made are if the challenger specifically says you can change certain things. Then, make it and blog about it!
For my first challenge we made Nanaimo Bars. I've heard of these before but have never made them, and I don't think I'd ever even seen them. For me this was a great challenge. I got to make something I'd never made before, but it wasn't terribly complicated so I didn't feel too stressed that I wouldn't be able to make them.
The finished bars were incredibly rich and sweet! It's definitely something that you only need a little piece of. At first I wasn't sure if I liked them, but they seem to keep forever so I was able to keep going back and cutting a little sliver and they seemed to get better and better. By the time they were gone M1 and I decided that we did, in fact, like them. They're a crazy combination of sweeet, salty, buttery and chocolate, which is sometimes EXACTLY what you're looking for.
The big challenge was to make the graham crackers gluten free, however our challenger said we could make them with regular flour if we wanted. I chose to make the regular flour kind because it would be too expensive to go out and buy all the different flours needed to make it gluten free, especially knowing that I would never use the flours again. I do have to say that the regular flour crackers were delicious, but other Daring Bakers who made the gluten free type said they were even better than the regular ones.
I had a lot of fun with this, and I'm totally looking forward to the next challenge!
For Gluten-Free Graham Wafers Ingredients - 1 cup (138 g) (4.9 ounces) Sweet rice flour (also known as glutinous rice flour)
- 3/4 cup (100 g) (3.5 ounces) Tapioca Starch/Flour
- 1/2 cup (65 g) (2.3 ounces) Sorghum Flour
- 1 cup (200 g) (7.1 ounces) Dark Brown Sugar, Lightly packed
- 1 teaspoon (5 mL) Baking soda
- 3/4 teaspoon (4 mL ) Kosher Salt
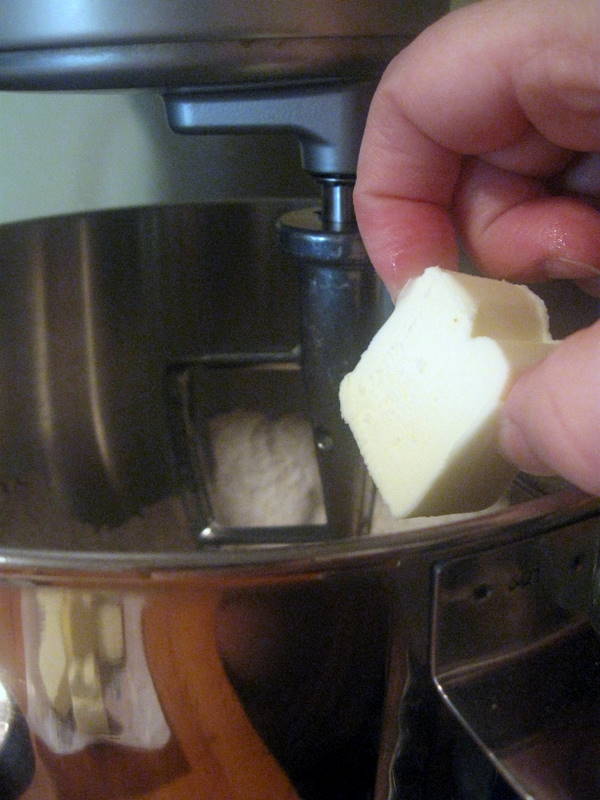
- 7 tablespoons (100 g) (3 ½ ounces) Unsalted Butter (Cut into 1-inch cubes and frozen)
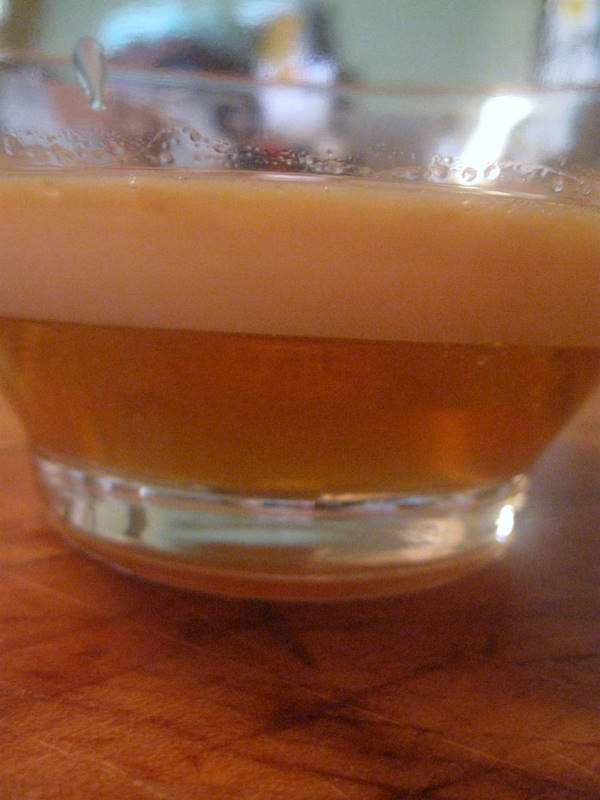
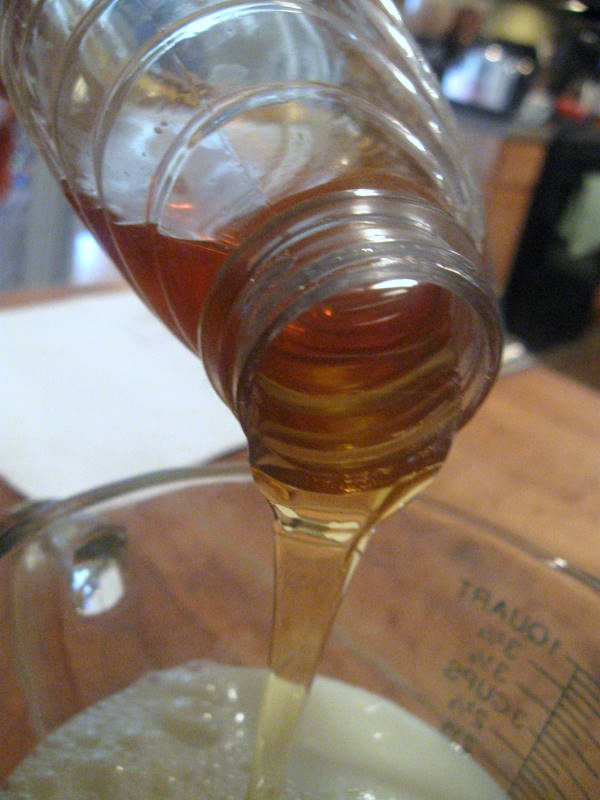
- 1/3 cup (80 mL) Honey, Mild-flavoured such as clover
- 5 tablespoons (75 mL) Whole Milk
- 2 tablespoons (30 mL) Pure Vanilla Extract
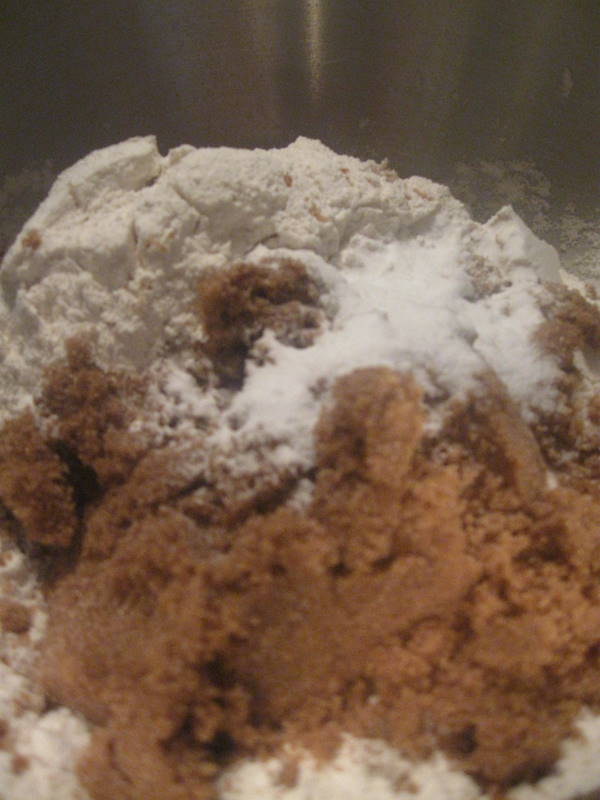
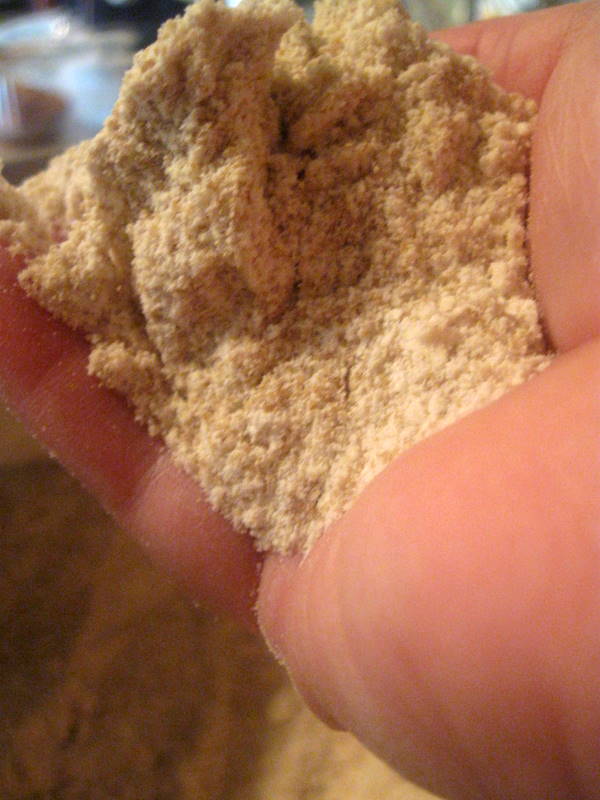
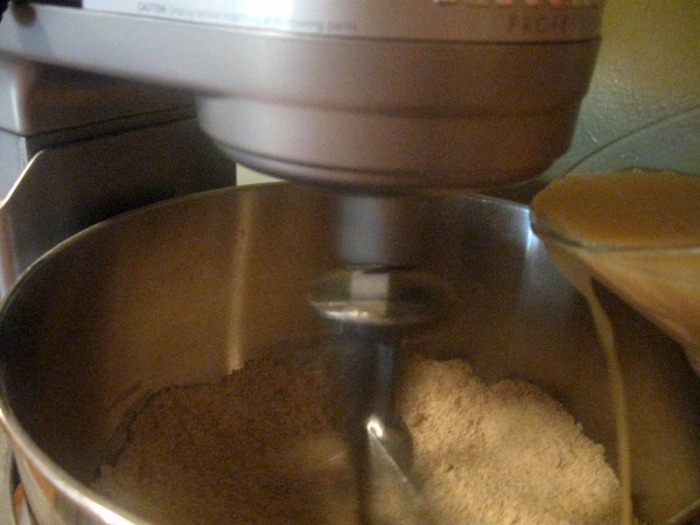
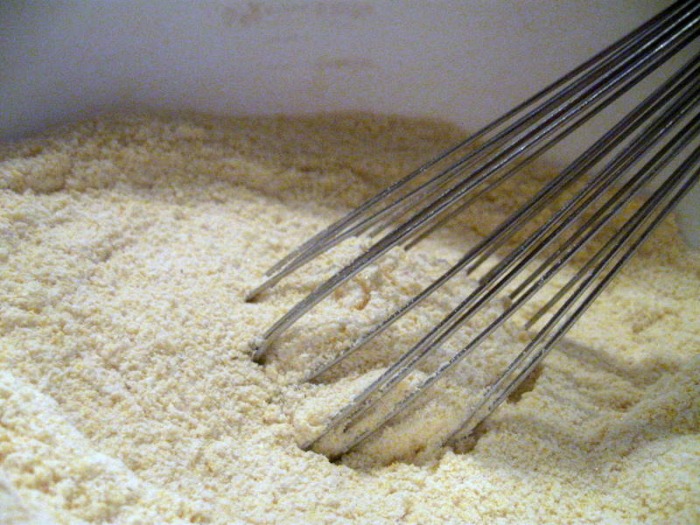
- In the bowl of a food processor fitted with a steel blade, combine the flours, brown sugar, baking soda, and salt. Pulse on low to incorporate. Add the butter and pulse on and off, until the mixture is the consistency of a coarse meal. If making by hand, combine aforementioned dry ingredients with a whisk, then cut in butter until you have a coarse meal. No chunks of butter should be visible.
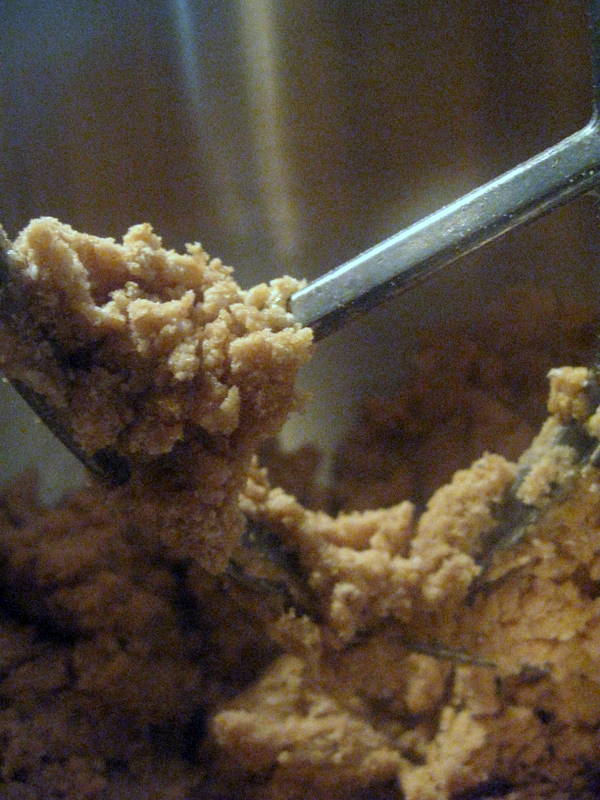
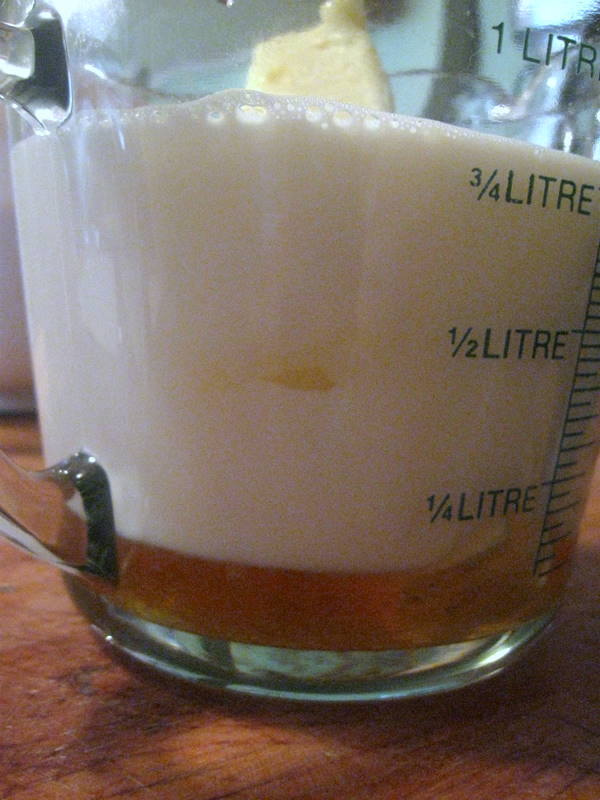
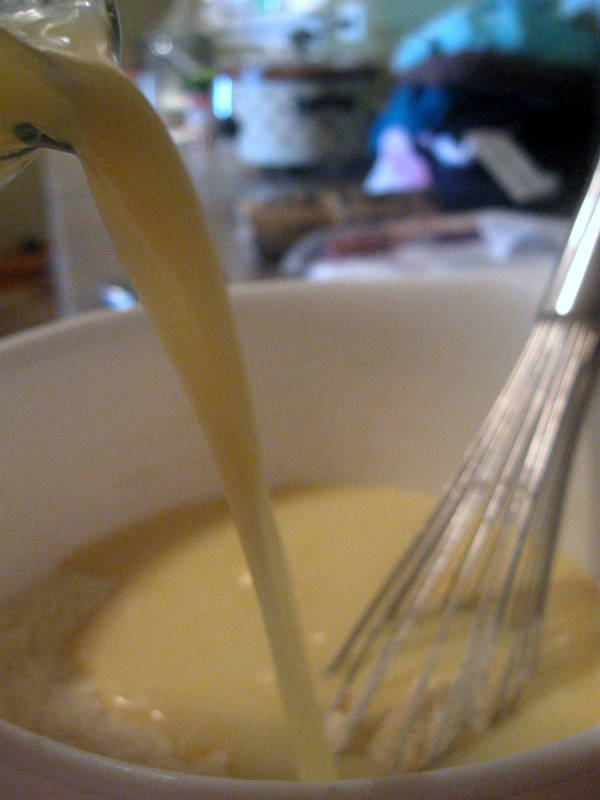
- In a small bowl or liquid measuring cup, whisk together the honey, milk and vanilla. Add to the flour mixture until the dough barely comes together. It will be very soft and sticky.
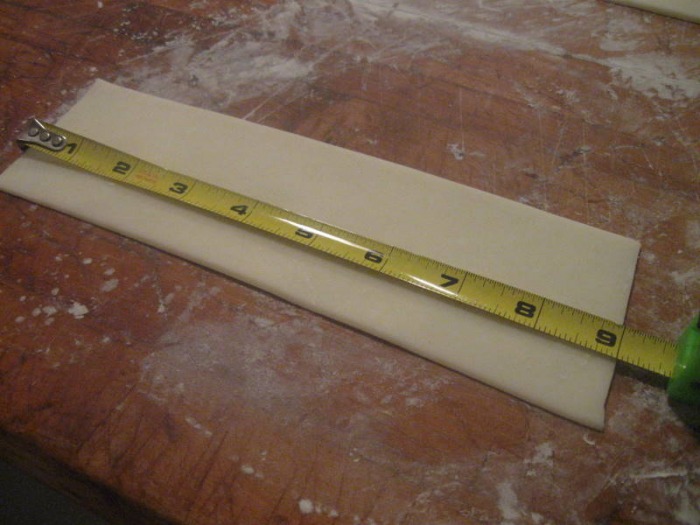
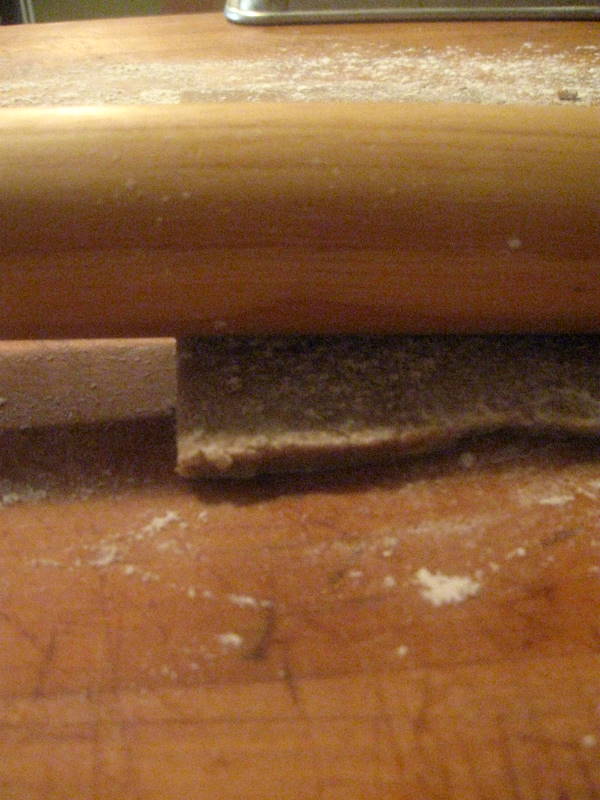
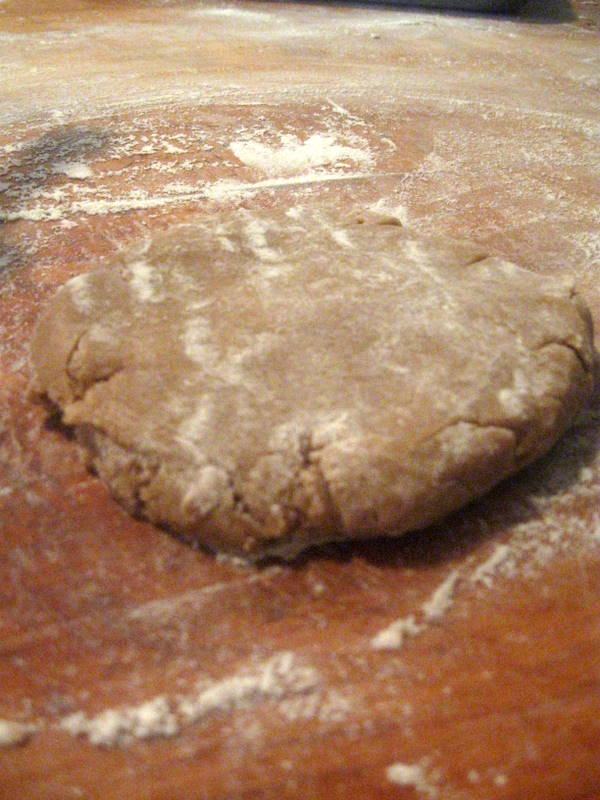
- Turn the dough onto a surface well-floured with sweet rice flour and pat the dough into a rectangle about 1 inch thick. Wrap in plastic and chill until firm, about 2 hours, or overnight.
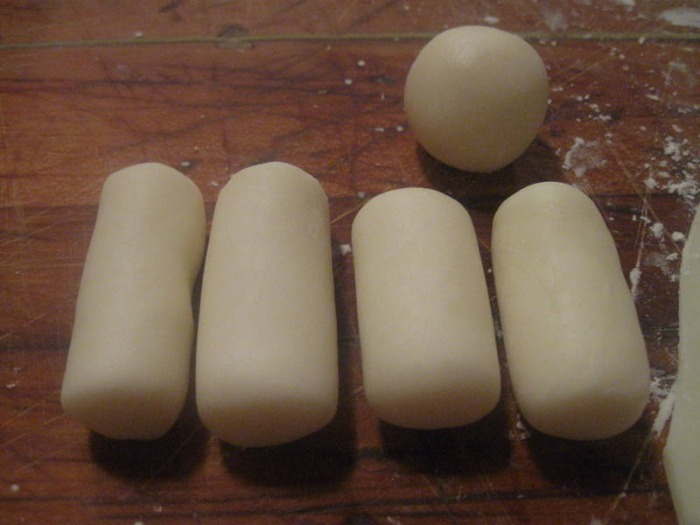
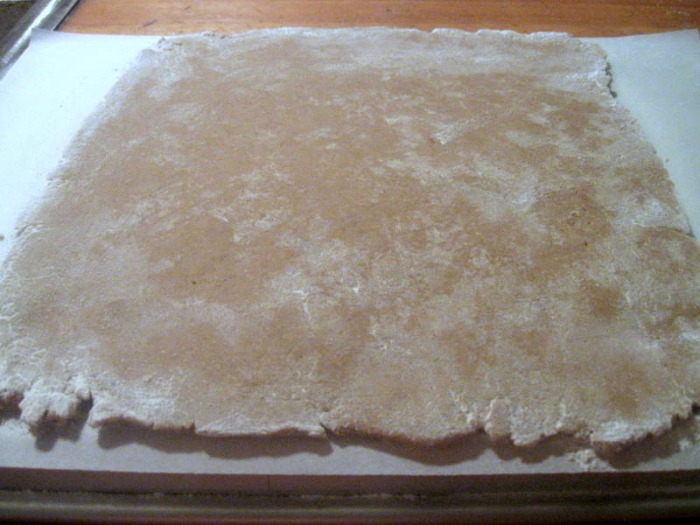
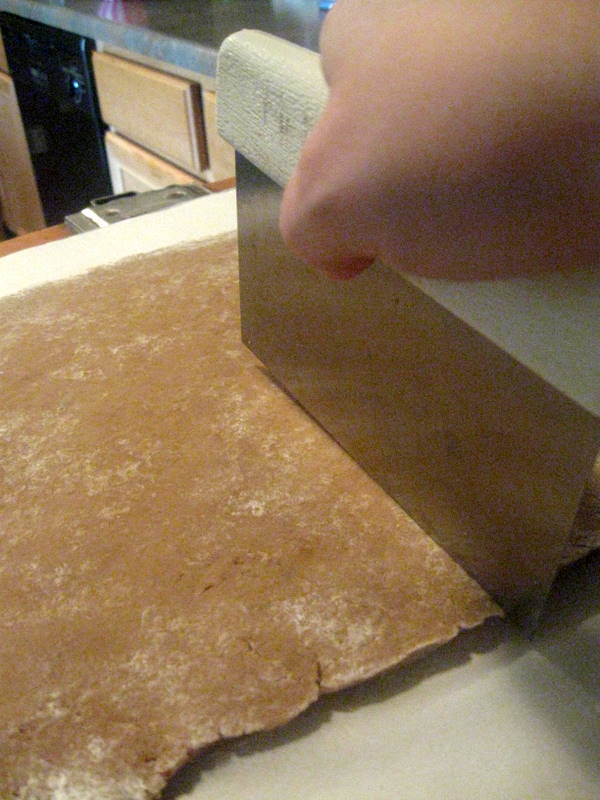
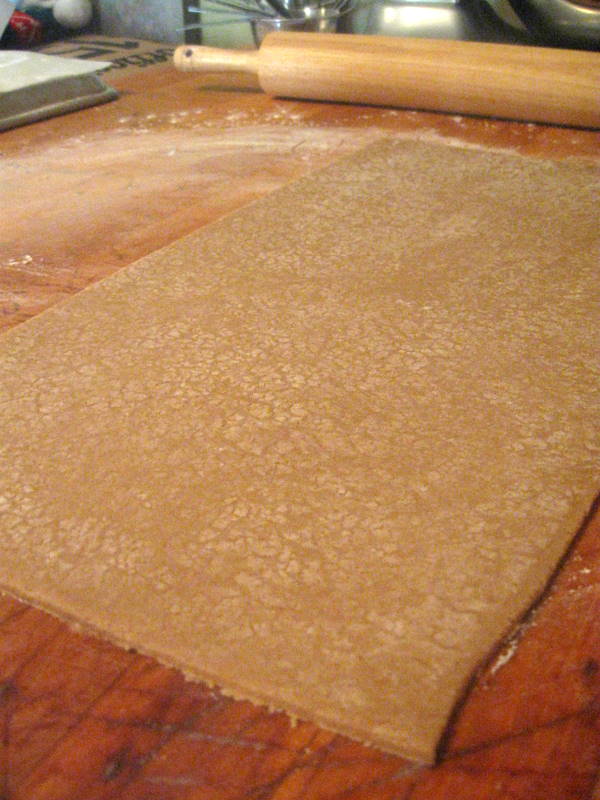
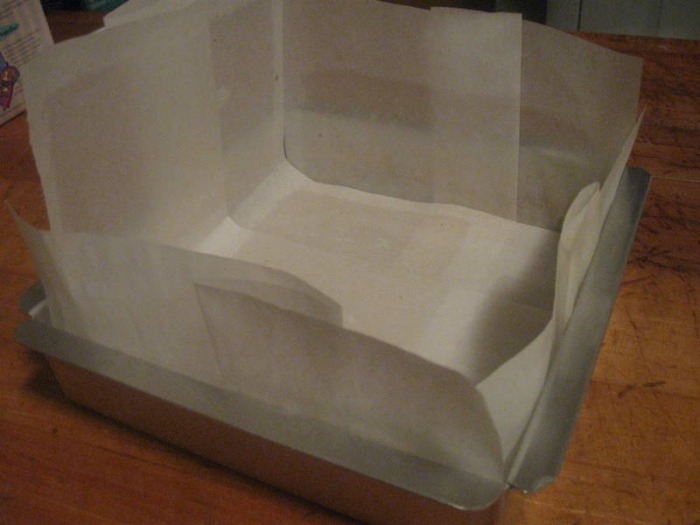
- Divide the dough in half and return one half to the refrigerator. Sift an even layer of sweet rice flour onto the work surface and roll the dough into a long rectangle, about 1/8 inch thick. The dough will be quite sticky, so flour as necessary. Cut into 4 by 4 inch squares. Gather the scraps together and set aside. Place wafers on one or two parchment-lined baking sheets. Chill until firm, about 30 to 45 minutes. Repeat with the second batch of dough.
- Adjust the rack to the upper and lower positions and preheat oven to 350 degrees Fahrenheit (180 degrees Celsius).
- Gather the scraps together into a ball, chill until firm, and reroll. Dust the surface with more sweet rice flour and roll out the dough to get a couple more wafers.
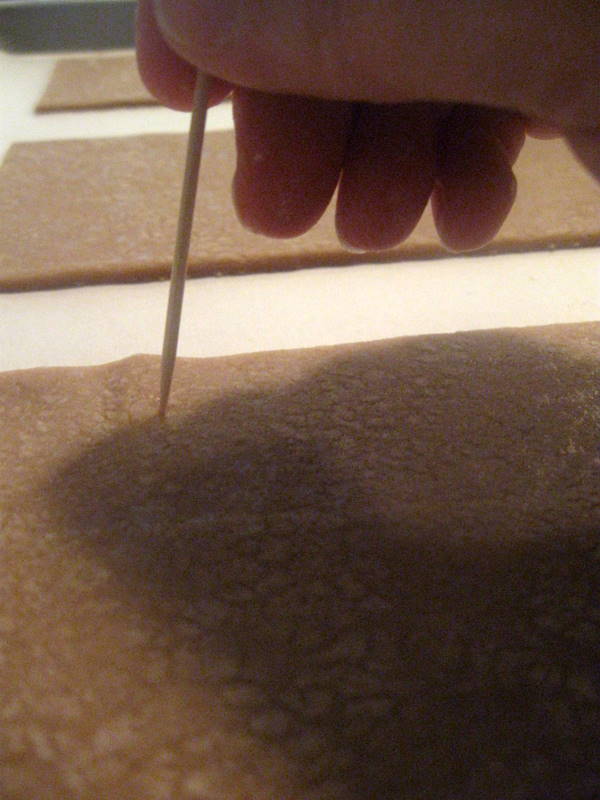
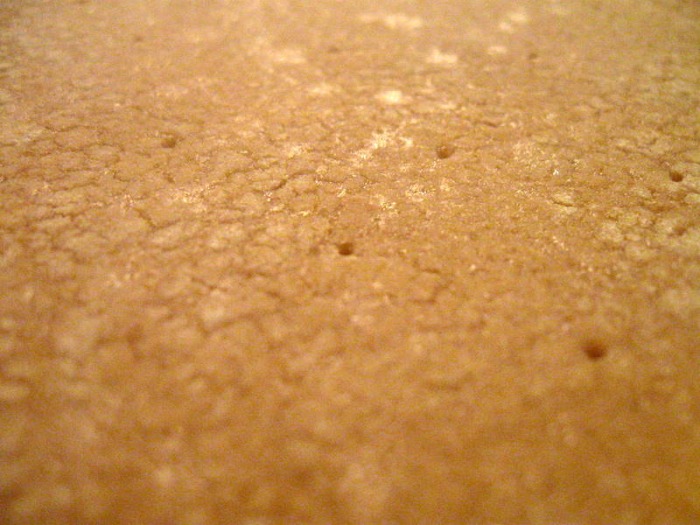
- Prick the wafers with toothpick or fork, not all the way through, in two or more rows.
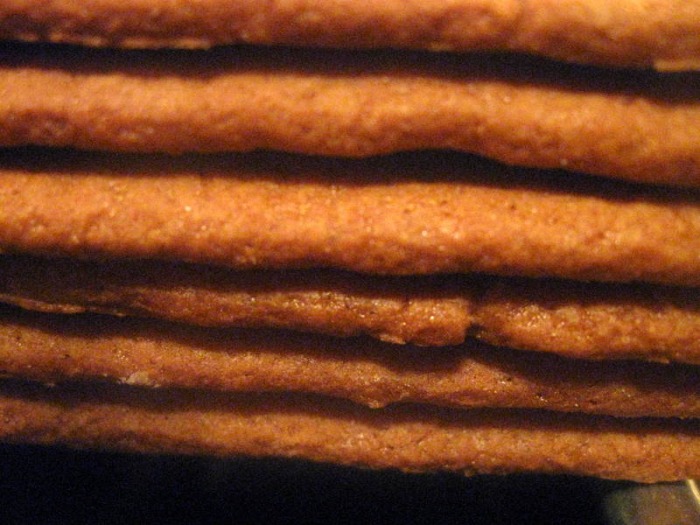
- Bake for 25 minutes, until browned and slightly firm to the touch, rotating sheets halfway through to ensure even baking. Might take less, and the starting location of each sheet may determine its required time. The ones that started on the bottom browned faster.
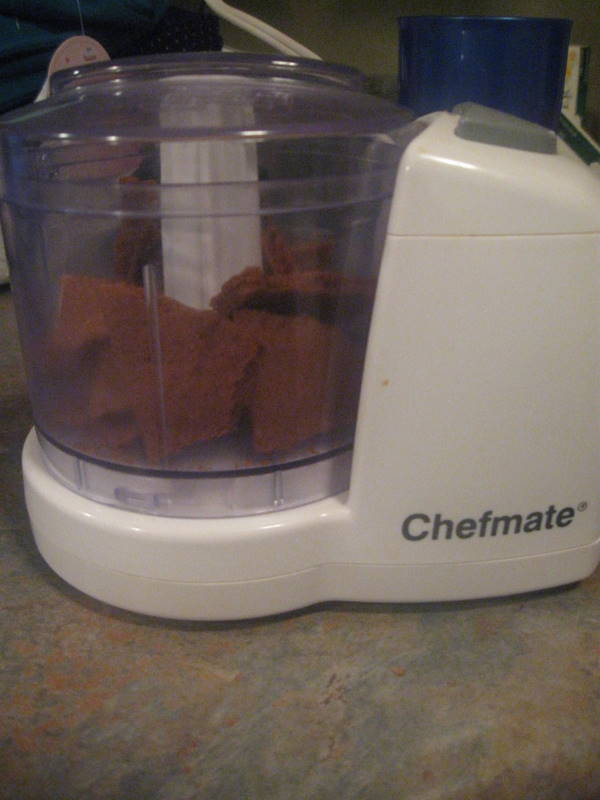
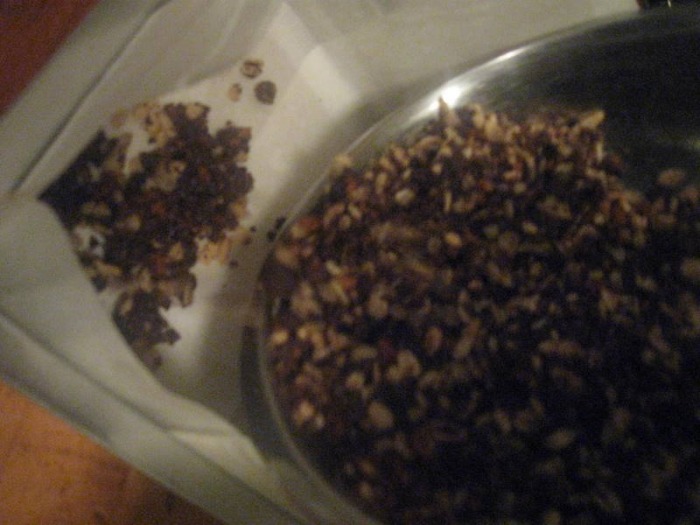
- When cooled completely, place enough wafers in food processor to make 1 ¼ cups (300 mL) of crumbs. Another way to do this is to place in a large ziplock bag, force all air out and smash with a rolling pin until wafers are crumbs.
If making the graham crackers with wheat, replace the gluten-free flours (tapioca starch, sweet rice flour, and sorghum flour) with 2 ½ cups plus 2 tbsp of all-purpose wheat flour, or wheat pastry flour. Watch the wheat-based graham wafers very closely in the oven, as they bake faster than the gluten-free ones, sometimes only 12 minutes. (I made the regular flour crackers. I had no problems with the dough being sticky or that they baked super fast. They baked in the 12 minutes the recipes suggests.)Nanaimo Bars Ingredients: For Nanaimo Bars: Bottom Layer - 1/2 cup (115 g) (4 ounces) Unsalted Butter
- 1/4 cup (50 g) (1.8 ounces) Granulated Sugar
- 5 tablespoons (75 mL) Unsweetened Cocoa
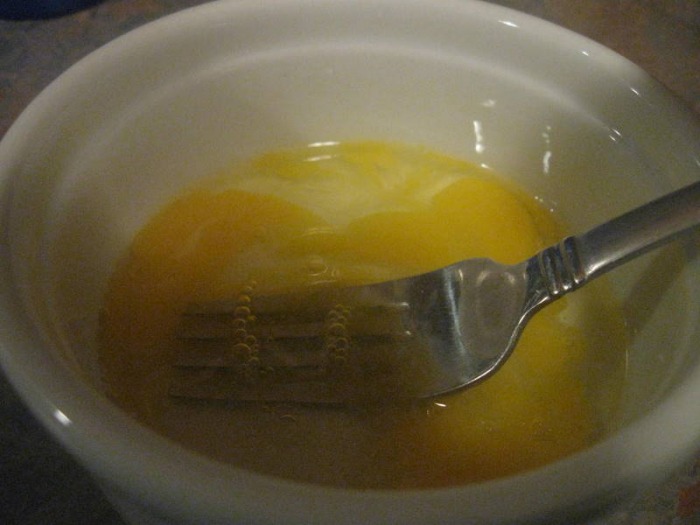
- 1 Large Egg, Beaten
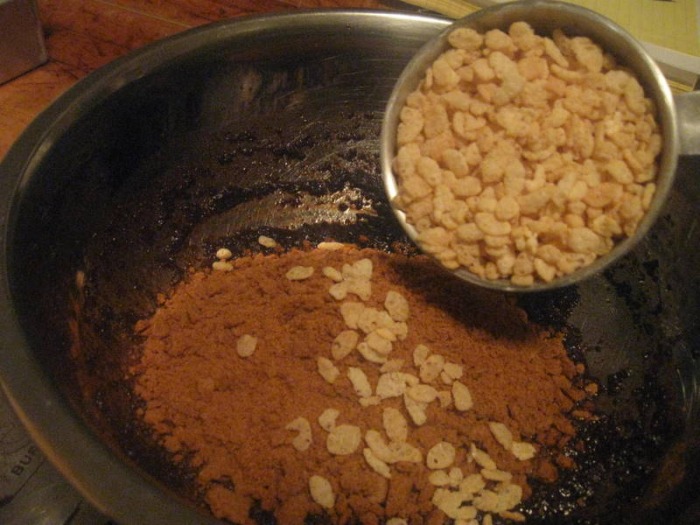
- 1 1/4 cups (300 mL) (160 g) (5.6 ounces) Gluten Free Graham Wafer Crumbs (See previous recipe)
- 1/2 cup (55 g) (1.9 ounces) Almonds (Any type, Finely chopped)
- 1 cup (130 g) (4.5 ounces) Coconut (Shredded, sweetened or unsweetened)
Middle Layer - 1/2 cup (115 g) (4 ounces) Unsalted Butter
- 2 tablespoons and 2 teaspoons (40 mL) Heavy Cream
- 2 tablespoons (30 mL) Vanilla Custard Powder (Such as Bird’s. Vanilla pudding mix may be substituted.)
- 2 cups (254 g) (8.9 ounces) Icing Sugar
Top Layer - 4 ounces (115 g) Semi-sweet chocolate
- 2 tablespoons (28 g) (1 ounce) Unsalted Butter
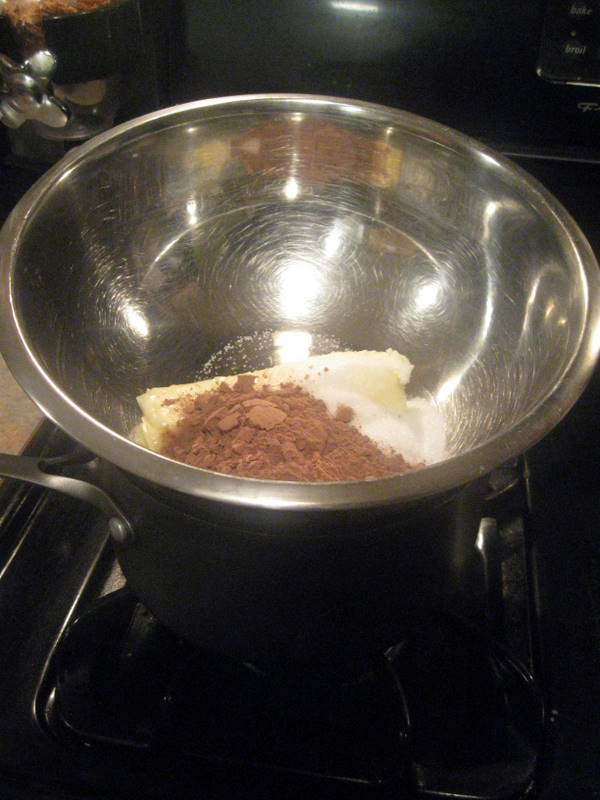
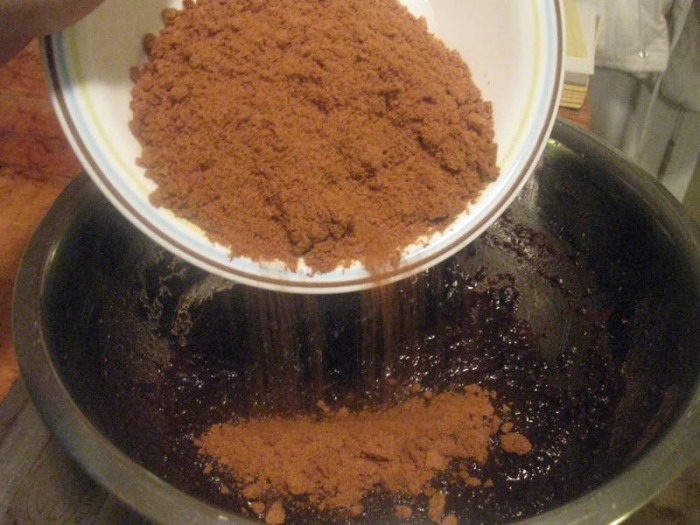
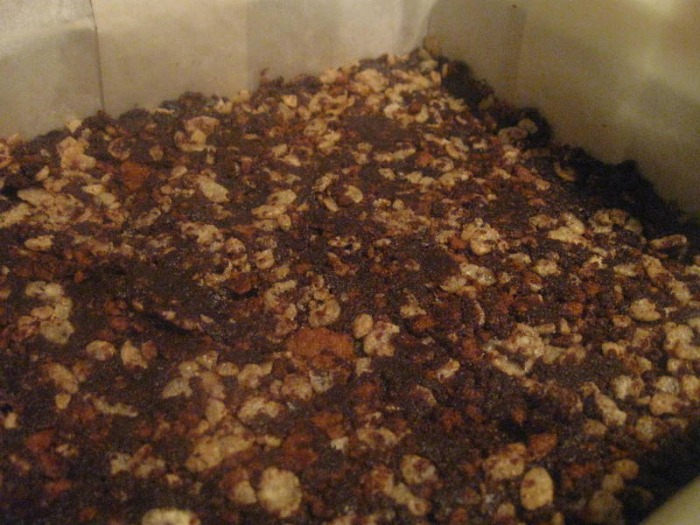
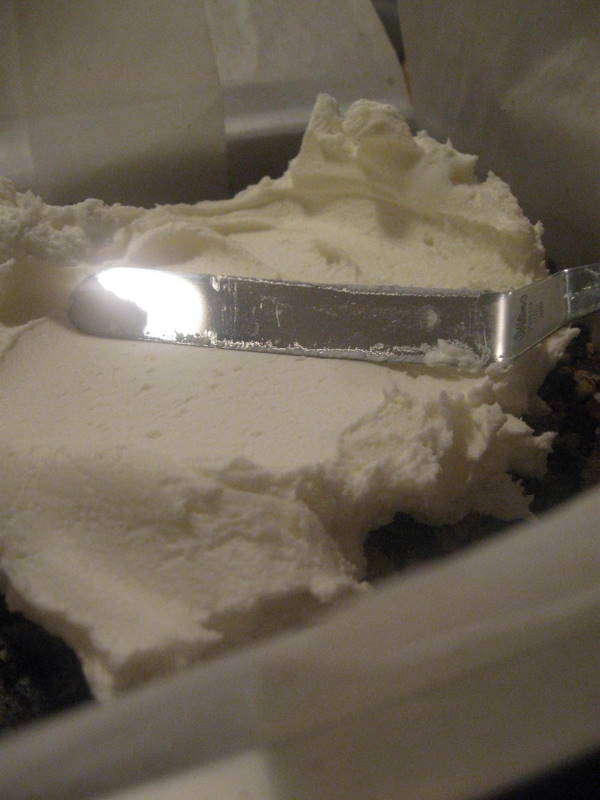
- For bottom Layer: Melt unsalted butter, sugar and cocoa in top of a double boiler. Add egg and stir to cook and thicken. Remove from heat. Stir in crumbs, nuts and coconut. Press firmly into an ungreased 8 by 8 inch pan.
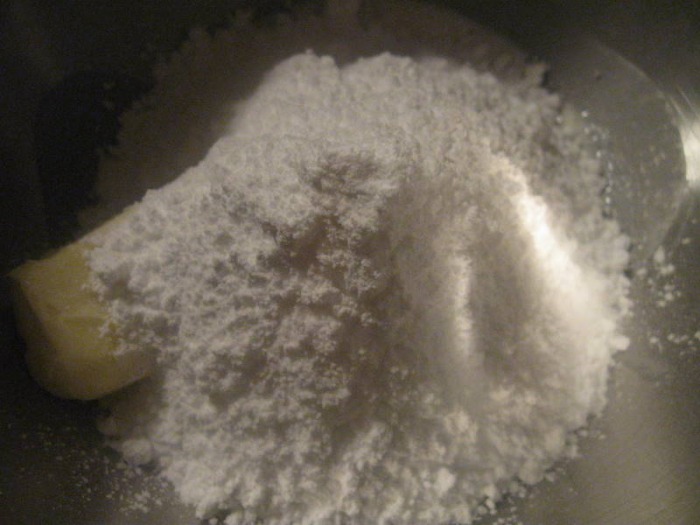
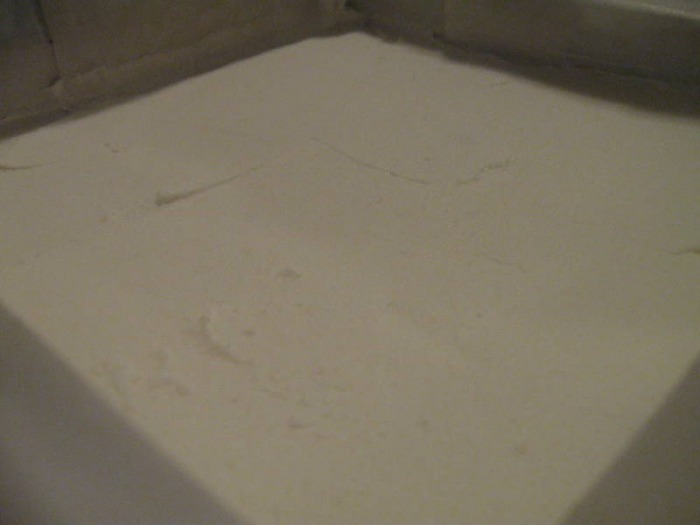
- For Middle Layer: Cream butter, cream, custard powder, and icing sugar together well. Beat until light in colour. Spread over bottom layer.
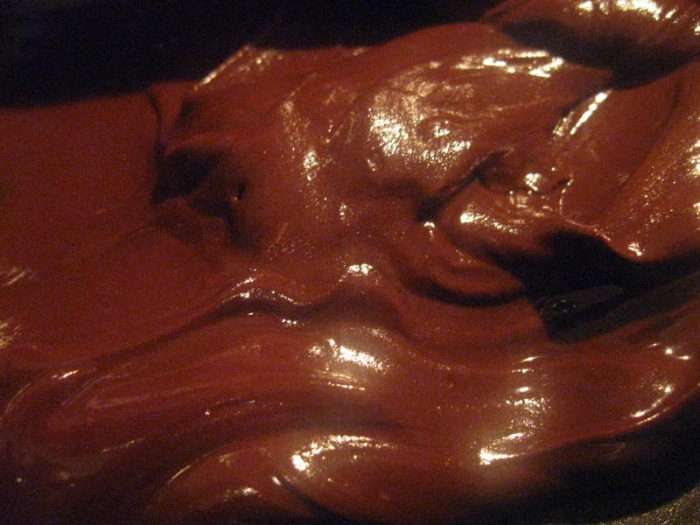
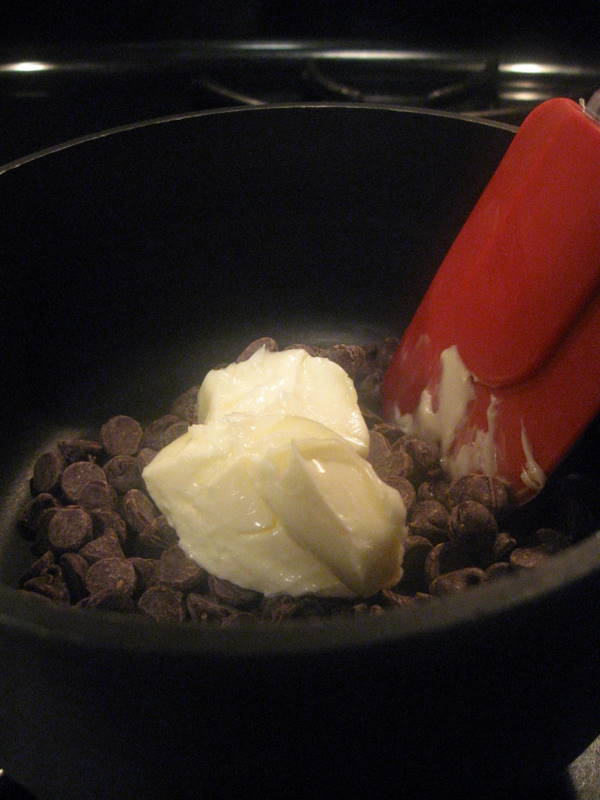
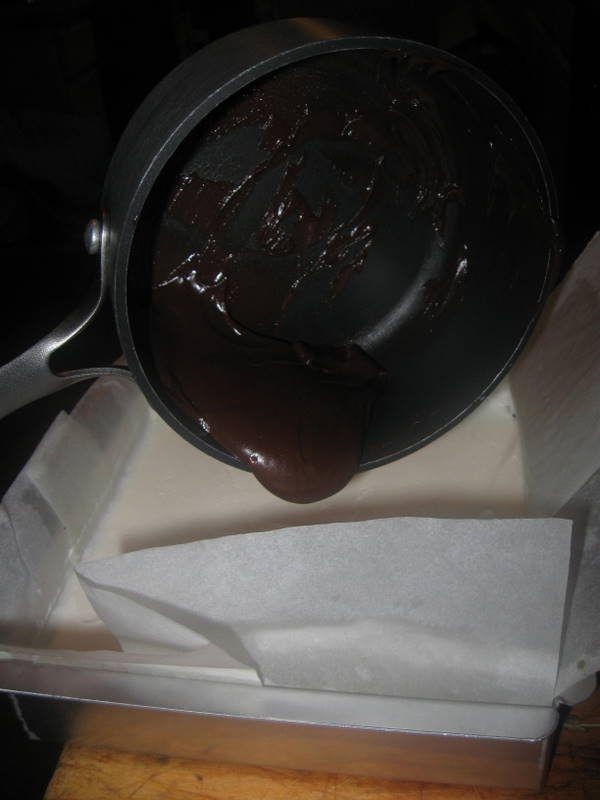
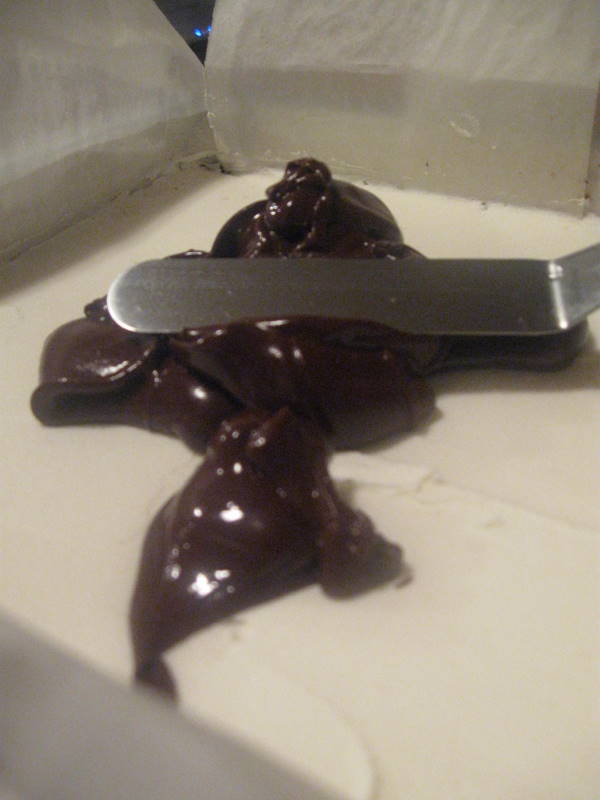
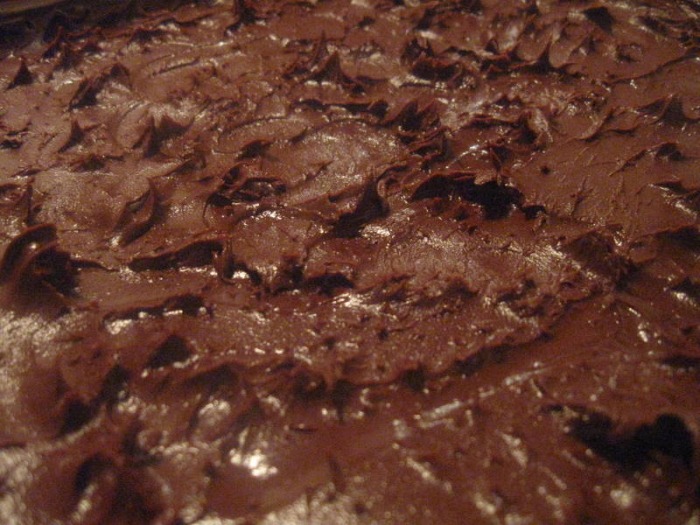
- For Top Layer: Melt chocolate and unsalted butter over low heat. Cool. Once cool, pour over middle layer and chill.
If making with wheat, replace the gluten-free graham wafer crumbs with equal parts wheat graham wafer crumbs! Additional Information:
These bars freeze very well, so don’t be afraid to pop some into the freezer.
The graham wafers may be kept in an airtight container for up to 2 weeks.
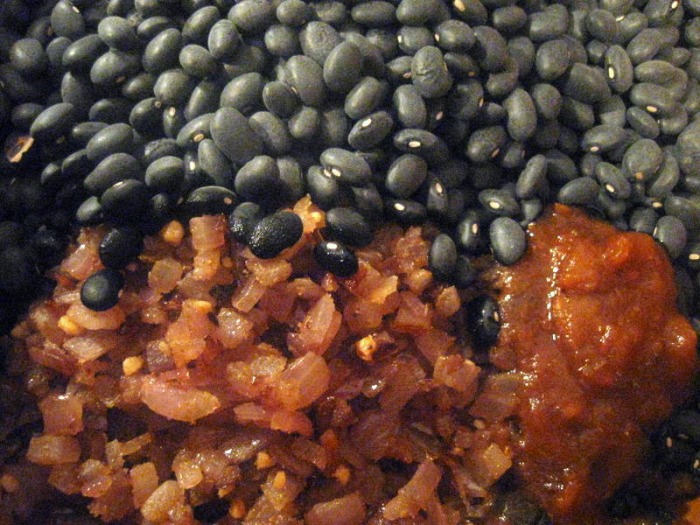
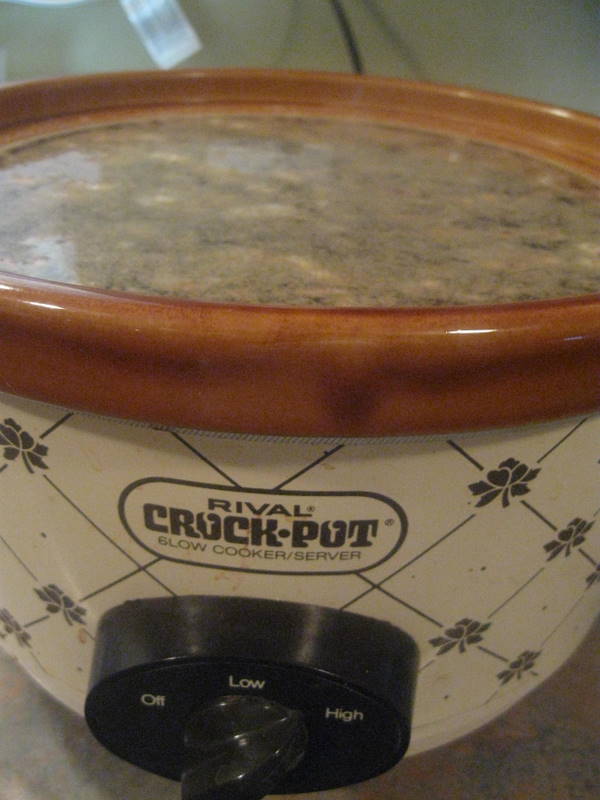
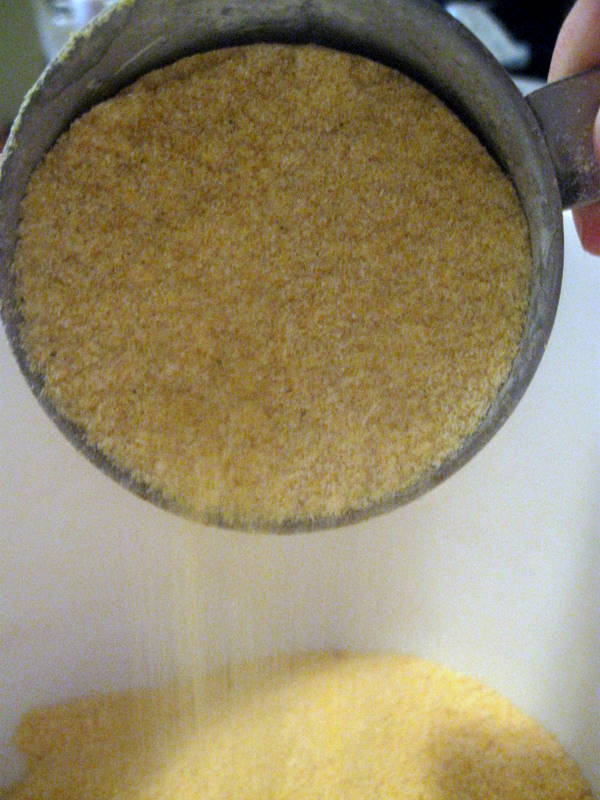
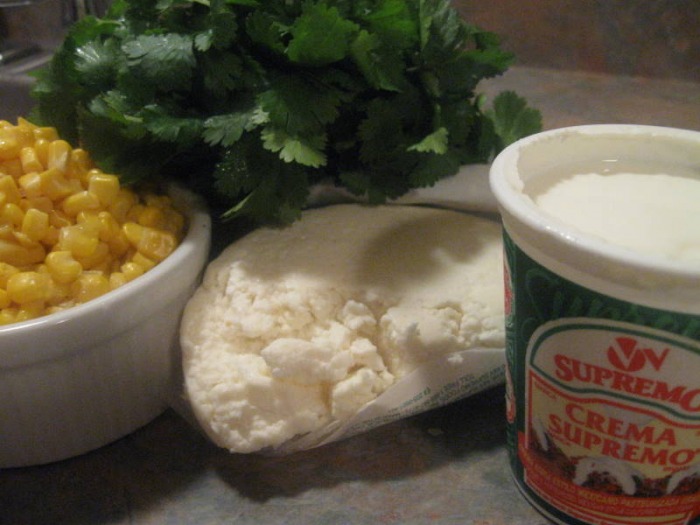
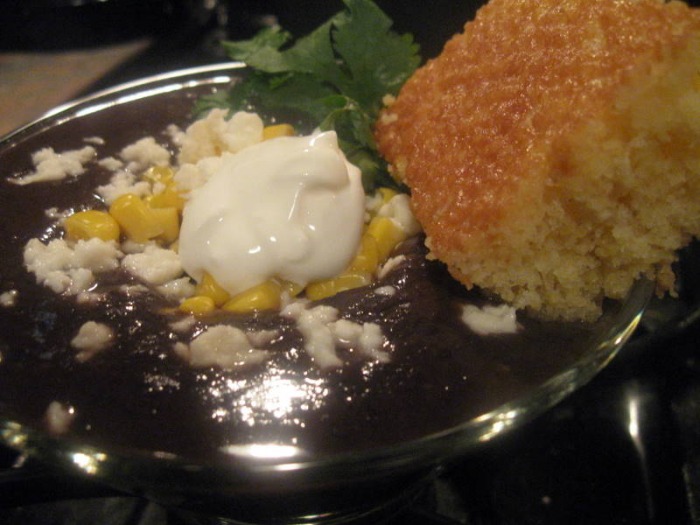
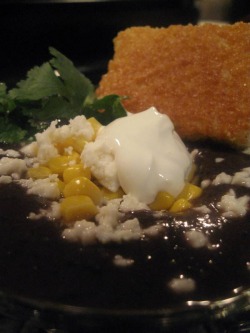 I love cornbread. My dad used to make it all the time when we were kids, and eventually I took over and made it. We would have a big pan of it sitting around to snack on. We always used the standard recipe on the back of the corn meal container, which at the time seemed plenty good. Then I met The Chef, who insisted he didn't like corn bread. To me, that was a challenge. I quizzed him about what he didn't like about it. I figured out that he preferred his cornbread to be sweet and not dry and crumbly. So I began trying out different recipes I would find in cookbooks and on the internet. He didn't like any of them. I realized I would have to create my own recipe. So began my cornbread odyssey. It took a lot of trial and error, but I finally came up with a recipe that he liked! It's a sweet and tender cornbread that is simply delicious. I'm really proud of this recipe because I created it entirely myself, so it's a Baker Original! We've taken to calling it "Cornbread For People Who Claim Not To Like Cornbread". Yesterday I wanted to make cornbread but I was undecided what to make with it. I needed to drop M1 off at a guitar lesson. While I was waiting for him to get ready I was perusing blogs. Smitten Kitchen had just made some black bean soup and I was mentally slapping myself in the forehead... I LOVE black bean soup! It's probably my favorite soup. And, it would go so great with cornbread. While M1 was at his lesson I ran over to the store and picked up the ingredients. Then we picked up M1 and went back home to make the soup and cornbread. I love the recipe she uses because you can cook the beans in a slow cooker, which is so convenient. There's no need to soak the beans overnight. I tend not to make black bean soup because I don't plan far enough in advance and by the time the craving hits I don't want to wait 24 hours. So I do without or I buy a container of pre-made soup at the store. I did a couple of things differently than Smitten Kitchen. I don't like red and green peppers so I left them out. Knowing that by not having the peppers the soup would probably be flat tasting I chose to use chipotle sauce, which contains tomato puree, to round out the flavor. Because I used the sauce, and not just the chipotle pepper that she used, I used more than what she called for in her recipe. I also garnished mine with some corn, queso fresco, mexican crema and cilantro... and a huge hunk of cornbread! It's delicious and hearty. A perfect meal to have on a cold day. And, oh by the way, it gets even better then next day! -The Baker
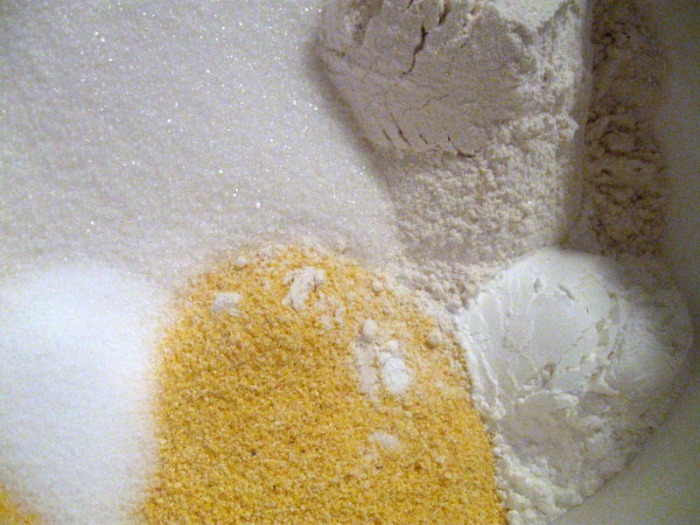
SWEET CORN BREAD: yield: 8" x 8" pan - 1 C All-purpose Flour
- 1 C Cornmeal
- 2/3 C Sugar
- 1 t Salt
- 3 1/2 t Baking Powder
- 1 Egg
- 1 C Milk
- 4 oz Butter
- 1/4 C Honey
- combine all of the dry ingredients; whisk together
- combine milk, honey and butter; microwave until the butter has melted; remove from microwave and whisk in the egg
- add the milk mixture to the flour mixture; whisk together, just until combined
- pour into a buttered pan; bake at 400 F for 15 - 20 mins
BLACK BEAN SOUP: (inspired by Smitten Kitchen) - 1 tablespoon olive oil
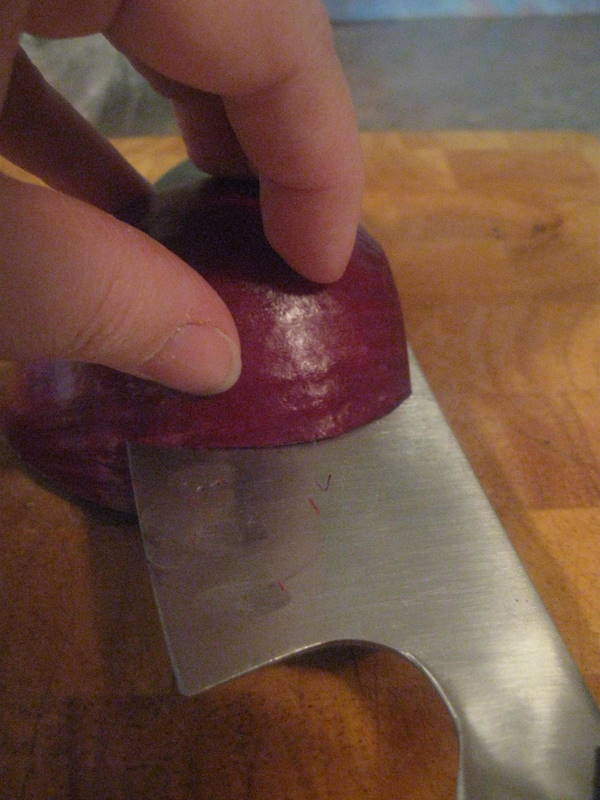
- 1 large red onion
- 4 garlic cloves, minced
- 4 teaspoons ground cumin
- 1 16-ounce package dried black beans
- small can of chipotle sauce (i used half of the can, which gives just a little after burn, but use more or less depending on how spicy or mild you like it)
- 7 cups hot water
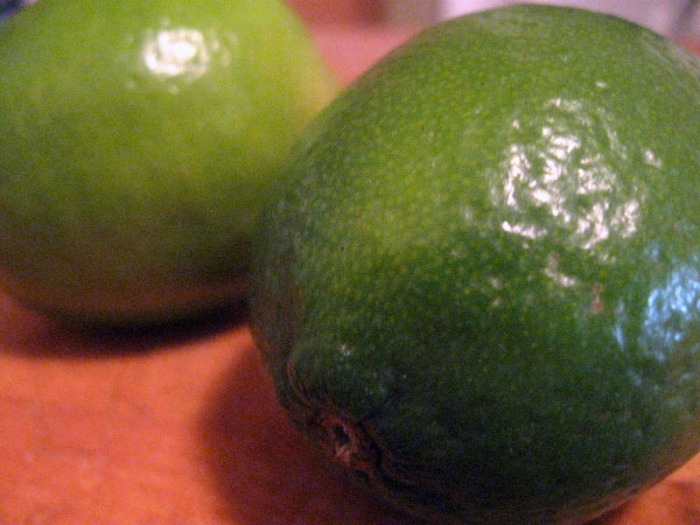
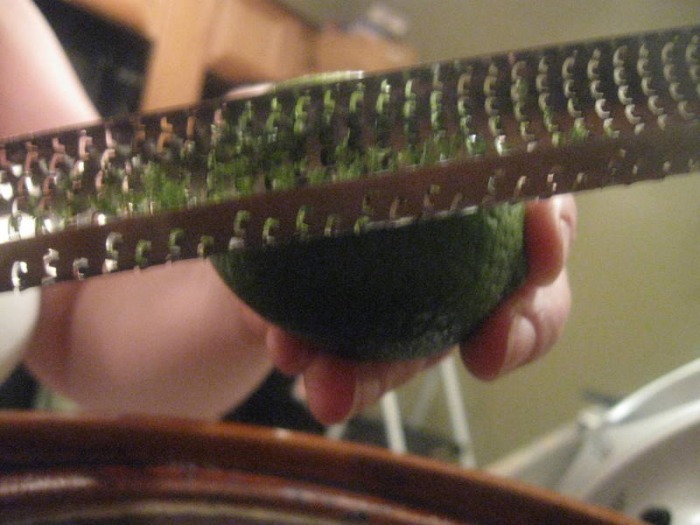
- zest from 1 lime
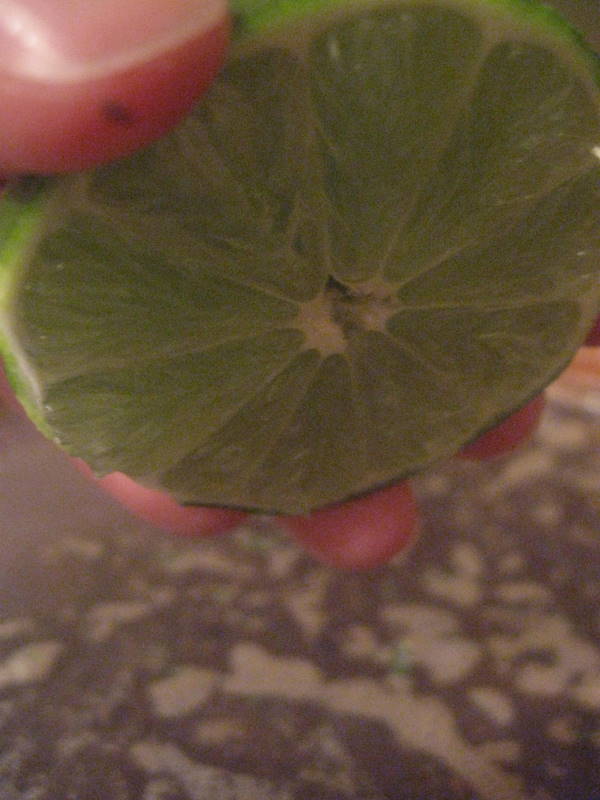
- juice from 1 fresh lime (use the lime you zested)
- 2 teaspoons coarse kosher salt
- 1/4 teaspoon ground black pepper
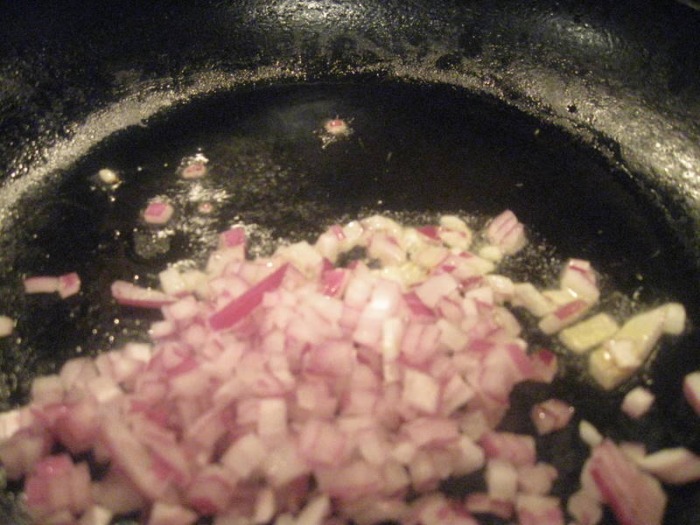
- heat oil in saute pan
- add onions saute until they just start to brown; add garlic and cumin; stir
- transfer to 6-quart slow cooker; add beans and chipotle sauce, and hot water; over and cook on high until beans are very tender; it took my beans about four hours to get soft, but Smitten Kitchen's beans took just under three hours, so test them every hour after the first two hours of cooking
- when the beans are tender, scoop a couple of ladles into a blender; puree until smooth; puree as much of the beans as you like; the pureed beans will act as a thickener for the soup; i prefer a more pureed soup so i pureed most of the beans;
- add the pureed beans back to the beans in the slow cooker; add the lime zest, lime juice, and season with salt, and pepper to taste; because you didn't season the beans in the beginning you will probably find you need a lot more salt than you thought
- to serve, garnish each bowl with some fresh corn, queso fresco, mexican crema and fresh cilantro and a big hunk of cornbread
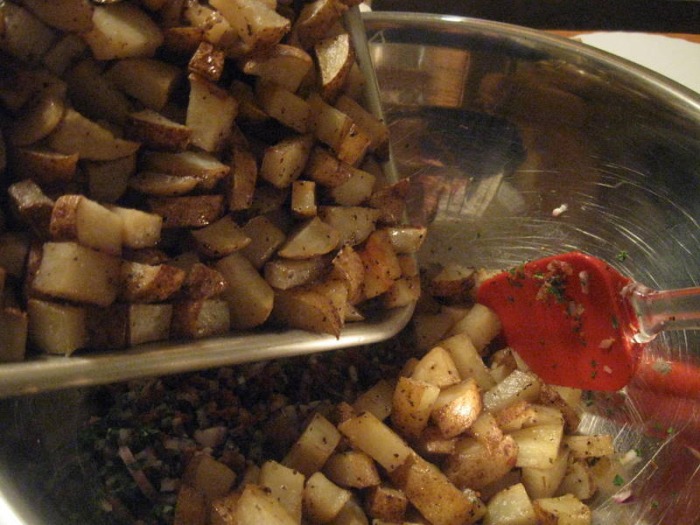
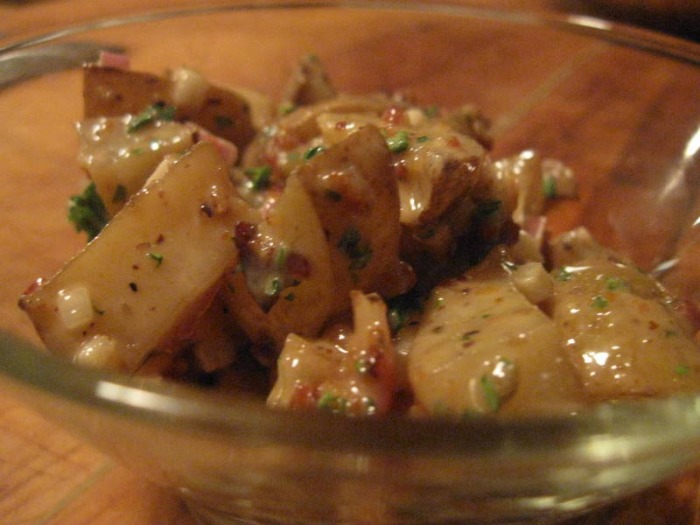
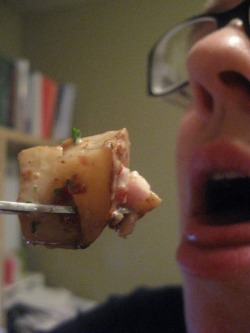 It is with much trepidation that I'm posting this recipe. It happens to be one of my favorite potato salads but it's a little expensive and time consuming to make, so I don't make it a lot. I try to save it for special occasions. We used to make this recipe for our Garde Manger class in culinary school when we would have to set up buffets.
So, why am I nervous to give you this recipe? Well, read on... We spend Christmas Eve with my family. This year we decided to have a very casual dinner since we were all going to have a traditional Christmas dinner on Christmas day. We thought this would be more relaxing and fun. We decided to make big sandwiches and all the sides that come with them. I offered to make potato salad, thinking that I would wow everyone with this delicious twist on an old classic. Then as I was writing out my shopping list The Chef saw what I was making and dropped the bombshell that HE DOESN'T LIKE ROASTED POTATO SALAD!!! I was seriously shocked. What's not to like?
I decided to make it anyway figuring he's just weird and everyone else would love it. So I made it and brought it and everyone HATED it. I couldn't believe it. So why am I posting it here? Well, as it's several weeks after Christmas you can see that I wrestled with whether or not to post it. I finally decided to put it up because IT'S DELICIOUS AND THEY'RE ALL CRAZY. And I thought one of you might really like it. I mean, just look at the ingredients... that's all good stuff! My aunt said she didn't like the potatoes being roasted and it was throwing her off. I certainly understand when you expect one thing and get another you won't be satisfied until you get what you want. But, I'm telling you, this is too good to pass up. Try it, and if you hate it I'll accept that I am, in fact, the weird one, but if you love it as much as I do then my suspicions that they're all weird will be confirmed!
So, um, enjoy?!?
-The Baker
ROASTED POTATO SALAD - 6 large Baking potatoes
- 1 small Red onion
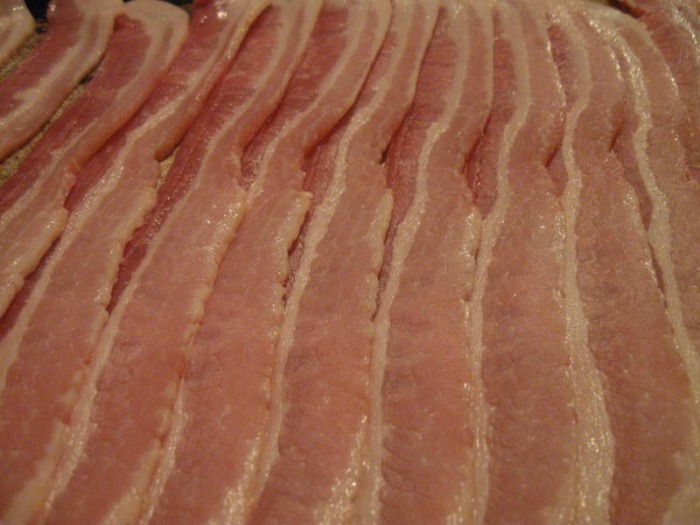
- 1 lb Bacon
- 1 small bunch Parsley, stemmed and finely chopped
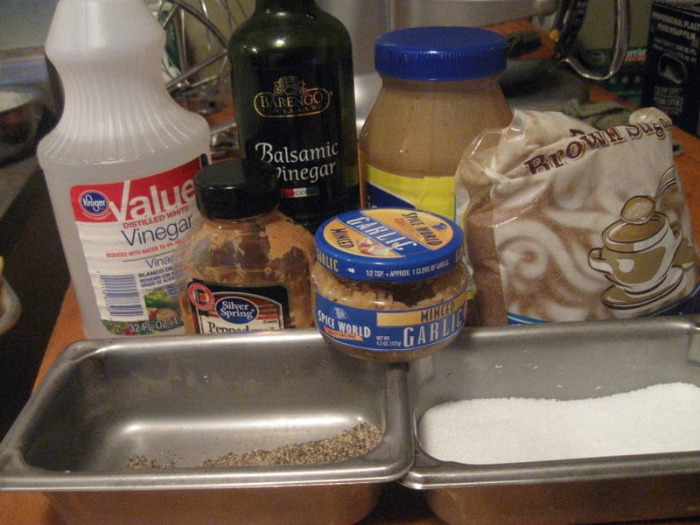
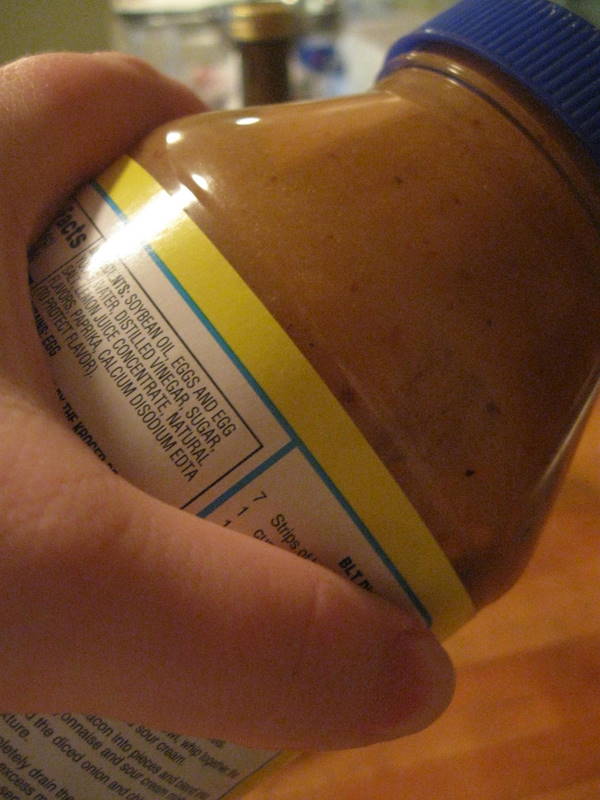
- 2 C Mayonnaise
- 1/2 C Dijon Mustard
- 1/2 C Brown Sugar, sifted
- 1 t Vinegar
- 1 T Balsamic Vinegar
- 1 T Garlic, minced
- Salt and Pepper to taste
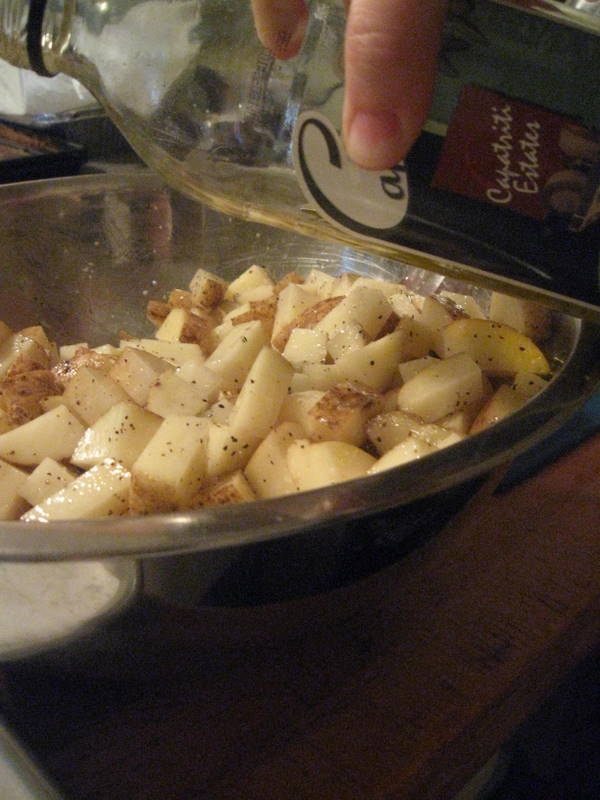
- dice potatoes into bite sized pieces; season with salt and pepper and coat in olive oil
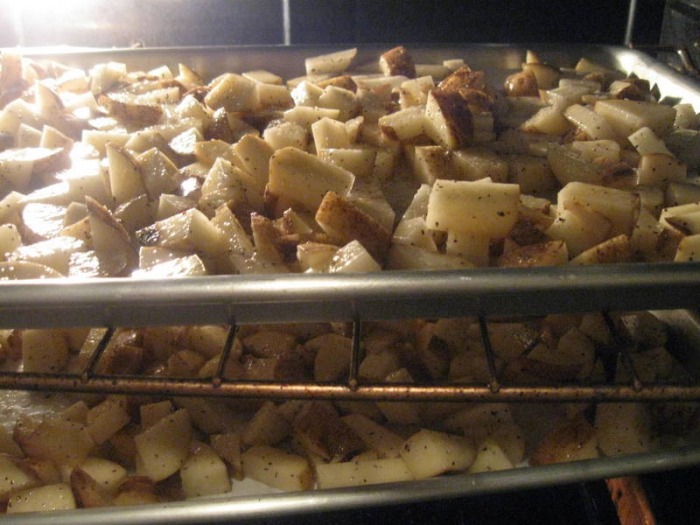
- roast at 350 F on a parchment lined sheet pan or a non-stick pan until the edges are golden brown and crispy and the insides are fork tender; cool completely
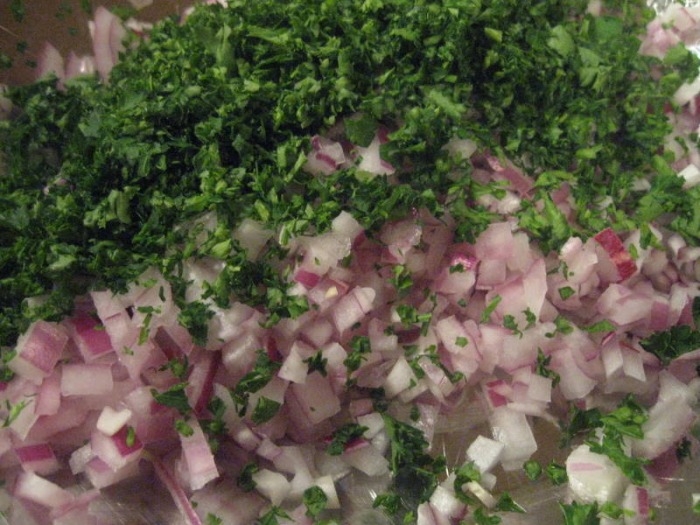
- while the potatoes roast, finely dice the red onion and the parsley
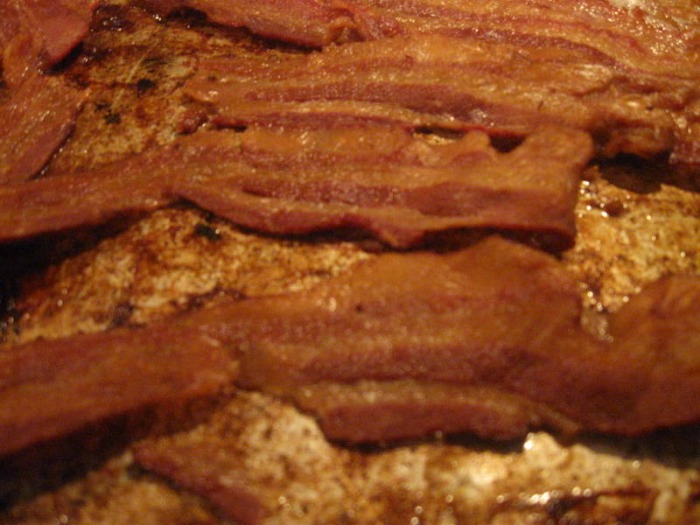
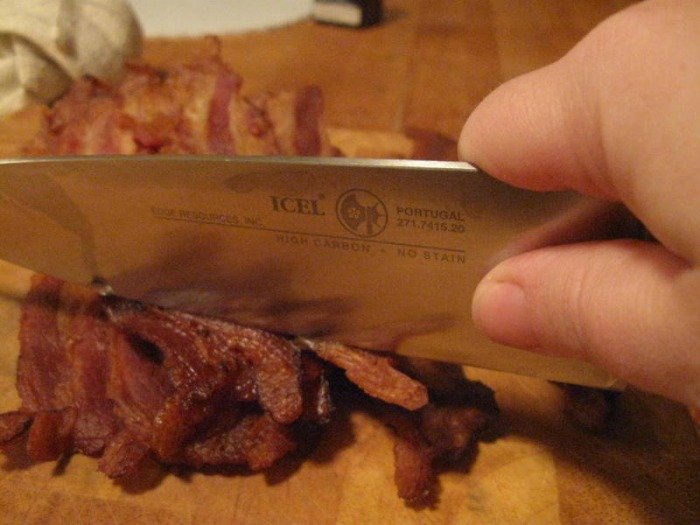
- cook the bacon until very crisp; dab off excess grease with paper towels and finely chop
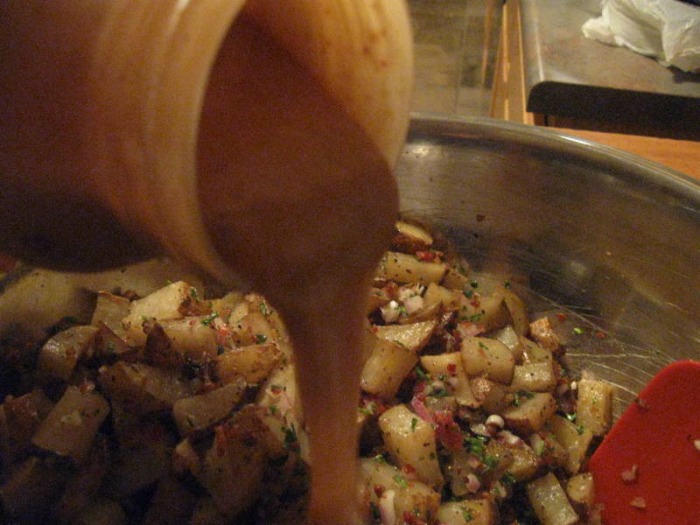
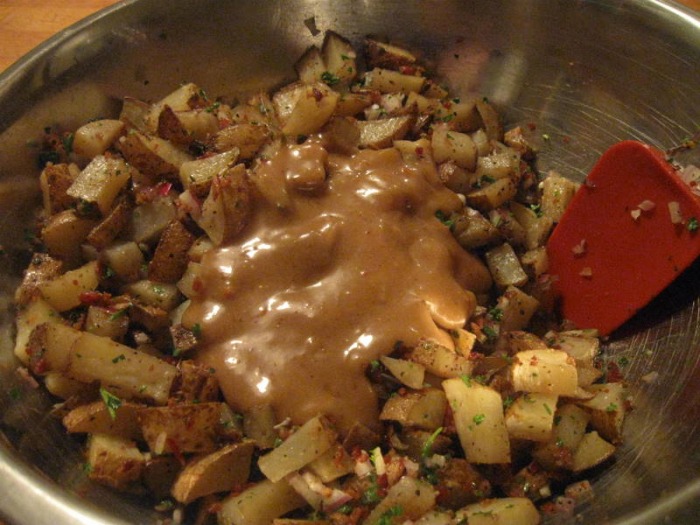
- while the bacon cooks, mix together mayo, mustard, brown sugar, vinegar, balsamic vinegar, garlic and salt and pepper; set aside
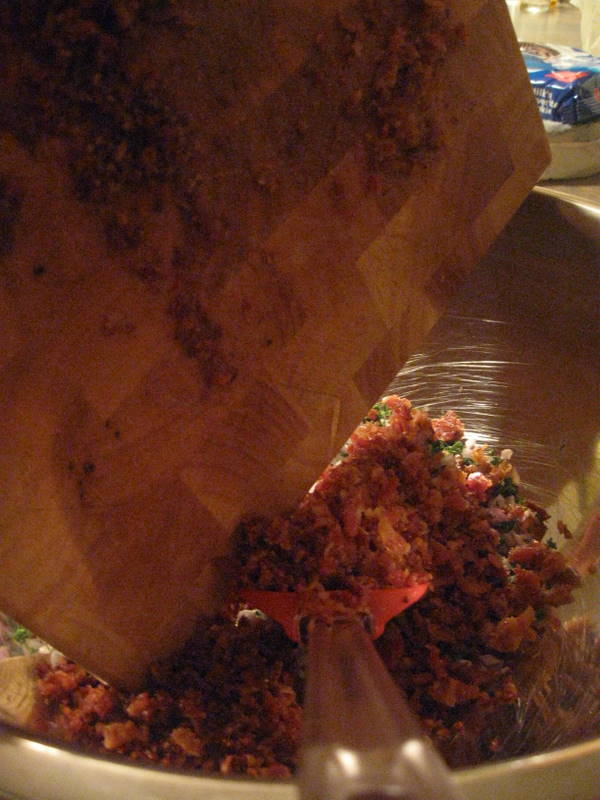
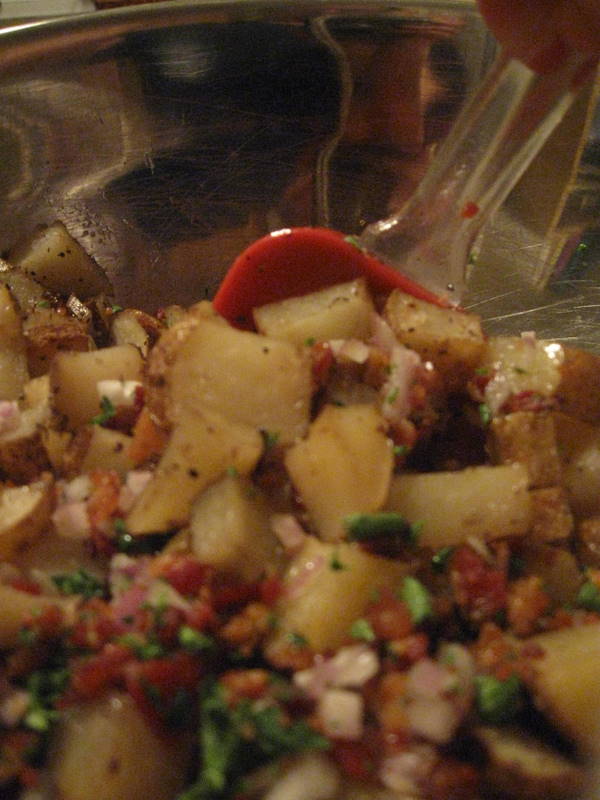
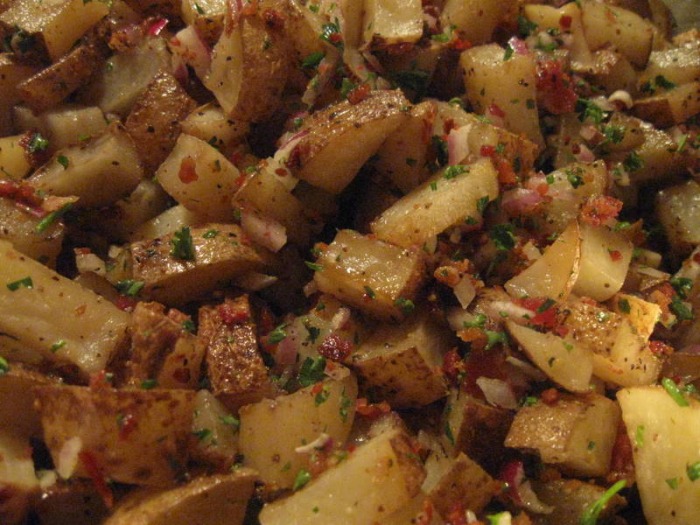
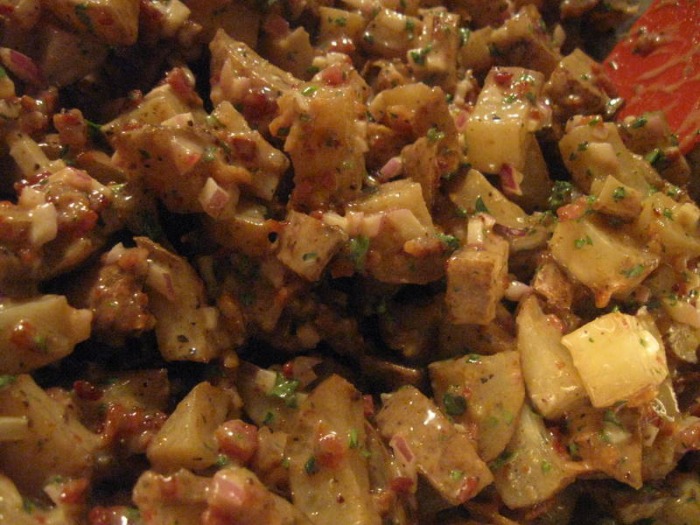
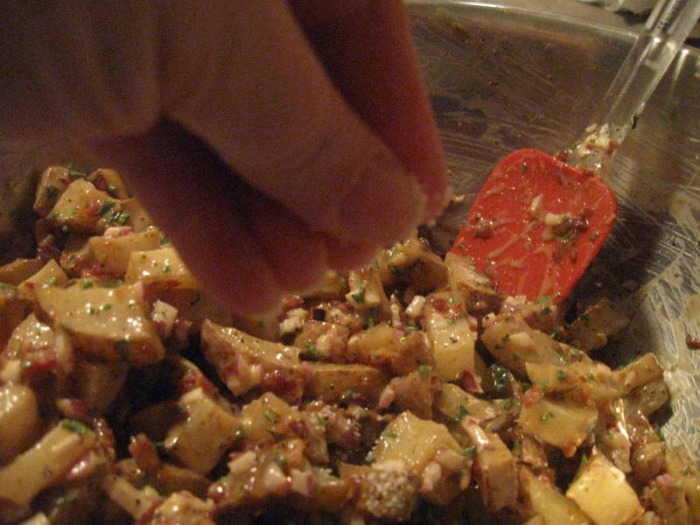
- toss together the onion, parsley, potatoes and bacon; then toss with the dressing; season as needed
This is your new blog post. Click here and start typing, or drag in elements from the top bar.
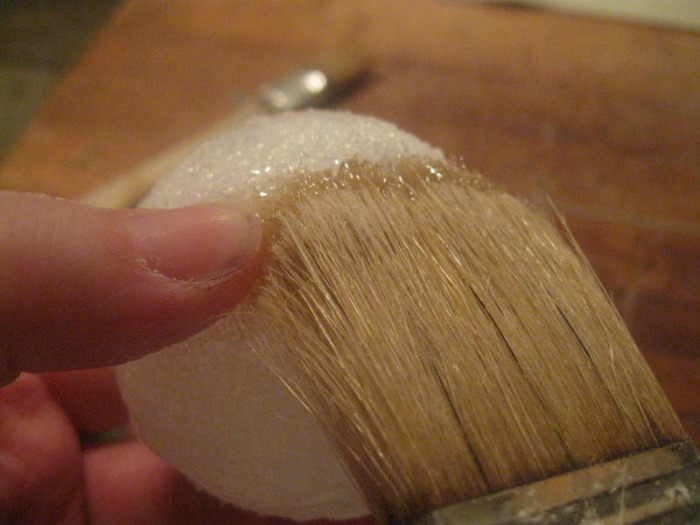
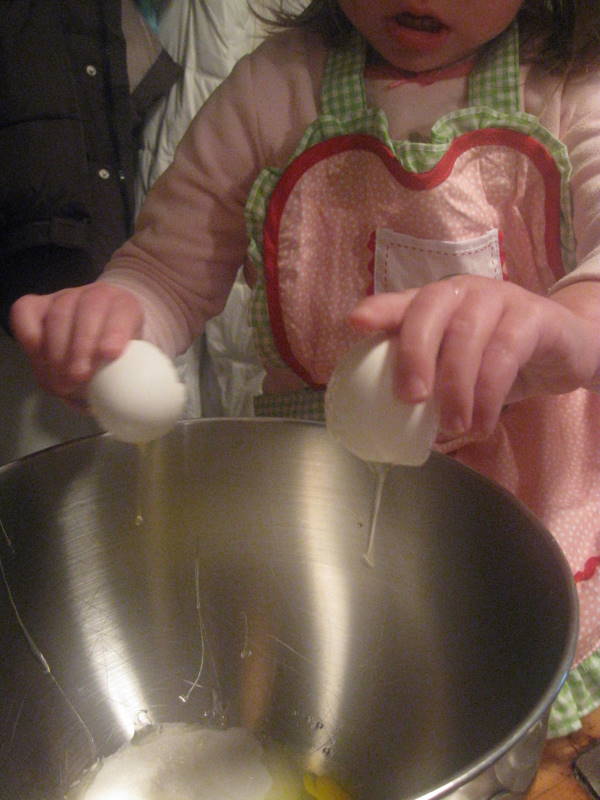
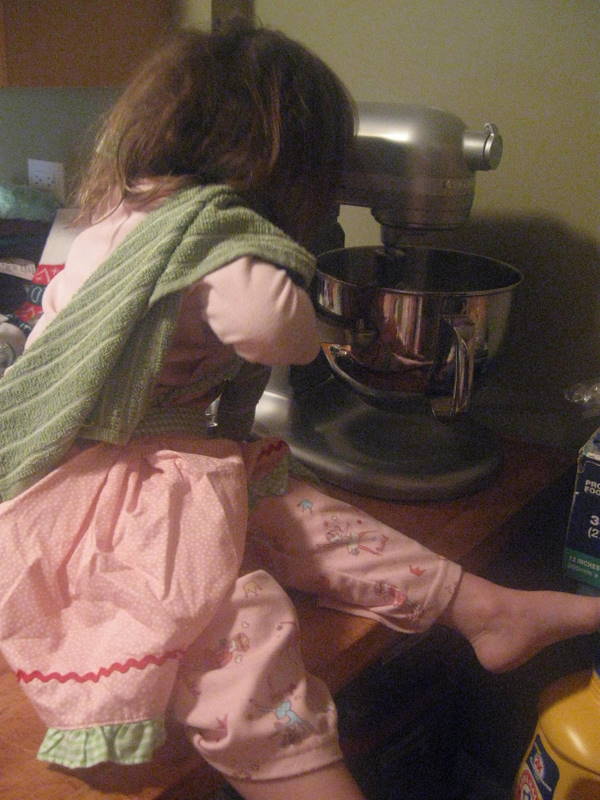
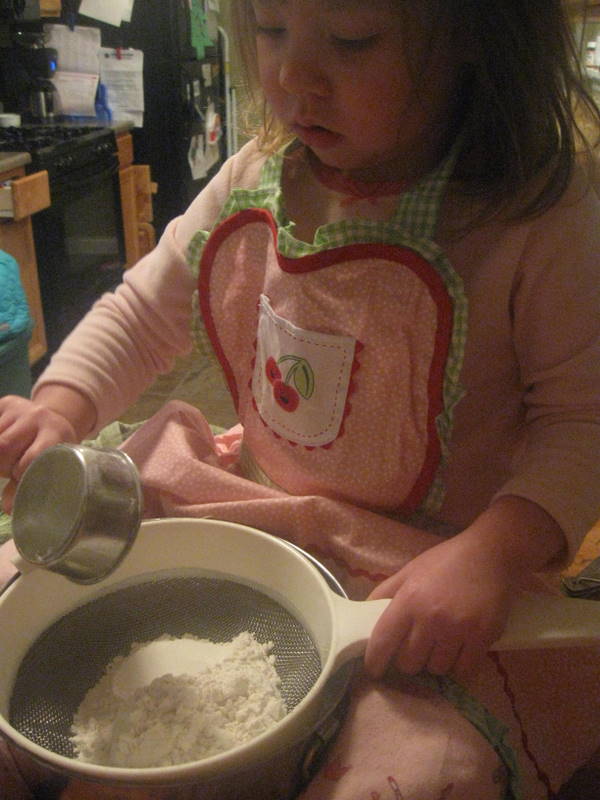
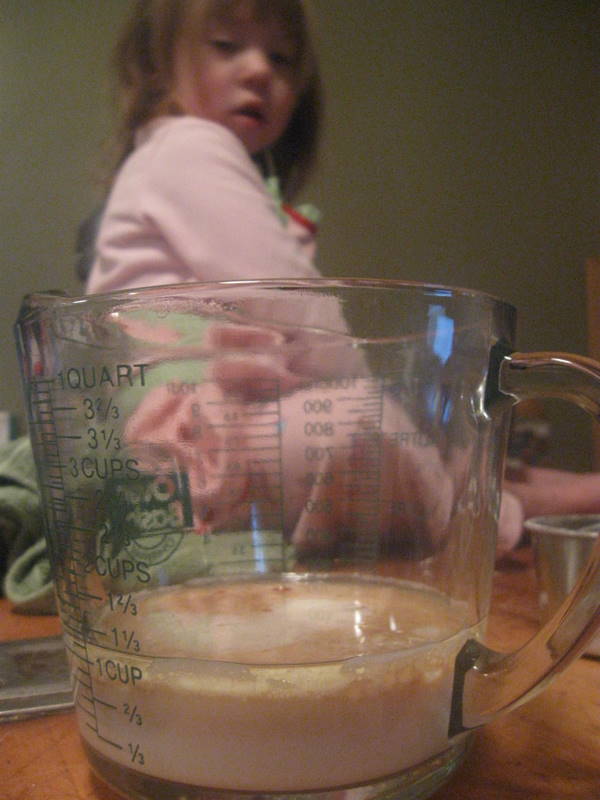
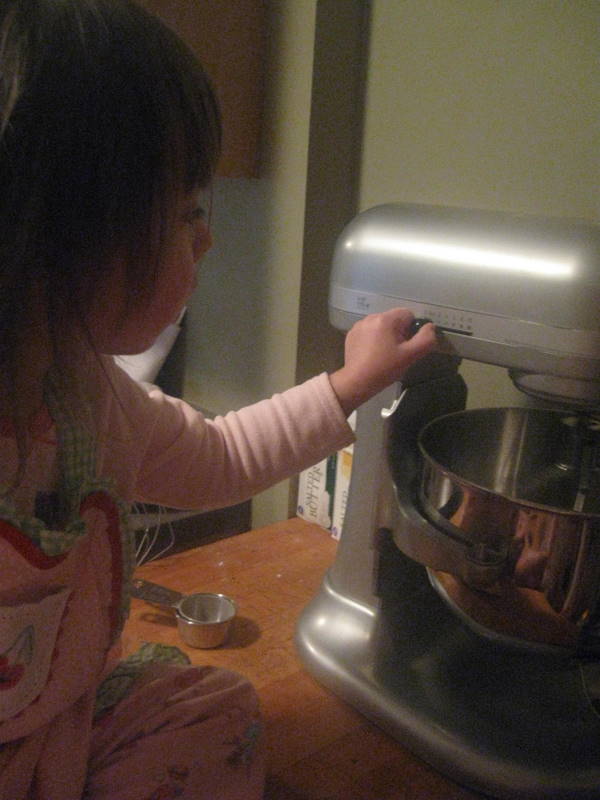
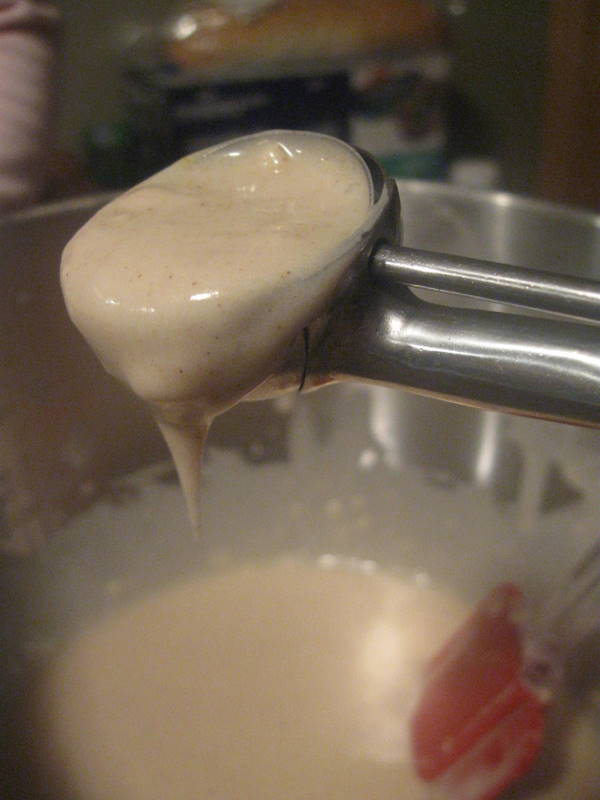
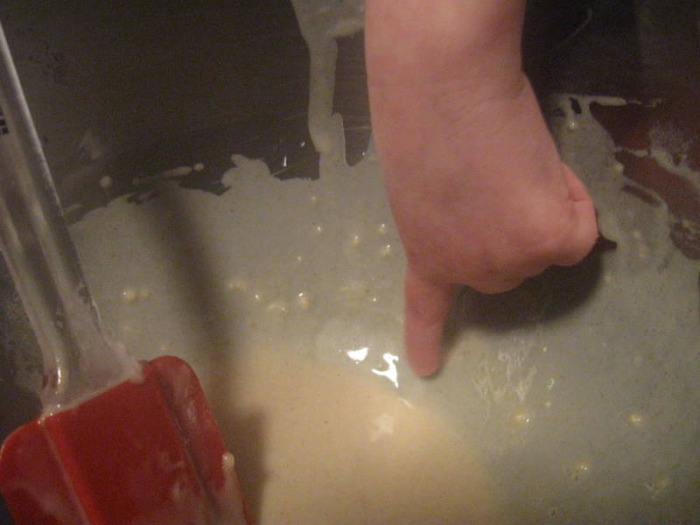
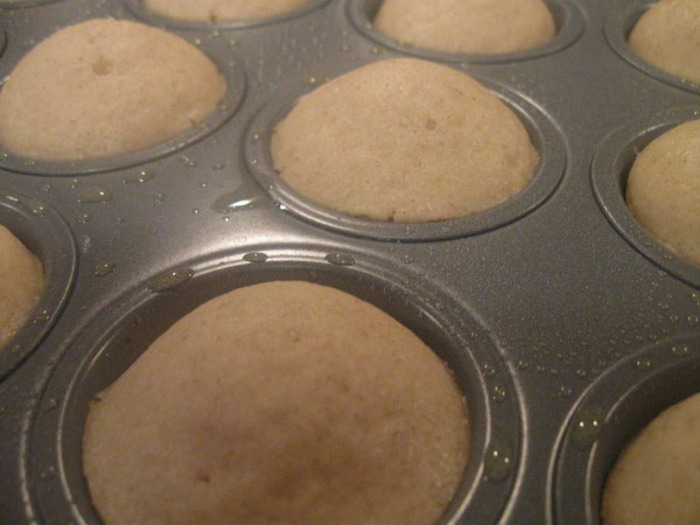
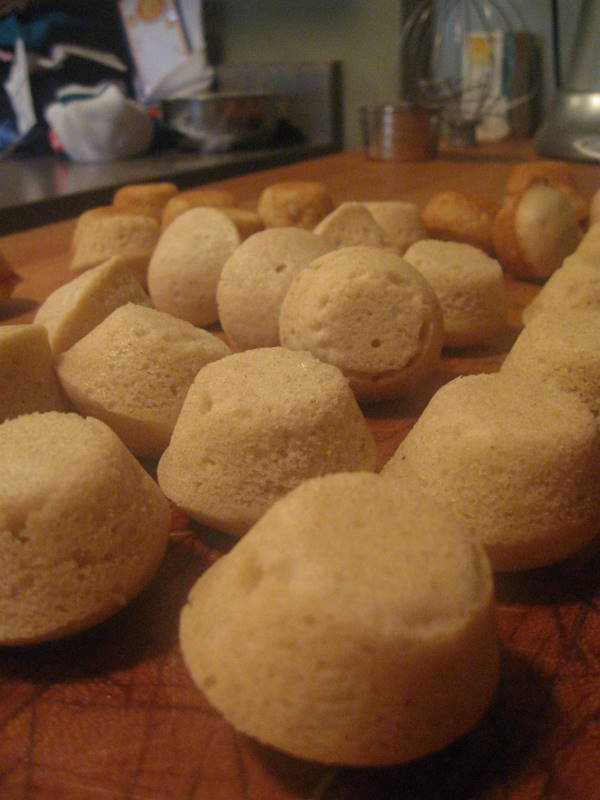
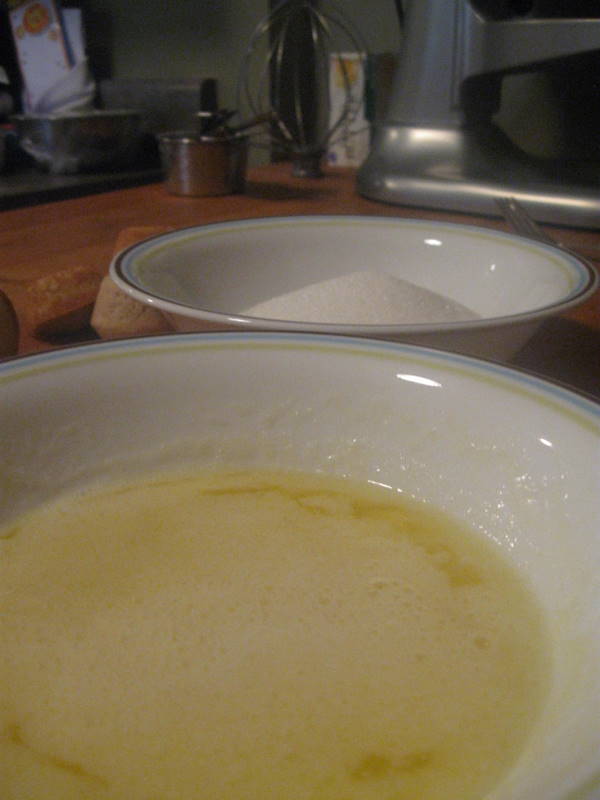
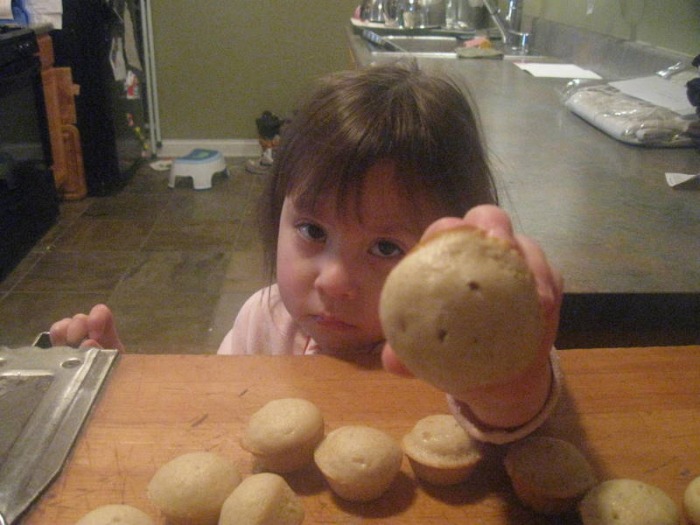
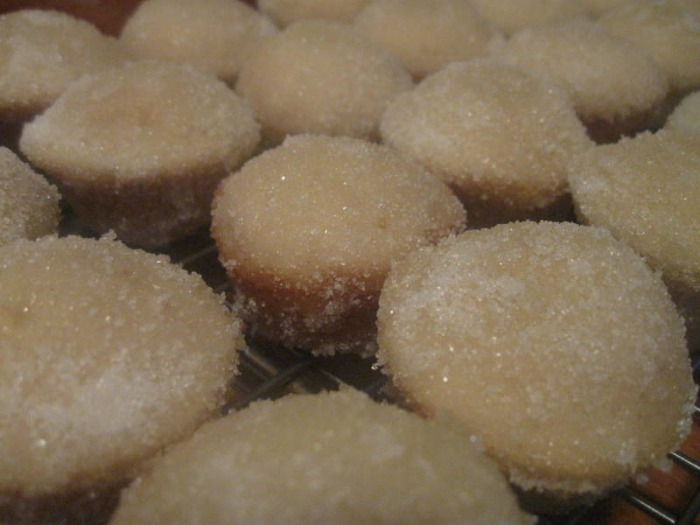
 New Years Day we woke up to a wintry Chicago morning with fresh snow falling from the sky. The refrigerator was empty from being picked clean of all the delicious food we had made for friends and family. There was no way I was going to venture out into the wintry wonderland in search of breakfast. The Chef was at work and M1 is still four months away from being able to drive. Time to get creative! Everybody loves a good donut for breakfast, but they're a mess to fry, and to be honest I never know what to do with the oil once I've fried in it, so I tend to not make donuts at home. I remembered that in culinary school we would sometimes whip up little donut imposters called Sugar Donut Muffins that we would eat for breakfast. Unfortunately I didn't save the recipe, but I remembered the process and I didn't think it would be that hard. I decided to do a quick google search to see if there were any recipes and I couldn't believe how many there were! I had no idea these were so popular! I thought my instructor had come up with the concept. Go figure! After reading through several different recipes I decided to use the one from Baking Bites. It had the simplest ingredients, and most importantly, I had all of the ingredients! I did change just a couple of things. The first being that I used Pumpkin Pie Spice in place of nutmeg. I'm not a huge fan of nutmeg, especially when it's the primary flavor. Pumpkin Pie Spice contains some nutmeg as well as cinnamon and ginger so it has a nicer flavor. It's really versatile, and I use it in a lot of things. The other change I made was that the Baking Bites recipe just has you brush the butter on and I have you dip the whole muffin in the melted butter. If you're going for lower fat (notice I didn't say "low fat") then brush the butter on rather than dip the muffins. These are quick to make and very easy to make. If you look at the pictures you'll see that M2 made the entire muffin by herself. All I did was scoop them into the pan and put them in and out of the oven. Definitely a good recipe to make with your kids! -The Baker
Sugar Donut Muffin yield: 10 full size muffins; 32 mini muffins MUFFIN BATTER: - 3/4 C Sugar
- 1 Egg
- 1 1/2 C All-Purpose Flour
- 2 t Baking Powder
- 1/4 t Salt
- 1/4 t Pumpkin Pie Spice
- 1/4 C Vegetable Oil
- 3/4 C Milk
- 1 t Vanilla Extract
- preheat oven to 350 F
- spray muffin tin
- in a mixing bowl, beat together sugar and egg until light and creamy
- in a separate bowl, sift together flour, baking powder, salt and Pumpkin Pie Spice
- pour dry ingredients into egg mixture and stir to combine
- add oil, milk and vanilla
- scoop batter into mini muffin pan; fill about 3/4 full
- bake for 15 mins, until a toothpick comes out clean
- pop out of the pan while still warm so they don't get soggy
DIP: - 4 oz Butter, melted
- 3/4 C Sugar, for rolling
- melt butter and pour remaining sugar into a small bowl
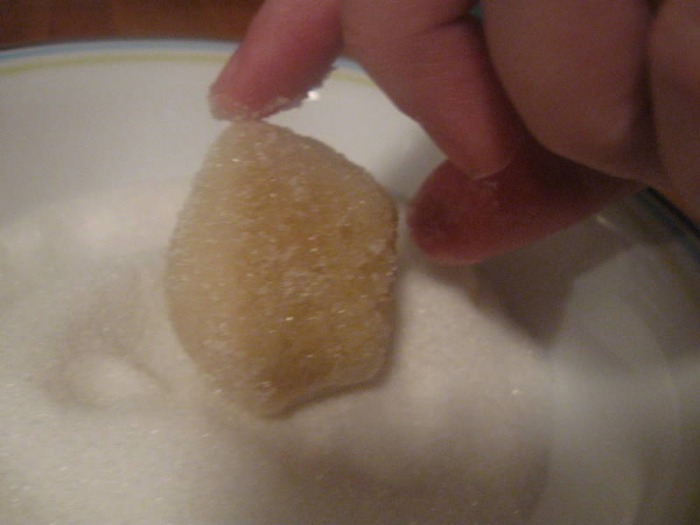
- while muffins are still warm, dip them in the melted butter, and then immediately roll them in the sugar
- cool and dry on a rack
|


 RSS Feed
