 One of the best parts about owning the bakery is that I have the freedom to be creative. I can collaborate with someone who needs a cake for a party they're throwing and they can give me the concept they're after and then I get to run with it.
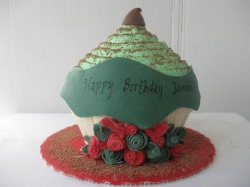
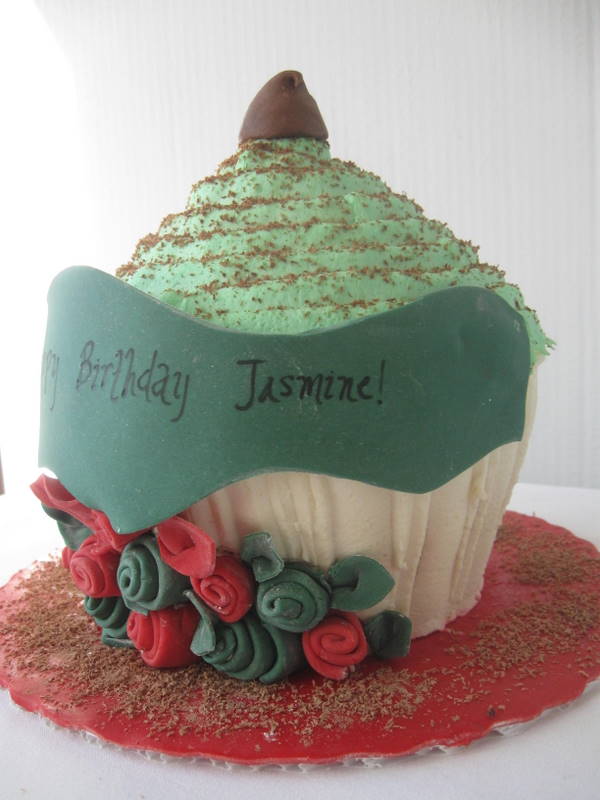
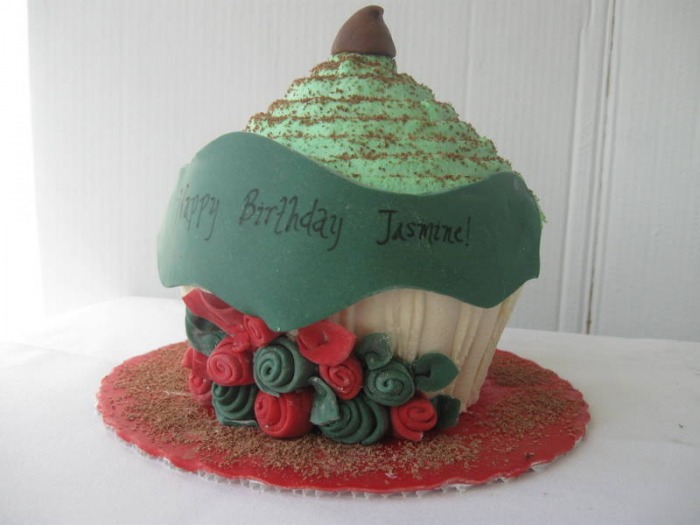
Just the other day we got a phone call from someone who wanted to really WOW his girlfriend. He told us this was his first time ever doing something like this and he had an idea in his head, but not all the details. Basically what he wanted was a giant cupcake and then he wanted to incorporate the colors that are important to his girlfriend.
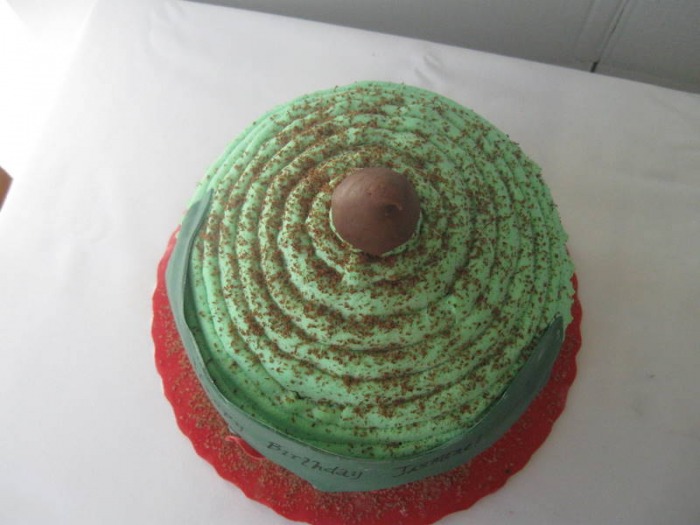
I wanted the cake to still look like a giant cupcake, since that was in fact what he wanted. I didn't like the way the white cake board looked underneath the colorful cupcake and so I decided to cover it with red chocolate. I think it looks fantastic! After that I added some ribbon roses in the colors he requested and a banner wishing her a happy birthday. I topped it off with a hand modeled "kiss". The cake turned out really colorful and fun, which I think was what he wanted. When he picked the cake up from me he was thrilled. I can only hope she was as thrilled as he was when he gave it to her!
-The Baker
The January 2010 Daring Bakers’ challenge was hosted by Lauren of Celiac Teen. Lauren chose Gluten-Free Graham Wafers and Nanaimo Bars as the challenge for the month. The sources she based her recipe on are 101 Cookbooks and www.nanaimo.ca. 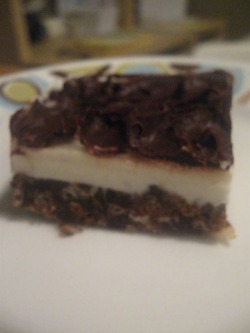 I just joined Daring Bakers! This is my first challenge and I had quite a lot of fun. The way it works is one or two members choose a baked good that they would like the group to prepare. The challenger finds a recipe they want to use and then the group (The Daring Bakers) all prepare it and blog about it. We all agree to only post the recipe on a certain day so that we all do it on the same day. It's a lot of fun and definitely can take you out of your comfort zone if someone chooses something really challenging.
The rules are simple: prepare the item using the same recipe that the challenger posts. No substituting a recipe you already use or tweaking of recipes except in the case of allergies or personal beliefs (so, if like me you can't have nuts or if you're vegan). The only changes that can be made are if the challenger specifically says you can change certain things. Then, make it and blog about it!
For my first challenge we made Nanaimo Bars. I've heard of these before but have never made them, and I don't think I'd ever even seen them. For me this was a great challenge. I got to make something I'd never made before, but it wasn't terribly complicated so I didn't feel too stressed that I wouldn't be able to make them.
The finished bars were incredibly rich and sweet! It's definitely something that you only need a little piece of. At first I wasn't sure if I liked them, but they seem to keep forever so I was able to keep going back and cutting a little sliver and they seemed to get better and better. By the time they were gone M1 and I decided that we did, in fact, like them. They're a crazy combination of sweeet, salty, buttery and chocolate, which is sometimes EXACTLY what you're looking for.
The big challenge was to make the graham crackers gluten free, however our challenger said we could make them with regular flour if we wanted. I chose to make the regular flour kind because it would be too expensive to go out and buy all the different flours needed to make it gluten free, especially knowing that I would never use the flours again. I do have to say that the regular flour crackers were delicious, but other Daring Bakers who made the gluten free type said they were even better than the regular ones.
I had a lot of fun with this, and I'm totally looking forward to the next challenge!
For Gluten-Free Graham Wafers Ingredients - 1 cup (138 g) (4.9 ounces) Sweet rice flour (also known as glutinous rice flour)
- 3/4 cup (100 g) (3.5 ounces) Tapioca Starch/Flour
- 1/2 cup (65 g) (2.3 ounces) Sorghum Flour
- 1 cup (200 g) (7.1 ounces) Dark Brown Sugar, Lightly packed
- 1 teaspoon (5 mL) Baking soda
- 3/4 teaspoon (4 mL ) Kosher Salt
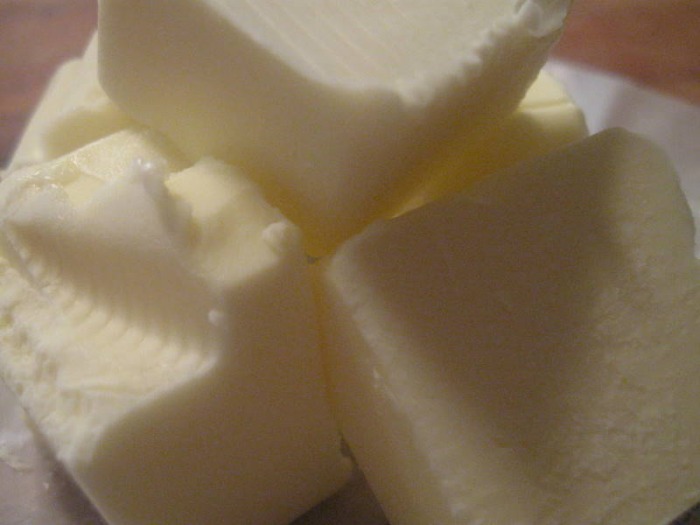
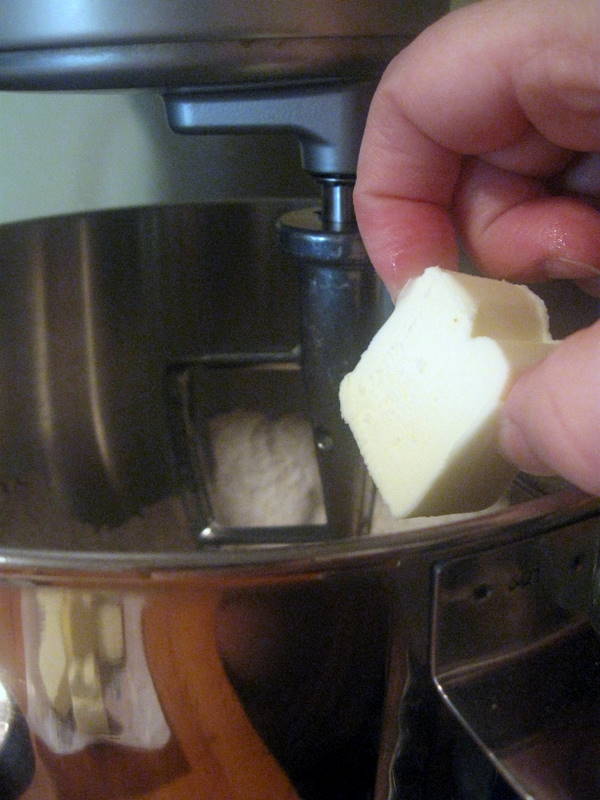
- 7 tablespoons (100 g) (3 ½ ounces) Unsalted Butter (Cut into 1-inch cubes and frozen)
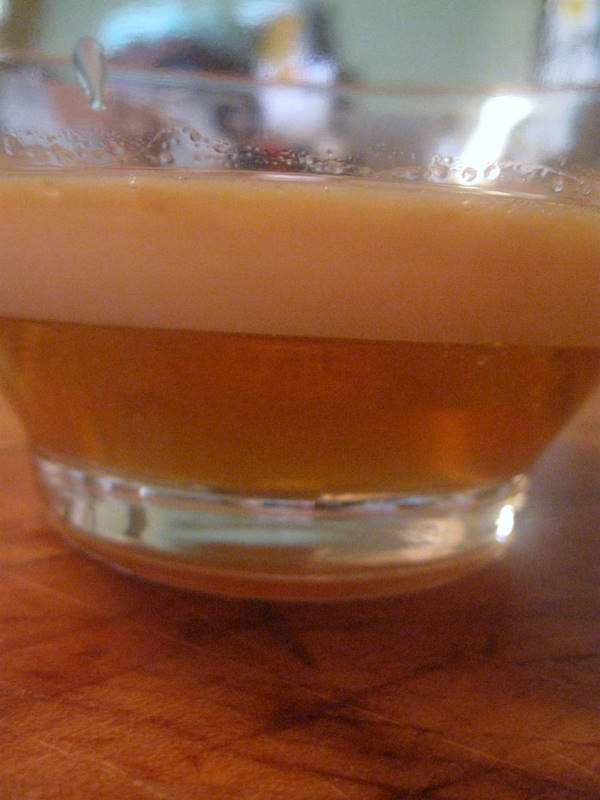
- 1/3 cup (80 mL) Honey, Mild-flavoured such as clover
- 5 tablespoons (75 mL) Whole Milk
- 2 tablespoons (30 mL) Pure Vanilla Extract
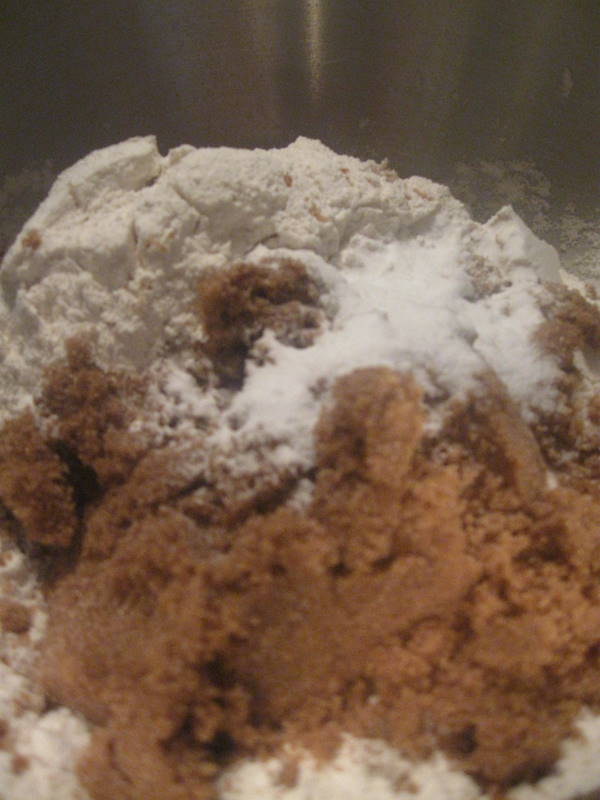
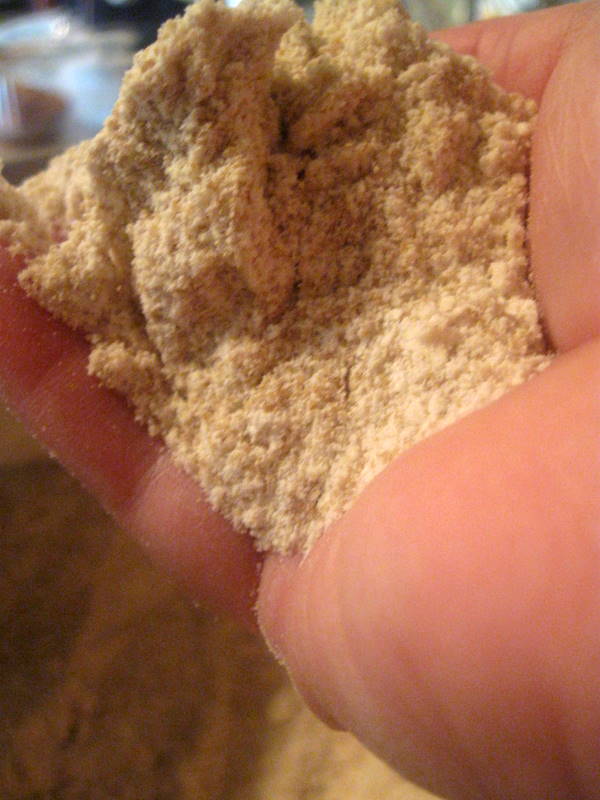
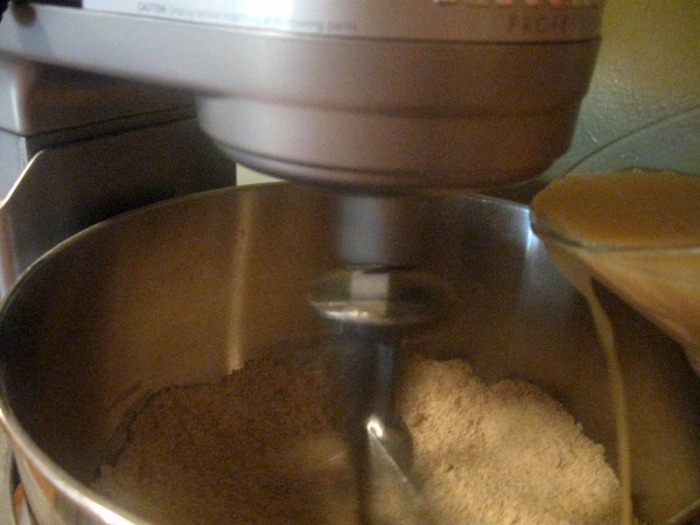
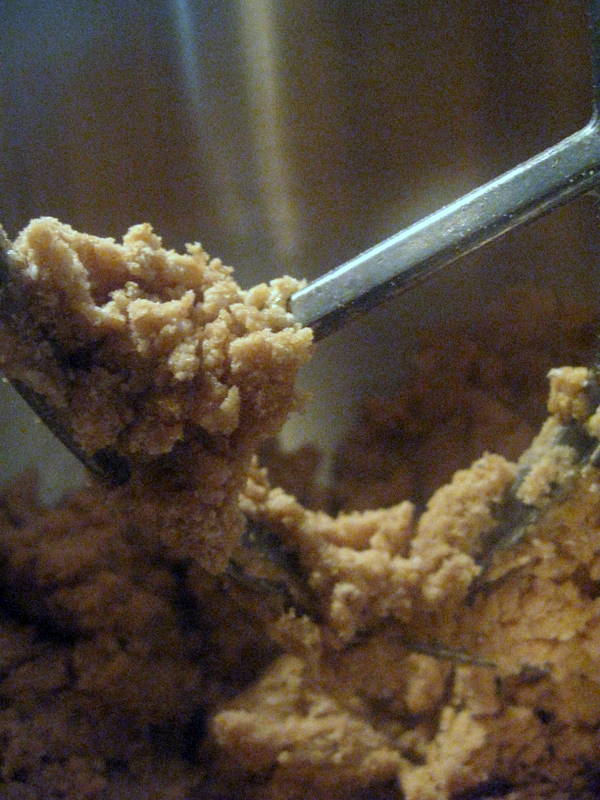
- In the bowl of a food processor fitted with a steel blade, combine the flours, brown sugar, baking soda, and salt. Pulse on low to incorporate. Add the butter and pulse on and off, until the mixture is the consistency of a coarse meal. If making by hand, combine aforementioned dry ingredients with a whisk, then cut in butter until you have a coarse meal. No chunks of butter should be visible.
- In a small bowl or liquid measuring cup, whisk together the honey, milk and vanilla. Add to the flour mixture until the dough barely comes together. It will be very soft and sticky.
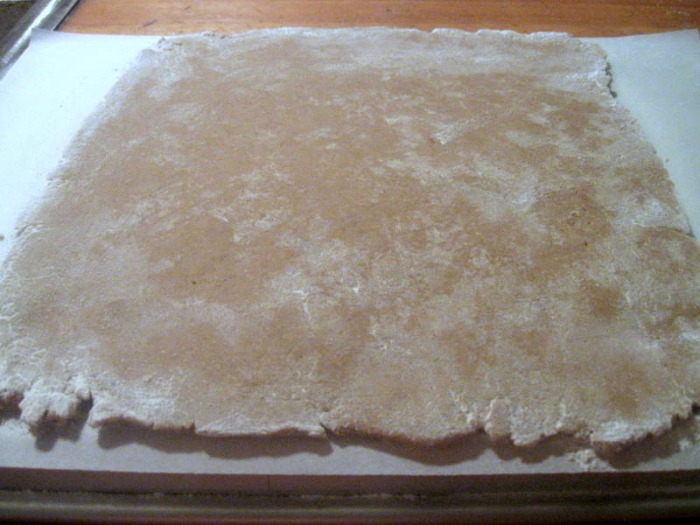
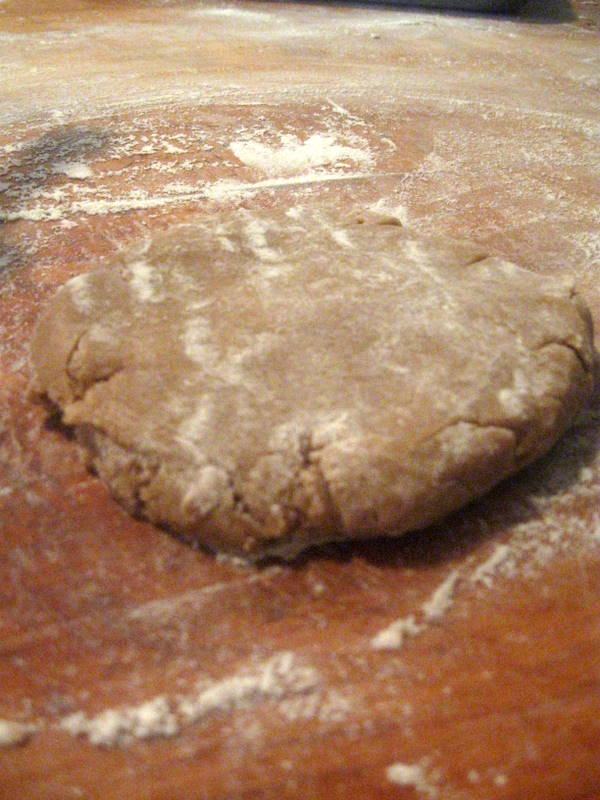
- Turn the dough onto a surface well-floured with sweet rice flour and pat the dough into a rectangle about 1 inch thick. Wrap in plastic and chill until firm, about 2 hours, or overnight.
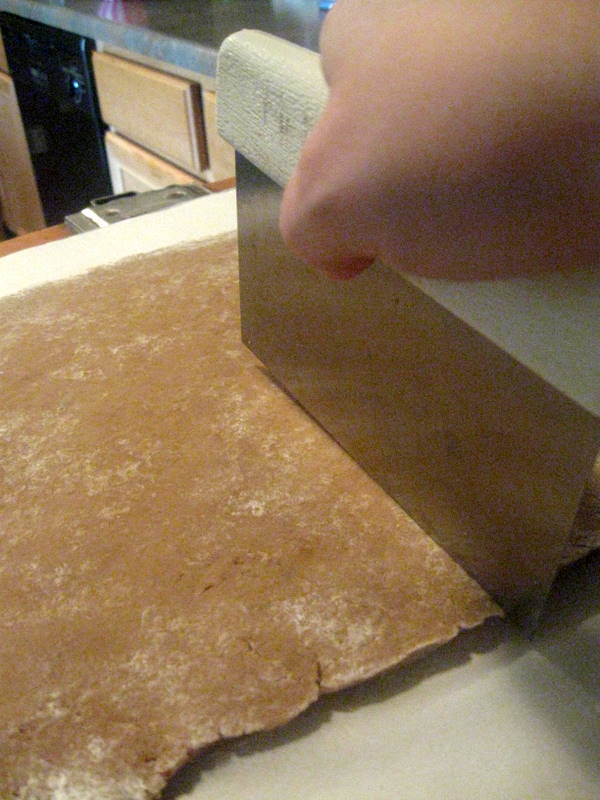
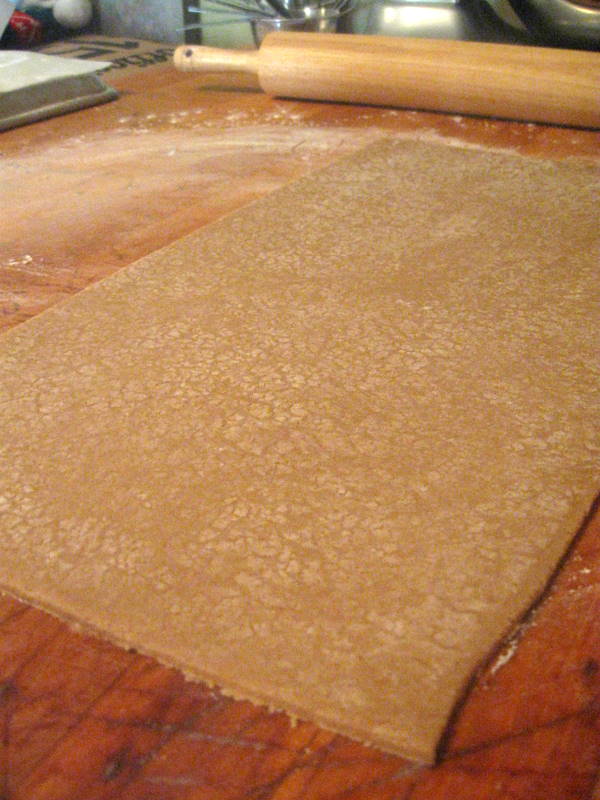
- Divide the dough in half and return one half to the refrigerator. Sift an even layer of sweet rice flour onto the work surface and roll the dough into a long rectangle, about 1/8 inch thick. The dough will be quite sticky, so flour as necessary. Cut into 4 by 4 inch squares. Gather the scraps together and set aside. Place wafers on one or two parchment-lined baking sheets. Chill until firm, about 30 to 45 minutes. Repeat with the second batch of dough.
- Adjust the rack to the upper and lower positions and preheat oven to 350 degrees Fahrenheit (180 degrees Celsius).
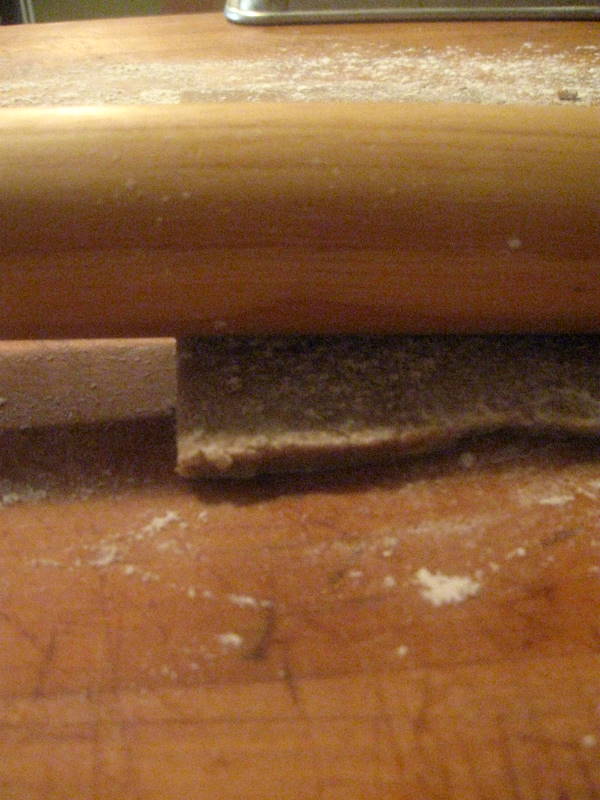
- Gather the scraps together into a ball, chill until firm, and reroll. Dust the surface with more sweet rice flour and roll out the dough to get a couple more wafers.
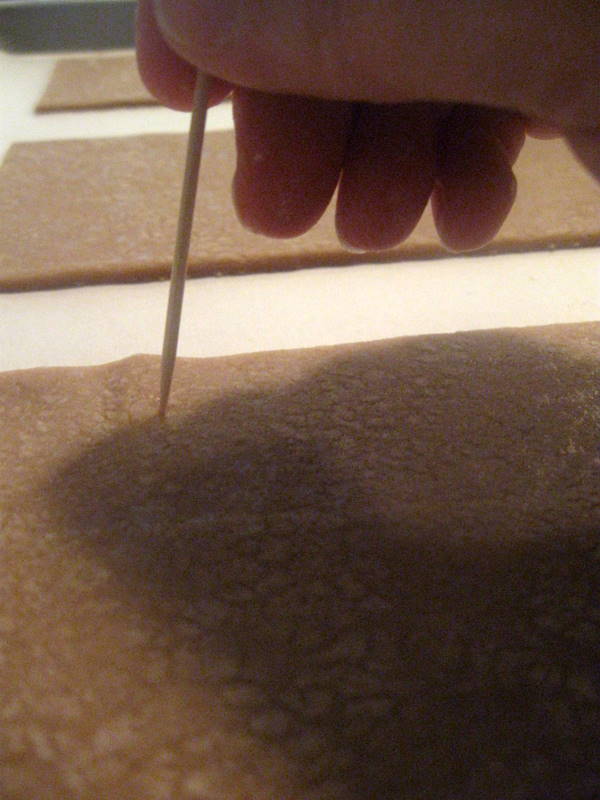
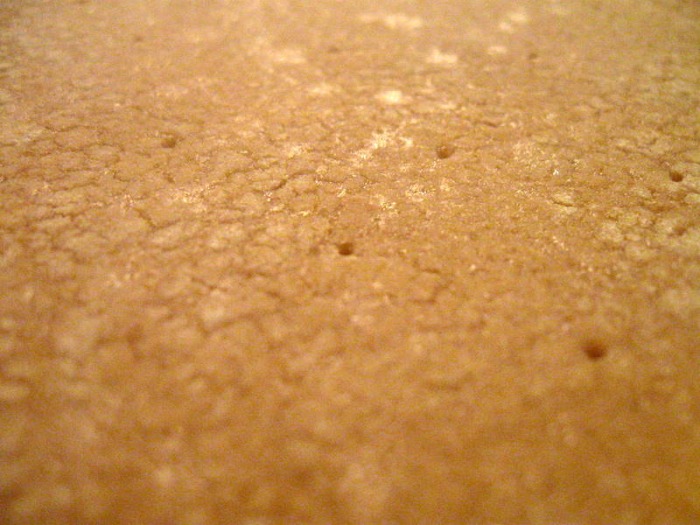
- Prick the wafers with toothpick or fork, not all the way through, in two or more rows.
- Bake for 25 minutes, until browned and slightly firm to the touch, rotating sheets halfway through to ensure even baking. Might take less, and the starting location of each sheet may determine its required time. The ones that started on the bottom browned faster.
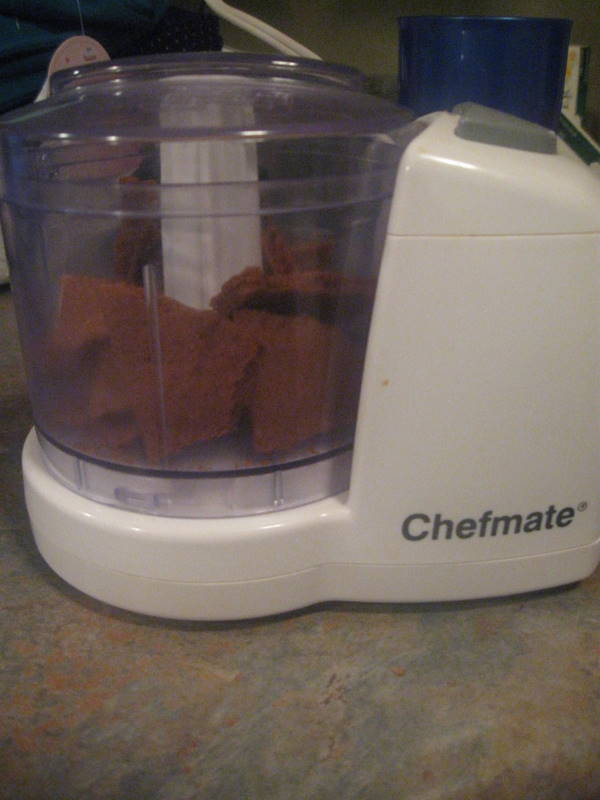
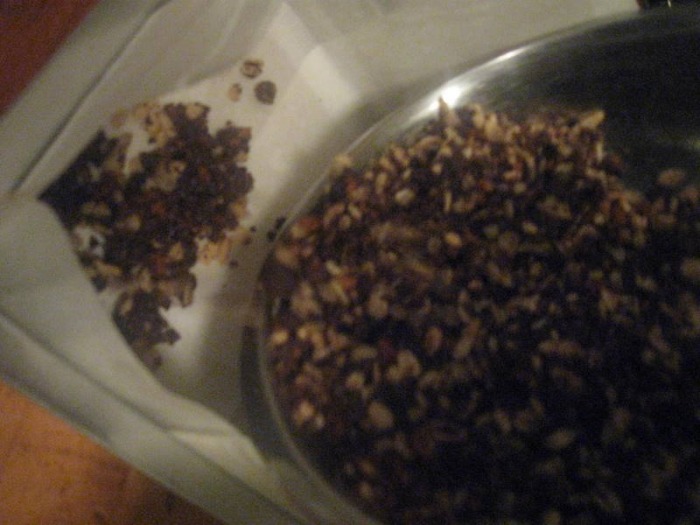
- When cooled completely, place enough wafers in food processor to make 1 ¼ cups (300 mL) of crumbs. Another way to do this is to place in a large ziplock bag, force all air out and smash with a rolling pin until wafers are crumbs.
If making the graham crackers with wheat, replace the gluten-free flours (tapioca starch, sweet rice flour, and sorghum flour) with 2 ½ cups plus 2 tbsp of all-purpose wheat flour, or wheat pastry flour. Watch the wheat-based graham wafers very closely in the oven, as they bake faster than the gluten-free ones, sometimes only 12 minutes. (I made the regular flour crackers. I had no problems with the dough being sticky or that they baked super fast. They baked in the 12 minutes the recipes suggests.)Nanaimo Bars Ingredients: For Nanaimo Bars: Bottom Layer - 1/2 cup (115 g) (4 ounces) Unsalted Butter
- 1/4 cup (50 g) (1.8 ounces) Granulated Sugar
- 5 tablespoons (75 mL) Unsweetened Cocoa
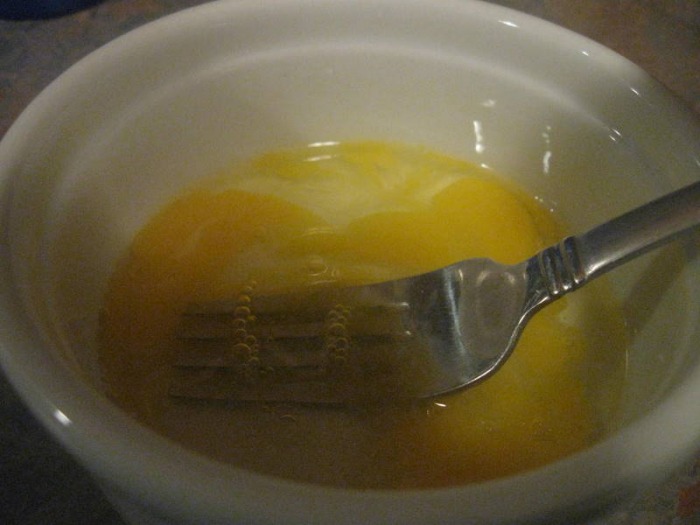
- 1 Large Egg, Beaten
- 1 1/4 cups (300 mL) (160 g) (5.6 ounces) Gluten Free Graham Wafer Crumbs (See previous recipe)
- 1/2 cup (55 g) (1.9 ounces) Almonds (Any type, Finely chopped)
- 1 cup (130 g) (4.5 ounces) Coconut (Shredded, sweetened or unsweetened)
Middle Layer - 1/2 cup (115 g) (4 ounces) Unsalted Butter
- 2 tablespoons and 2 teaspoons (40 mL) Heavy Cream
- 2 tablespoons (30 mL) Vanilla Custard Powder (Such as Bird’s. Vanilla pudding mix may be substituted.)
- 2 cups (254 g) (8.9 ounces) Icing Sugar
Top Layer - 4 ounces (115 g) Semi-sweet chocolate
- 2 tablespoons (28 g) (1 ounce) Unsalted Butter
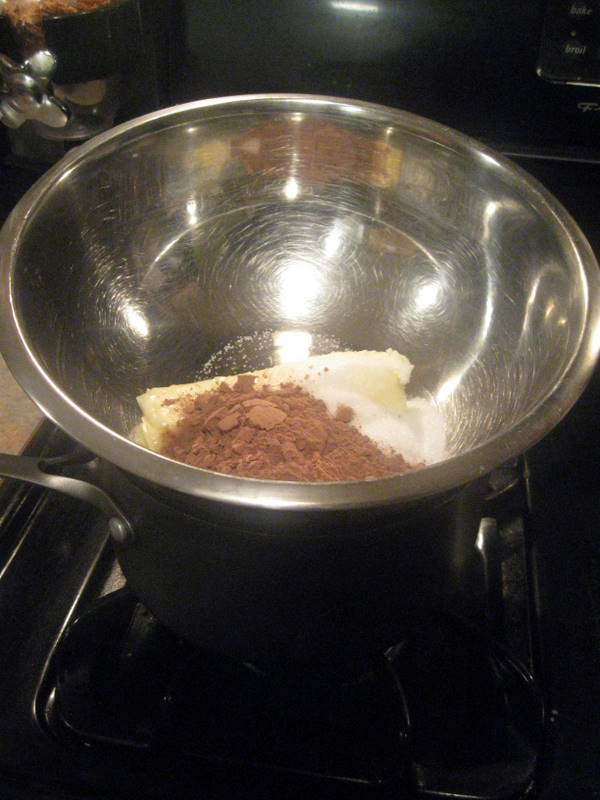
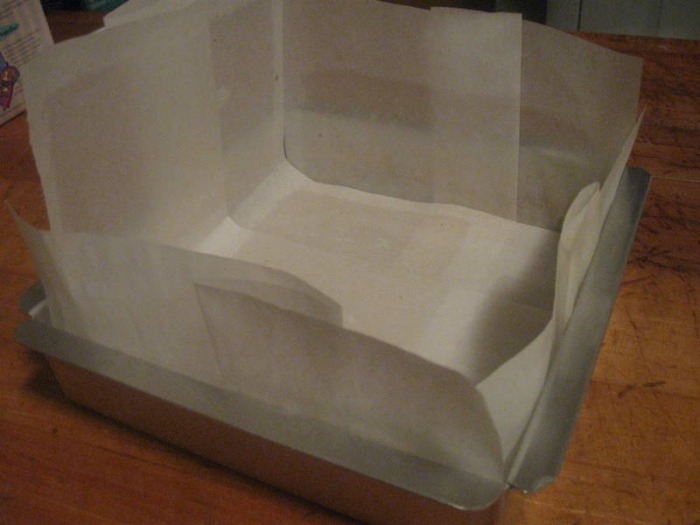
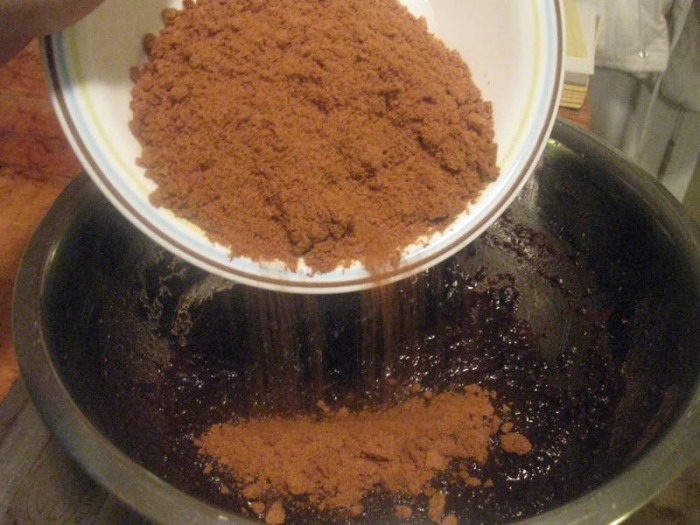
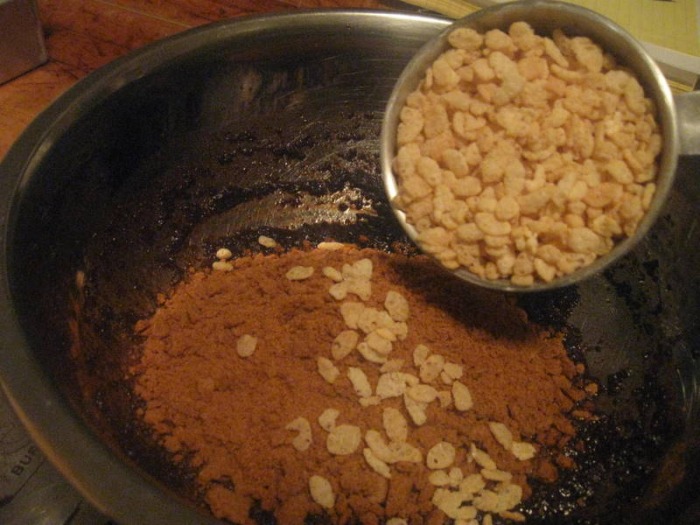
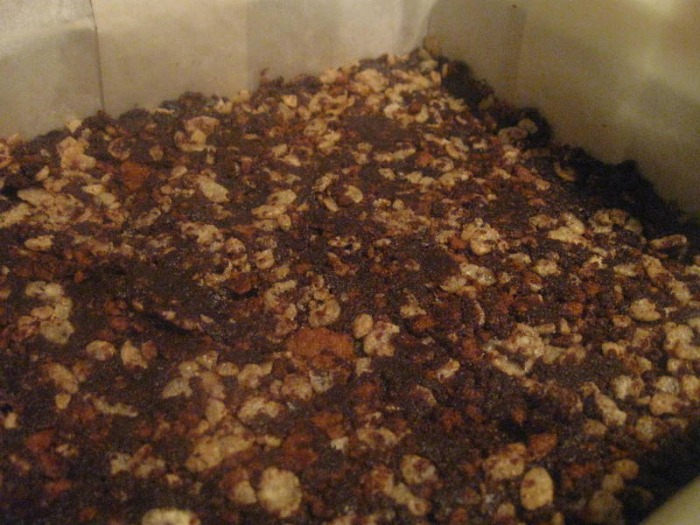
- For bottom Layer: Melt unsalted butter, sugar and cocoa in top of a double boiler. Add egg and stir to cook and thicken. Remove from heat. Stir in crumbs, nuts and coconut. Press firmly into an ungreased 8 by 8 inch pan.
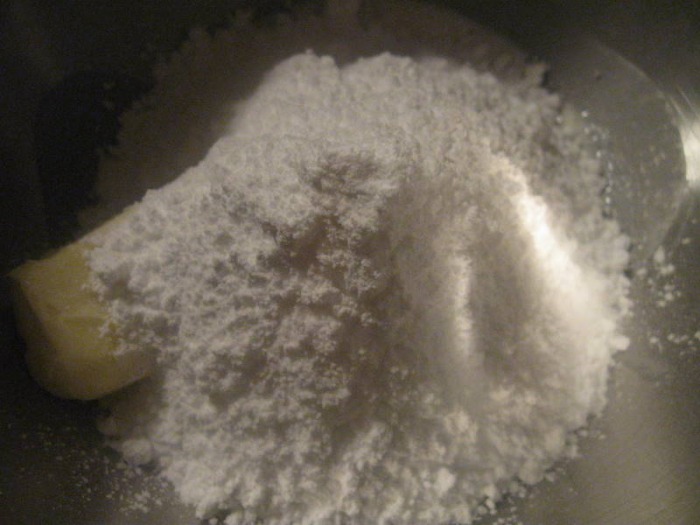
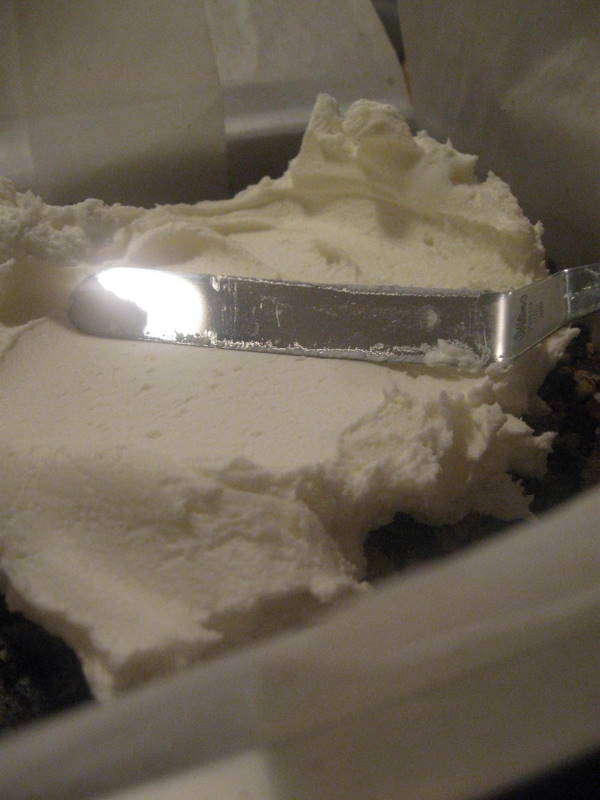
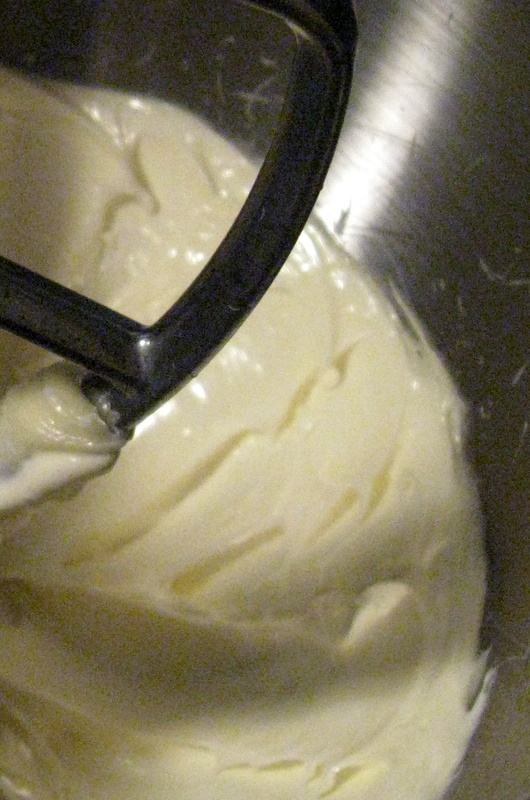
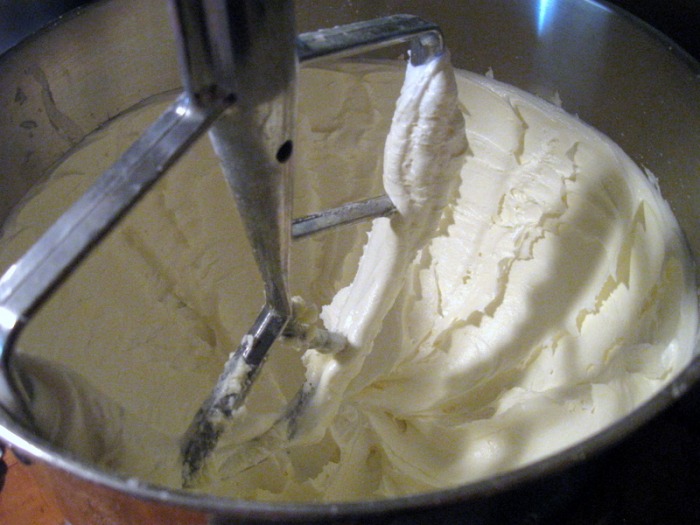
- For Middle Layer: Cream butter, cream, custard powder, and icing sugar together well. Beat until light in colour. Spread over bottom layer.
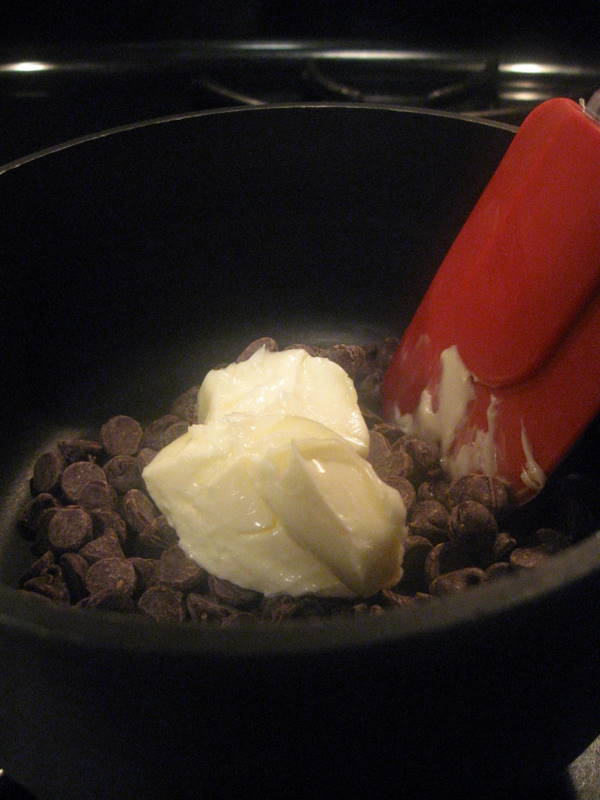
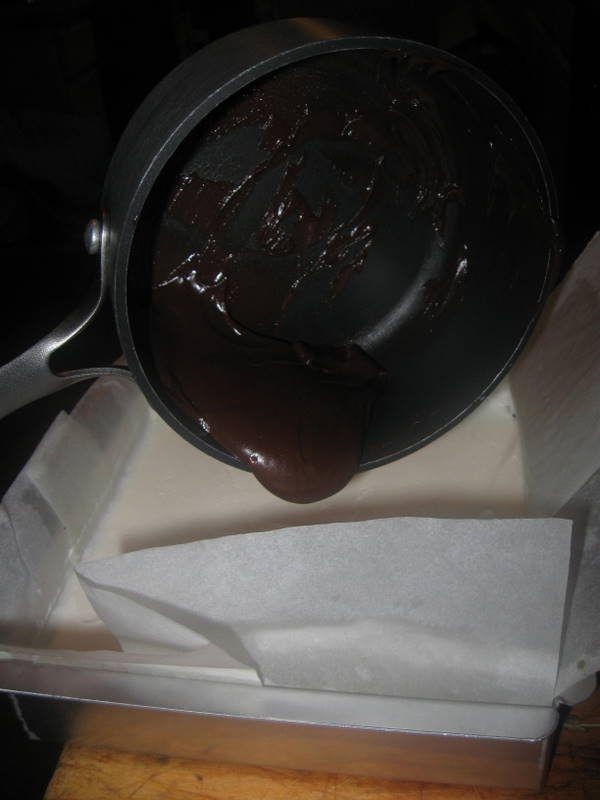
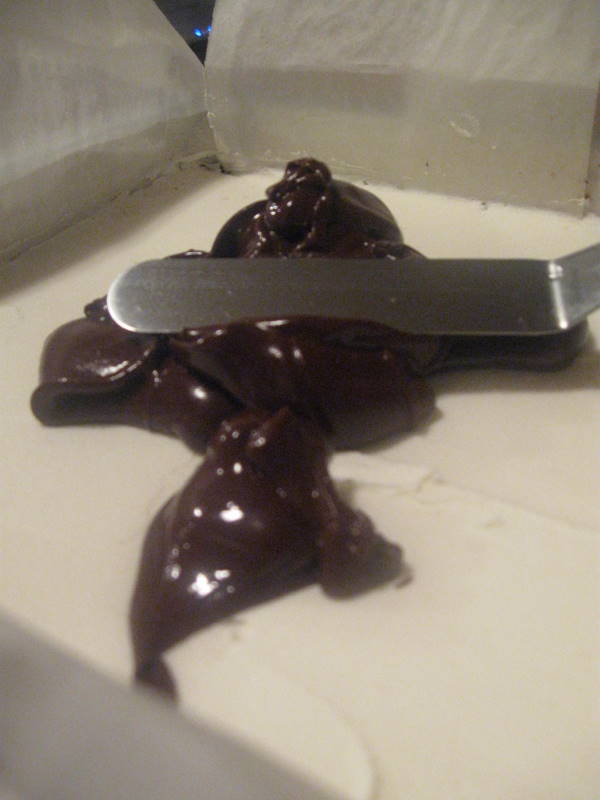
- For Top Layer: Melt chocolate and unsalted butter over low heat. Cool. Once cool, pour over middle layer and chill.
If making with wheat, replace the gluten-free graham wafer crumbs with equal parts wheat graham wafer crumbs! Additional Information:
These bars freeze very well, so don’t be afraid to pop some into the freezer.
The graham wafers may be kept in an airtight container for up to 2 weeks.
 I get my sweet tooth from my mother. She always has a stash of something hidden in a drawer. When I was a kid I didn't know about her stash and, except for holidays, my sisters and I didn't get candy or cookies all that often. Mostly if we wanted some cookies someone better make some.
The other thing I get from my mother is my love for reading. At the end of the day I love to lay in bed with a book and read until I doze off. My mother and I used to get into her huge bed and burrow ourselves under the blankets and read. Eventually she let me in on her secret. I was a little bit older and not as inclined to pass out within five minutes of getting into bed and she couldn't disguise the crinkling of wrappers for the pages of a book!
I loved when she had M&M's because you could take a big handful and go back to your book without having to put your book down to unwrap something. Twizzlers were pretty good too. But what I hated was when she had Milano Cookies. First of all, there weren't that many in the bag so you couldn't really pig-out on them. But, secondly, they were filled with dark chocolate... ewww! What kid likes dark chocolate? I'm not even sure if my mother knows that I didn't really like the cookies. I always managed to eat a couple because it was our special time and I didn't want to ruin it, but I sure appreciated it more when she had milk chocolate!
Now that I'm "growed" up (as M2 says), I have an appreciation for dark chocolate, and Milano Cookies. I very rarely buy them though, because my kids don't share my childhood dislike of dark chocolate and they would eat the entire bag in a few minutes, and these cookies are way too expensive for that. They're an indulgence and should be savored. I decided that if I could figure out how to make them we could have them any time we, well I, wanted. And that's how this recipe came to be.
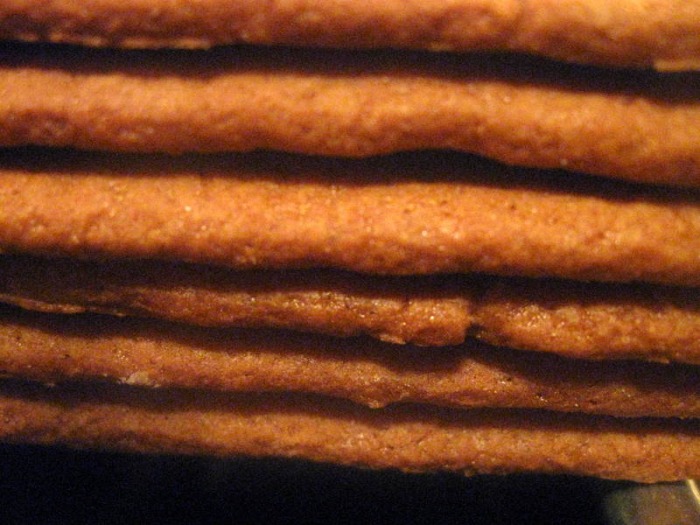
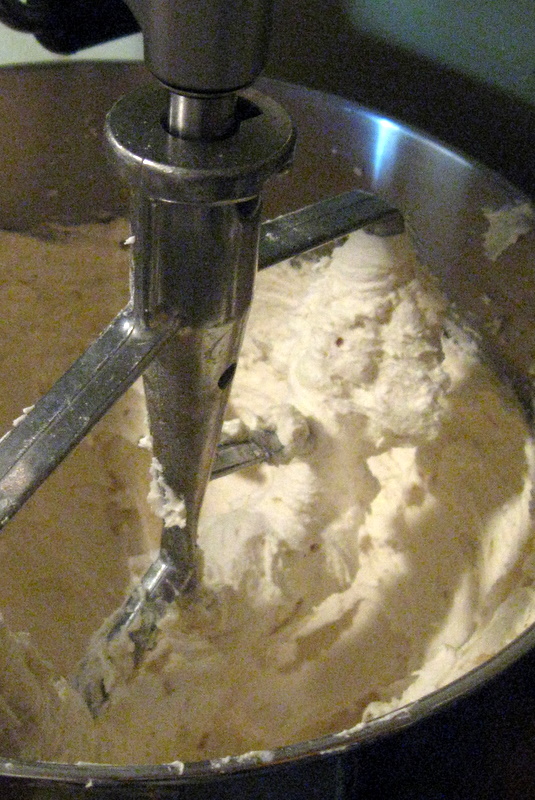
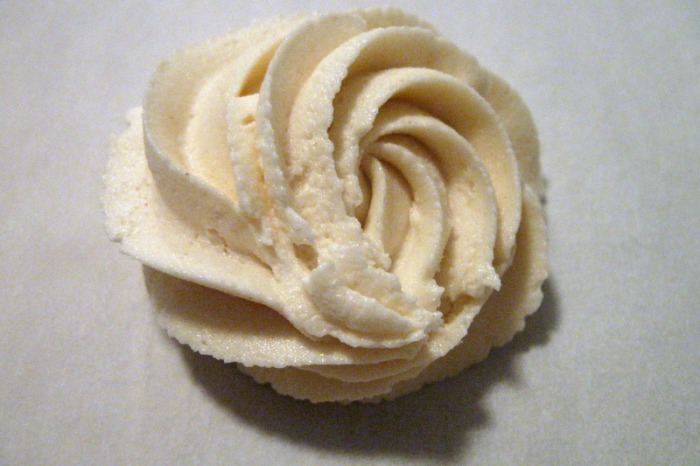
To get the right texture you really need to let the dough mix. Follow the mixing instructions carefully, otherwise you'll end up with a dough that is very crumbly. It will still taste good, but it won't be a Milano cookie. Bake them until the edges have turned a nice golden brown. Usually with lighter colored cookies (like a sugar cookie, for example) if the edges have gone brown they're slightly over-baked, but not this time. These are such delicate cookies that they need a little baked in sturdiness. If you don't want to fill them with ganache, as I've used, fill them with a high quality jam, nutella, or top them with a quartered maraschino cherry before baking. Or you could always eat them plain.
-The Baker
COOKIE DOUGH:- 8 oz Butter, softened
- 1 1/2 C AP Flour, sifted
- 1 1/2 C Powdered Sugar, sifted
- 1 t Vanilla Extract
- 1/2 t Almond Extract
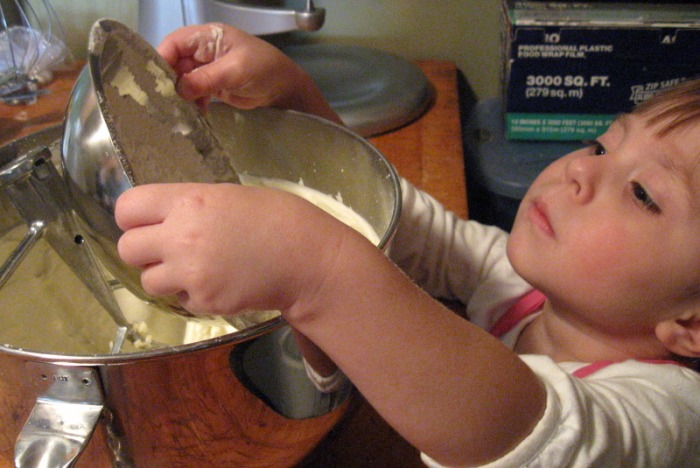
- Cream the softened butter by itself on high for 5 mins
- Stir in the Vanilla and Almond extracts
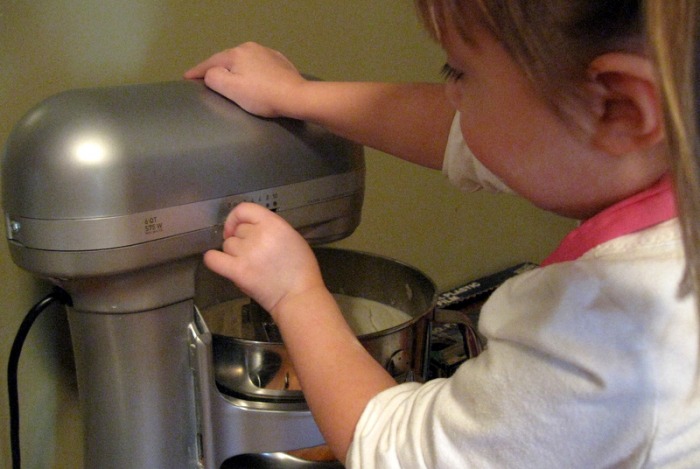
- Add the sifted Powdered Sugar; slowly bring the mixer speed up to high; cream for 10 mins
- Add the AP flour; slowly bring the mixer speed up to high; cream for 10 mins
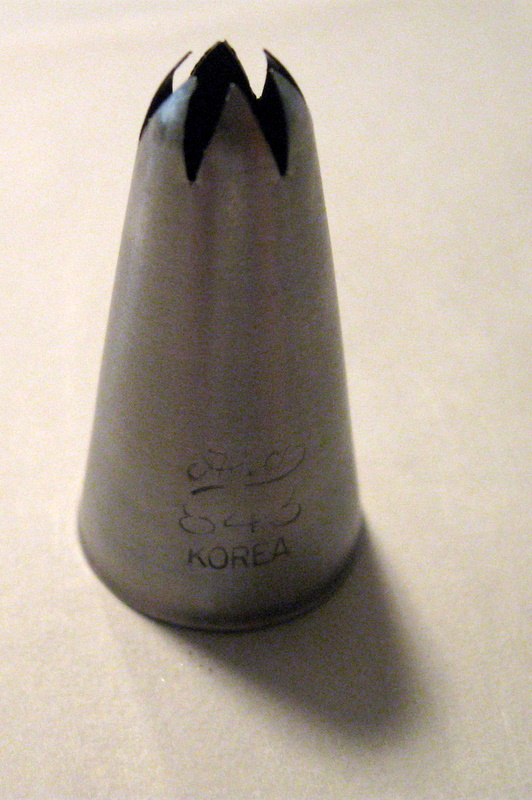
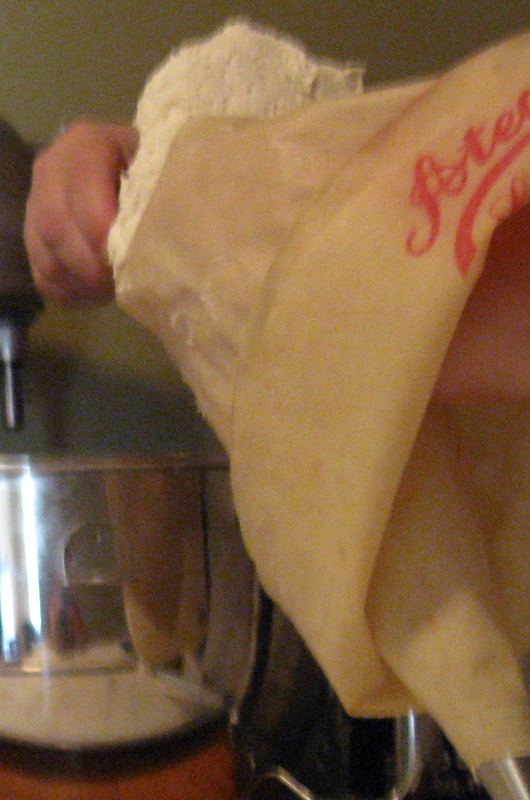
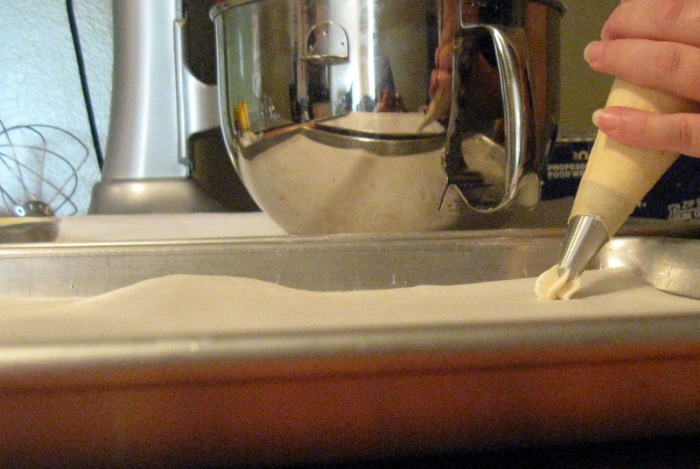
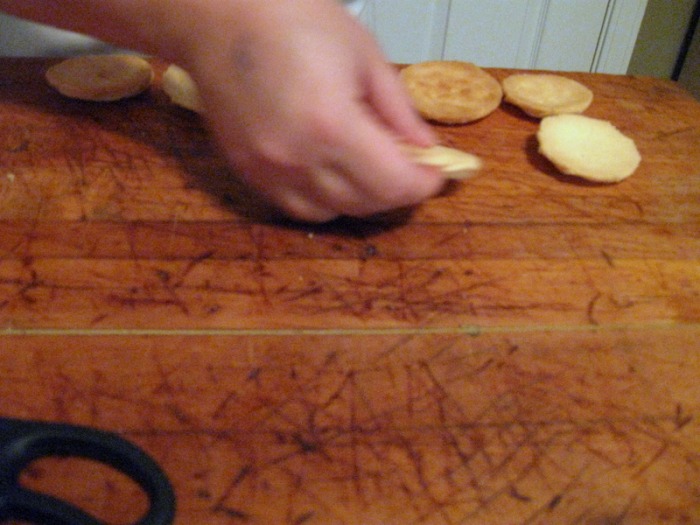
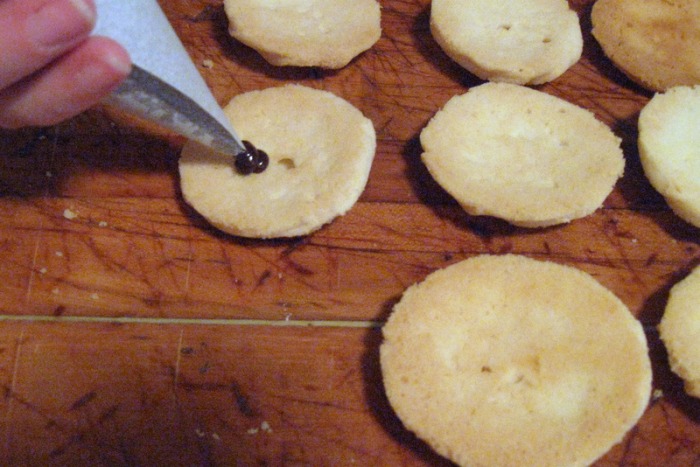
- Using a pastry bag and a star tip, pipe your desired shape onto parchment lined pans
- Bake at 350 F for 16 mins
- Let cool on the pan for 5 mins; then move to a rack to finish cooling
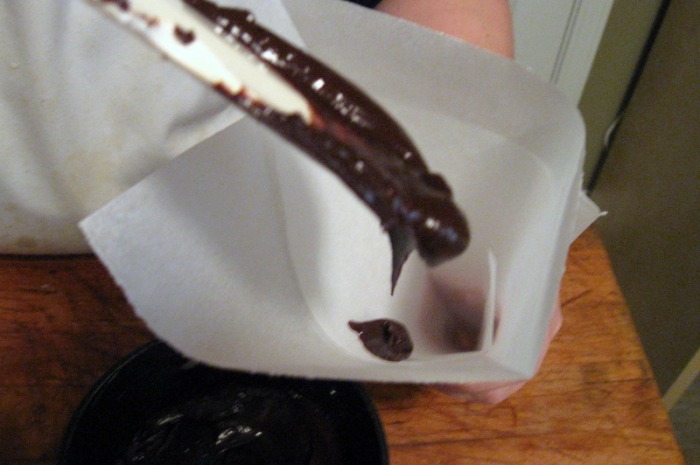
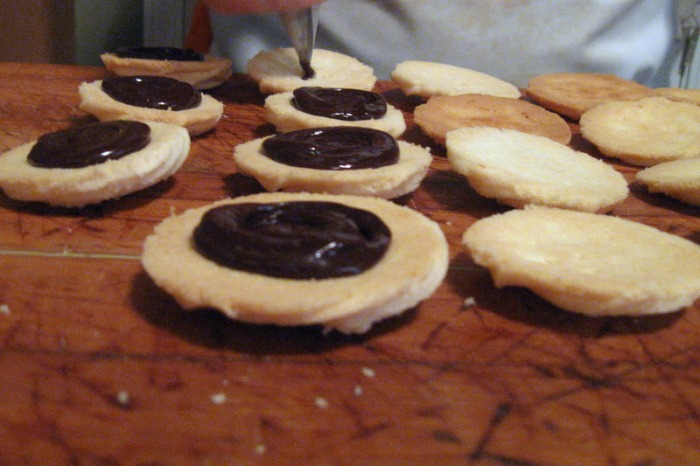
- When completely cool fill one cookie with ganache and sandwich shut with another cookie; let the ganache set before stacking
*Notes: If you don't have a pastry bag you can just scoop the dough onto the pan using a spoon. GANACHE:- 1 oz Heavy Whipping Cream
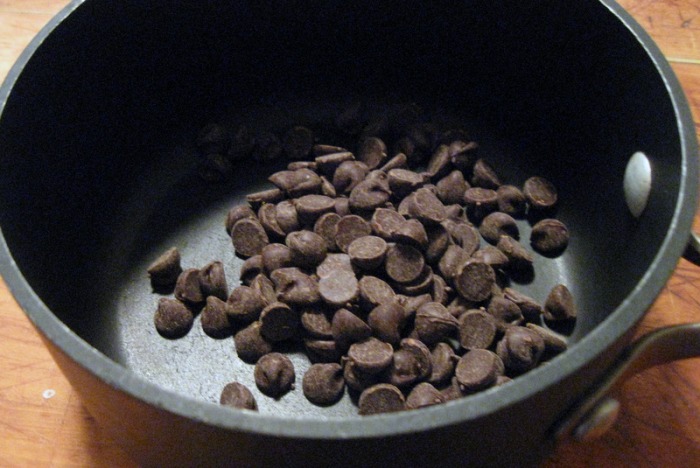
- 5 oz Dark chocolate
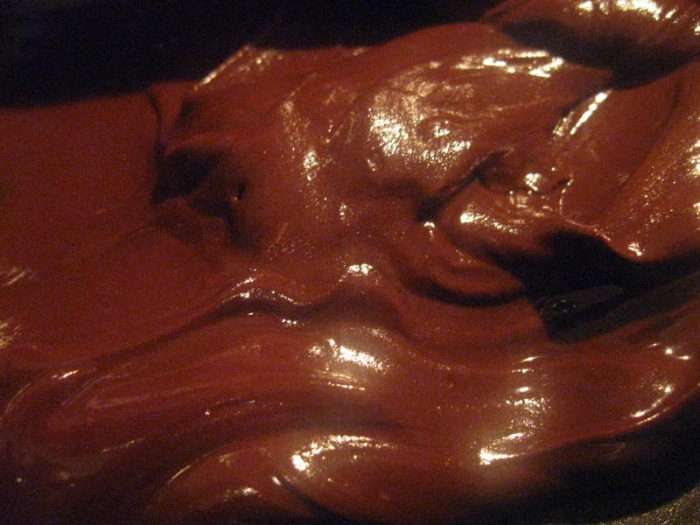
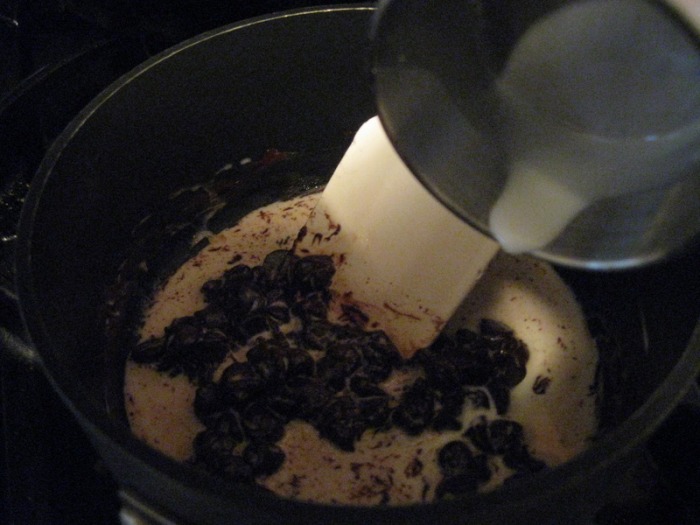
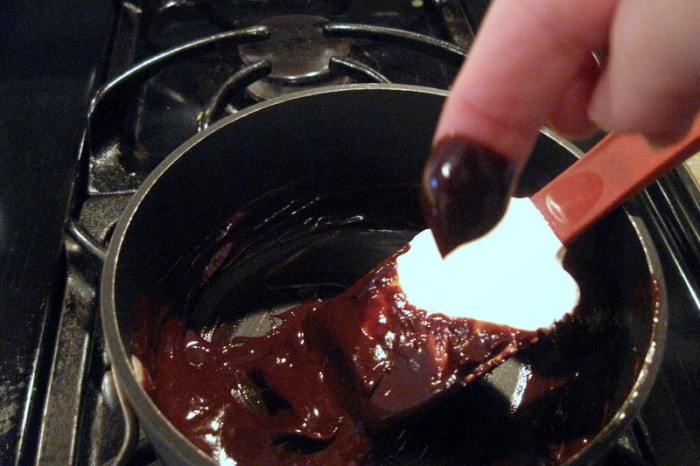
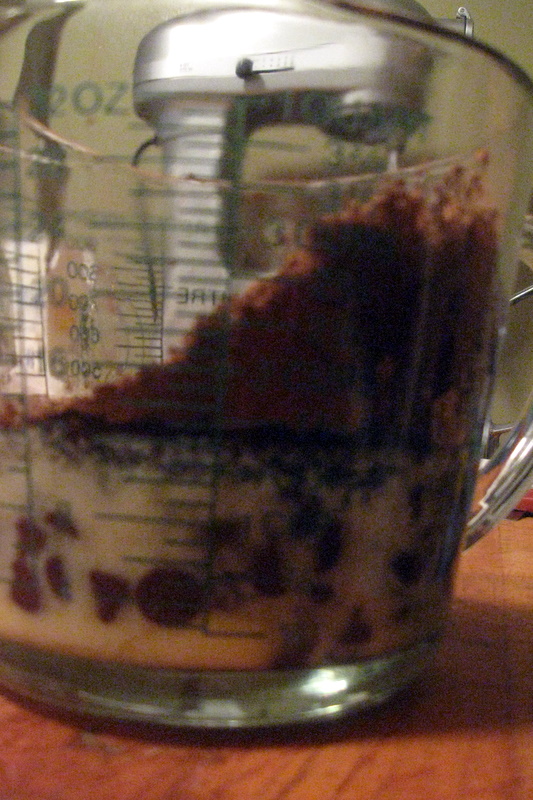
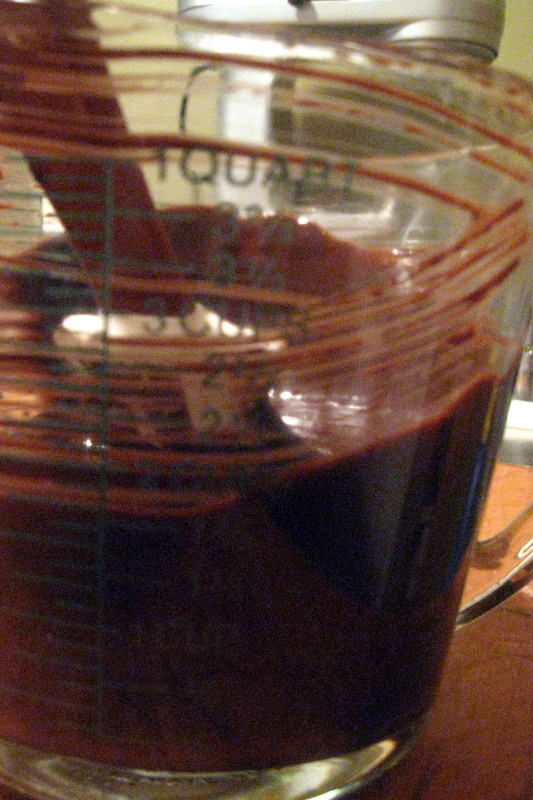
- Gently warm the cream and chocolate; don't get it too hot
- Stir together the cream and chocolate until it's very shiny
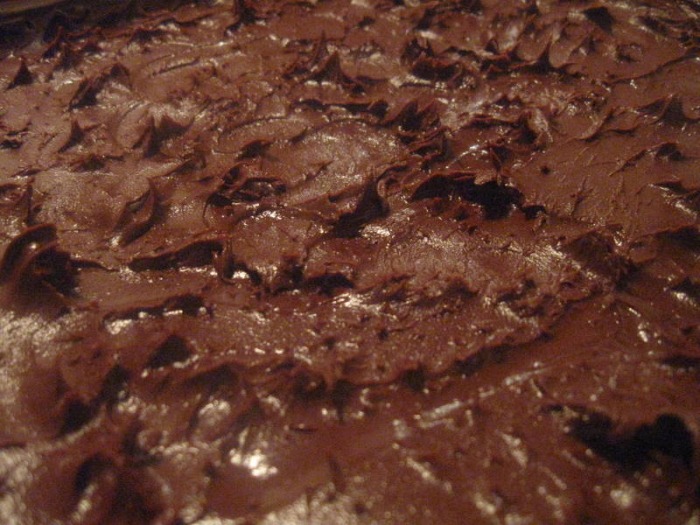
It's easy to make a good brownie. All it takes is some expensive, high quality chocolate. More and more grocery stores are carrying quality chocolate, but if yours doesn't, just run over to your specialty food shop. What? You don't have one near you? Well, with the internet the world is getting smaller every day. So, hop online and order some chocolate to be shipped overnight to you. Oh, but hopefully you're not in the midst of a brownie crave during the hot summer months, because a lot of companies won't ship chocolate to you for fear of it melting during transport. Once you've tracked down your chocolate all you have to do is put your craving on hold until it arrives and then you can whip up a batch of brownies and pop them in the oven. Almost instant gratification! Yeah, not quite. When I want instant gratification, I want it NOW, not tomorrow or the day after, or even worse at the end of the summer.
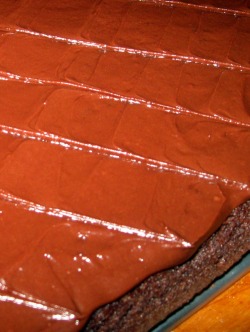
That just wasn't good enough for me. I want to be able to make a killer brownie at the drop of a hat without needing to hunt down chocolate or keep expensive chocolate on hand, which let's face it, I'd just end up eating between brownie cravings. So I began a quest to find a brownie recipe that would make luscious brownies out of regular ingredients most of us just have on hand.
How does a brownie recipe quest work, you ask? Well, I'd find a promising recipe and make it and it would fall flat. It would too dry, too cakey, too bland, too blah. Believe me, I made a lot of bad brownies. You know when people say things like, "well, even a bad xyz is still a good xyz", not true when it comes to brownies. Look, I told you, I'm up front with myself when it comes to eating baked goods... they're loaded with fat and calories and I know I shouldn't eat them as much as I do, so when I do eat them I want them to be GREAT. To die for, even. So I kept trying. Then I talked to my friend Wendy and told her of the "Brownie Quest" and she asked if I wanted to try her recipe. So she sent it over to me. And I made it. And they were good, but not "fight to death over the last one" good. So I started tweaking. I put my culinary degree to work and really broke down the recipe and analyzed why each ingredient was there. After several more attempts and several more changes I had completely re-worked the recipe and they're fabulous!
BROWNIES
yield 1 - 1/2 sheet pan(approximately 18" x 13")
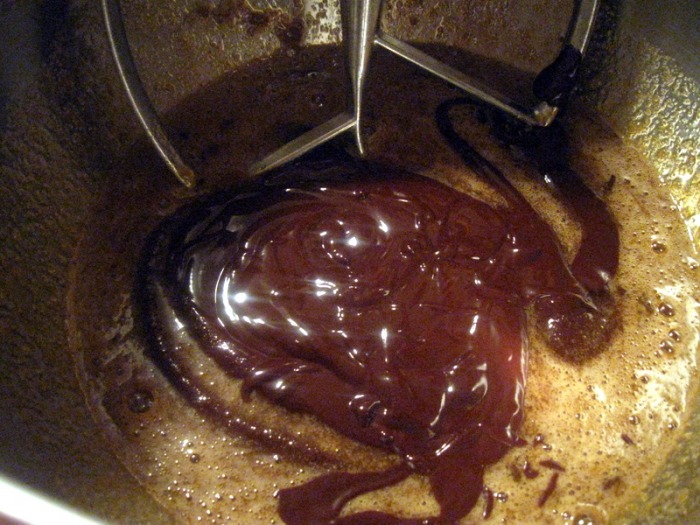
- melt butter, 1st portion chocolate chips and cocoa (can be done in microwave)
- whisk in sugar and eggs
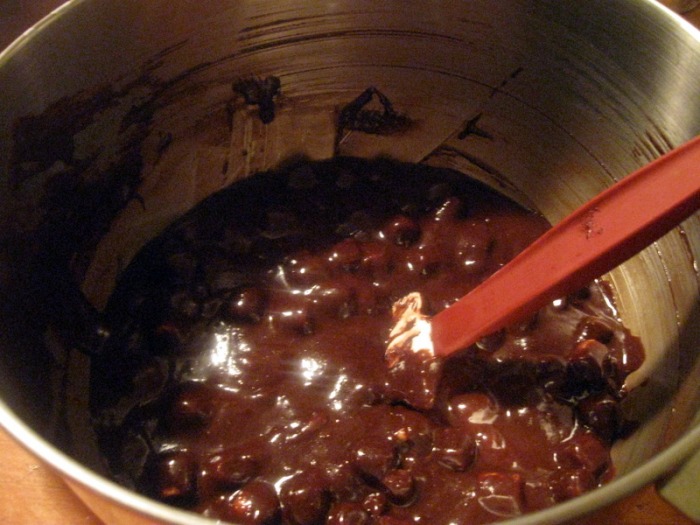
- stir in dry ingredients
- stir in 2nd portion chocolate chips
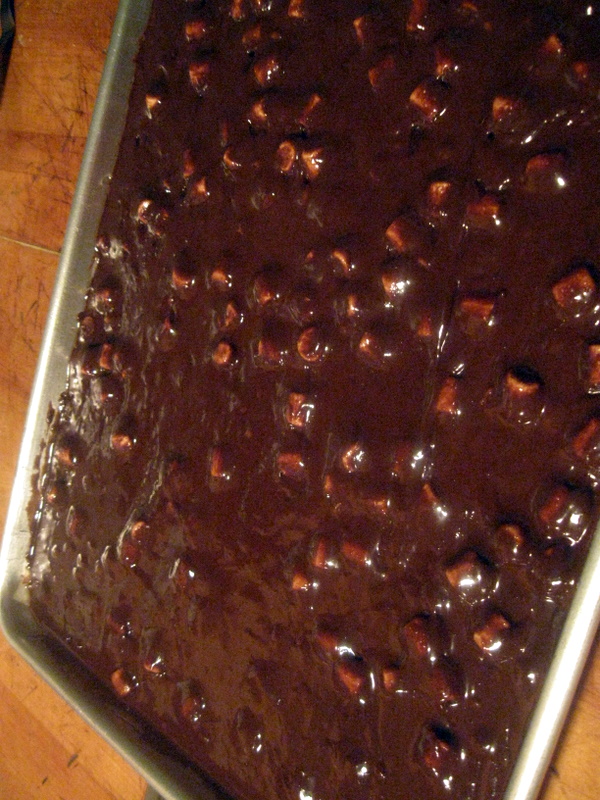
- pour in prepared pan
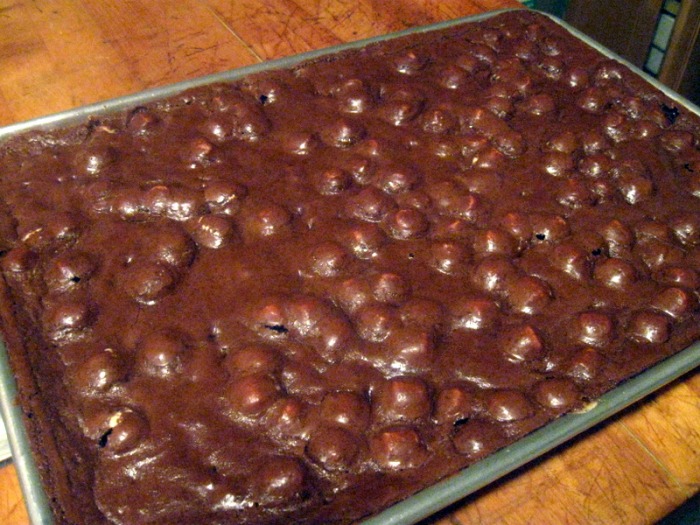
- top with miniature marshmallows and push under batter
- bake at 350 30 mins for ½ sheet
Chocolate Fudge Frosting:
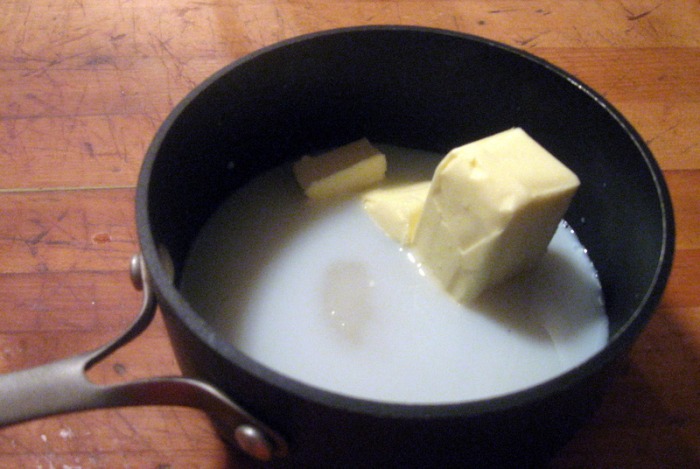
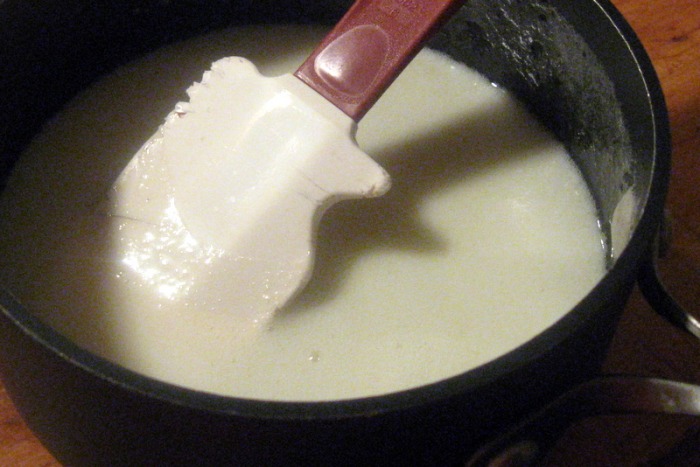
- Scale sugar, milk and butter into a pot; bring to a boil, stirring constantly.
- Remove from heat; add chocolate chips, stir until melted and incorporated.
- Whip in mixer until creamy and cool.
- Frost warm brownies or cover with plastic and put in cooler. When ready to use, warm in microwave for 15 seconds, stir and then frost.
-The Baker
|


 RSS Feed
