 One of the best parts about owning the bakery is that I have the freedom to be creative. I can collaborate with someone who needs a cake for a party they're throwing and they can give me the concept they're after and then I get to run with it.
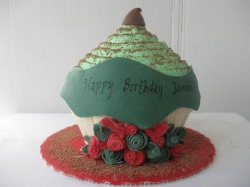
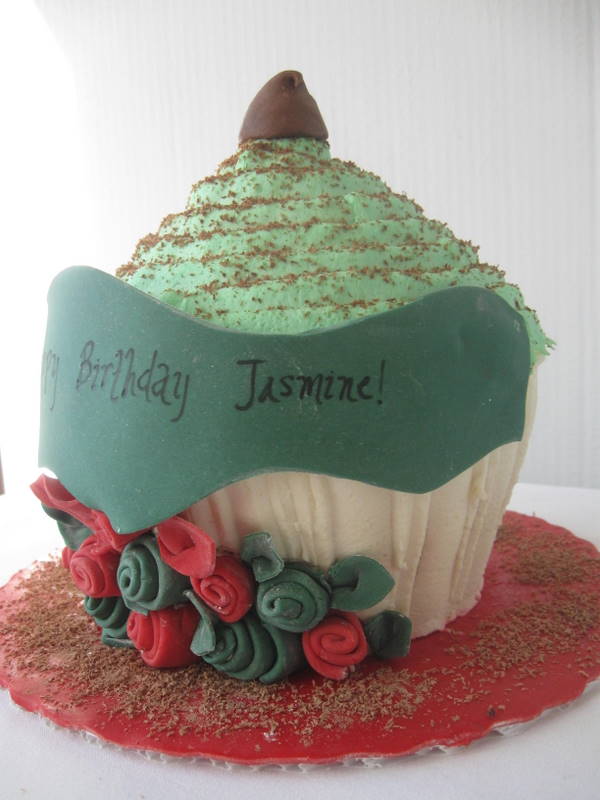
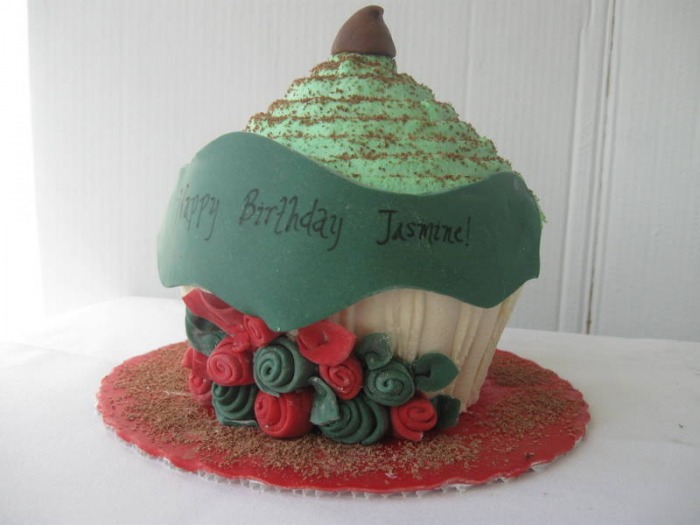
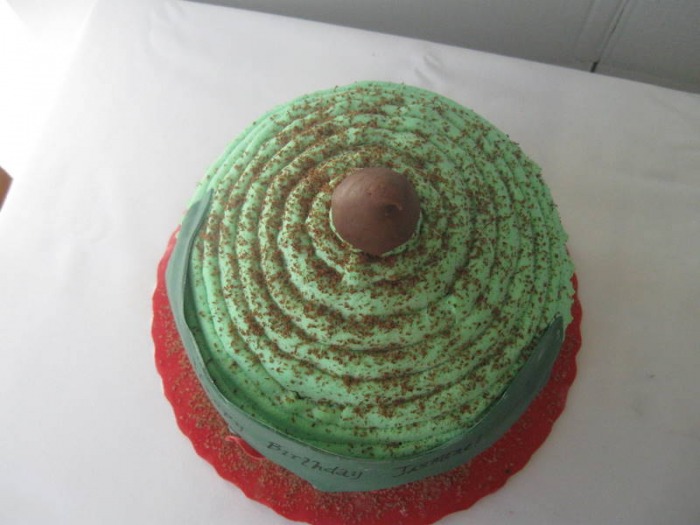
Just the other day we got a phone call from someone who wanted to really WOW his girlfriend. He told us this was his first time ever doing something like this and he had an idea in his head, but not all the details. Basically what he wanted was a giant cupcake and then he wanted to incorporate the colors that are important to his girlfriend.
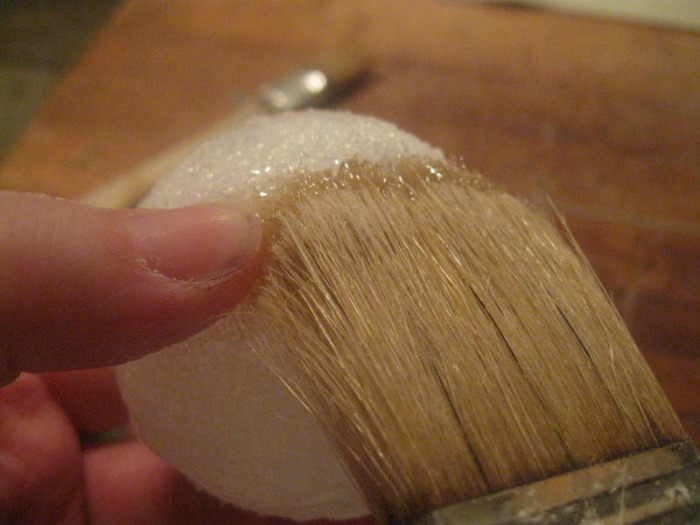
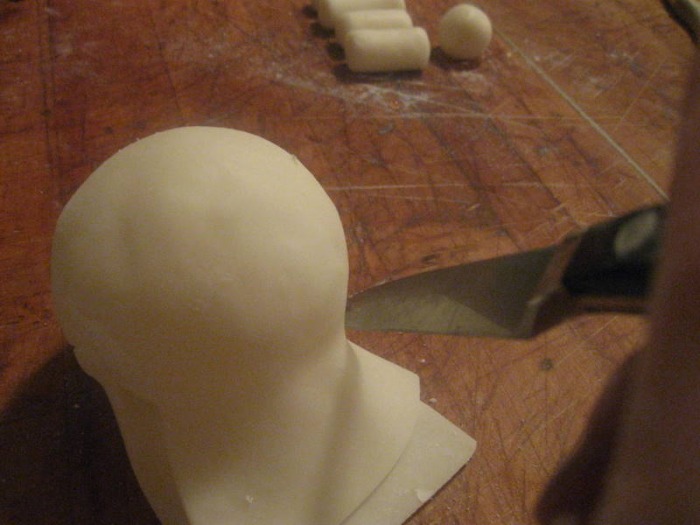
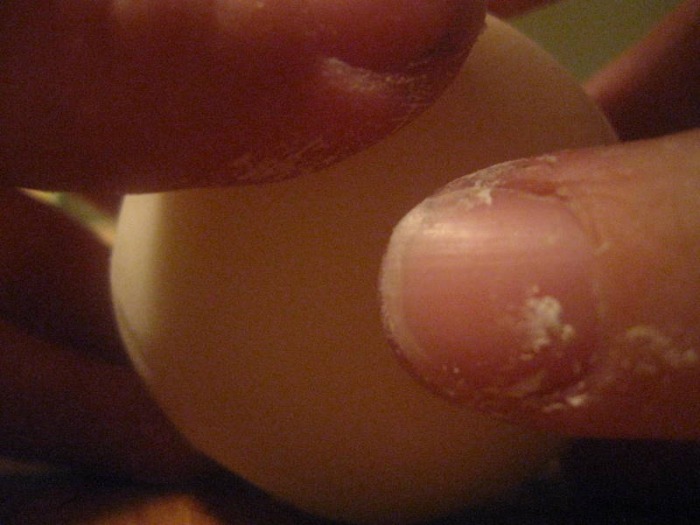
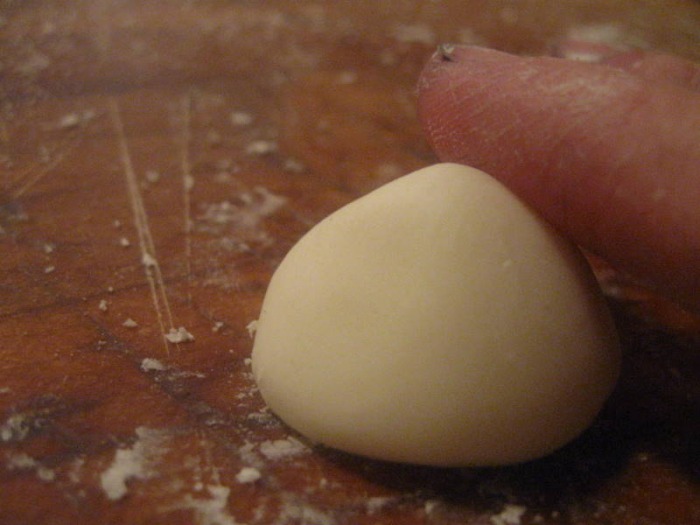
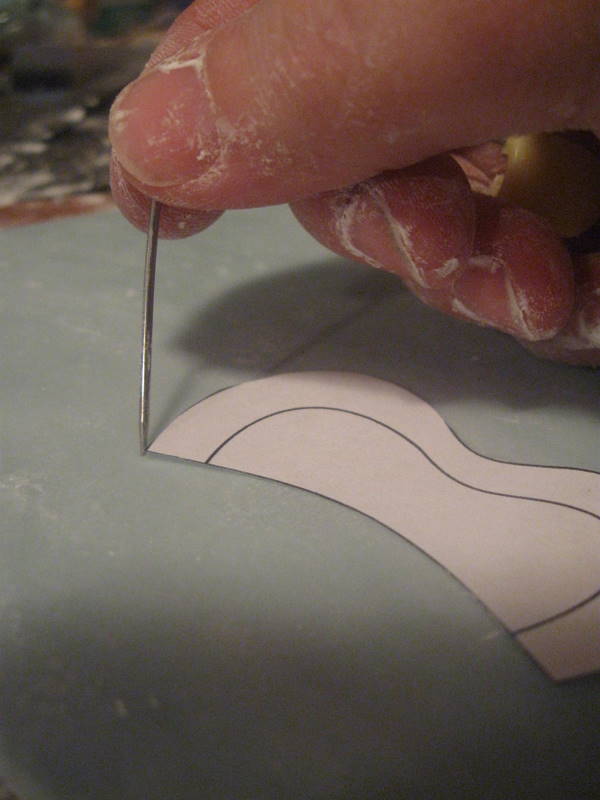
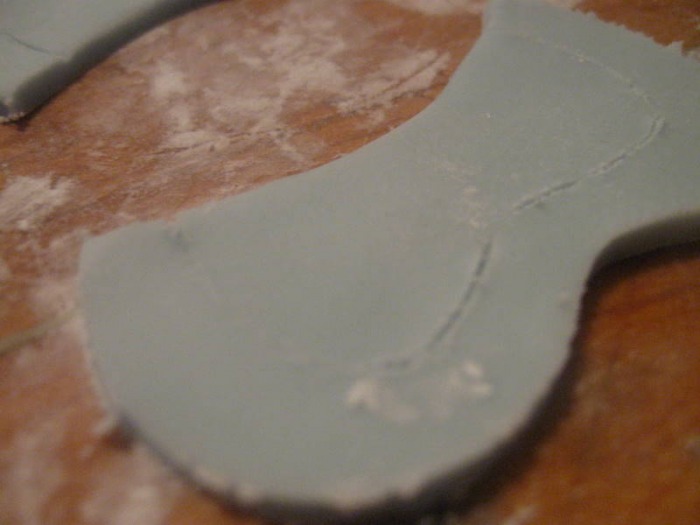
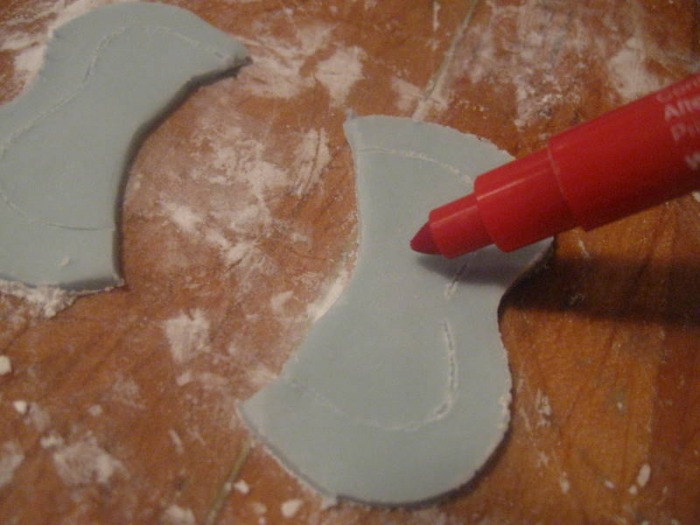
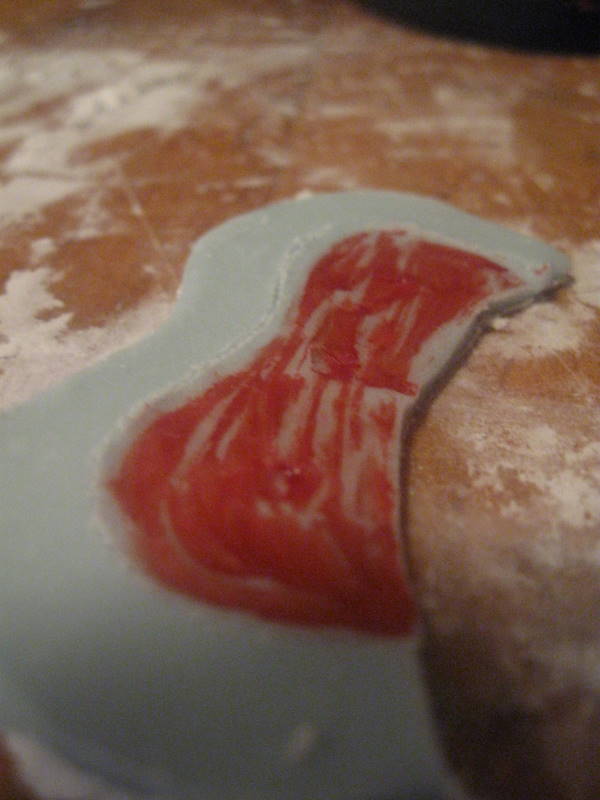
I wanted the cake to still look like a giant cupcake, since that was in fact what he wanted. I didn't like the way the white cake board looked underneath the colorful cupcake and so I decided to cover it with red chocolate. I think it looks fantastic! After that I added some ribbon roses in the colors he requested and a banner wishing her a happy birthday. I topped it off with a hand modeled "kiss". The cake turned out really colorful and fun, which I think was what he wanted. When he picked the cake up from me he was thrilled. I can only hope she was as thrilled as he was when he gave it to her!
-The Baker
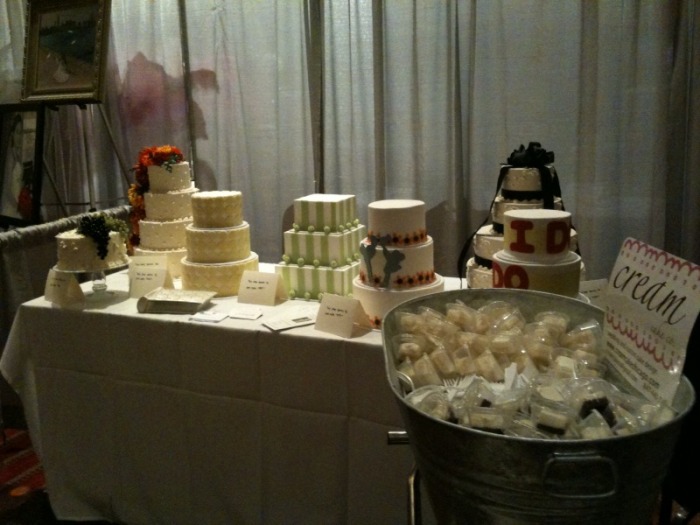
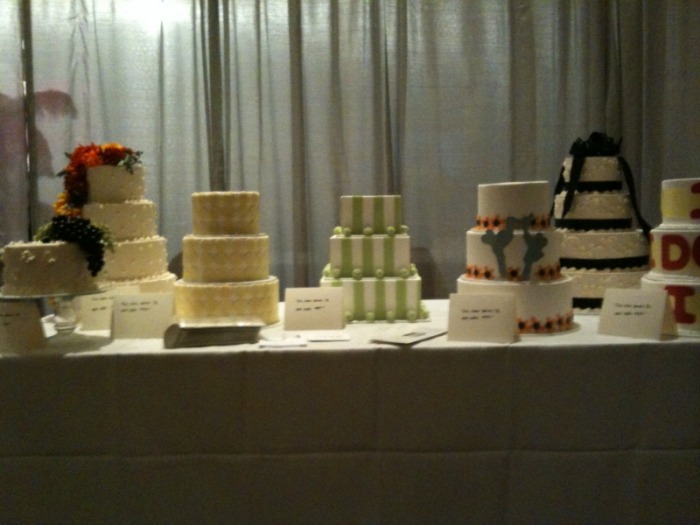
 I've been MIA for a while, but it's not because I've been laying around watching the grass grow! In fact, this is the busiest I've been in a looooong time. I have been baking a bunch, but it's all been bakery related, and usually when I'm doing that stuff I'm under a time crunch at our bakery kitchen to get in and out, so I haven't been able to take lots of pictures like I usually do. I'm going to make more of an effort to blog about the yummy stuff we're still making and eating at home, but until I do I thought it would be fun to tell you about the first bridal expo we participated in. We were invited to participate in The Great Bridal Expo, at the Hyatt Regency O'hare, just outside of Chicago. We accepted and then came to terms with the fact that we had no idea how to prepare for a bridal expo. I brainstormed different things that I thought would be important to have and wrote list after list after list. Then I convinced two friends to come help me out because no way was I going to do this myself! To prepare for the expo I gathered lots of pictures of wedding cakes I've done over the years, prepared and had printed a mini-brochure to hand out, made several model cakes to have on display, made sure I had enough business cards and then baked and baked and baked because I needed 1000 samples. I put each sample into a little lidded cup, and now that we've done the show I'm so glad I did! When the doors opened we were surrounded by future brides and their grooms waiting for samples. It was insane! People were waiting in line for at least two hours to get a taste of our cake, and we weren't the only cake vendor there. We just talked and handed out samples non-stop from noon until about 2:30, when the expo started the fashion show and we finally got a break. One of my friends who was working with me had to leave at 1:00pm and even though she was standing two feet away from me I never even saw her leave! We gave away every single sample and people were still coming back asking for more. So many people came over to our booth to tell us how fantastic our cake was, and we could hear people as they were walking past our booth talking about how good it was. All in all it was a great experience and we've had a lot of emails and phone calls from people who tasted our cake there and I'm pretty confident that we're going to be getting lots of orders. We're going to participate in more expos and meets lot of new brides! -The Baker
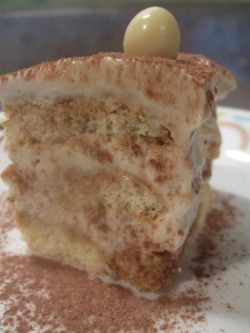 The February 2010 Daring Bakers’ challenge was hosted by Aparna of My Diverse Kitchen and Deeba of Passionate About Baking. They chose Tiramisu as the challenge for the month. Their challenge recipe is based on recipes from The Washington Post, Cordon Bleu at Home and Baking Obsession.
So, by the closest of margins I was actually able to complete my second Daring Bakers Challenge! The post has to be up by today, and, well I think if I get it up by midnight that should count, right?
This was a long month for me with M2 and M3 being sick pretty much non-stop. They just kept passing it back and forth and as soon as one would start getting better the other one would wake up sick. It just kept cycling like that until a couple of days ago when it seems like they're finally better!
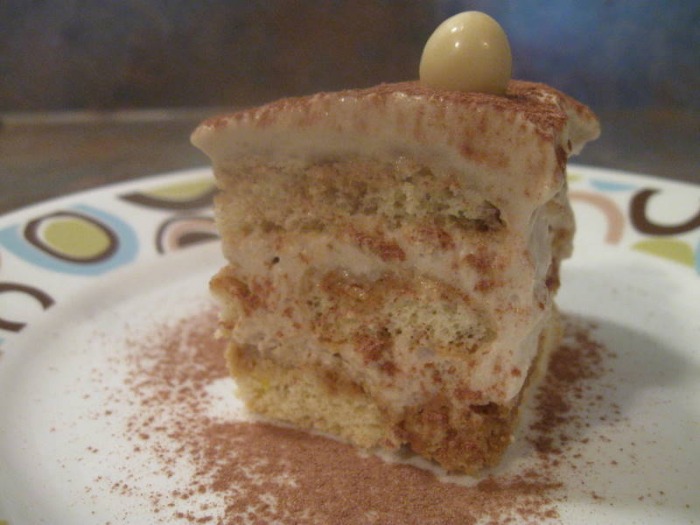
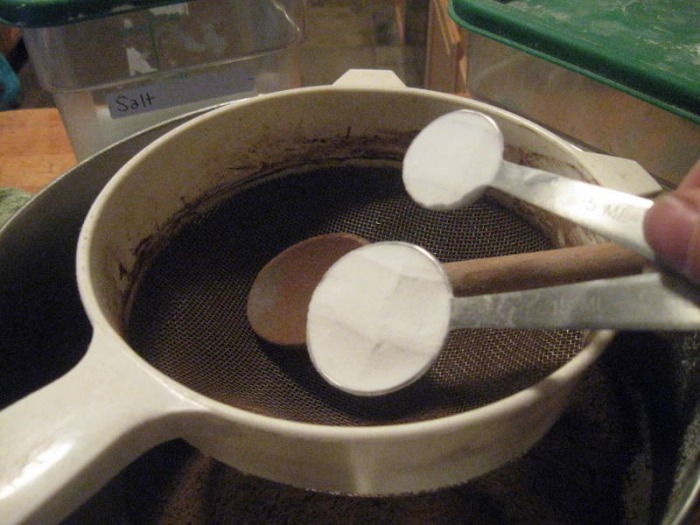
As you saw, the challenge this month was to make Tiramisu. But, just making Tiramisu is not enough of a challenge for the Daring Bakers! Nope, we had to make all of the components... homemade mascarpone, savoiardi (ladyfingers), zabaglione and pastry cream.
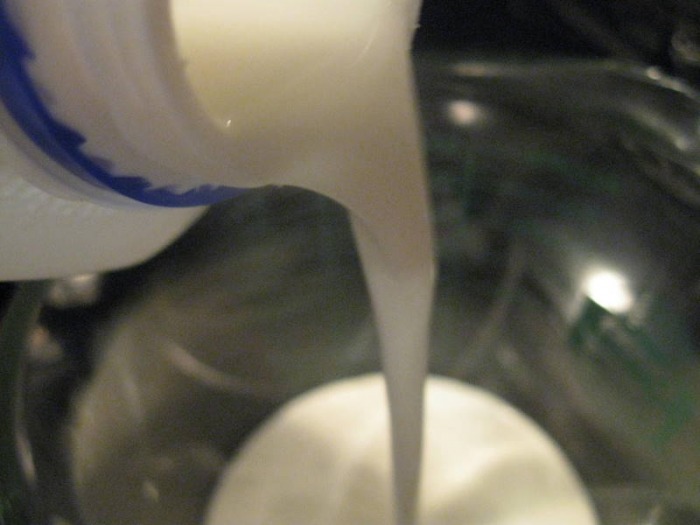
I was actually really excited when I saw what the challenge was this month. I have been wanting to make homemade mascarpone (coincidentally using the exact same recipe they chose for the challenge), but you can't use ultra-pasteurized heavy cream and that was all I could find. I did finally manage to get my hands on some (Whole Foods for anyone in Chicago that wants to make it).
None of the components are too terribly difficult to make. The hardest part is planning ahead to give yourself enough time to make everything so it's all ready when you assemble the tiramisu. It does take a few days, so if you're planning on making this for a dinner party or special occasion just know that you can't do it all in one day.
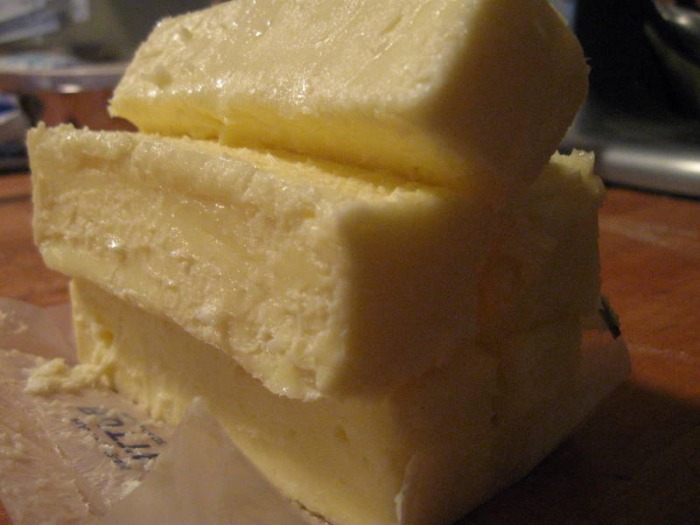
That said, that was the Daring Bakers Challenge. You can certainly make the tiramisu using store bought ladyfingers and mascarpone. The zabaglione and the pastry cream can both be made the day of assembly. But, if you have the time, I would highly recommend making the mascarpone at least once. Mascarpone is pretty expensive to buy and it's so much more affordable to make it yourself. It's really versatile and you'll find so many uses for it once you have it on-hand... you can stir it into a pasta sauce, sweeten it up with some sugar and serve it on french toast, or use it as a filling for crepes (savory or sweet).
Normally I would re-write the recipe, but the Challenge hosts did such a nice job organizing the different tasks that I decided not to mess with their directions.
Tiramisu is one of my favorite desserts. I remember the first time I had it was when I worked at a restaurant and we were doing menu tasting. (This is something you do in restaurants when you're new and in training or when new dishes are added to the menu. The kitchen will make the dishes and everyone samples them. That way you know what it tastes like if you ever had to describe it to a guest.) Up until then tiramisu was not something I would have ever ordered or snuck a bite of. At that time I hated the taste of coffee and tiramisu is loaded with coffee flavor. But, I had to taste it, so I took a tiny little bite. Holy cow! It was good! Somehow all of the ingredients together managed to make coffee taste good! From that point on, I would sneak into the walk-in cooler and slice myself off some tiramisu to nibble on during my shift. Now that I think about it, my life (meaning my thighs) would probably have been better off if I had never discovered tiramisu! But, I did discover it, and now so will you! Enjoy!
-The Baker
PREPARATION TIME: Tiramisu is made up of several components which can be made separately and ahead of time and put together the day before serving.
Making tiramisu from scratch requires about 2 to 3 days (including refrigeration) from when you start making the mascarpone to the time the tiramisu is served. So this challenge requires some prior planning. Please read the instructions as you need to begin making the mascarpone at least a day in advance.
The zabaglione & pastry cream also need 4 hours to an overnight for chilling, as does the main dessert. The flavours mature after an overnight rest, and the dessert can be kept refrigerated for 2-3 days.
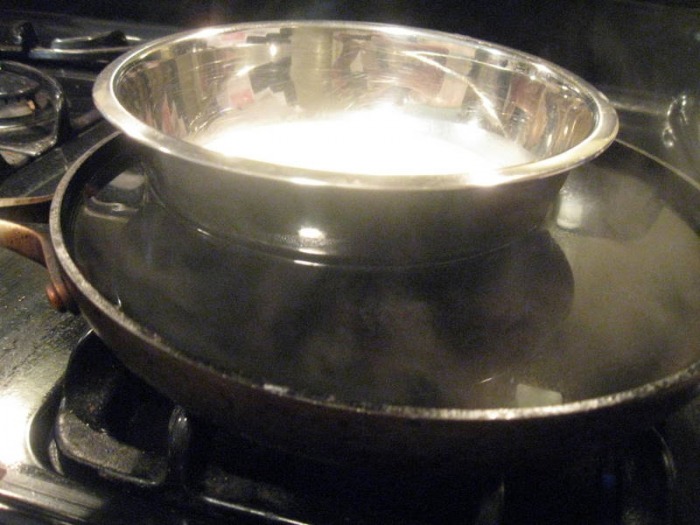
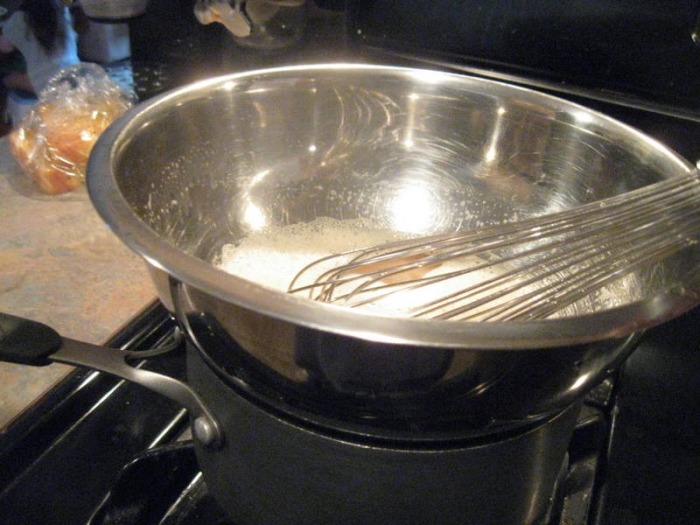
Once assembled, the tiramisu can be frozen till you need to serve it, in case you are not serving it immediately. EQUIPMENT REQUIRED: - A double boiler (a stainless steel bowl that fits inside a large saucepan/ pot without touching the bottom will do)
- Two or three large mixing bowls
- Whisk
- A medium sized heavy bottomed pan
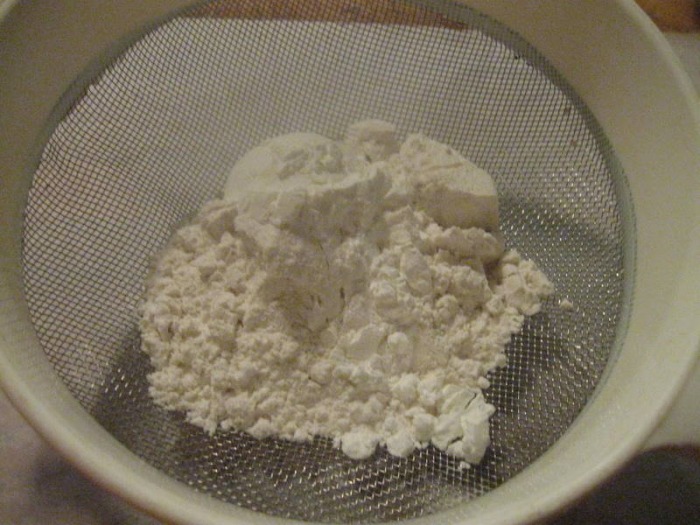
- Fine meshed strainer (to remove lumps from pastry cream, if any)
- Electric mixer, hand held
- Serving dish (or dishes) of choice (8" by 8" should be fine)
- Spatula for folding and spoons as required
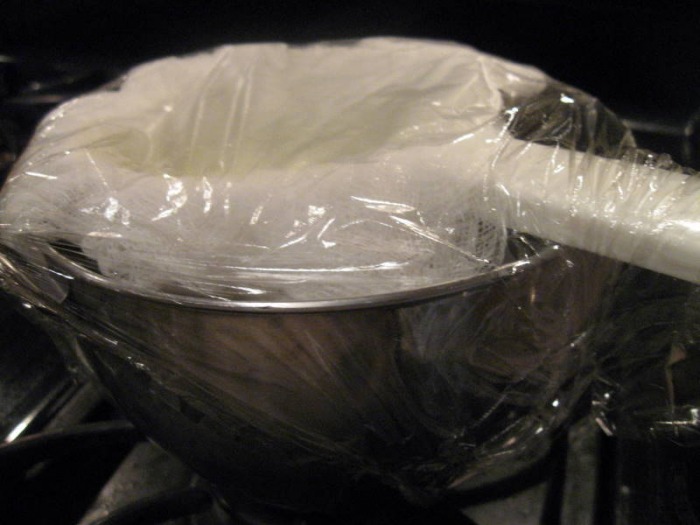
- Plastic wrap/ clingfilm
- Baking sheets
- Parchment paper or nonstick liners
- Pastry bag (can be disposable)
- Plain 3/4" pastry bag tip or cut the end of pastry bag to this size (If you don’t have a pastry bag and/or tips, you can use a Ziploc bag with the corner snipped off)
- Oven
- Cooling rack
- Thin-bladed spatula for removing ladyfinger biscuits from the baking sheets
- Instant-read thermometer (optional)
- Strainer
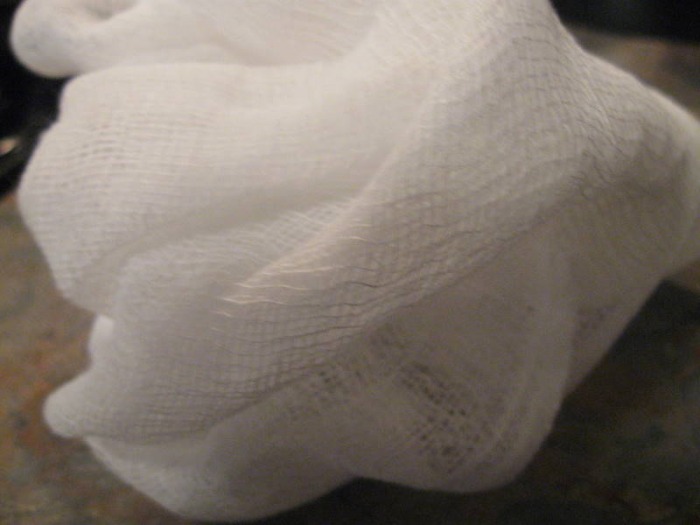
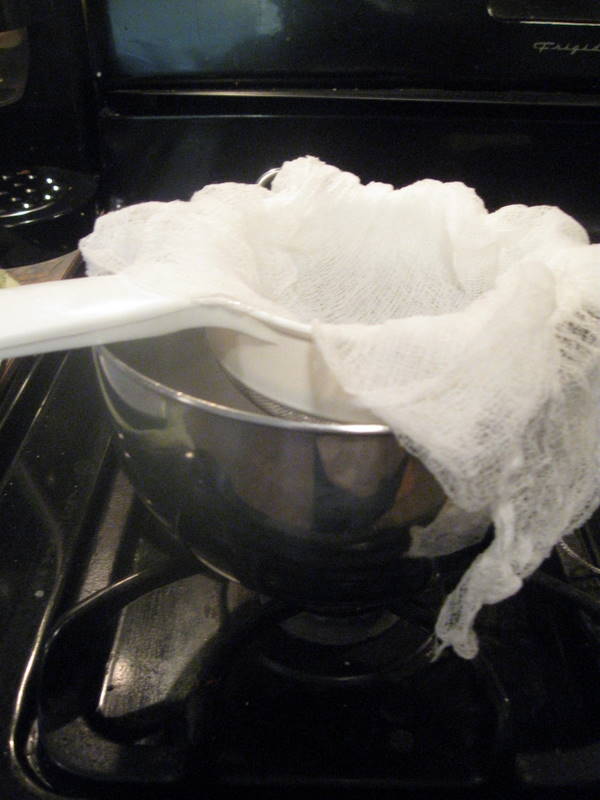
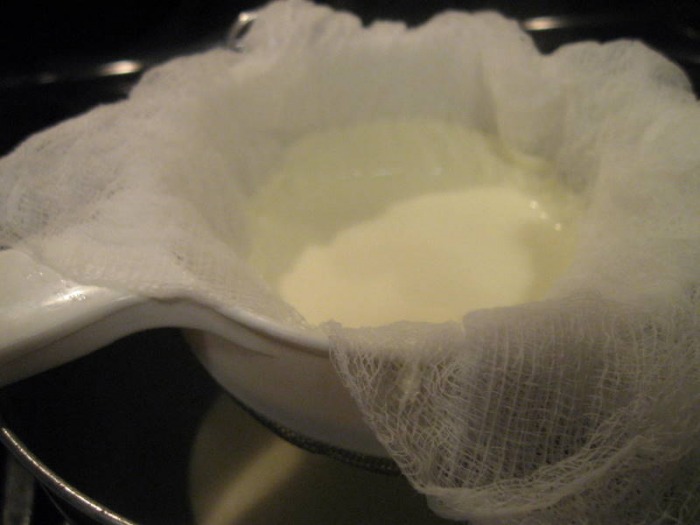
- Cheesecloth or cotton napkin for draining mascarpone
- Fine-mesh strainer for shaking cocoa powder on tiramisu
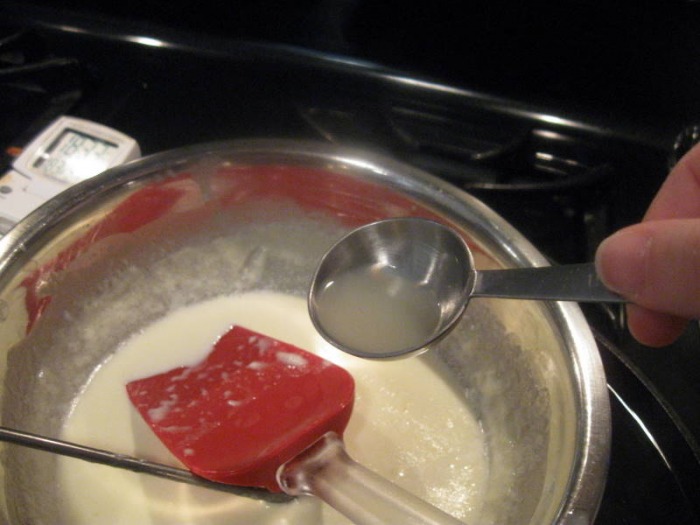
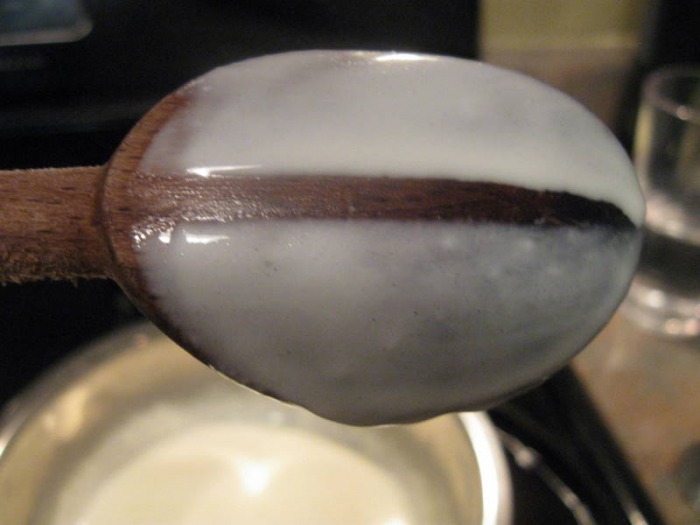
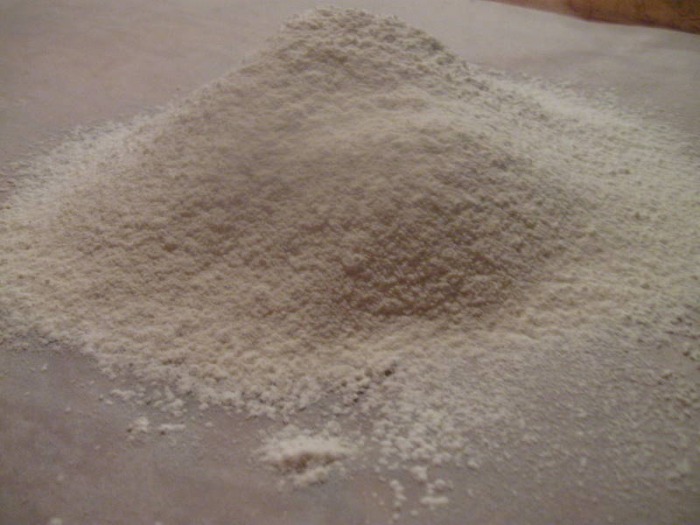
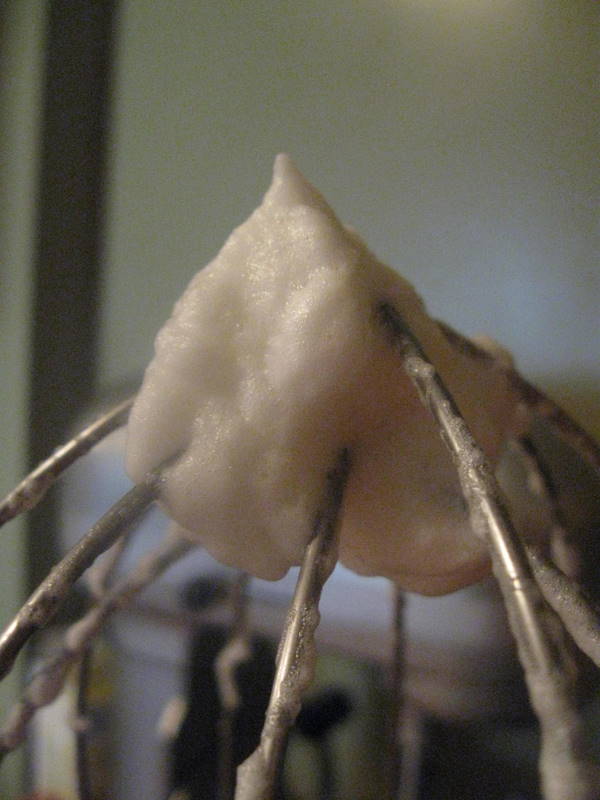
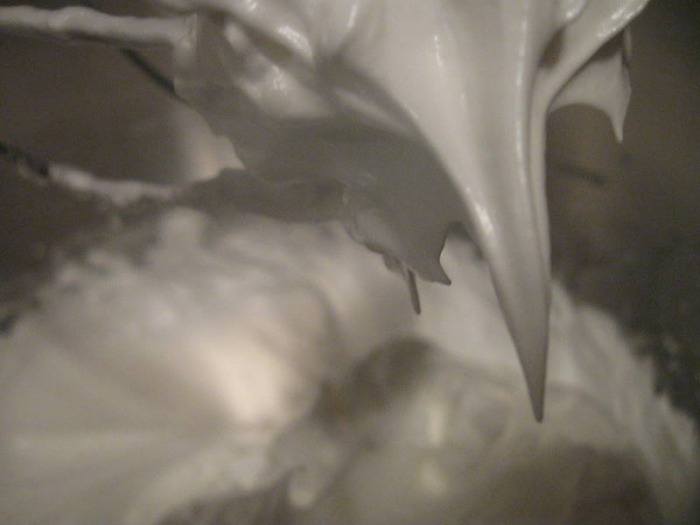
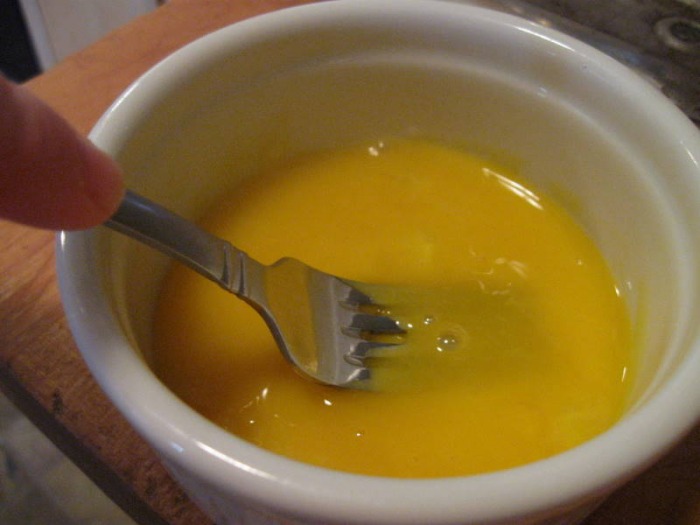
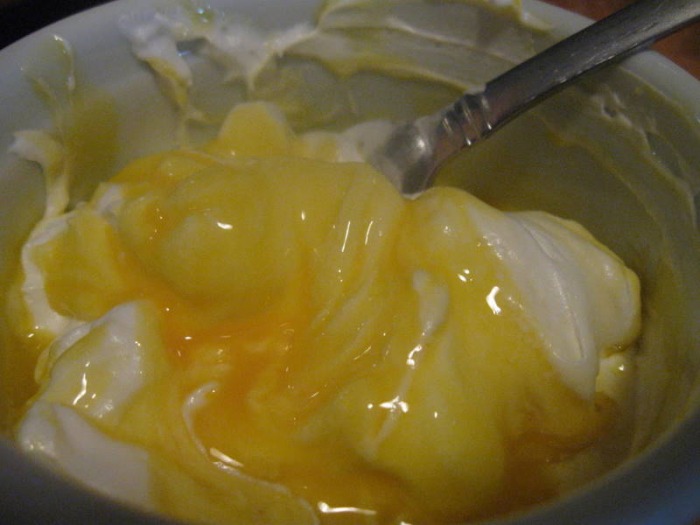
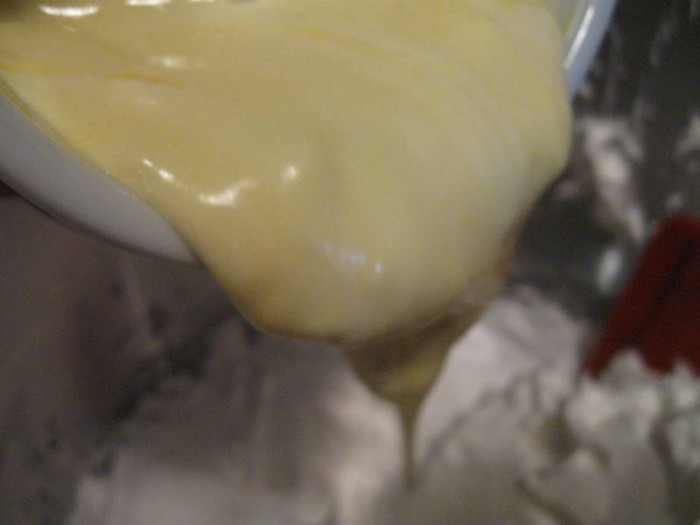
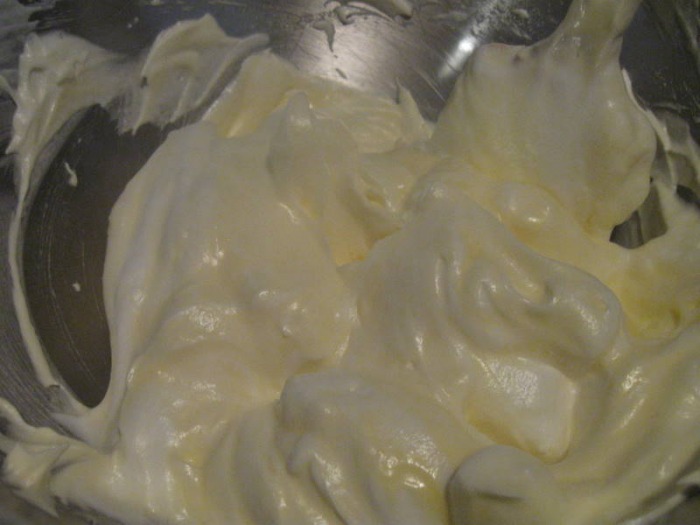
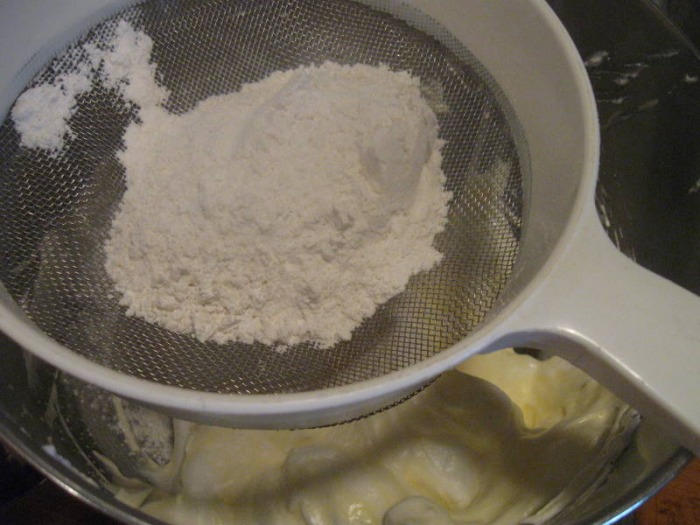
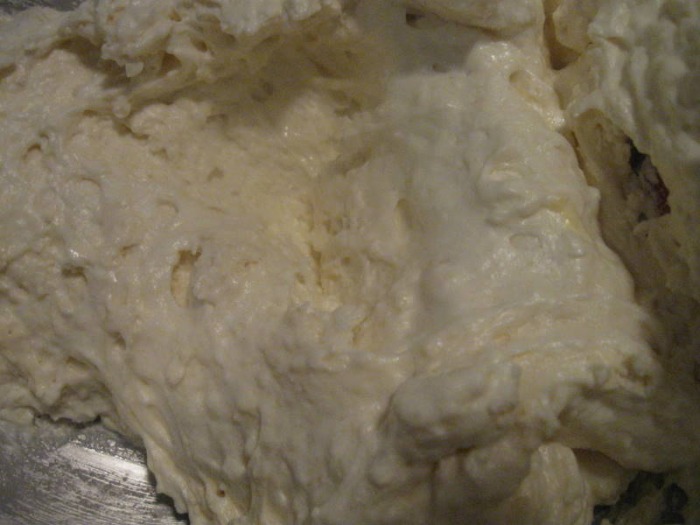
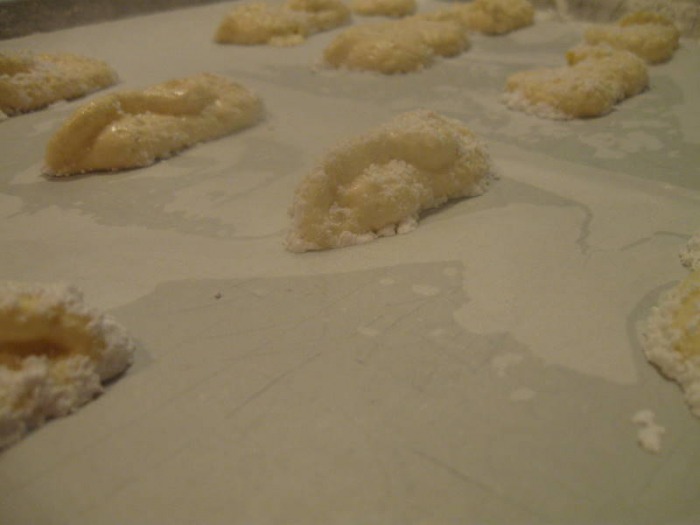
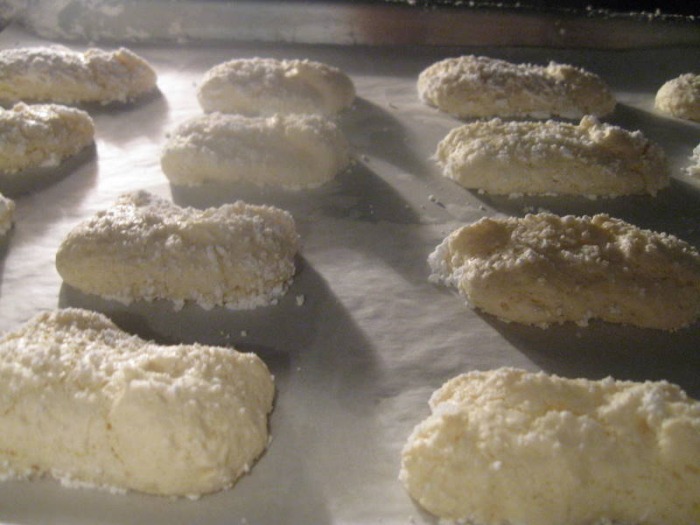
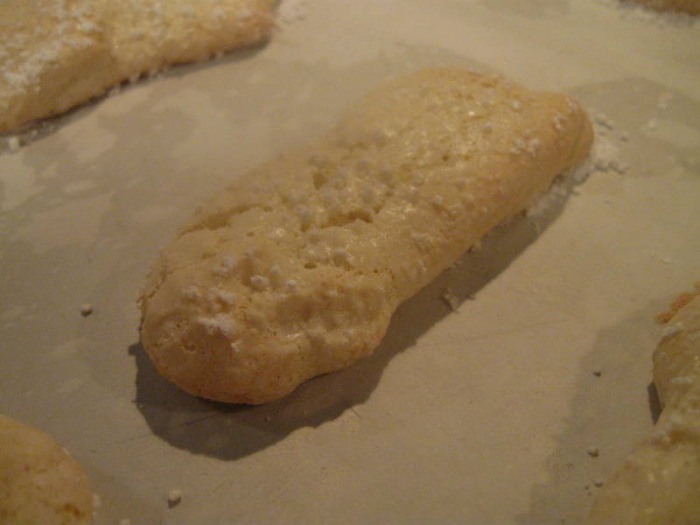
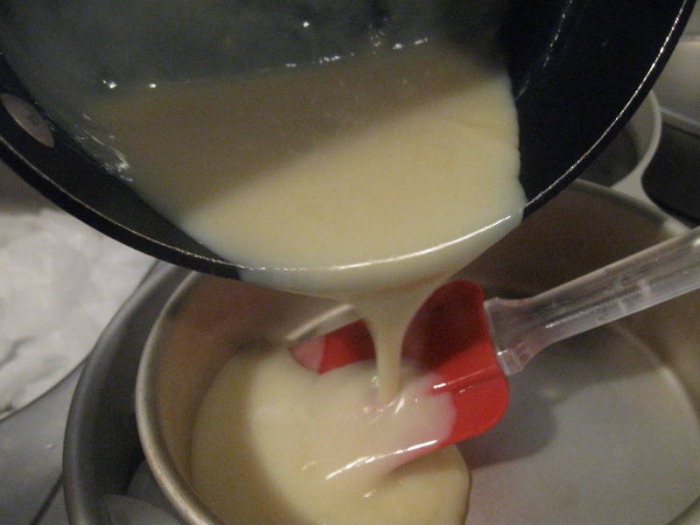
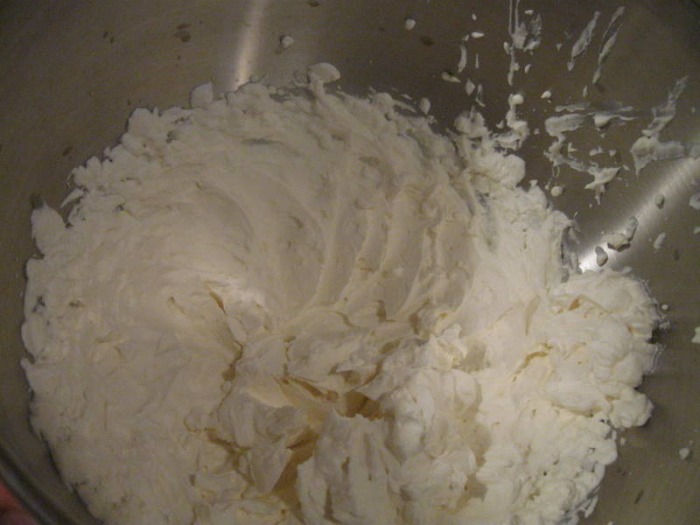
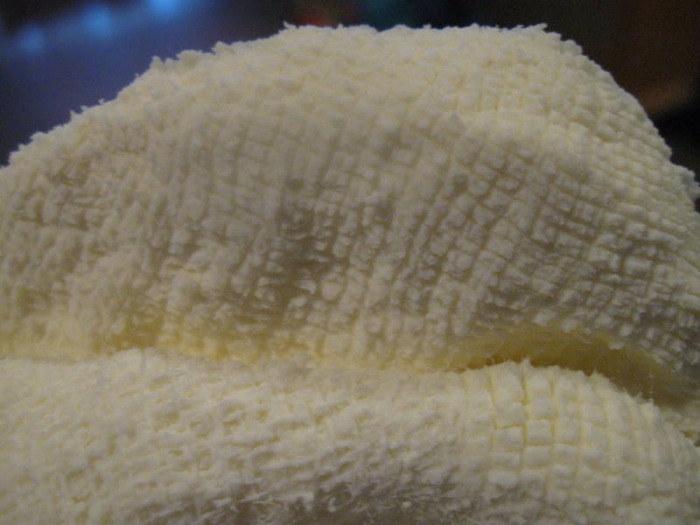
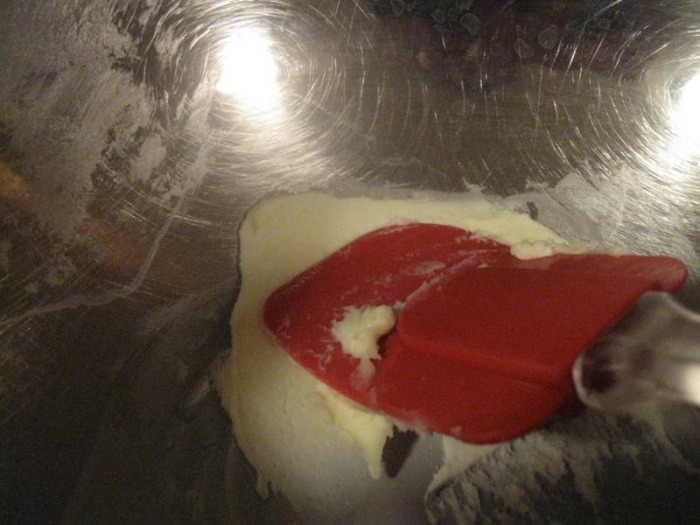
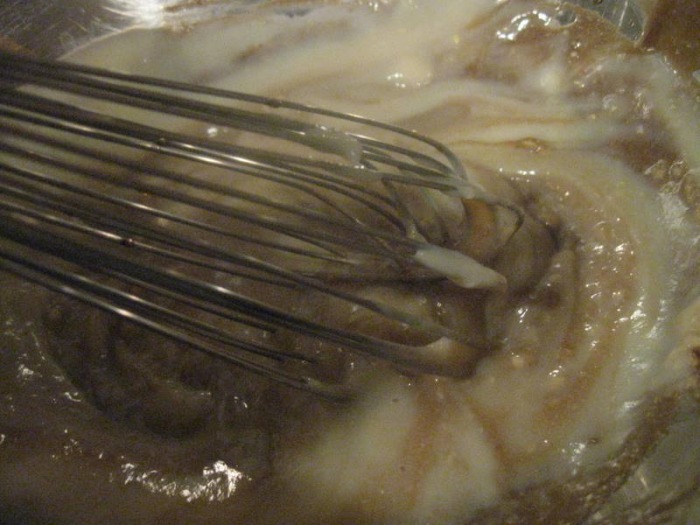
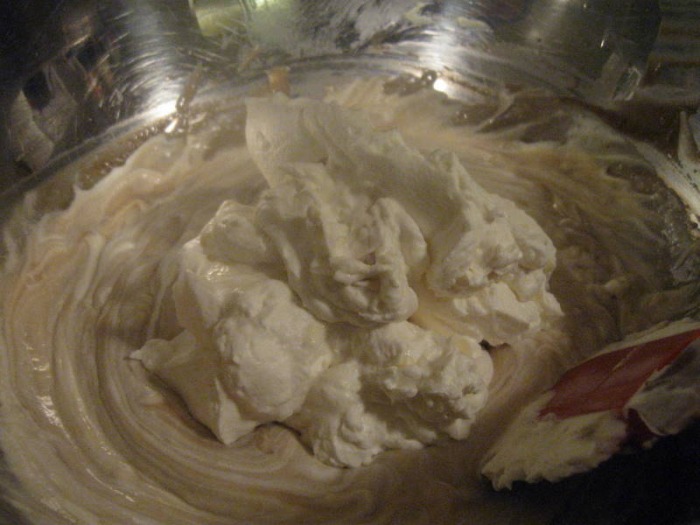
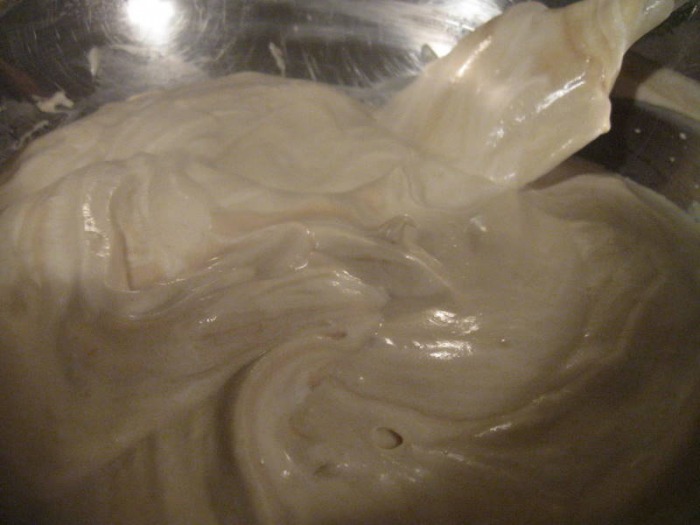
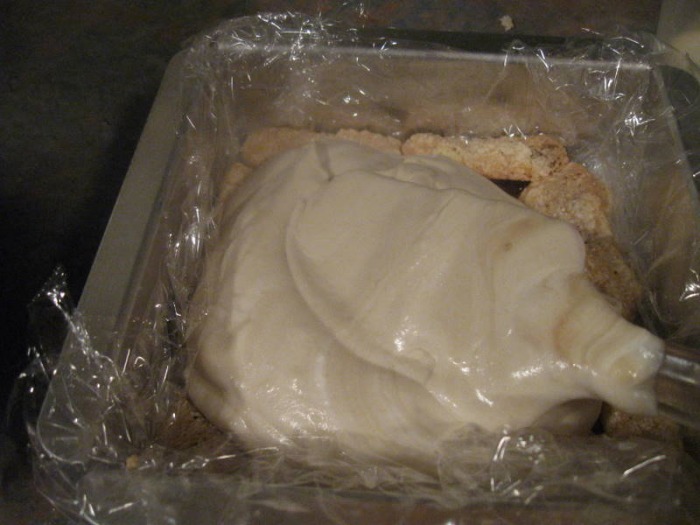
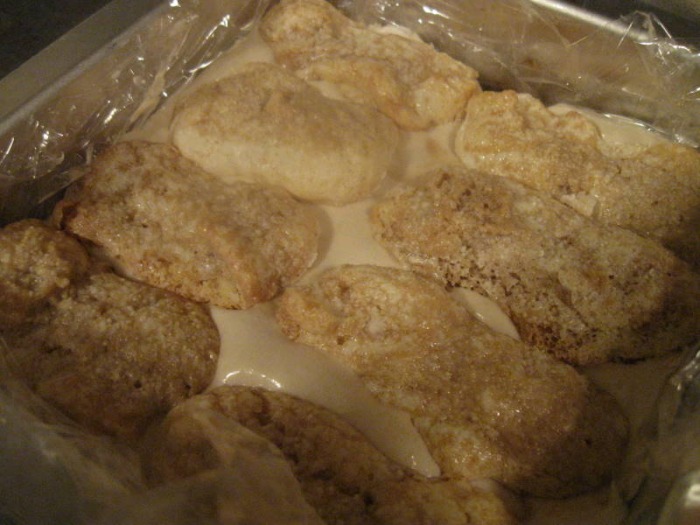
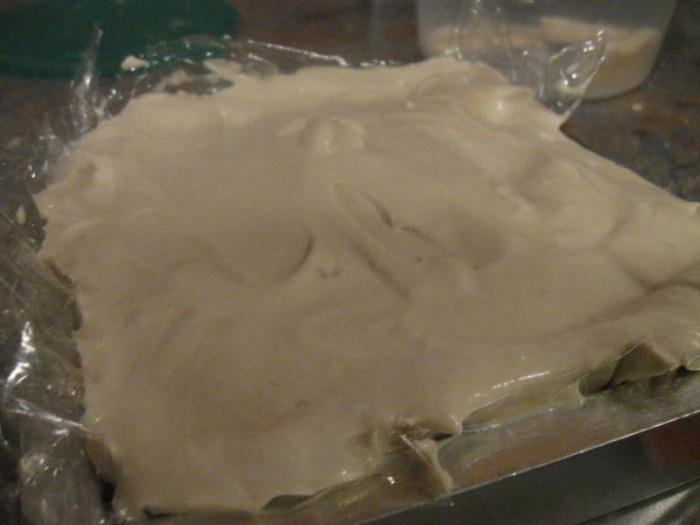
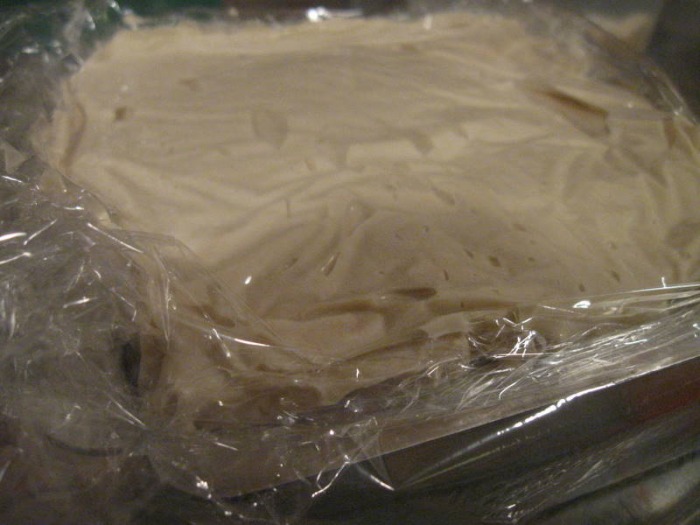
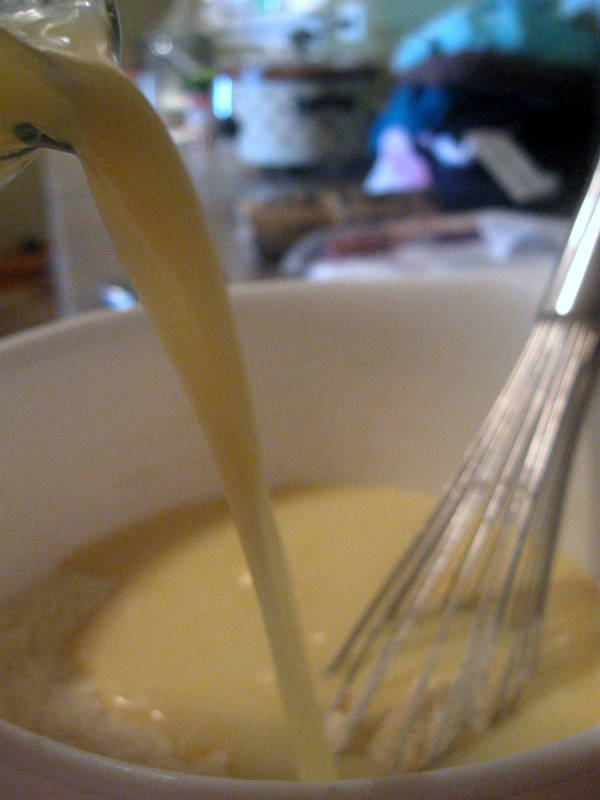
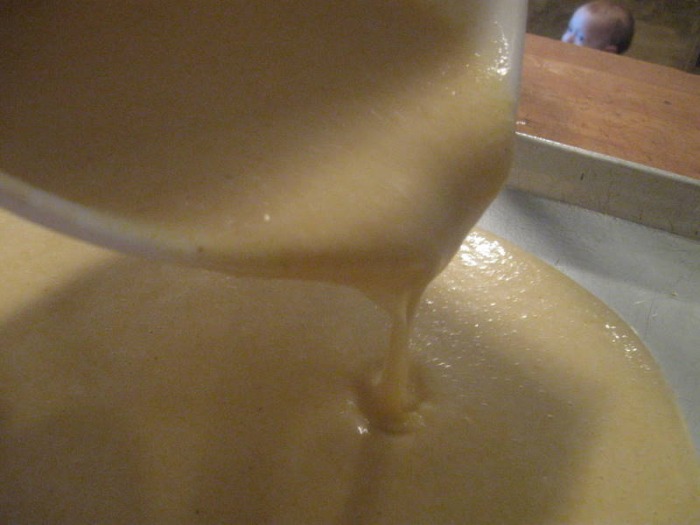
TIRAMISU (Recipe source: Carminantonio's Tiramisu from The Washington Post, July 11 2007 ) This recipe makes 6 servings Ingredients: For the zabaglione: 2 large egg yolks 3 tablespoons sugar/50gms 1/4 cup/60ml Marsala wine (or port or coffee) 1/4 teaspoon/ 1.25ml vanilla extract 1/2 teaspoon finely grated lemon zest For the vanilla pastry cream: 1/4 cup/55gms sugar 1 tablespoon/8gms all purpose flour 1/2 teaspoon finely grated lemon zest 1/2 teaspoon/ 2.5ml vanilla extract 1 large egg yolk 3/4 cup/175ml whole milk For the whipped cream: 1 cup/235ml chilled heavy cream (we used 25%) 1/4 cup/55gms sugar 1/2 teaspoon/ 2.5ml vanilla extract To assemble the tiramisu: 2 cups/470ml brewed espresso, warmed 1 teaspoon/5ml rum extract (optional) 1/2 cup/110gms sugar 1/3 cup/75gms mascarpone cheese 36 savoiardi/ ladyfinger biscuits (you may use less) 2 tablespoons/30gms unsweetened cocoa powder Method: For the zabaglione: Heat water in a double boiler. If you don’t have a double boiler, place a pot with about an inch of water in it on the stove. Place a heat-proof bowl in the pot making sure the bottom does not touch the water. In a large mixing bowl (or stainless steel mixing bowl), mix together the egg yolks, sugar, the Marsala (or espresso/ coffee), vanilla extract and lemon zest. Whisk together until the yolks are fully blended and the mixture looks smooth. Transfer the mixture to the top of a double boiler or place your bowl over the pan/ pot with simmering water. Cook the egg mixture over low heat, stirring constantly, for about 8 minutes or until it resembles thick custard. It may bubble a bit as it reaches that consistency. Let cool to room temperature and transfer the zabaglione to a bowl. Cover and refrigerate at least 4 hours or overnight, until thoroughly chilled. For the pastry cream: Mix together the sugar, flour, lemon zest and vanilla extract in a medium heavy-bottomed saucepan. To this add the egg yolk and half the milk. Whisk until smooth. Now place the saucepan over low heat and cook, stirring constantly to prevent the mixture from curdling. Add the remaining milk a little at a time, still stirring constantly. After about 12 minutes the mixture will be thick, free of lumps and beginning to bubble. (If you have a few lumps, don’t worry. You can push the cream through a fine-mesh strainer.) Transfer the pastry cream to a bowl and cool to room temperature. Cover with plastic film and refrigerate at least 4 hours or overnight, until thoroughly chilled. For the whipped cream: Combine the cream, sugar and vanilla extract in a mixing bowl. Beat with an electric hand mixer or immersion blender until the mixture holds stiff peaks. Set aside. To assemble the tiramisu: Have ready a rectangular serving dish (about 8" by 8" should do) or one of your choice. Mix together the warm espresso, rum extract and sugar in a shallow dish, whisking to mix well. Set aside to cool. In a large bowl, beat the mascarpone cheese with a spoon to break down the lumps and make it smooth. This will make it easier to fold. Add the prepared and chilled zabaglione and pastry cream, blending until just combined. Gently fold in the whipped cream. Set this cream mixture aside. Now to start assembling the tiramisu. Workings quickly, dip 12 of the ladyfingers in the sweetened espresso, about 1 second per side. They should be moist but not soggy. Immediately transfer each ladyfinger to the platter, placing them side by side in a single row. You may break a lady finger into two, if necessary, to ensure the base of your dish is completely covered. Spoon one-third of the cream mixture on top of the ladyfingers, then use a rubber spatula or spreading knife to cover the top evenly, all the way to the edges. Repeat to create 2 more layers, using 12 ladyfingers and the cream mixture for each layer. Clean any spilled cream mixture; cover carefully with plastic wrap and refrigerate the tiramisu overnight. To serve, carefully remove the plastic wrap and sprinkle the tiramisu with cocoa powder using a fine-mesh strainer or decorate as you please. Cut into individual portions and serve. MASCARPONE CHEESE (Source: Vera’s Recipe for Homemade Mascarpone Cheese) This recipe makes 12oz/ 340gm of mascarpone cheese Ingredients: 474ml (approx. 500ml)/ 2 cups whipping (36 %) pasteurized (not ultra-pasteurized), preferably organic cream (between 25% to 36% cream will do) 1 tablespoon fresh lemon juice Method:Bring 1 inch of water to a boil in a wide skillet. Reduce the heat to medium-low so the water is barely simmering. Pour the cream into a medium heat-resistant bowl, then place the bowl into the skillet. Heat the cream, stirring often, to 190 F. If you do not have a thermometer, wait until small bubbles keep trying to push up to the surface. It will take about 15 minutes of delicate heating. Add the lemon juice and continue heating the mixture, stirring gently, until the cream curdles. Do not expect the same action as you see during ricotta cheese making. All that the whipping cream will do is become thicker, like a well-done crème anglaise. It will cover a back of your wooden spoon thickly. You will see just a few clear whey streaks when you stir. Remove the bowl from the water and let cool for about 20 minutes. Meanwhile, line a sieve with four layers of dampened cheesecloth and set it over a bowl. Transfer the mixture into the lined sieve. Do not squeeze the cheese in the cheesecloth or press on its surface (be patient, it will firm up after refrigeration time). Once cooled completely, cover with plastic wrap and refrigerate (in the sieve) overnight or up to 24 hours. Vera’s notes: The first time I made mascarpone I had all doubts if it’d been cooked enough, because of its custard-like texture. Have no fear, it will firm up beautifully in the fridge, and will yet remain lusciously creamy. Keep refrigerated and use within 3 to 4 days. LADYFINGERS/ SAVOIARDI BISCUITS (Source: Recipe from Cordon Bleu At Home) This recipe makes approximately 24 big ladyfingers or 45 small (2 1/2" to 3" long) ladyfingers. Ingredients: 3 eggs, separated 6 tablespoons /75gms granulated sugar 3/4 cup/95gms cake flour, sifted (or 3/4 cup all purpose flour + 2 tbsp corn starch) 6 tablespoons /50gms confectioner's sugar, Method: Preheat your oven to 350 F (175 C) degrees, then lightly brush 2 baking sheets with oil or softened butter and line with parchment paper. Beat the egg whites using a hand held electric mixer until stiff peaks form. Gradually add granulate sugar and continue beating until the egg whites become stiff again, glossy and smooth. In a small bowl, beat the egg yolks lightly with a fork and fold them into the meringue, using a wooden spoon. Sift the flour over this mixture and fold gently until just mixed. It is important to fold very gently and not overdo the folding. Otherwise the batter would deflate and lose volume resulting in ladyfingers which are flat and not spongy. Fit a pastry bag with a plain tip (or just snip the end off; you could also use a Ziploc bag) and fill with the batter. Pipe the batter into 5" long and 3/4" wide strips leaving about 1" space in between the strips. Sprinkle half the confectioner's sugar over the ladyfingers and wait for 5 minutes. The sugar will pearl or look wet and glisten. Now sprinkle the remaining sugar. This helps to give the ladyfingers their characteristic crispness. Hold the parchment paper in place with your thumb and lift one side of the baking sheet and gently tap it on the work surface to remove excess sprinkled sugar. Bake the ladyfingers for 10 minutes, then rotate the sheets and bake for another 5 minutes or so until the puff up, turn lightly golden brown and are still soft. Allow them to cool slightly on the sheets for about 5 minutes and then remove the ladyfingers from the baking sheet with a metal spatula while still hot, and cool on a rack. Store them in an airtight container till required. They should keep for 2 to 3 weeks.
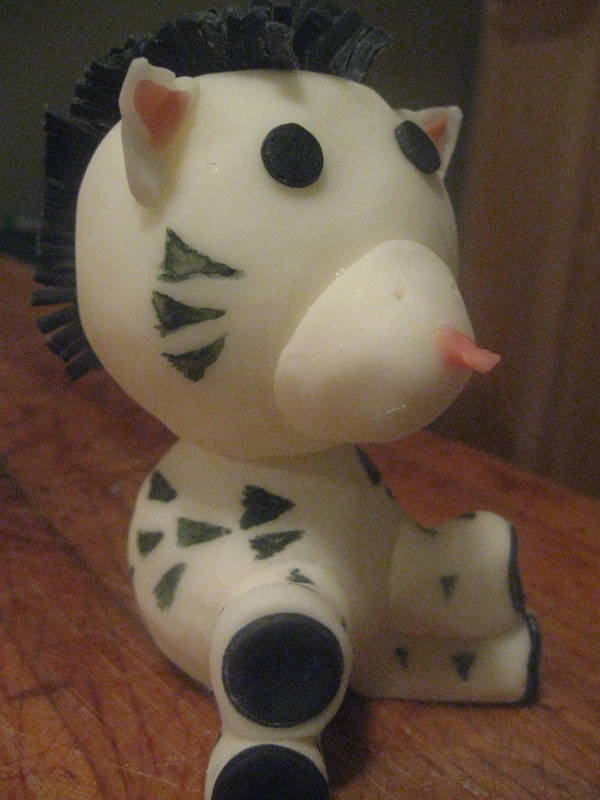
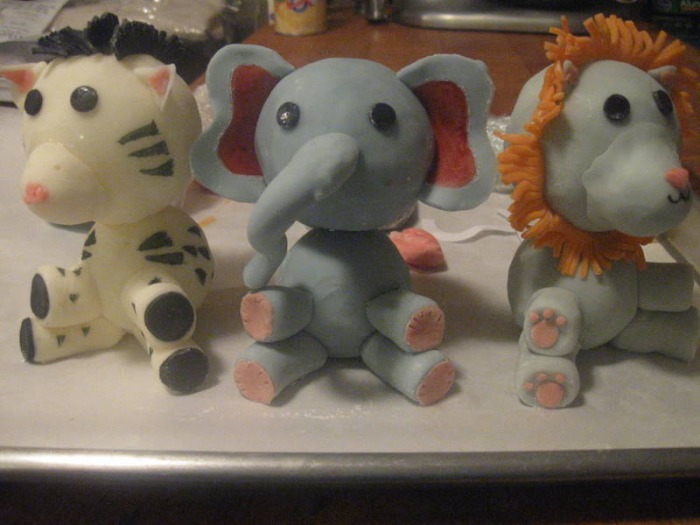
 I love when people ask me to make them something for a special celebration they're having. I like to try to come up with something that will really wow them. So when the GM at The Chef's restaurant asked if I could make a cake for his brother and sister-in-laws baby shower I was all over it.
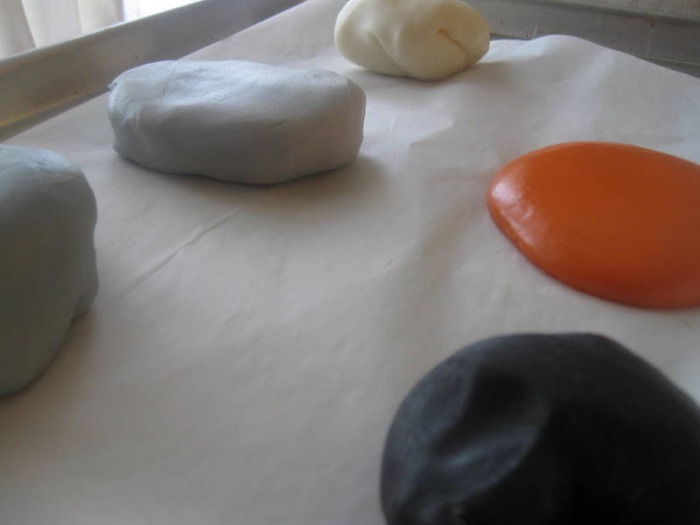
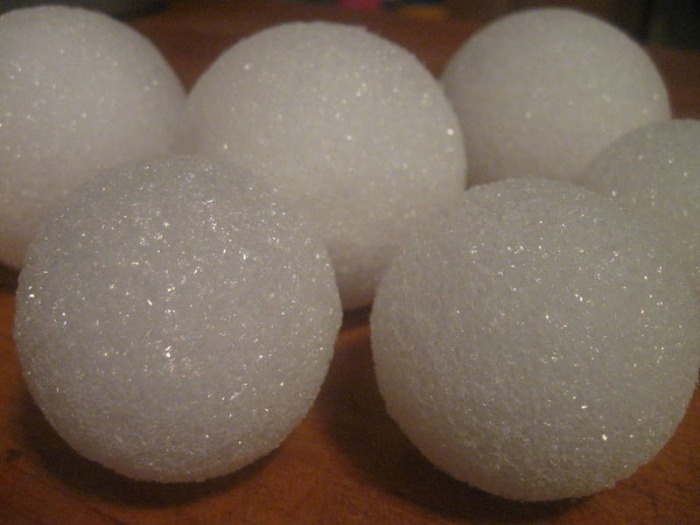
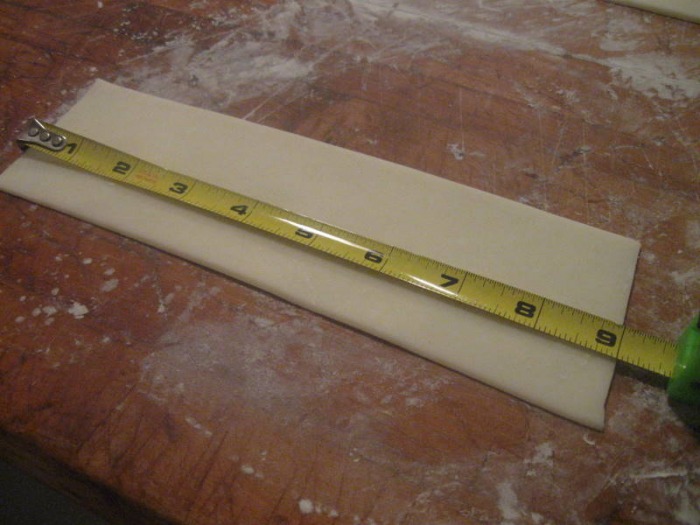
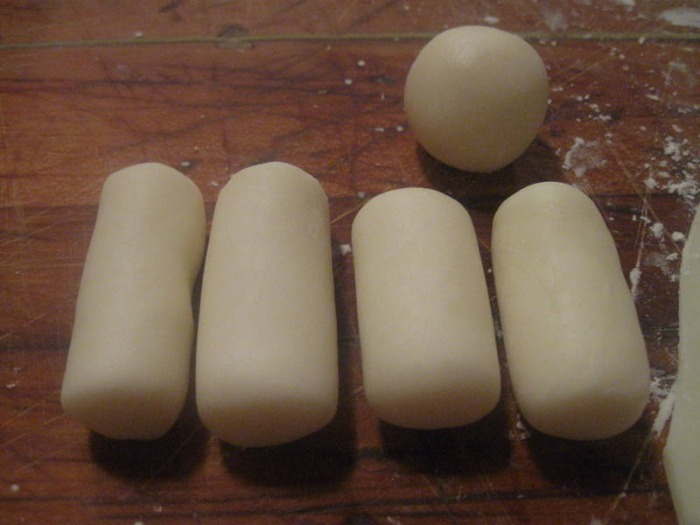
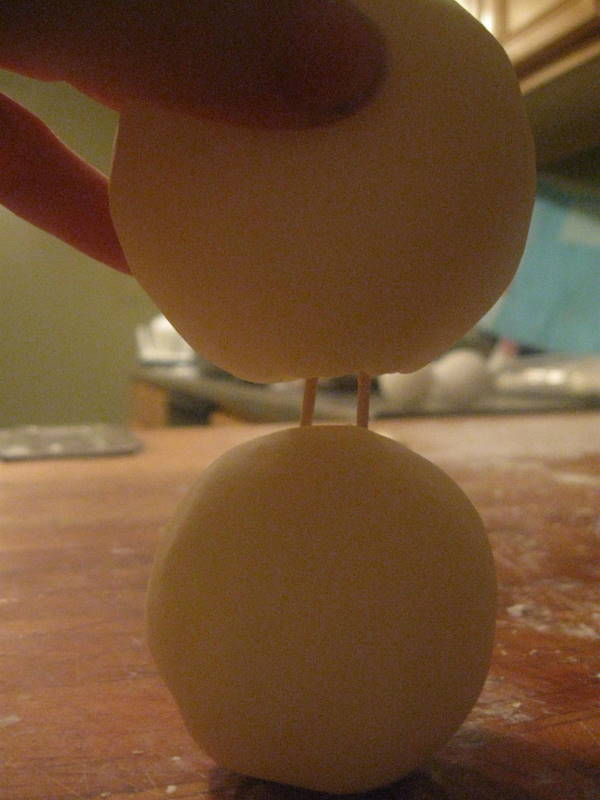
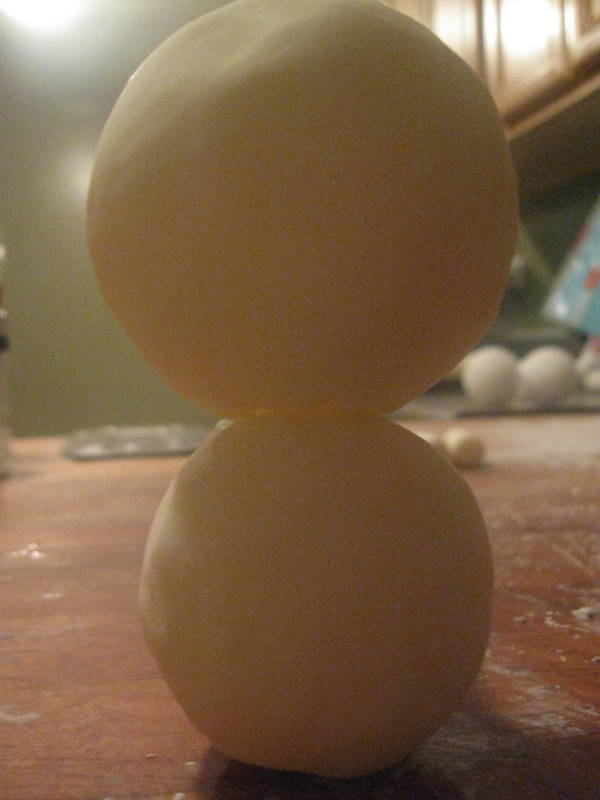
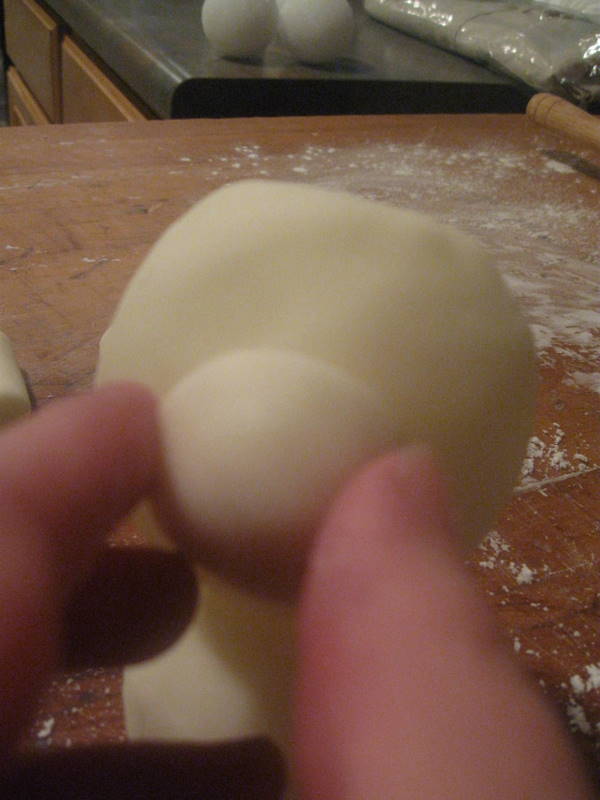
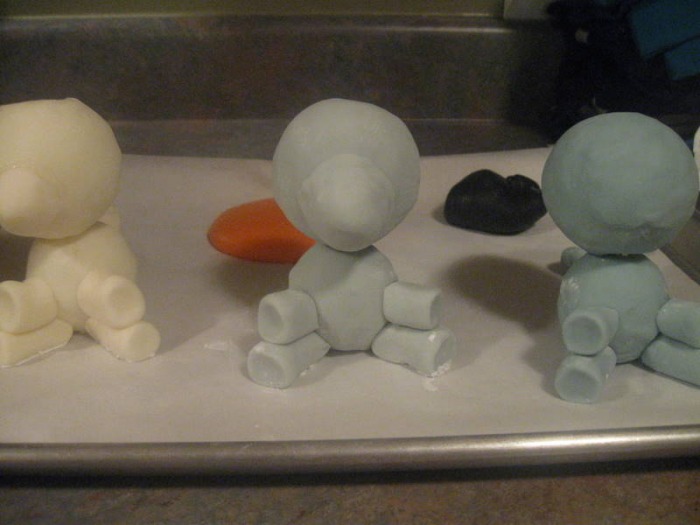
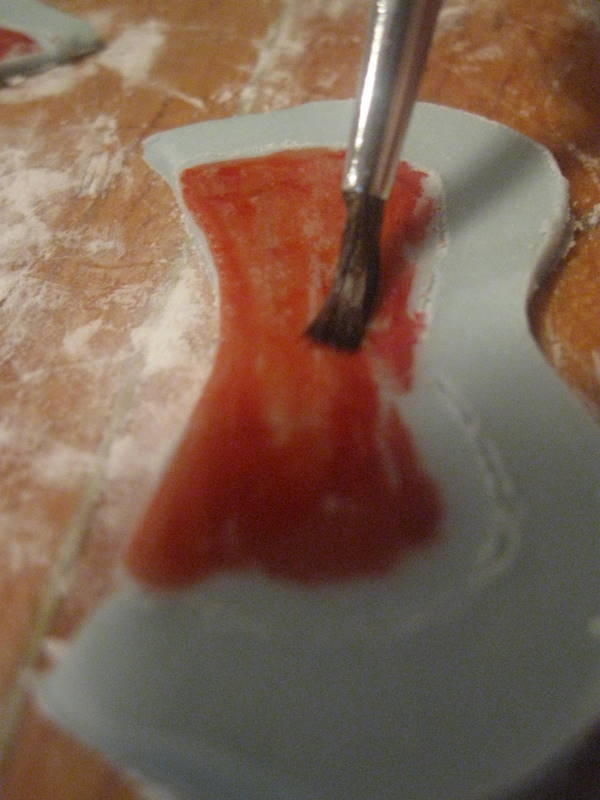
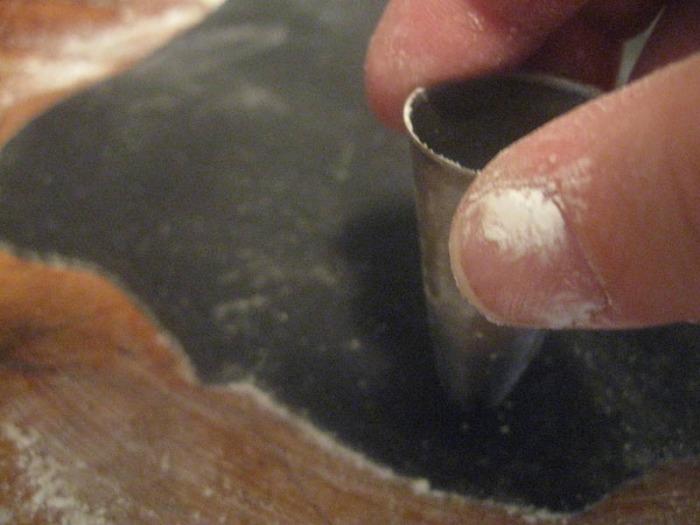
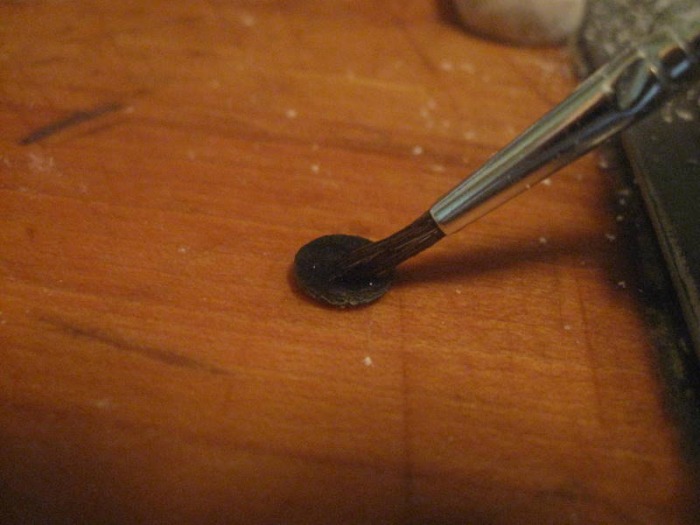
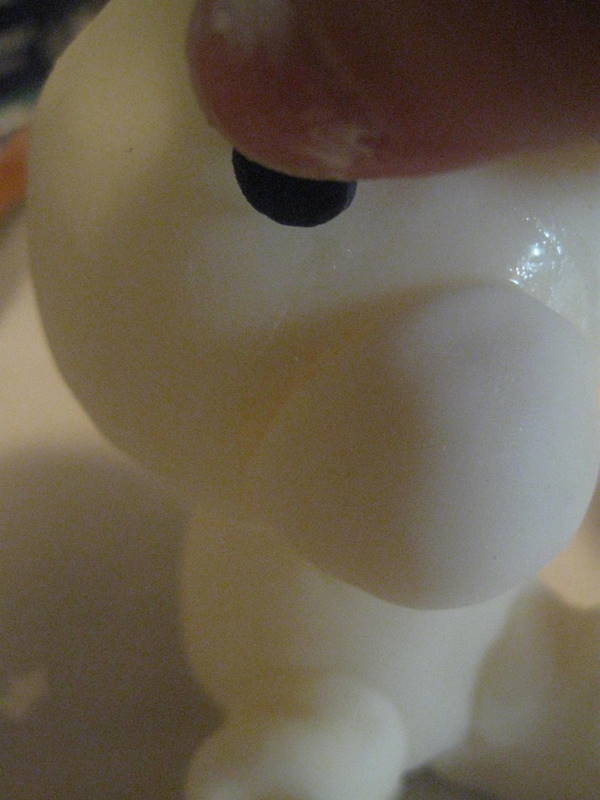
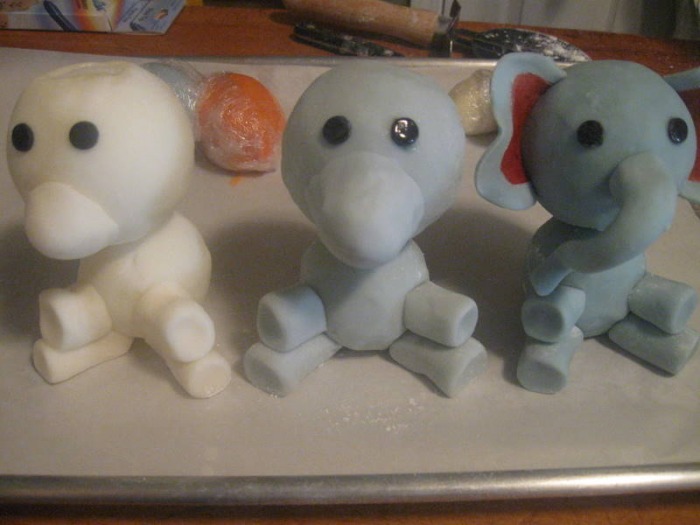
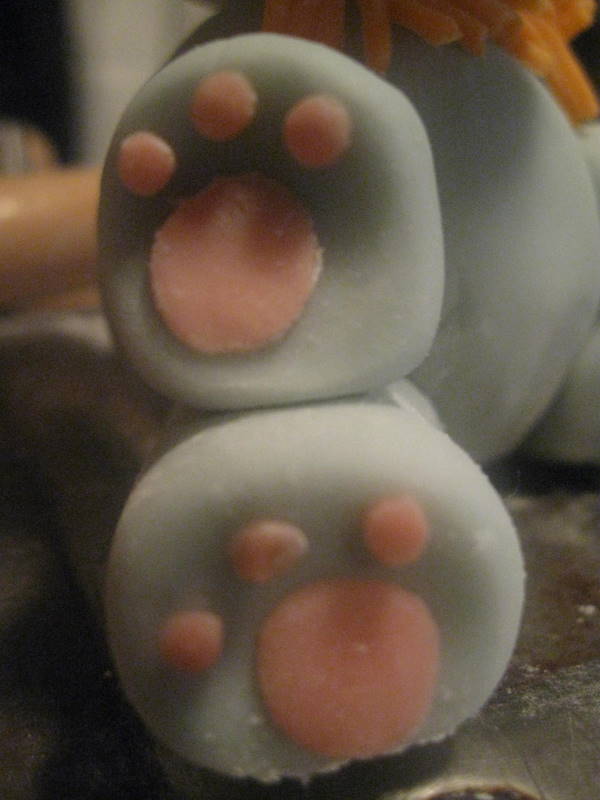
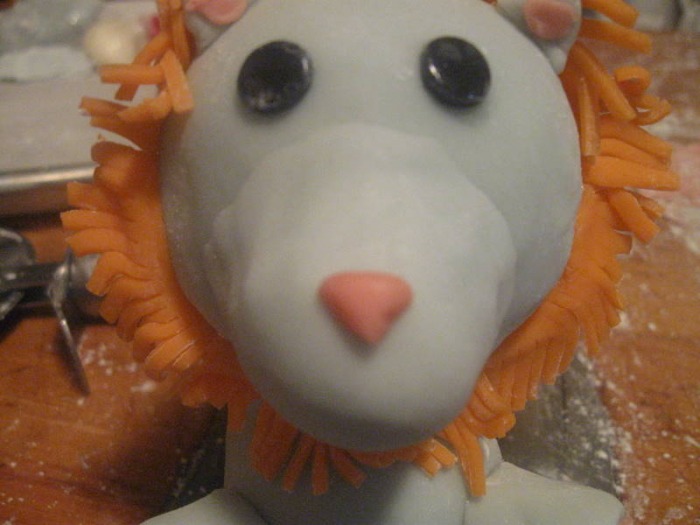
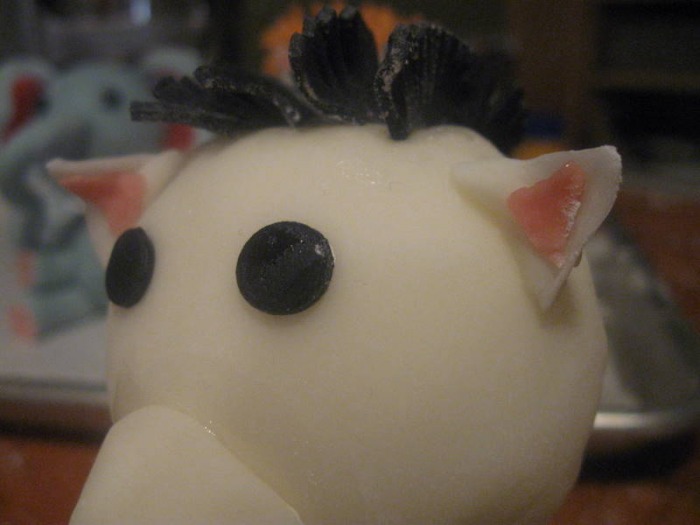
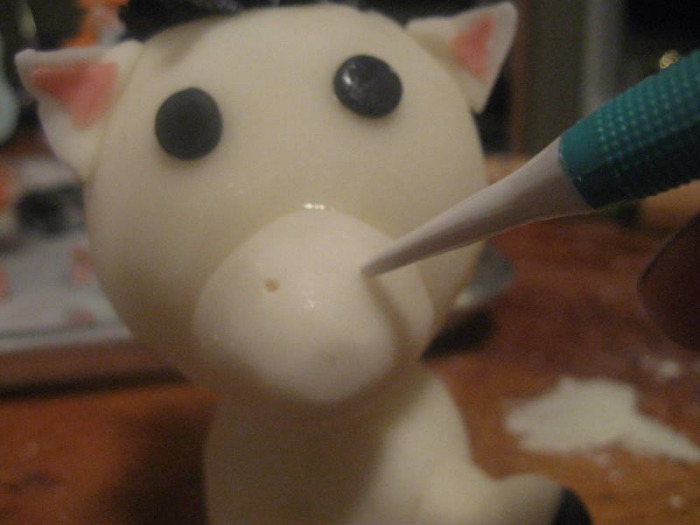
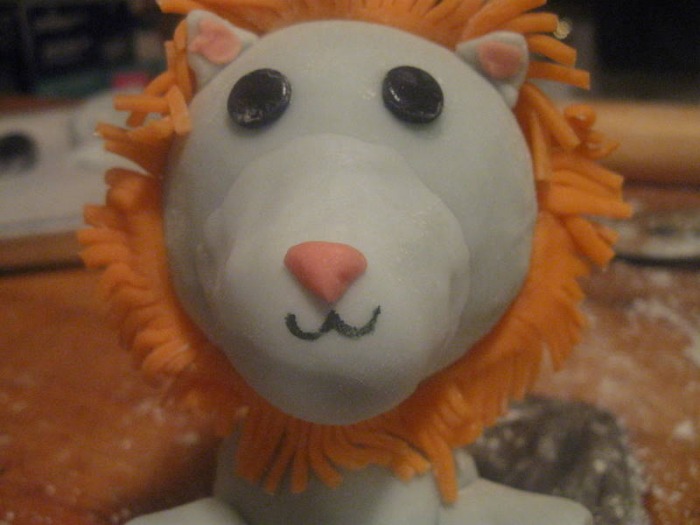
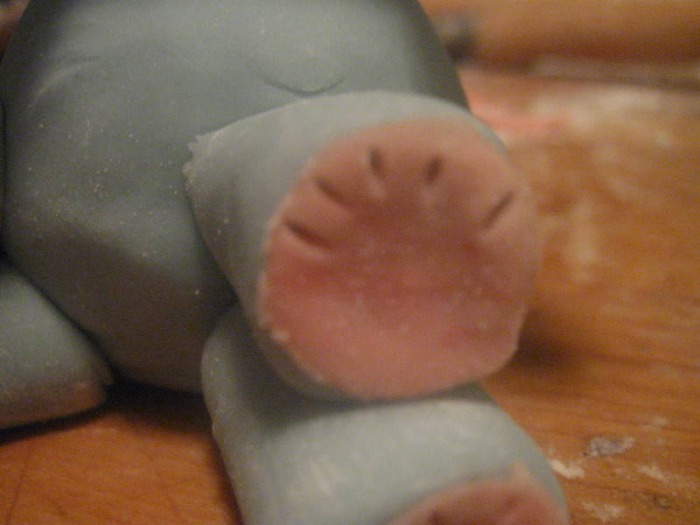
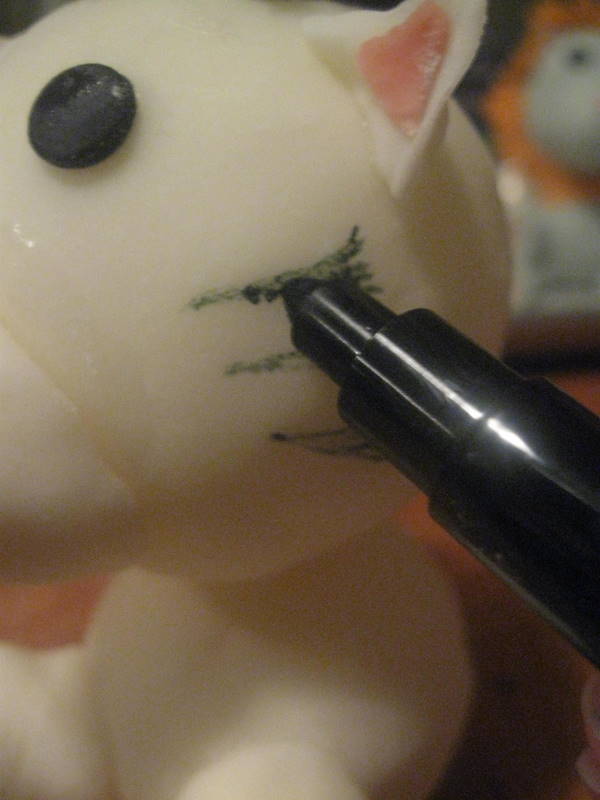
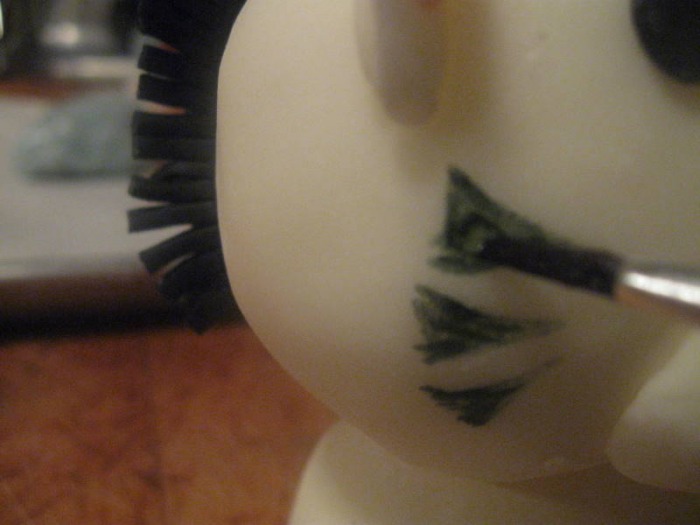
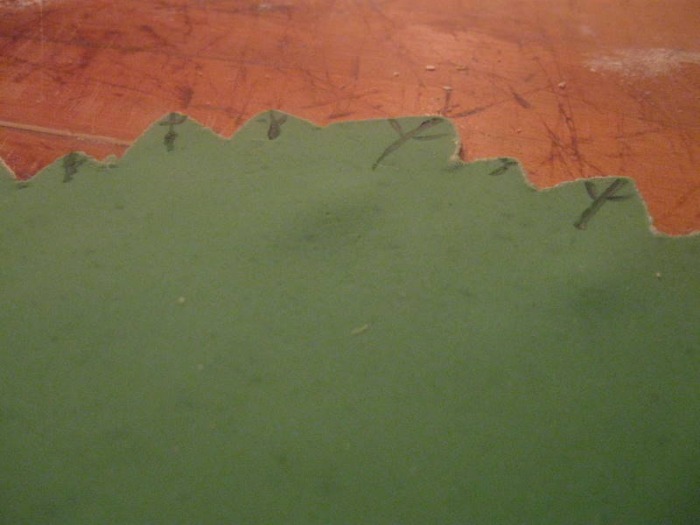
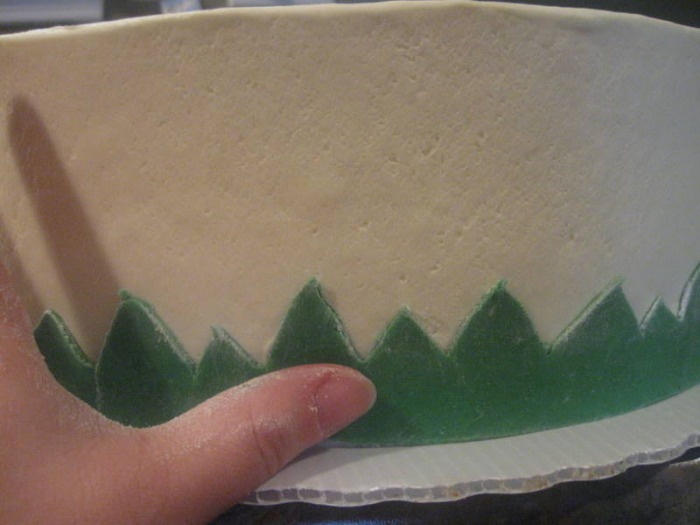
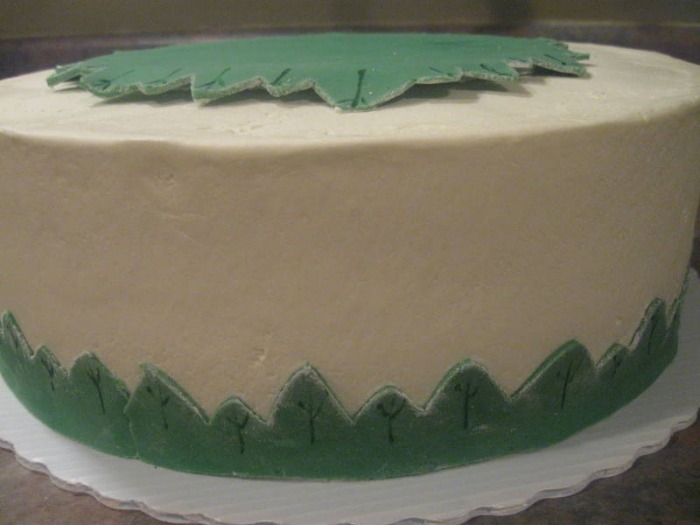
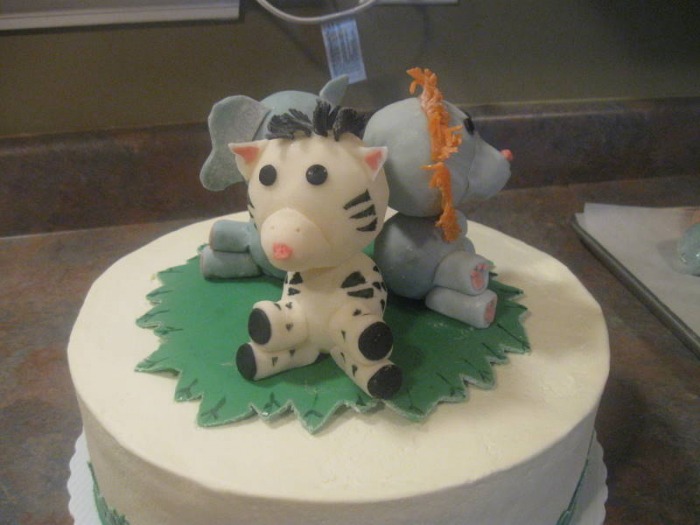
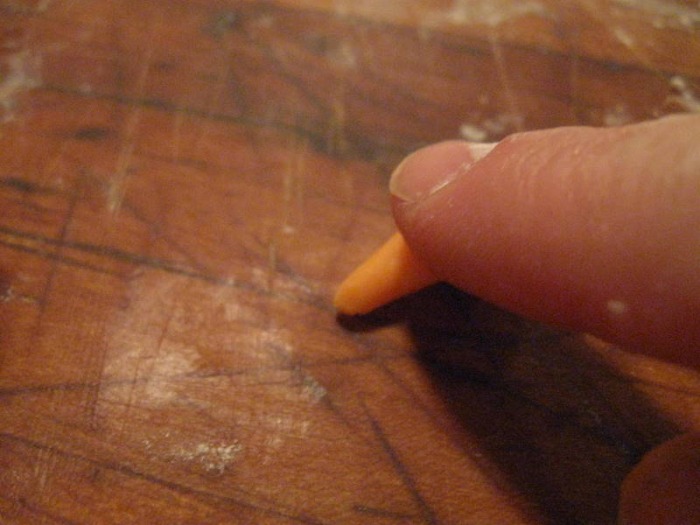
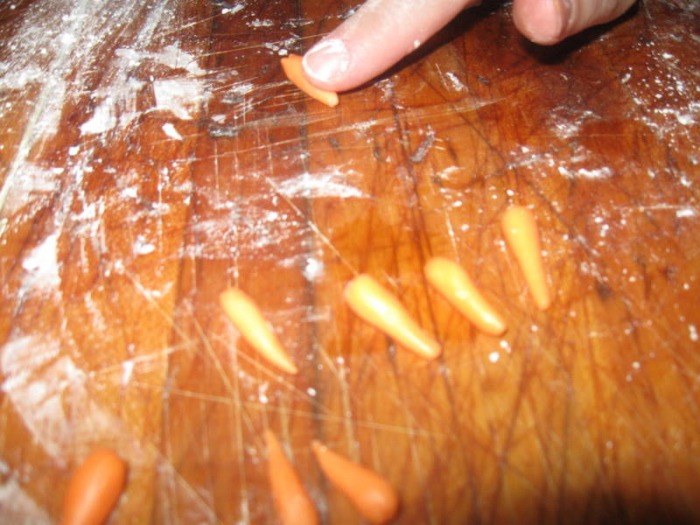
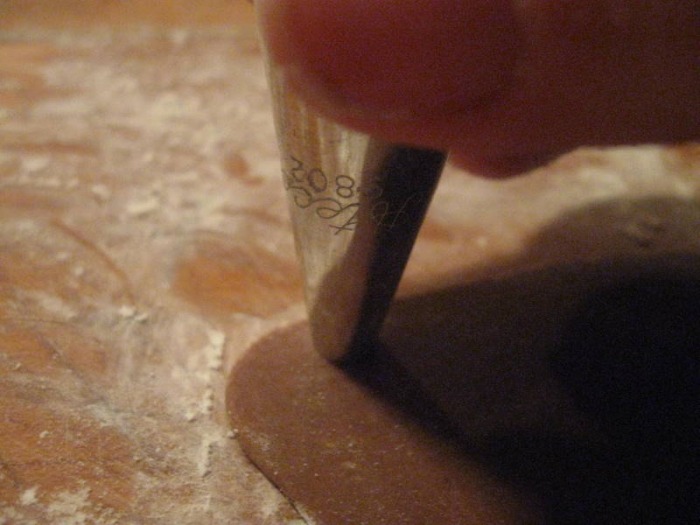
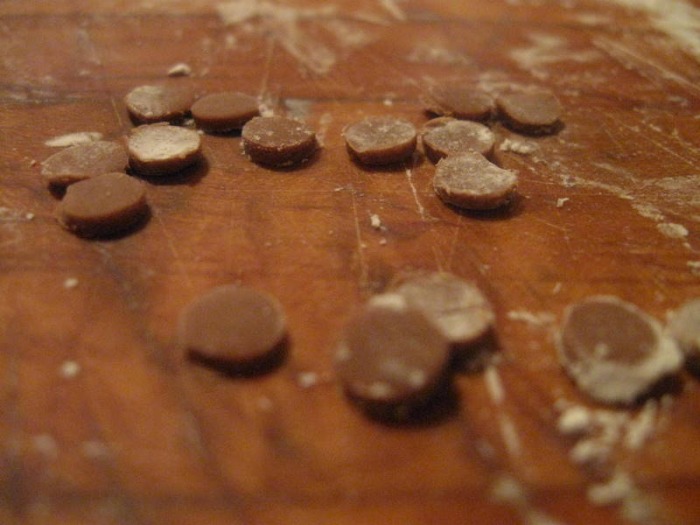
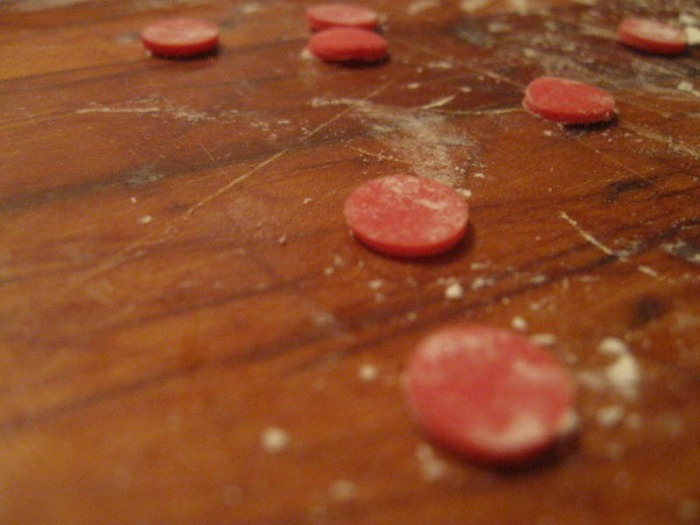
He sent me a copy of the invitations and wrapping paper they were using. My idea was to make a cake with animals modeled out of chocolate to match the theme. The only problem was I had no idea how to model animals out of chocolate. I'm not even really good with play-doh. Really long snakes are about the best I can do. I swore The Chef to secrecy just in case I couldn't pull this off. I even came up with a Plan B so when the day of the shower came and I was sobbing in a heap on the floor I would have something to give them.
I remembered a Wilton cake that was decorated with animals and so I quickly googled my little heart out and found the cake. Gulp. I was pretty sure there was no way I could pull this off. I stalled and texted a couple of friends to whine that there was no way I could do this.
Finally I sat down and figured out exactly what I would need, wrote a list and went to the store. Then I came home and paced. And then paced some more. I figured I would just start and see what happened. So I worked my way step by step through the modeling of the animals. It was incredibly easy! They turned out so cute and I really couldn't believe I had made them. And, apparently the guests of honor loved them, which makes me immensely happy! Congratulations to them and their twin baby girls!
-The Baker
The January 2010 Daring Bakers’ challenge was hosted by Lauren of Celiac Teen. Lauren chose Gluten-Free Graham Wafers and Nanaimo Bars as the challenge for the month. The sources she based her recipe on are 101 Cookbooks and www.nanaimo.ca. 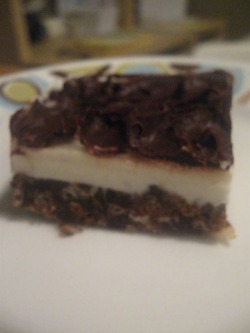 I just joined Daring Bakers! This is my first challenge and I had quite a lot of fun. The way it works is one or two members choose a baked good that they would like the group to prepare. The challenger finds a recipe they want to use and then the group (The Daring Bakers) all prepare it and blog about it. We all agree to only post the recipe on a certain day so that we all do it on the same day. It's a lot of fun and definitely can take you out of your comfort zone if someone chooses something really challenging.
The rules are simple: prepare the item using the same recipe that the challenger posts. No substituting a recipe you already use or tweaking of recipes except in the case of allergies or personal beliefs (so, if like me you can't have nuts or if you're vegan). The only changes that can be made are if the challenger specifically says you can change certain things. Then, make it and blog about it!
For my first challenge we made Nanaimo Bars. I've heard of these before but have never made them, and I don't think I'd ever even seen them. For me this was a great challenge. I got to make something I'd never made before, but it wasn't terribly complicated so I didn't feel too stressed that I wouldn't be able to make them.
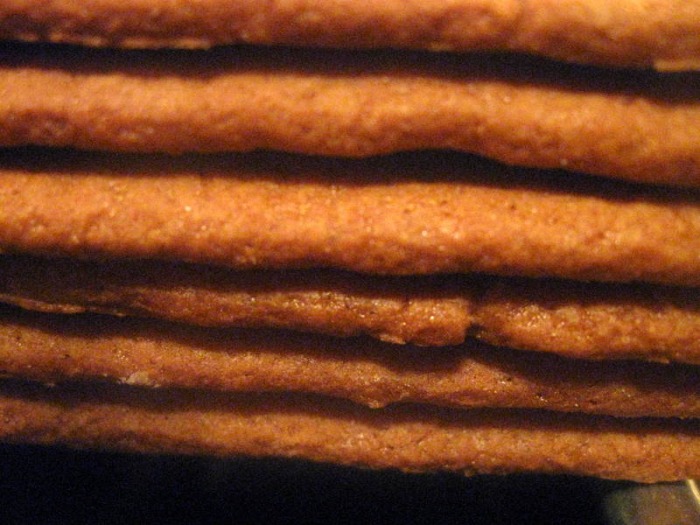
The finished bars were incredibly rich and sweet! It's definitely something that you only need a little piece of. At first I wasn't sure if I liked them, but they seem to keep forever so I was able to keep going back and cutting a little sliver and they seemed to get better and better. By the time they were gone M1 and I decided that we did, in fact, like them. They're a crazy combination of sweeet, salty, buttery and chocolate, which is sometimes EXACTLY what you're looking for.
The big challenge was to make the graham crackers gluten free, however our challenger said we could make them with regular flour if we wanted. I chose to make the regular flour kind because it would be too expensive to go out and buy all the different flours needed to make it gluten free, especially knowing that I would never use the flours again. I do have to say that the regular flour crackers were delicious, but other Daring Bakers who made the gluten free type said they were even better than the regular ones.
I had a lot of fun with this, and I'm totally looking forward to the next challenge!
For Gluten-Free Graham Wafers Ingredients - 1 cup (138 g) (4.9 ounces) Sweet rice flour (also known as glutinous rice flour)
- 3/4 cup (100 g) (3.5 ounces) Tapioca Starch/Flour
- 1/2 cup (65 g) (2.3 ounces) Sorghum Flour
- 1 cup (200 g) (7.1 ounces) Dark Brown Sugar, Lightly packed
- 1 teaspoon (5 mL) Baking soda
- 3/4 teaspoon (4 mL ) Kosher Salt
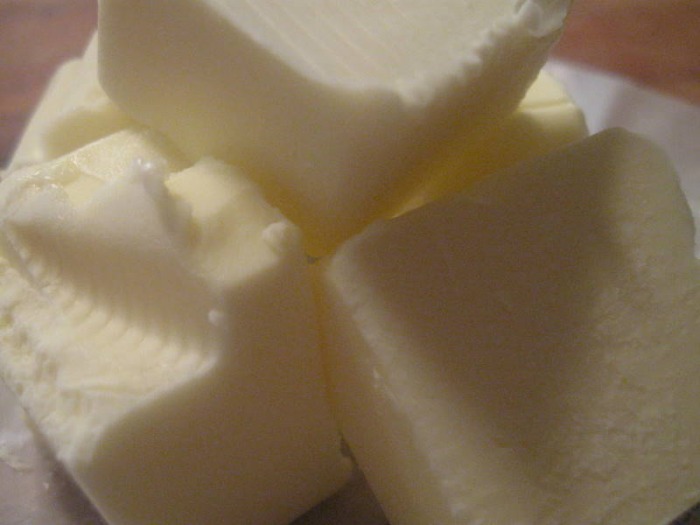
- 7 tablespoons (100 g) (3 ½ ounces) Unsalted Butter (Cut into 1-inch cubes and frozen)
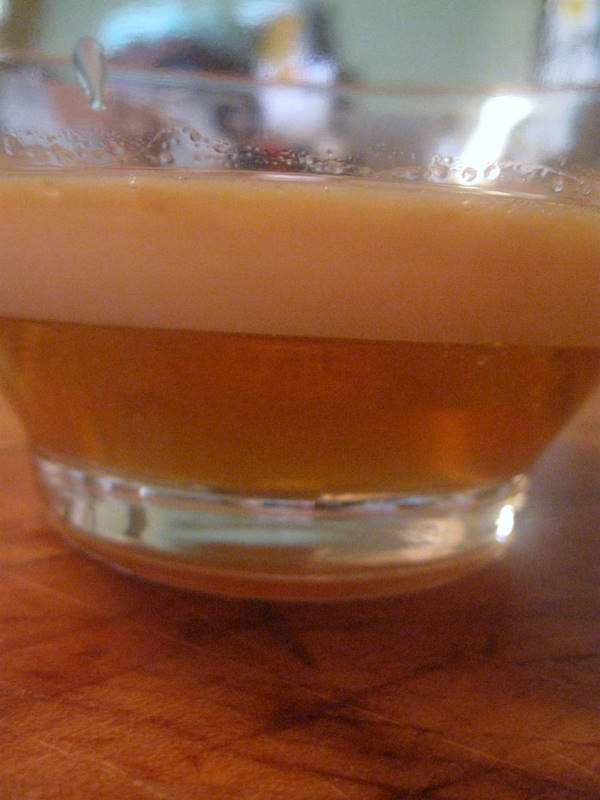
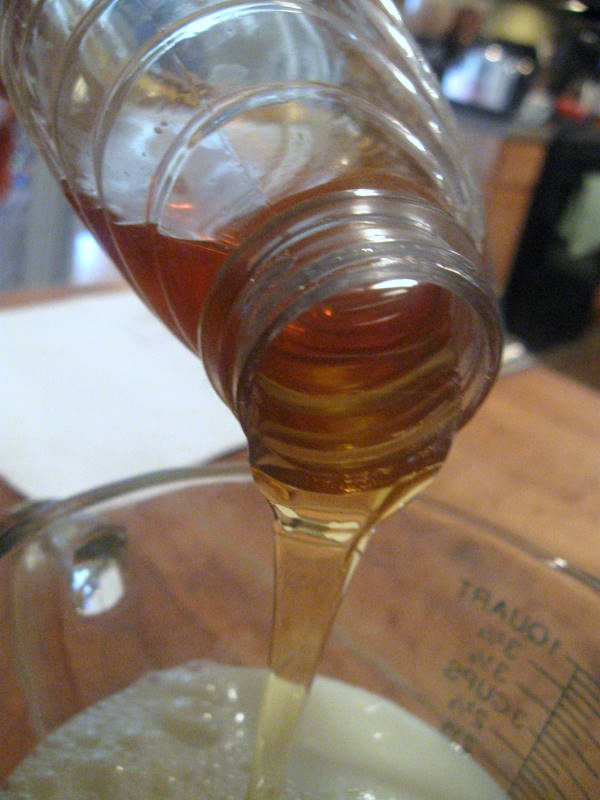
- 1/3 cup (80 mL) Honey, Mild-flavoured such as clover
- 5 tablespoons (75 mL) Whole Milk
- 2 tablespoons (30 mL) Pure Vanilla Extract
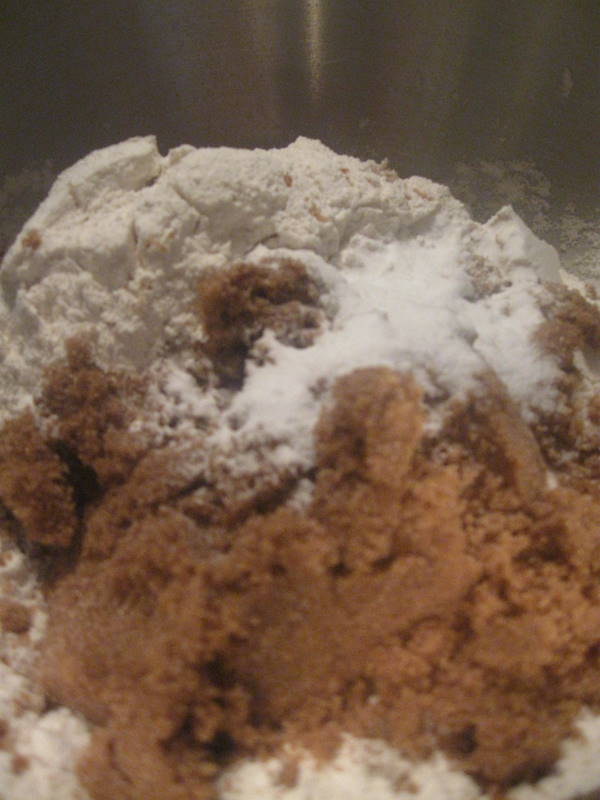
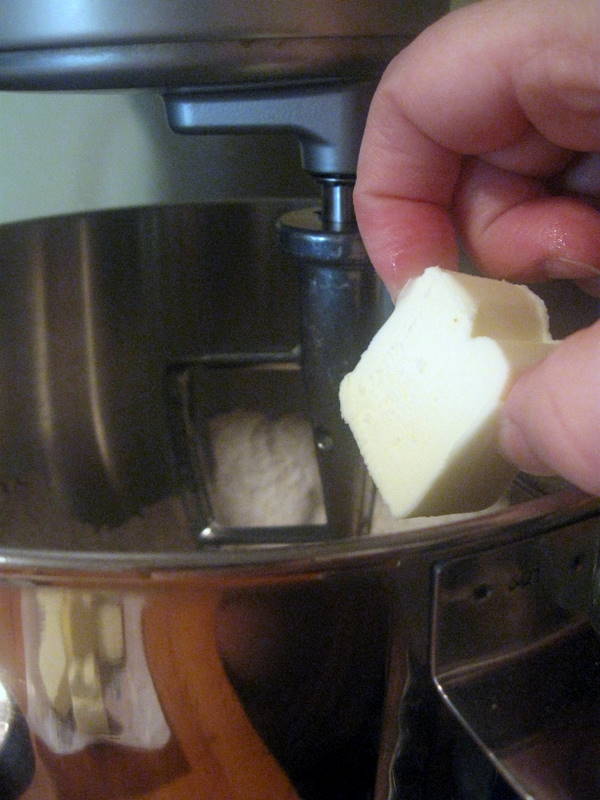
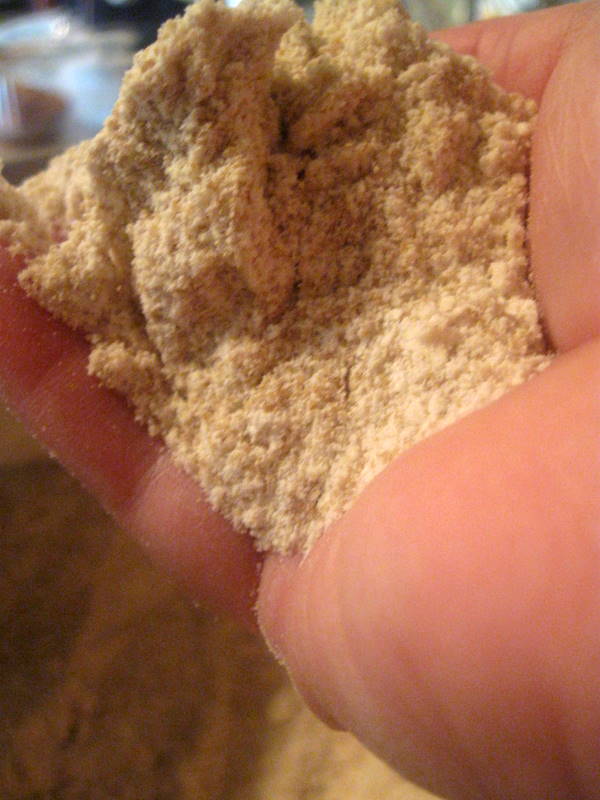
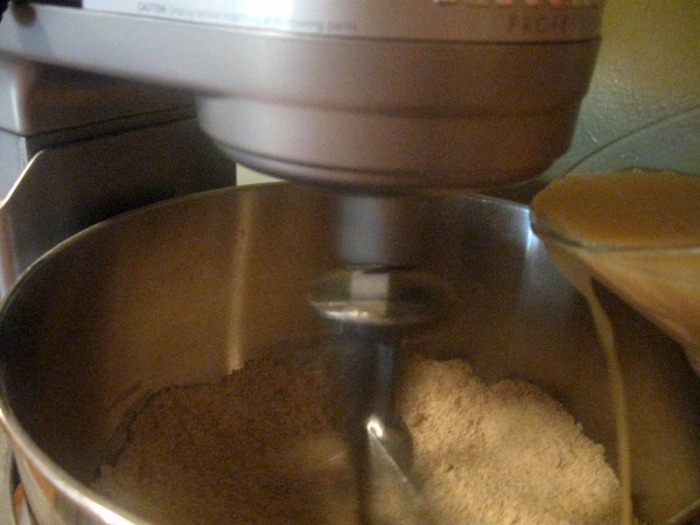
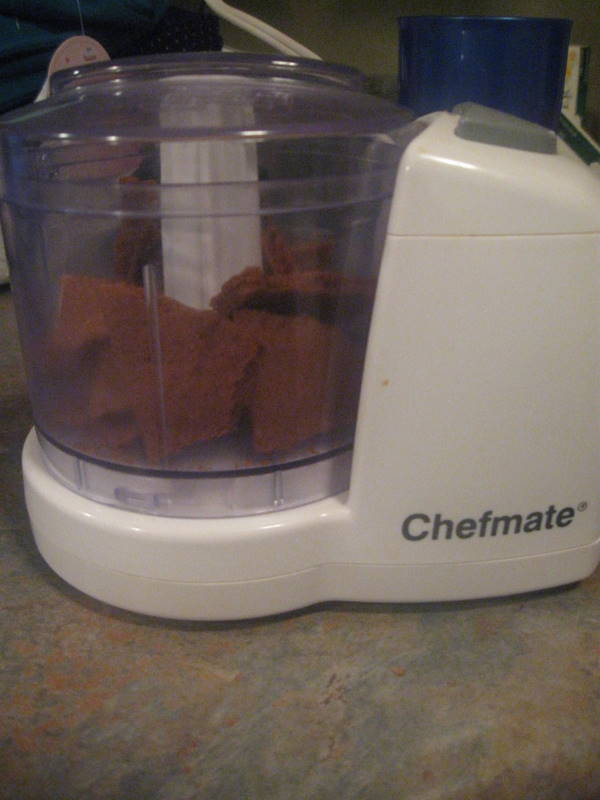
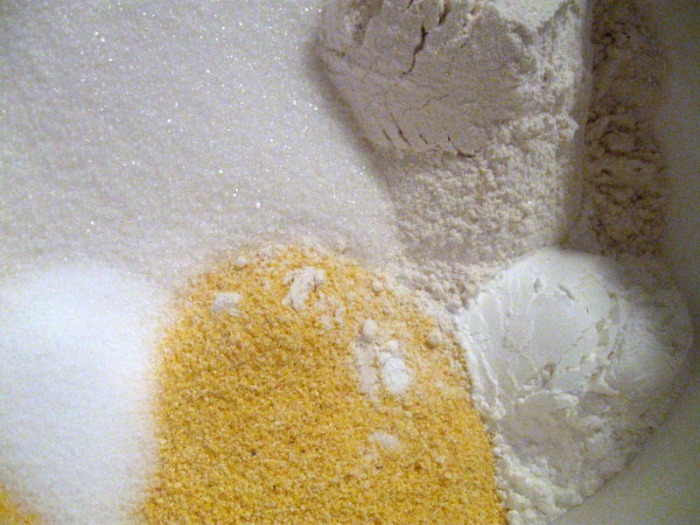
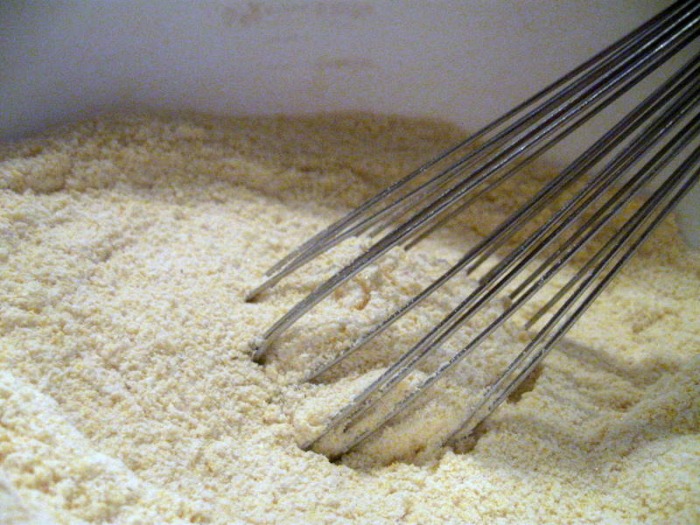
- In the bowl of a food processor fitted with a steel blade, combine the flours, brown sugar, baking soda, and salt. Pulse on low to incorporate. Add the butter and pulse on and off, until the mixture is the consistency of a coarse meal. If making by hand, combine aforementioned dry ingredients with a whisk, then cut in butter until you have a coarse meal. No chunks of butter should be visible.
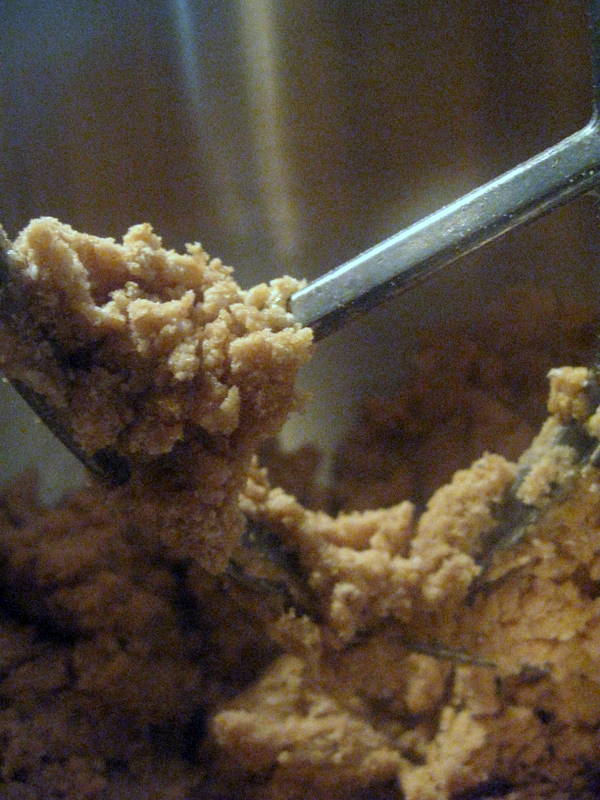
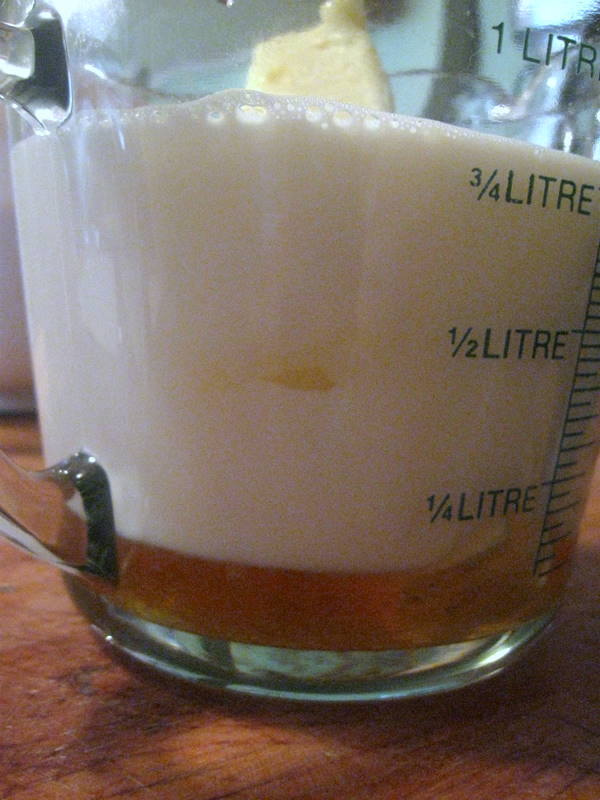
- In a small bowl or liquid measuring cup, whisk together the honey, milk and vanilla. Add to the flour mixture until the dough barely comes together. It will be very soft and sticky.
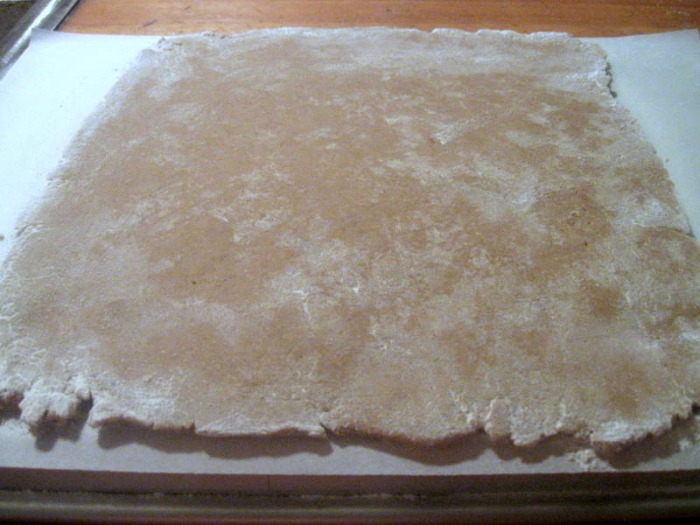
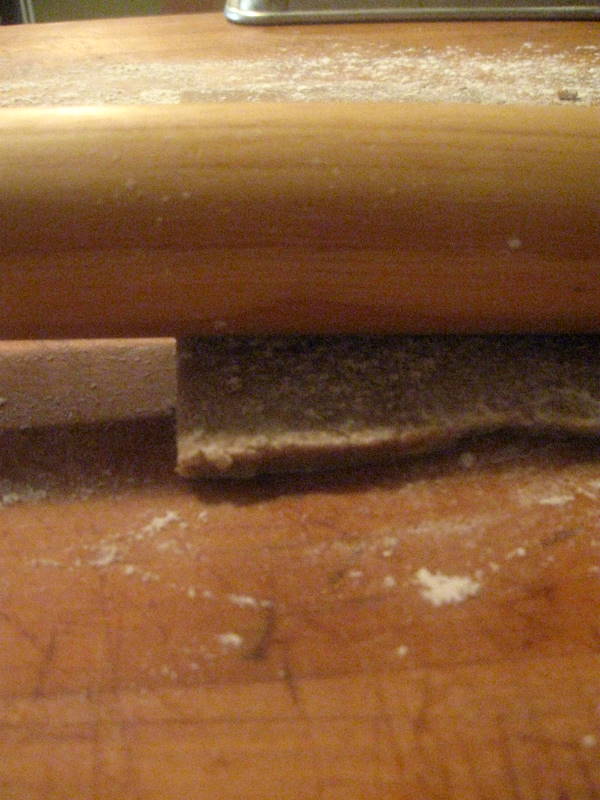
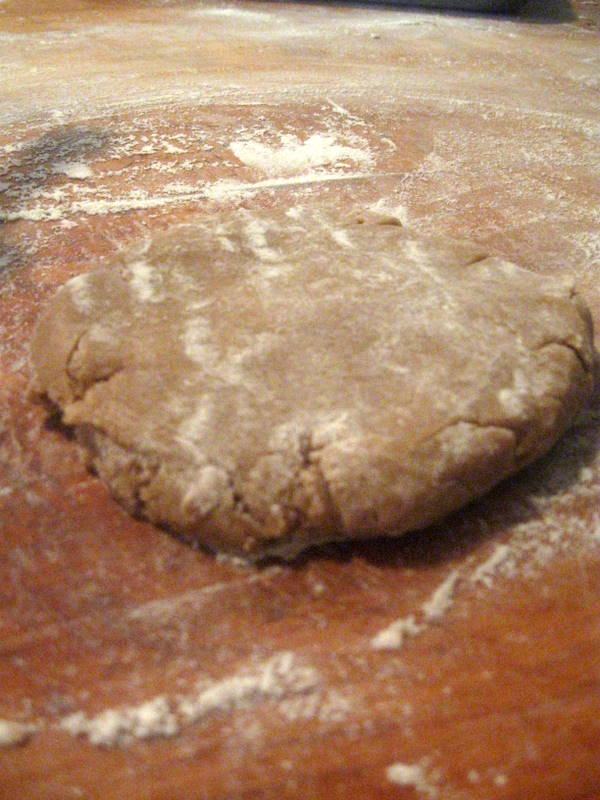
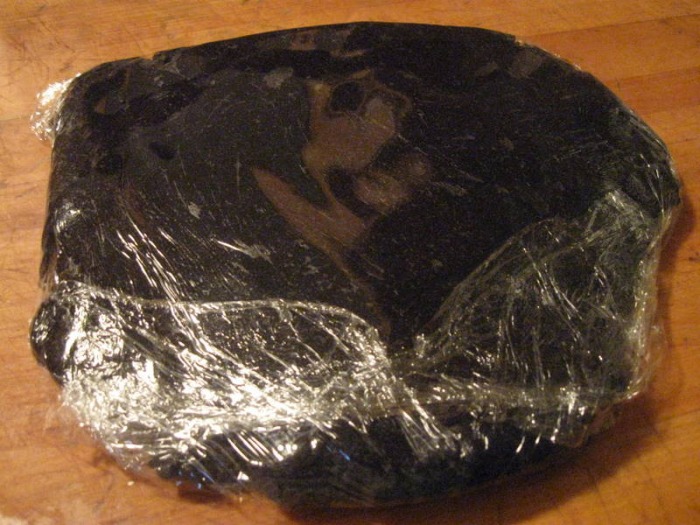
- Turn the dough onto a surface well-floured with sweet rice flour and pat the dough into a rectangle about 1 inch thick. Wrap in plastic and chill until firm, about 2 hours, or overnight.
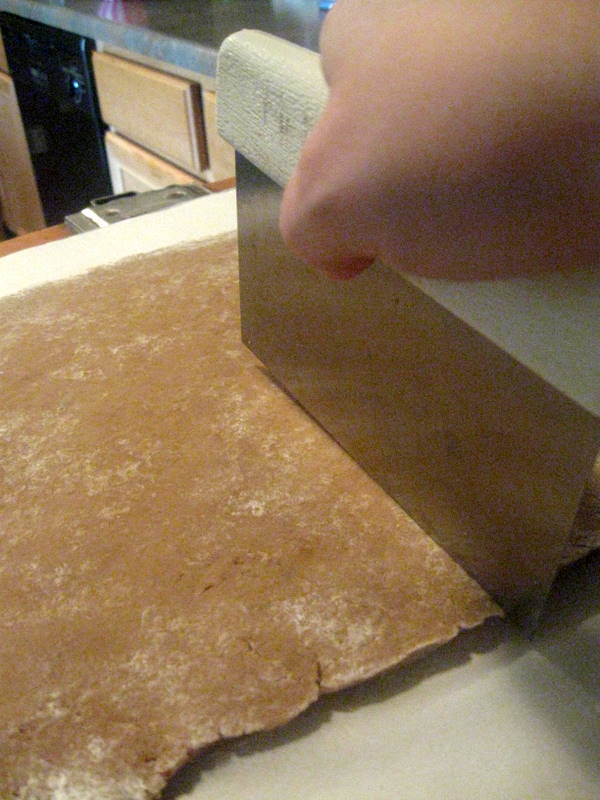
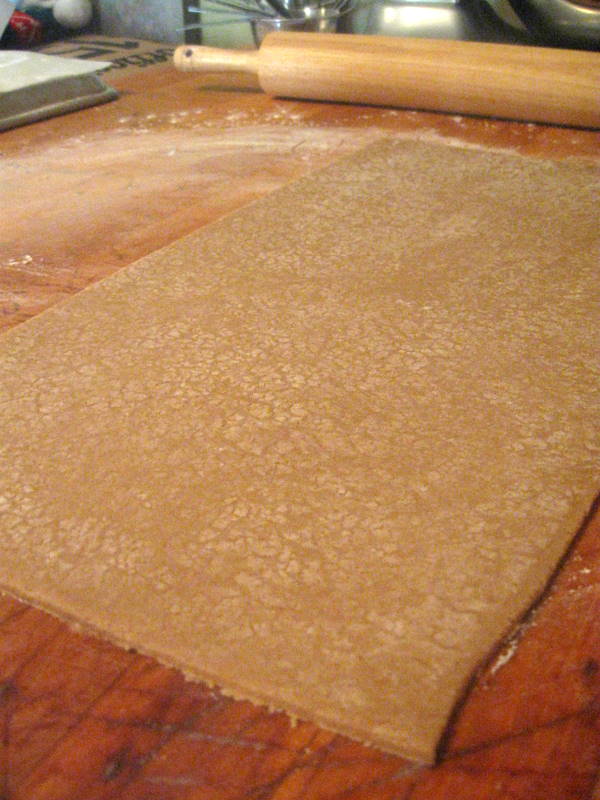
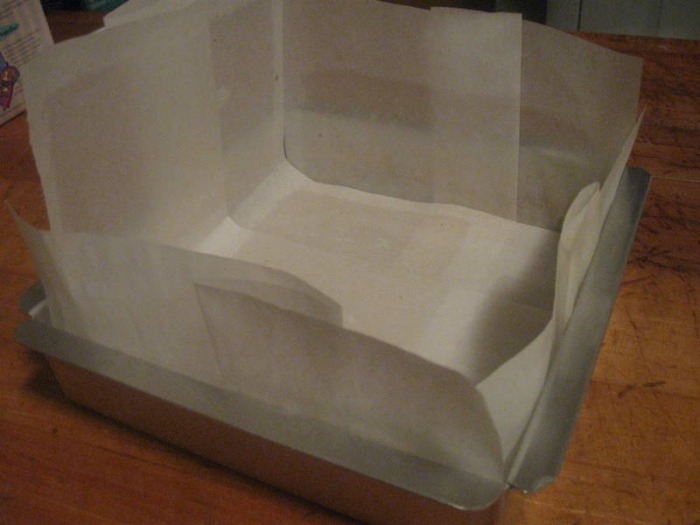
- Divide the dough in half and return one half to the refrigerator. Sift an even layer of sweet rice flour onto the work surface and roll the dough into a long rectangle, about 1/8 inch thick. The dough will be quite sticky, so flour as necessary. Cut into 4 by 4 inch squares. Gather the scraps together and set aside. Place wafers on one or two parchment-lined baking sheets. Chill until firm, about 30 to 45 minutes. Repeat with the second batch of dough.
- Adjust the rack to the upper and lower positions and preheat oven to 350 degrees Fahrenheit (180 degrees Celsius).
- Gather the scraps together into a ball, chill until firm, and reroll. Dust the surface with more sweet rice flour and roll out the dough to get a couple more wafers.
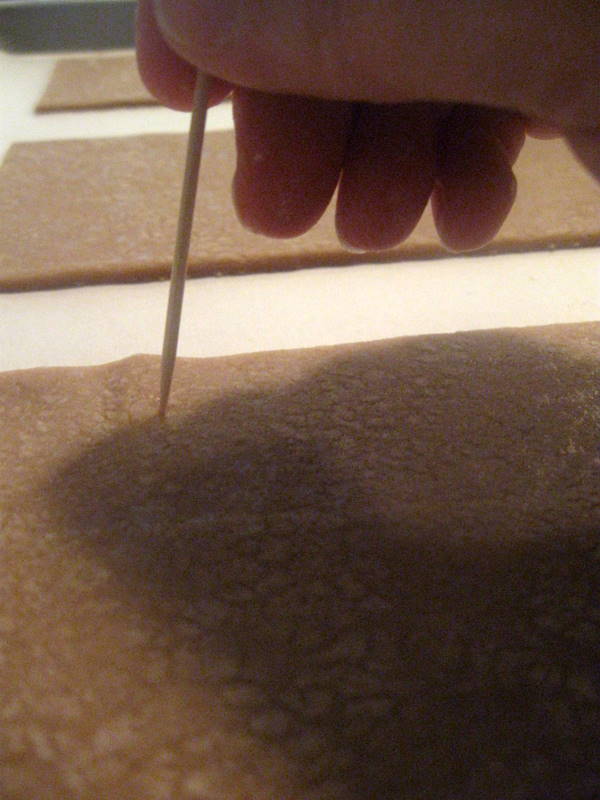
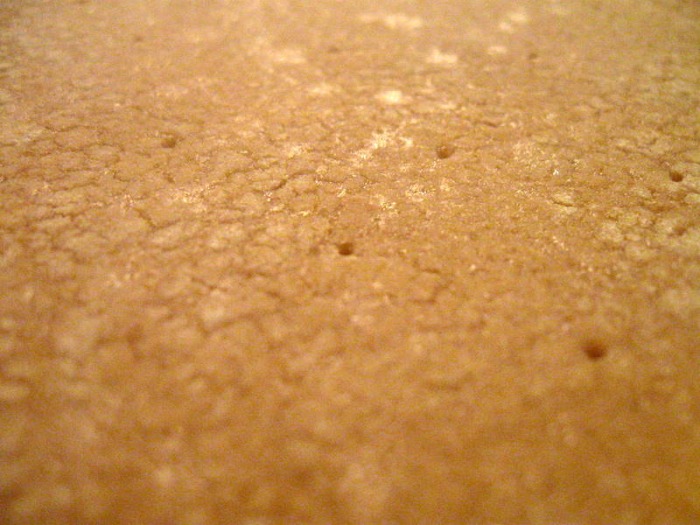
- Prick the wafers with toothpick or fork, not all the way through, in two or more rows.
- Bake for 25 minutes, until browned and slightly firm to the touch, rotating sheets halfway through to ensure even baking. Might take less, and the starting location of each sheet may determine its required time. The ones that started on the bottom browned faster.
- When cooled completely, place enough wafers in food processor to make 1 ¼ cups (300 mL) of crumbs. Another way to do this is to place in a large ziplock bag, force all air out and smash with a rolling pin until wafers are crumbs.
If making the graham crackers with wheat, replace the gluten-free flours (tapioca starch, sweet rice flour, and sorghum flour) with 2 ½ cups plus 2 tbsp of all-purpose wheat flour, or wheat pastry flour. Watch the wheat-based graham wafers very closely in the oven, as they bake faster than the gluten-free ones, sometimes only 12 minutes. (I made the regular flour crackers. I had no problems with the dough being sticky or that they baked super fast. They baked in the 12 minutes the recipes suggests.)Nanaimo Bars Ingredients: For Nanaimo Bars: Bottom Layer - 1/2 cup (115 g) (4 ounces) Unsalted Butter
- 1/4 cup (50 g) (1.8 ounces) Granulated Sugar
- 5 tablespoons (75 mL) Unsweetened Cocoa
- 1 Large Egg, Beaten
- 1 1/4 cups (300 mL) (160 g) (5.6 ounces) Gluten Free Graham Wafer Crumbs (See previous recipe)
- 1/2 cup (55 g) (1.9 ounces) Almonds (Any type, Finely chopped)
- 1 cup (130 g) (4.5 ounces) Coconut (Shredded, sweetened or unsweetened)
Middle Layer - 1/2 cup (115 g) (4 ounces) Unsalted Butter
- 2 tablespoons and 2 teaspoons (40 mL) Heavy Cream
- 2 tablespoons (30 mL) Vanilla Custard Powder (Such as Bird’s. Vanilla pudding mix may be substituted.)
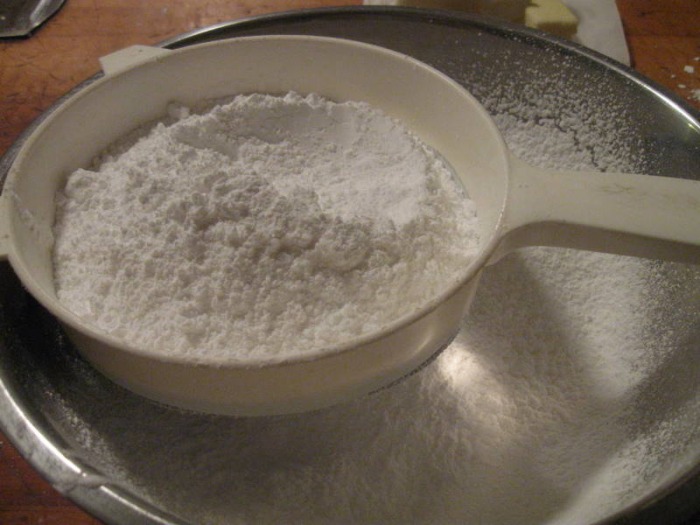
- 2 cups (254 g) (8.9 ounces) Icing Sugar
Top Layer - 4 ounces (115 g) Semi-sweet chocolate
- 2 tablespoons (28 g) (1 ounce) Unsalted Butter
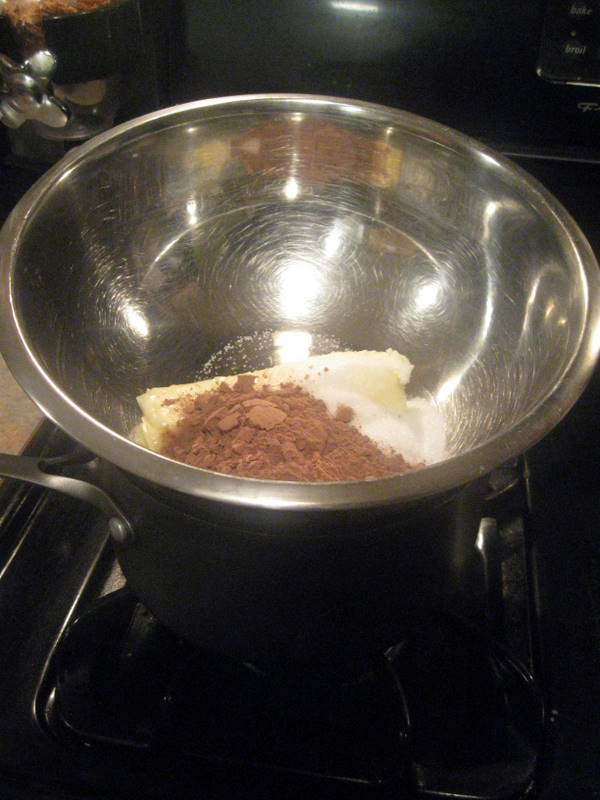
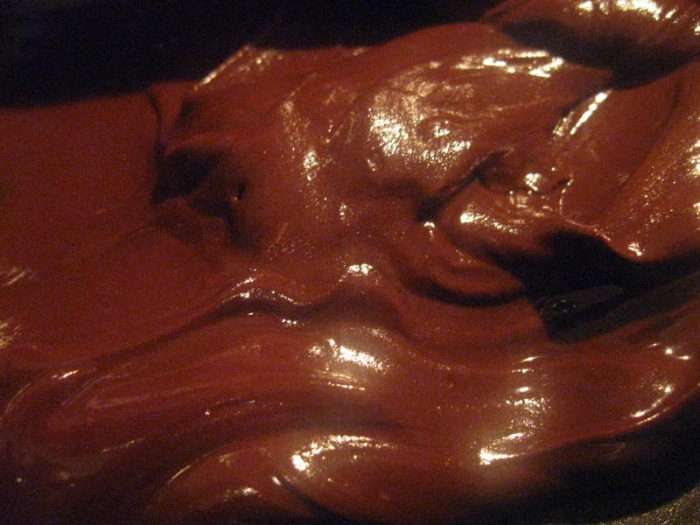
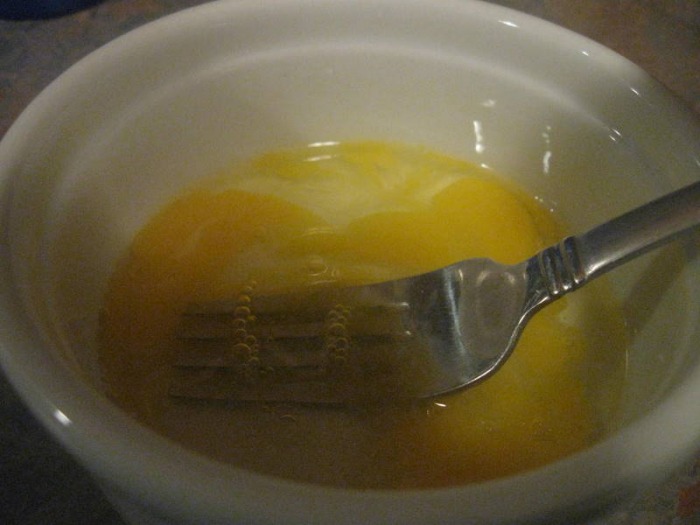
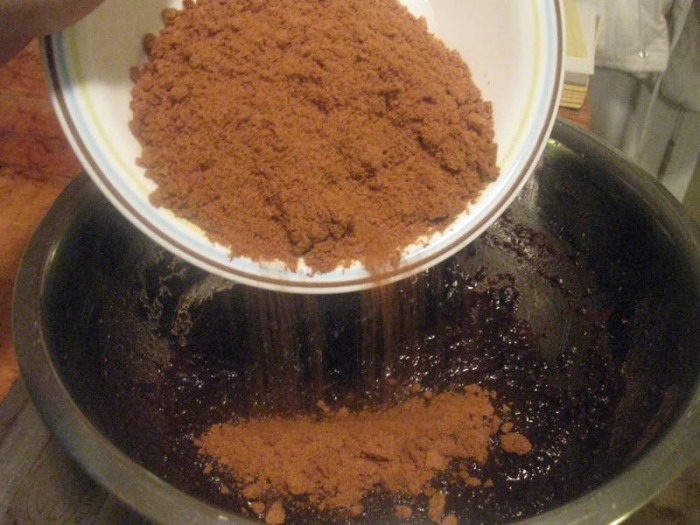
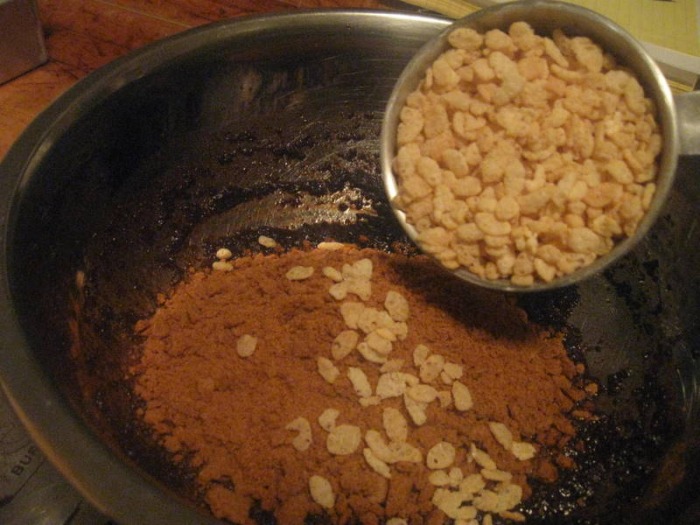
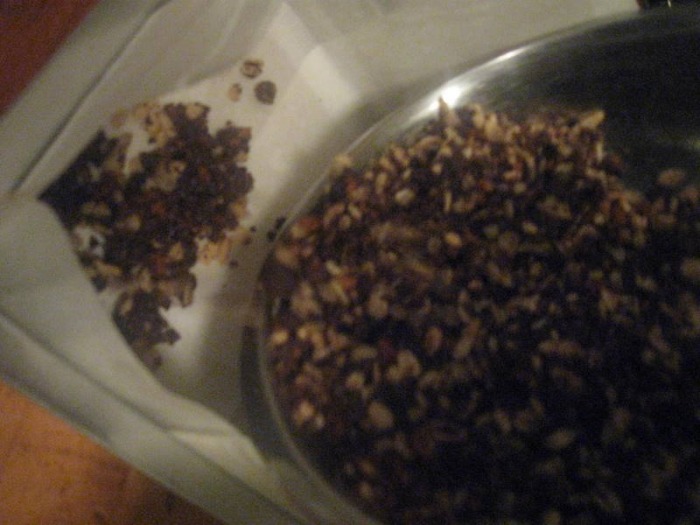
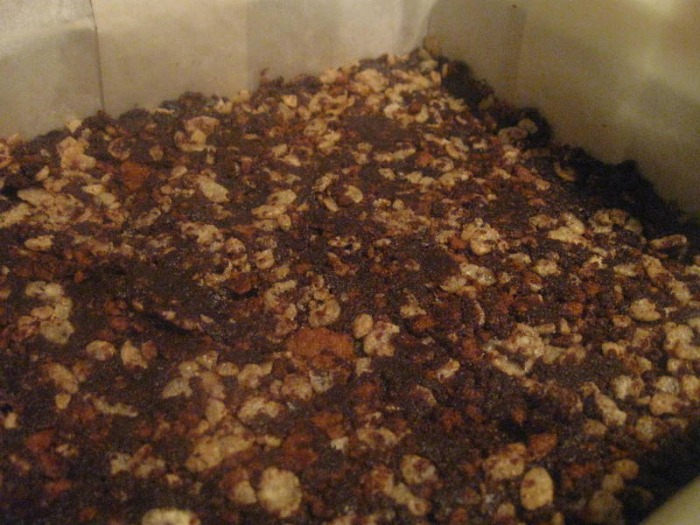
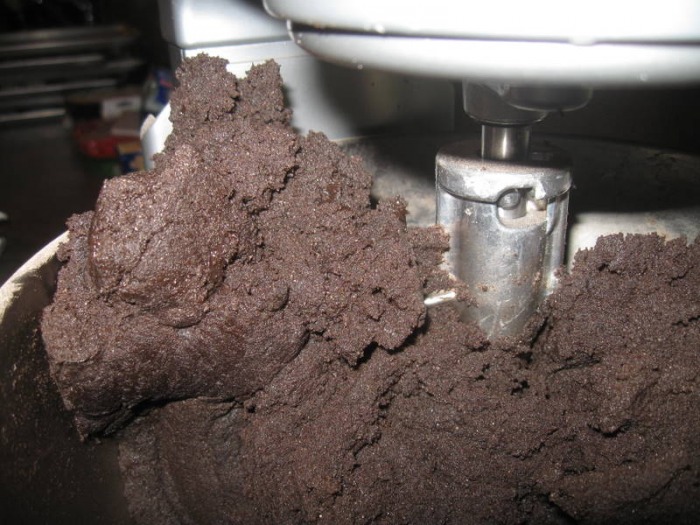
- For bottom Layer: Melt unsalted butter, sugar and cocoa in top of a double boiler. Add egg and stir to cook and thicken. Remove from heat. Stir in crumbs, nuts and coconut. Press firmly into an ungreased 8 by 8 inch pan.
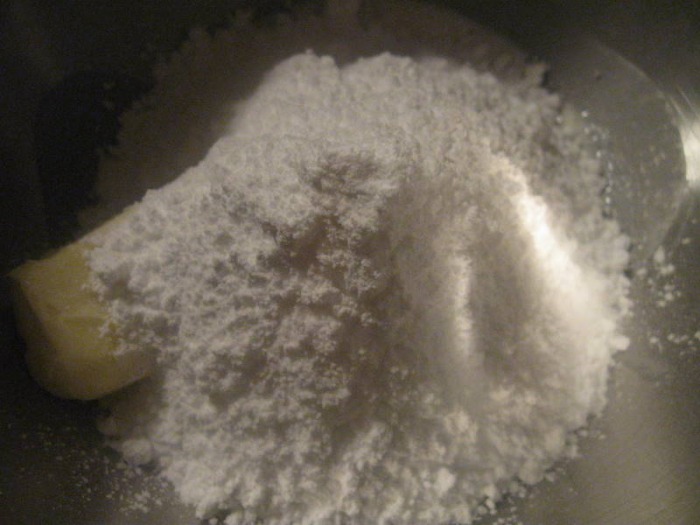
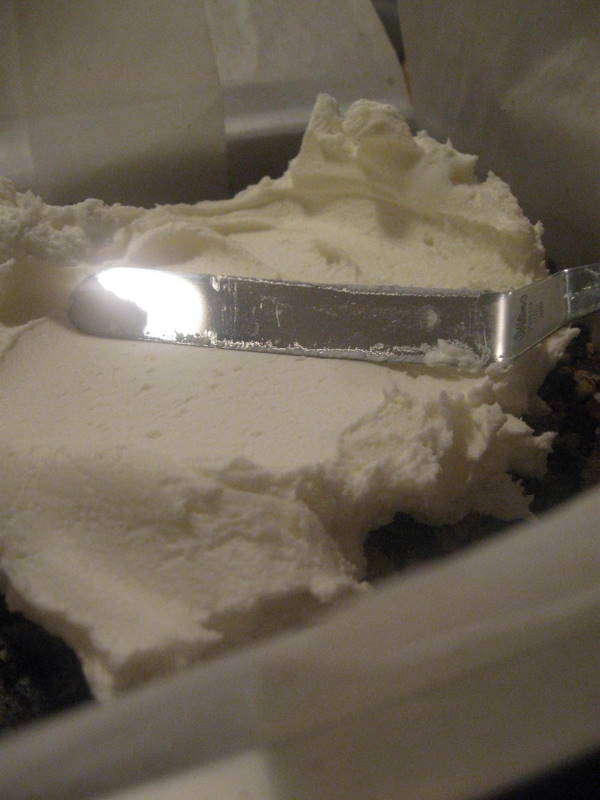
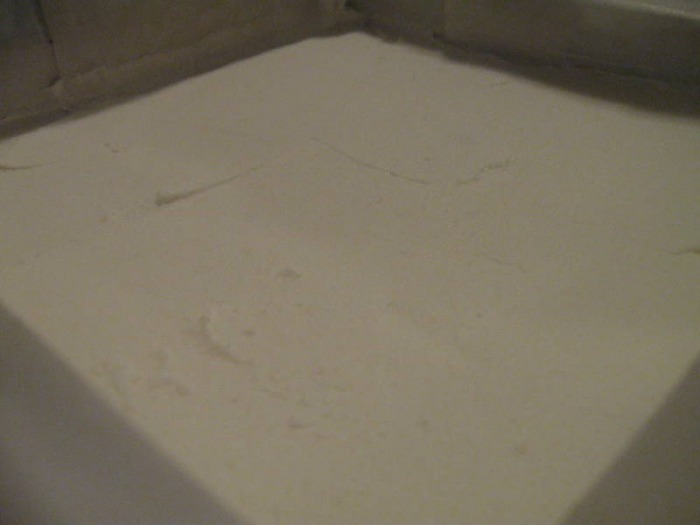
- For Middle Layer: Cream butter, cream, custard powder, and icing sugar together well. Beat until light in colour. Spread over bottom layer.
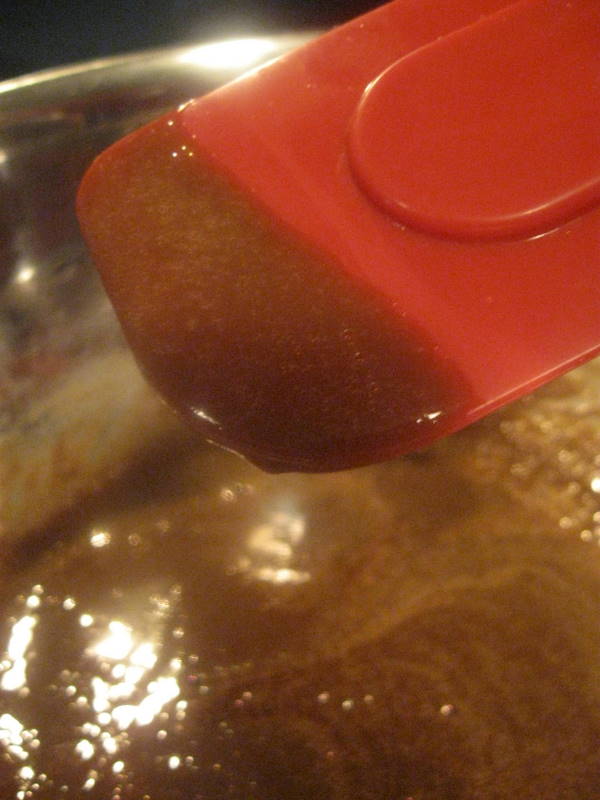
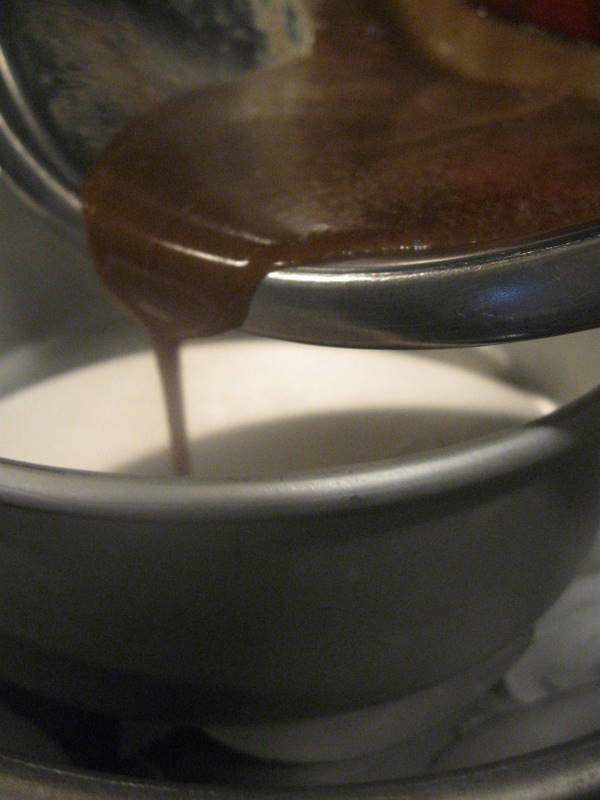
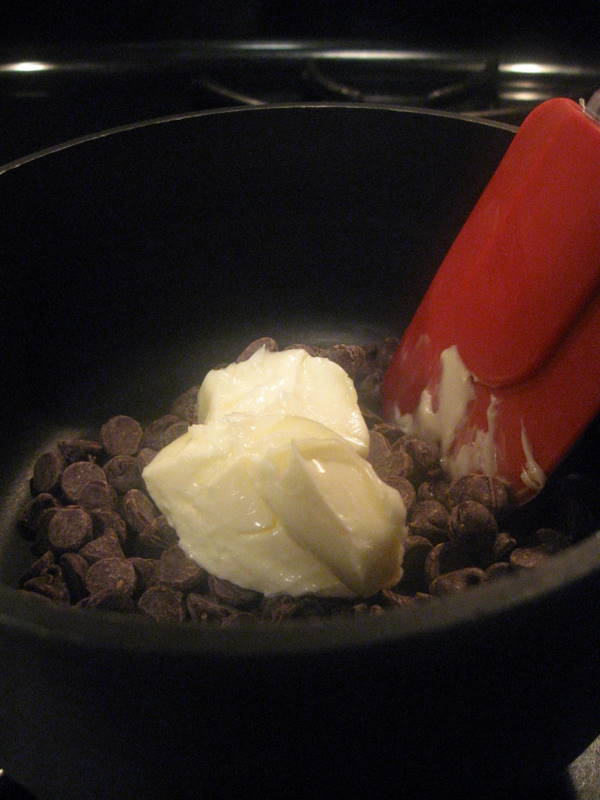
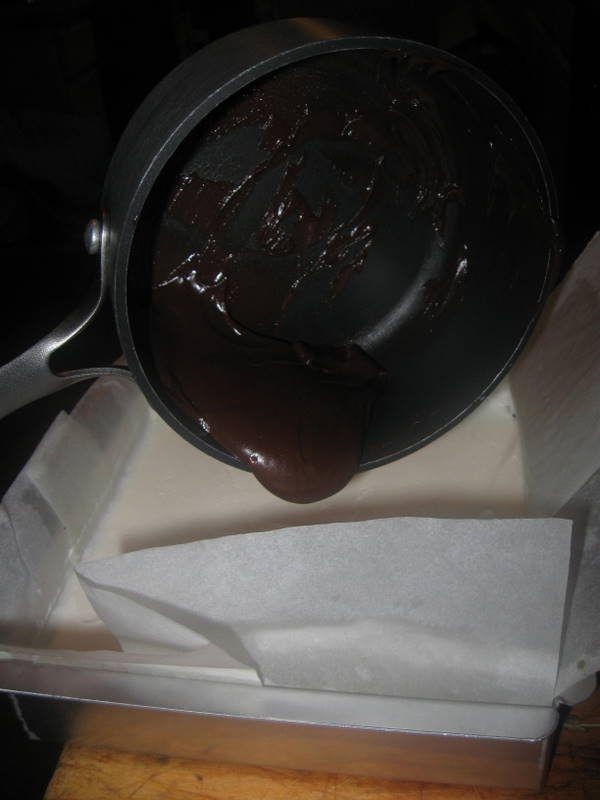
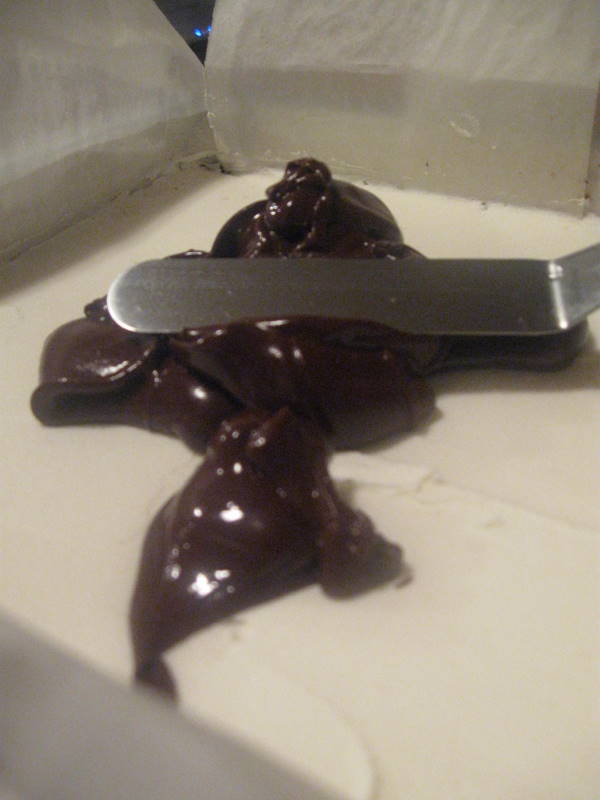
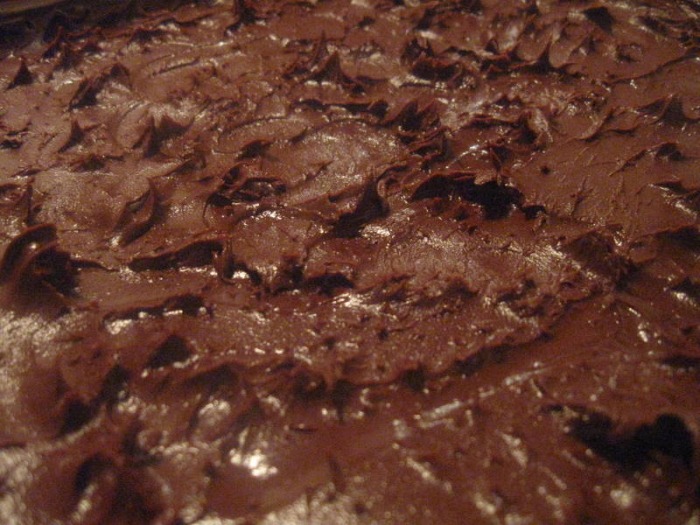
- For Top Layer: Melt chocolate and unsalted butter over low heat. Cool. Once cool, pour over middle layer and chill.
If making with wheat, replace the gluten-free graham wafer crumbs with equal parts wheat graham wafer crumbs! Additional Information:
These bars freeze very well, so don’t be afraid to pop some into the freezer.
The graham wafers may be kept in an airtight container for up to 2 weeks.
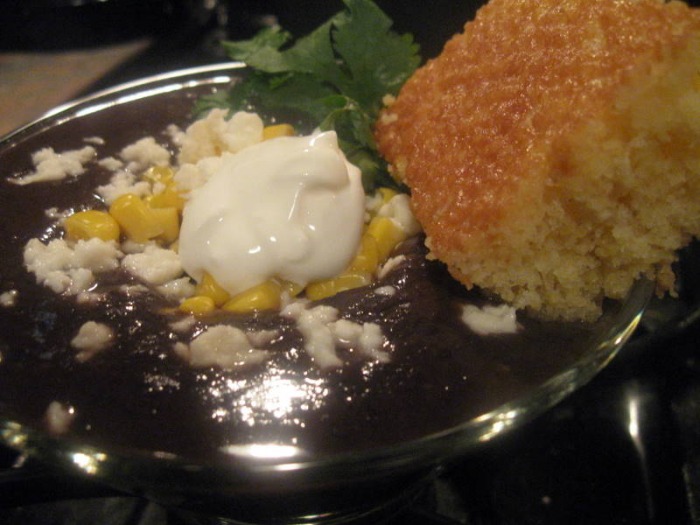
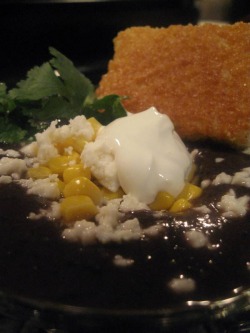 I love cornbread. My dad used to make it all the time when we were kids, and eventually I took over and made it. We would have a big pan of it sitting around to snack on. We always used the standard recipe on the back of the corn meal container, which at the time seemed plenty good. Then I met The Chef, who insisted he didn't like corn bread. To me, that was a challenge. I quizzed him about what he didn't like about it. I figured out that he preferred his cornbread to be sweet and not dry and crumbly. So I began trying out different recipes I would find in cookbooks and on the internet. He didn't like any of them. I realized I would have to create my own recipe. So began my cornbread odyssey. It took a lot of trial and error, but I finally came up with a recipe that he liked! It's a sweet and tender cornbread that is simply delicious. I'm really proud of this recipe because I created it entirely myself, so it's a Baker Original! We've taken to calling it "Cornbread For People Who Claim Not To Like Cornbread". Yesterday I wanted to make cornbread but I was undecided what to make with it. I needed to drop M1 off at a guitar lesson. While I was waiting for him to get ready I was perusing blogs. Smitten Kitchen had just made some black bean soup and I was mentally slapping myself in the forehead... I LOVE black bean soup! It's probably my favorite soup. And, it would go so great with cornbread. While M1 was at his lesson I ran over to the store and picked up the ingredients. Then we picked up M1 and went back home to make the soup and cornbread. I love the recipe she uses because you can cook the beans in a slow cooker, which is so convenient. There's no need to soak the beans overnight. I tend not to make black bean soup because I don't plan far enough in advance and by the time the craving hits I don't want to wait 24 hours. So I do without or I buy a container of pre-made soup at the store. I did a couple of things differently than Smitten Kitchen. I don't like red and green peppers so I left them out. Knowing that by not having the peppers the soup would probably be flat tasting I chose to use chipotle sauce, which contains tomato puree, to round out the flavor. Because I used the sauce, and not just the chipotle pepper that she used, I used more than what she called for in her recipe. I also garnished mine with some corn, queso fresco, mexican crema and cilantro... and a huge hunk of cornbread! It's delicious and hearty. A perfect meal to have on a cold day. And, oh by the way, it gets even better then next day! -The Baker
SWEET CORN BREAD: yield: 8" x 8" pan - 1 C All-purpose Flour
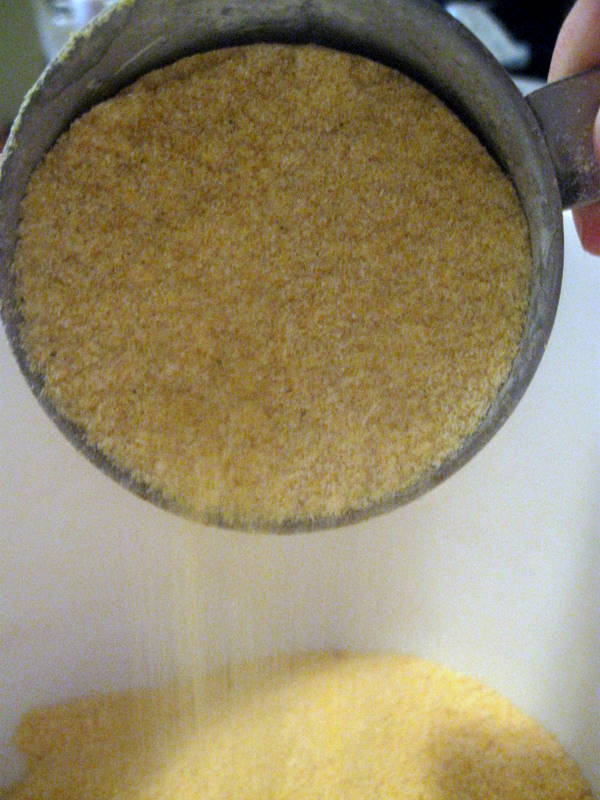
- 1 C Cornmeal
- 2/3 C Sugar
- 1 t Salt
- 3 1/2 t Baking Powder
- 1 Egg
- 1 C Milk
- 4 oz Butter
- 1/4 C Honey
- combine all of the dry ingredients; whisk together
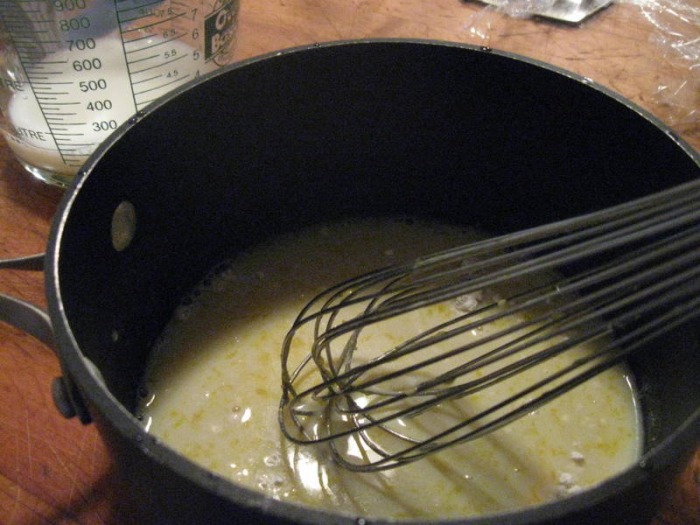
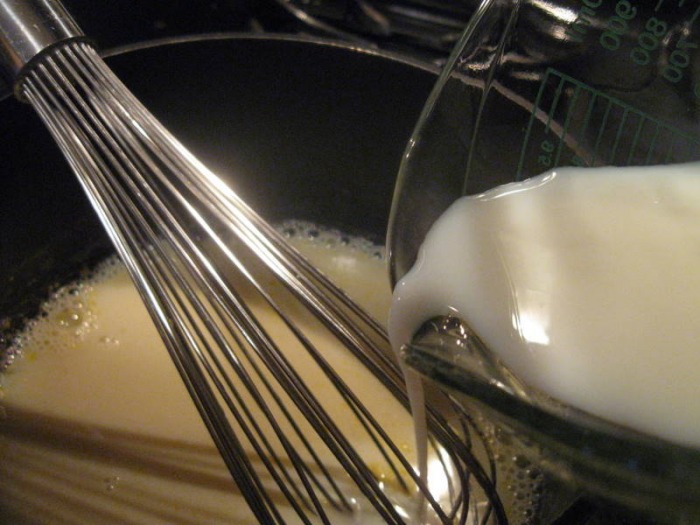
- combine milk, honey and butter; microwave until the butter has melted; remove from microwave and whisk in the egg
- add the milk mixture to the flour mixture; whisk together, just until combined
- pour into a buttered pan; bake at 400 F for 15 - 20 mins
BLACK BEAN SOUP: (inspired by Smitten Kitchen) - 1 tablespoon olive oil
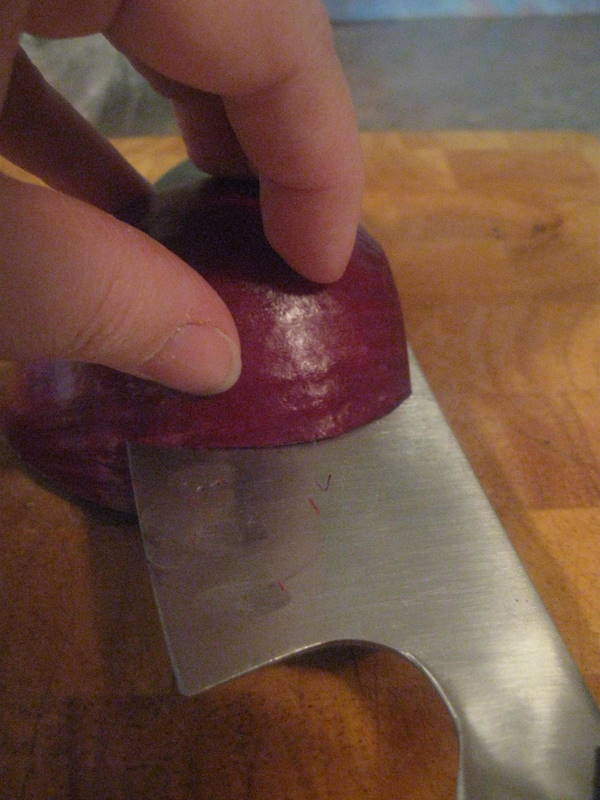
- 1 large red onion
- 4 garlic cloves, minced
- 4 teaspoons ground cumin
- 1 16-ounce package dried black beans
- small can of chipotle sauce (i used half of the can, which gives just a little after burn, but use more or less depending on how spicy or mild you like it)
- 7 cups hot water
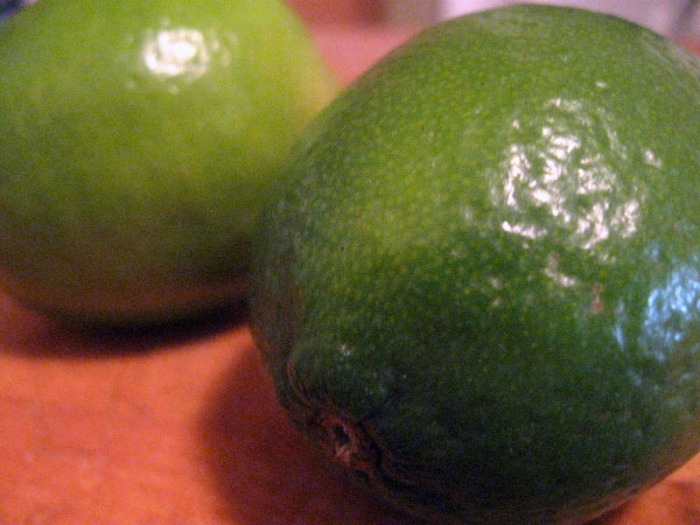
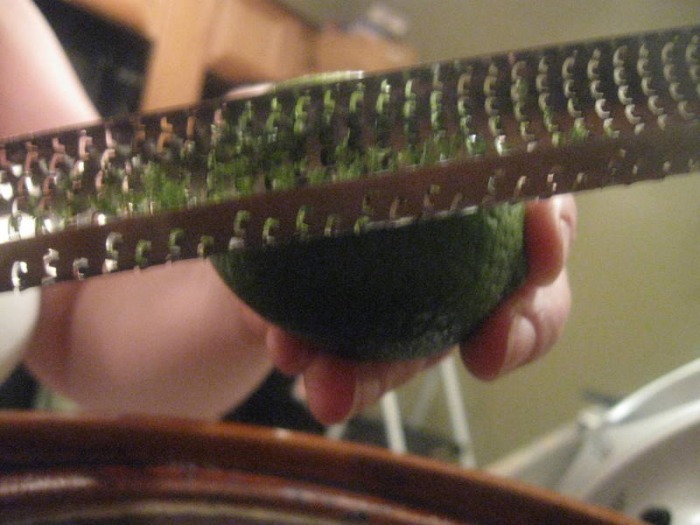
- zest from 1 lime
- juice from 1 fresh lime (use the lime you zested)
- 2 teaspoons coarse kosher salt
- 1/4 teaspoon ground black pepper
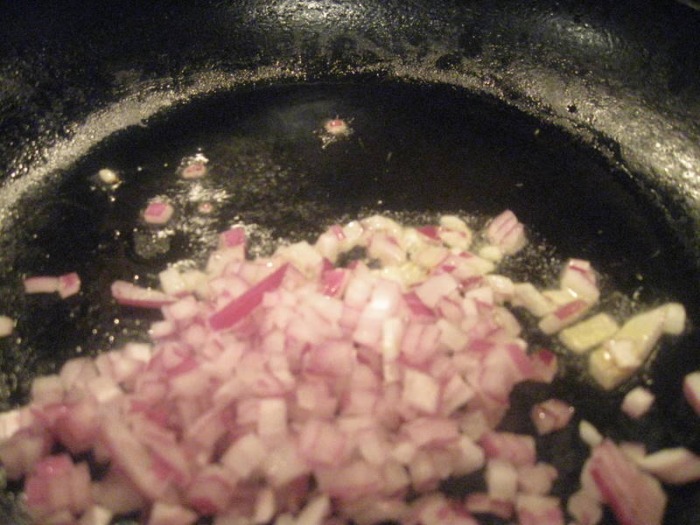
- heat oil in saute pan
- add onions saute until they just start to brown; add garlic and cumin; stir
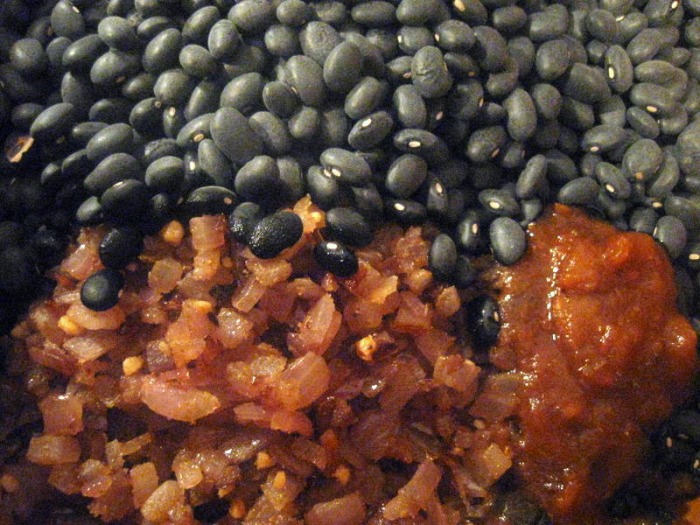
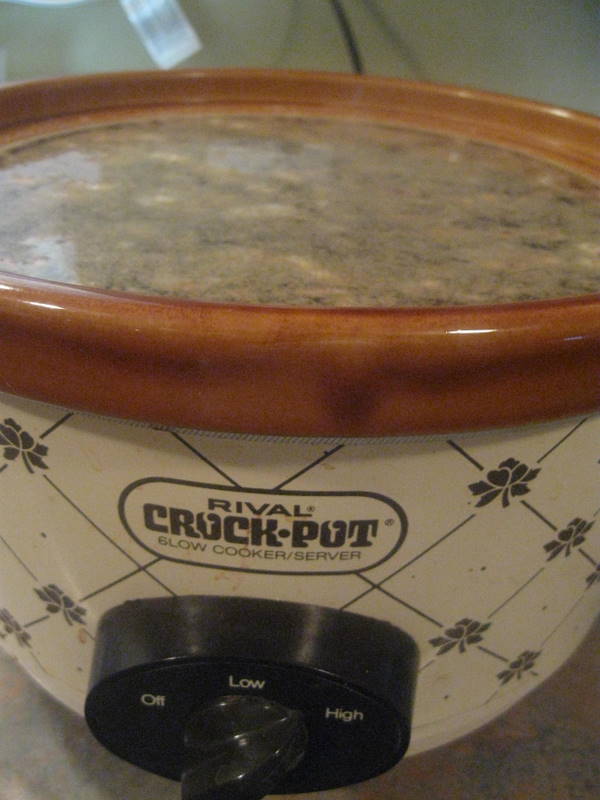
- transfer to 6-quart slow cooker; add beans and chipotle sauce, and hot water; over and cook on high until beans are very tender; it took my beans about four hours to get soft, but Smitten Kitchen's beans took just under three hours, so test them every hour after the first two hours of cooking
- when the beans are tender, scoop a couple of ladles into a blender; puree until smooth; puree as much of the beans as you like; the pureed beans will act as a thickener for the soup; i prefer a more pureed soup so i pureed most of the beans;
- add the pureed beans back to the beans in the slow cooker; add the lime zest, lime juice, and season with salt, and pepper to taste; because you didn't season the beans in the beginning you will probably find you need a lot more salt than you thought
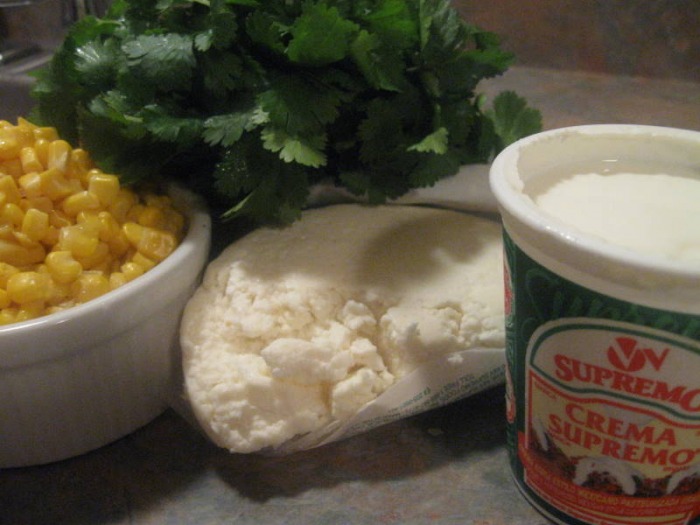
- to serve, garnish each bowl with some fresh corn, queso fresco, mexican crema and fresh cilantro and a big hunk of cornbread
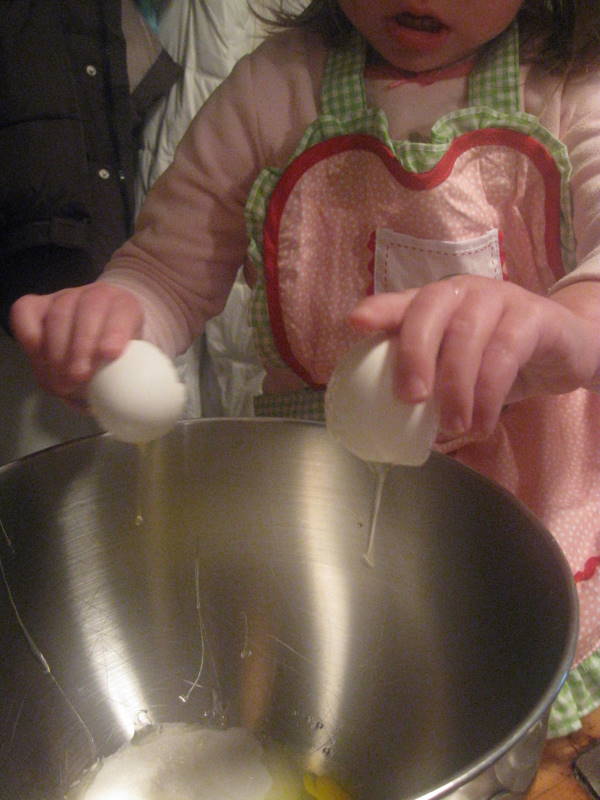
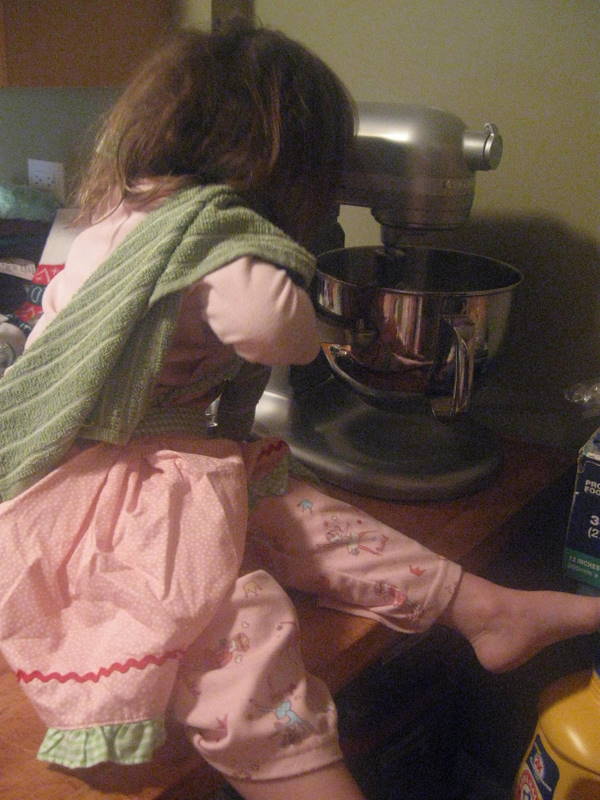
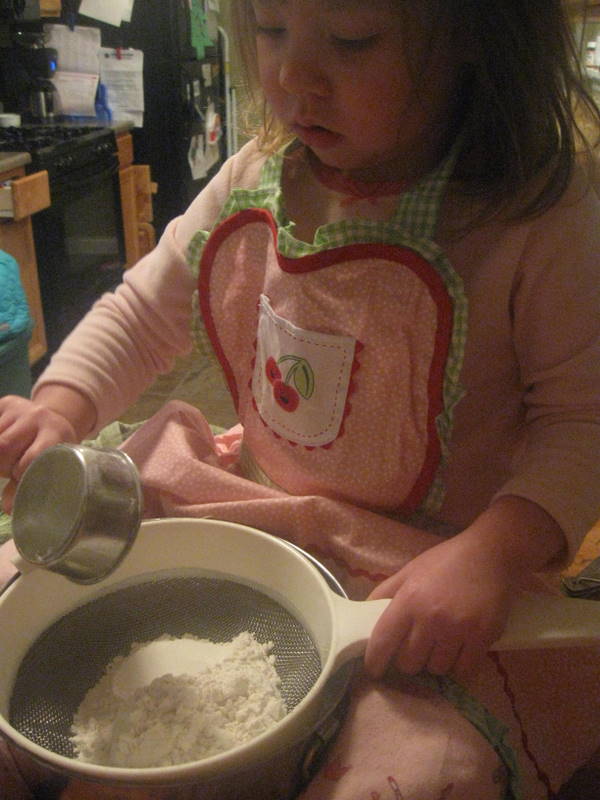
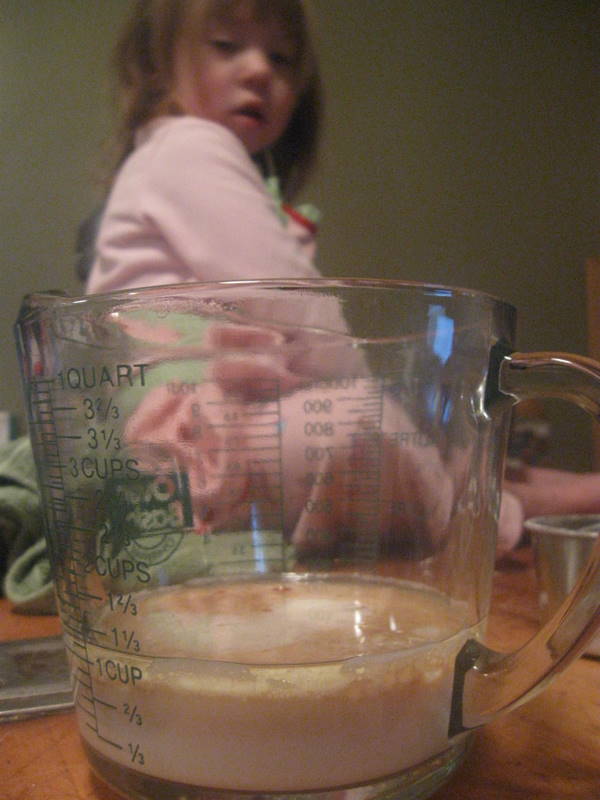
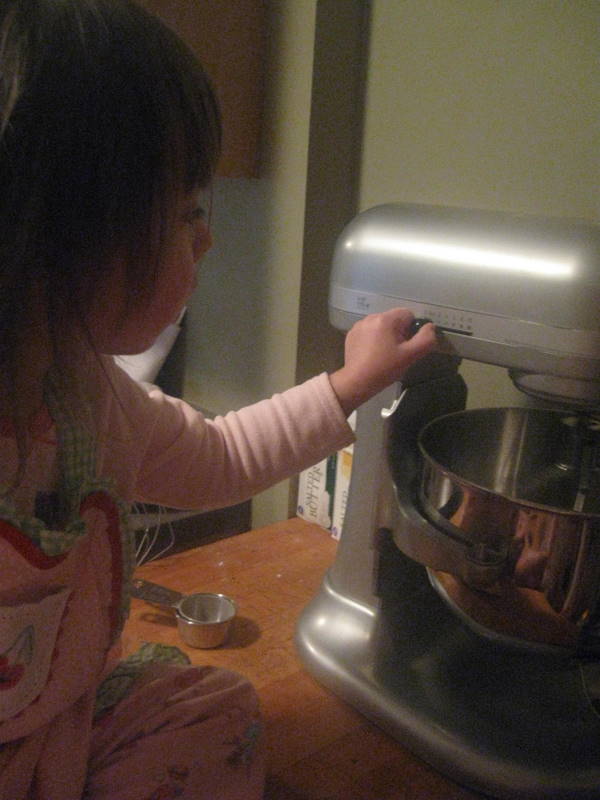
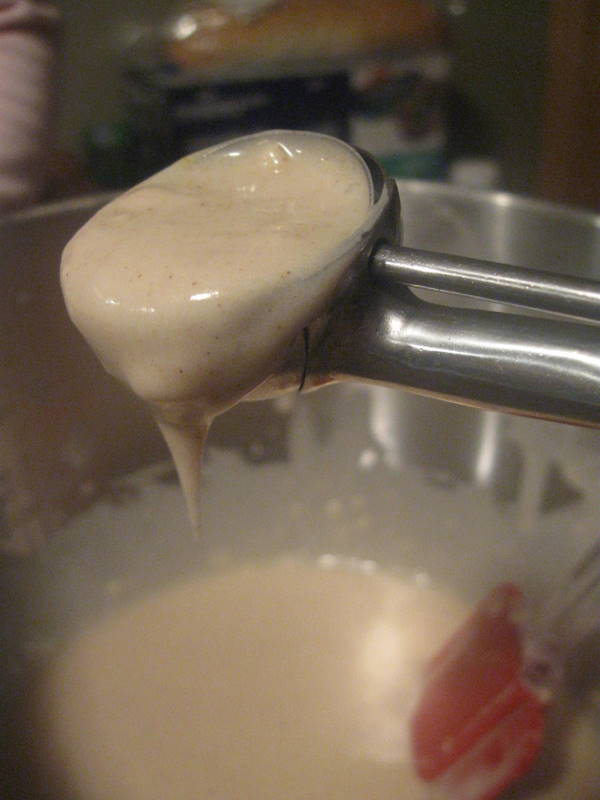
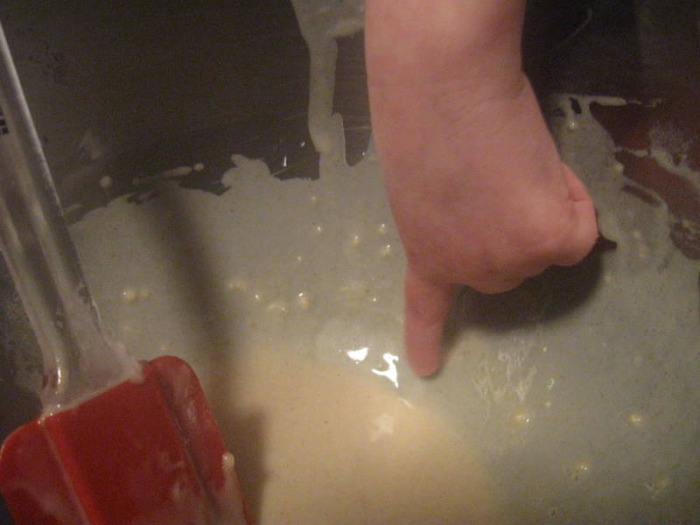
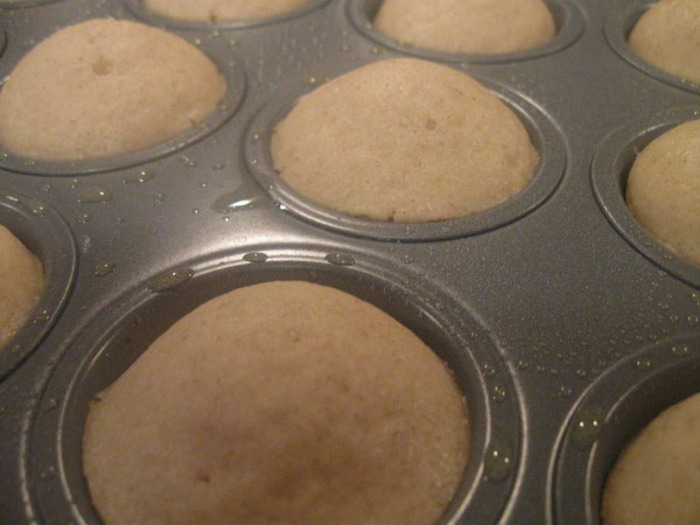
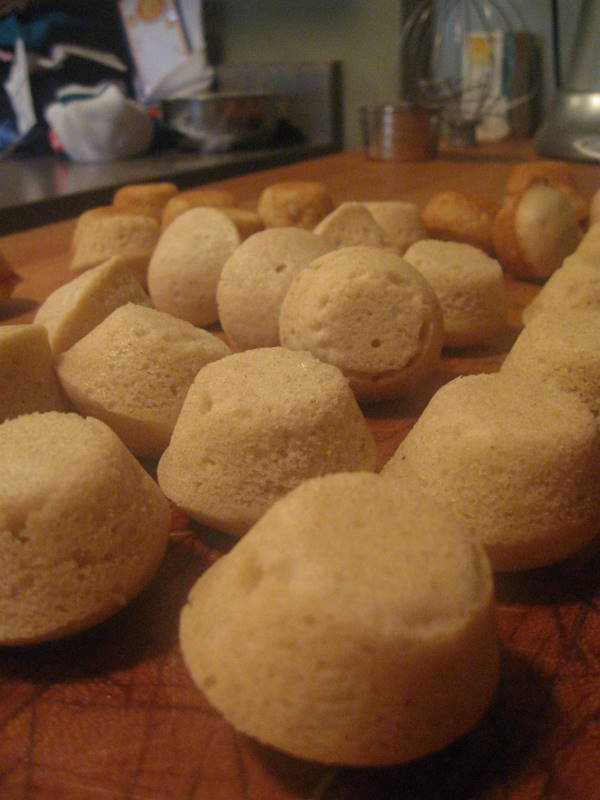
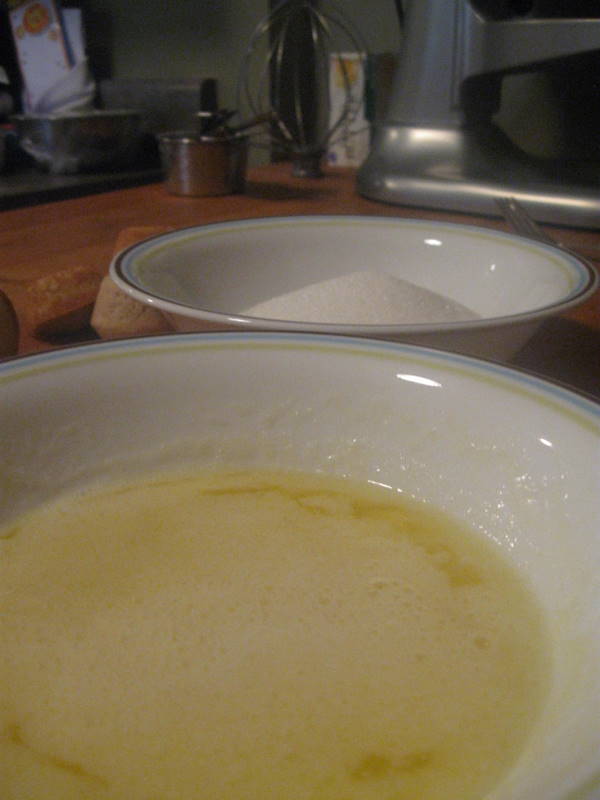
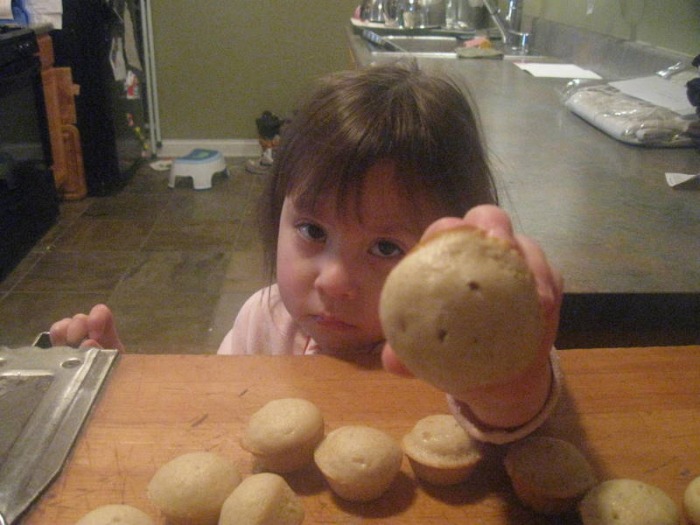
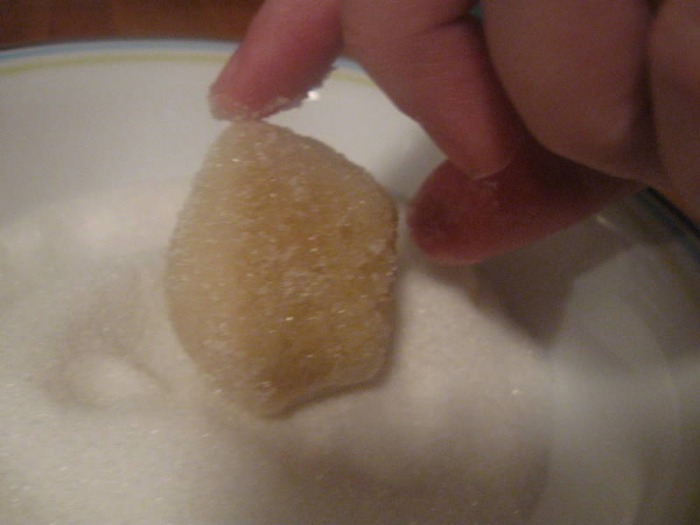
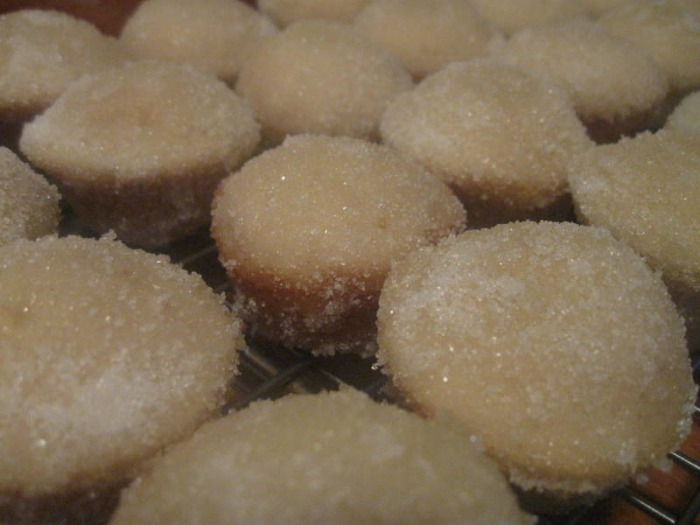
 New Years Day we woke up to a wintry Chicago morning with fresh snow falling from the sky. The refrigerator was empty from being picked clean of all the delicious food we had made for friends and family. There was no way I was going to venture out into the wintry wonderland in search of breakfast. The Chef was at work and M1 is still four months away from being able to drive. Time to get creative! Everybody loves a good donut for breakfast, but they're a mess to fry, and to be honest I never know what to do with the oil once I've fried in it, so I tend to not make donuts at home. I remembered that in culinary school we would sometimes whip up little donut imposters called Sugar Donut Muffins that we would eat for breakfast. Unfortunately I didn't save the recipe, but I remembered the process and I didn't think it would be that hard. I decided to do a quick google search to see if there were any recipes and I couldn't believe how many there were! I had no idea these were so popular! I thought my instructor had come up with the concept. Go figure! After reading through several different recipes I decided to use the one from Baking Bites. It had the simplest ingredients, and most importantly, I had all of the ingredients! I did change just a couple of things. The first being that I used Pumpkin Pie Spice in place of nutmeg. I'm not a huge fan of nutmeg, especially when it's the primary flavor. Pumpkin Pie Spice contains some nutmeg as well as cinnamon and ginger so it has a nicer flavor. It's really versatile, and I use it in a lot of things. The other change I made was that the Baking Bites recipe just has you brush the butter on and I have you dip the whole muffin in the melted butter. If you're going for lower fat (notice I didn't say "low fat") then brush the butter on rather than dip the muffins. These are quick to make and very easy to make. If you look at the pictures you'll see that M2 made the entire muffin by herself. All I did was scoop them into the pan and put them in and out of the oven. Definitely a good recipe to make with your kids! -The Baker
Sugar Donut Muffin yield: 10 full size muffins; 32 mini muffins MUFFIN BATTER: - 3/4 C Sugar
- 1 Egg
- 1 1/2 C All-Purpose Flour
- 2 t Baking Powder
- 1/4 t Salt
- 1/4 t Pumpkin Pie Spice
- 1/4 C Vegetable Oil
- 3/4 C Milk
- 1 t Vanilla Extract
- preheat oven to 350 F
- spray muffin tin
- in a mixing bowl, beat together sugar and egg until light and creamy
- in a separate bowl, sift together flour, baking powder, salt and Pumpkin Pie Spice
- pour dry ingredients into egg mixture and stir to combine
- add oil, milk and vanilla
- scoop batter into mini muffin pan; fill about 3/4 full
- bake for 15 mins, until a toothpick comes out clean
- pop out of the pan while still warm so they don't get soggy
DIP: - 4 oz Butter, melted
- 3/4 C Sugar, for rolling
- melt butter and pour remaining sugar into a small bowl
- while muffins are still warm, dip them in the melted butter, and then immediately roll them in the sugar
- cool and dry on a rack
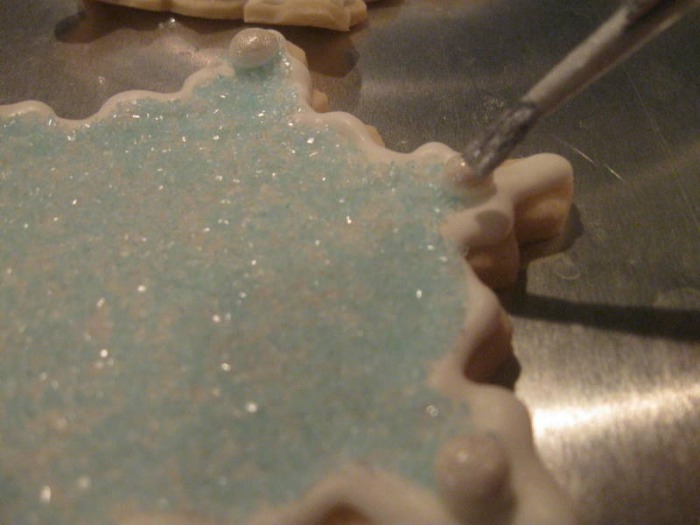
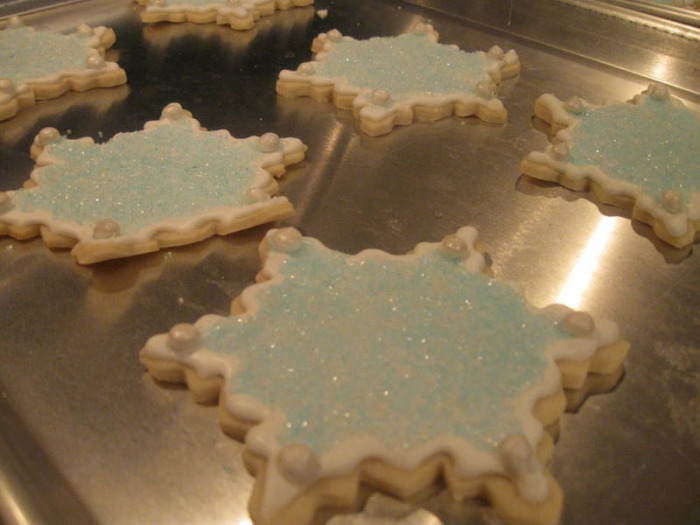
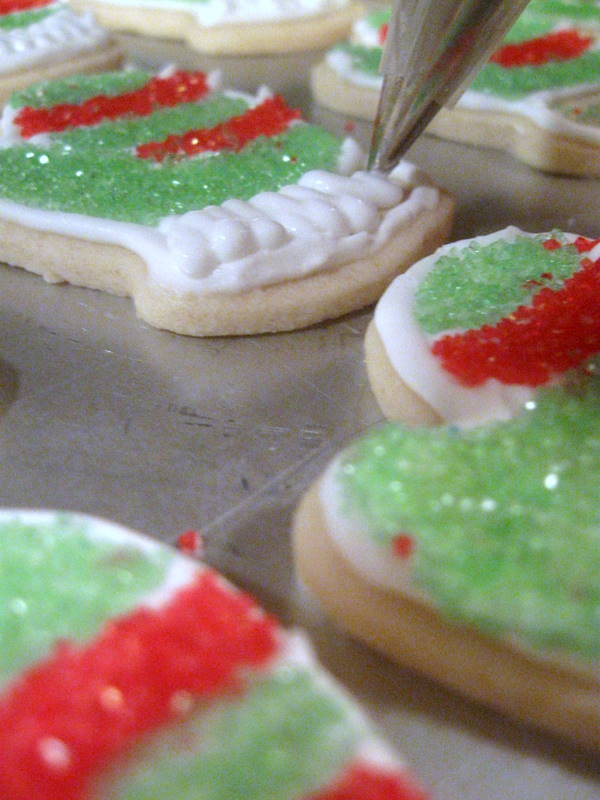
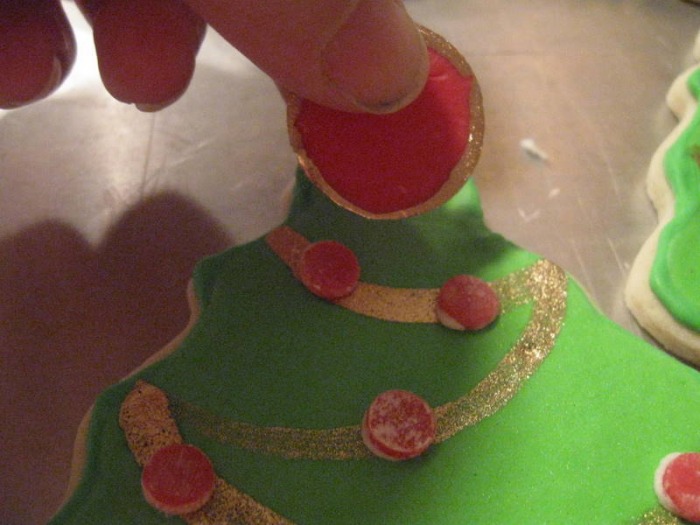
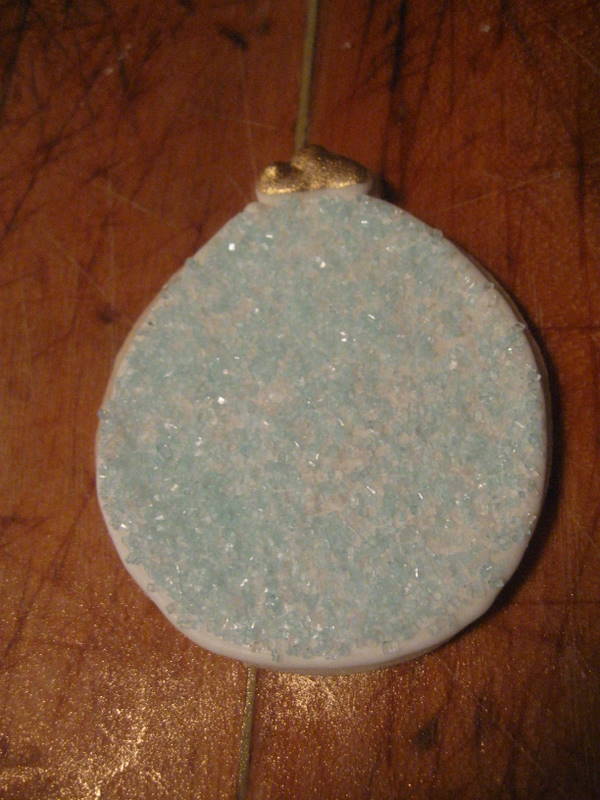
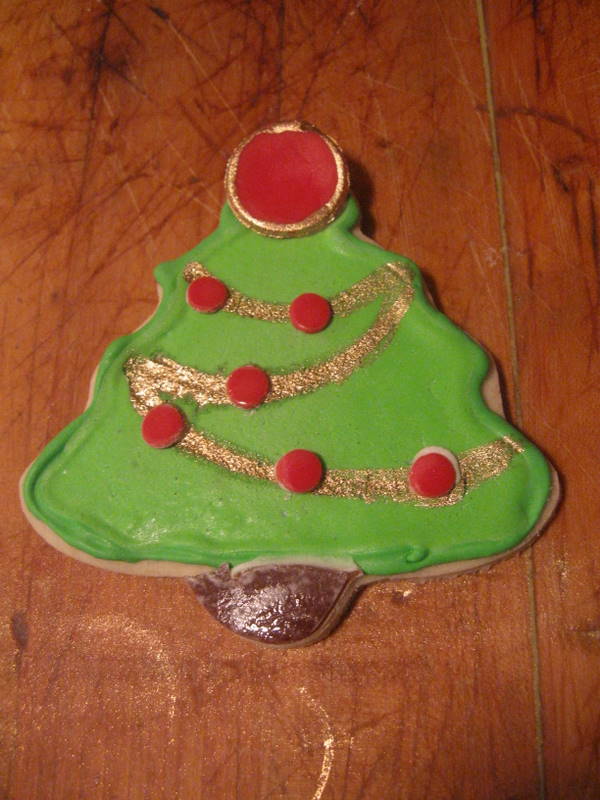
 I love the beautiful sugar cookies you see in magazines at holiday time. I've never actually made them because they are a lot of work and I've never found a sugar cookie dough that was good enough to make all that work worthwhile. I guess I'm not a huge fan of sugar cookies. Then, a friend asked me if I would make her some undecorated sugar cookies for her son to take to school to decorate with his classmates for a school project. Sure, no problem! I can roll and cut out dough all day long... easy breezy! But then... she asked would I make some more for her own holiday parties. Uh-oh. I knew I would have to find a better recipe and then I would have to actually *GULP* decorate them! The thing I've been avoiding all these years! I was a little stumped what to do about the recipe. I mean, I've been searching for years for a good one and I've never found one. Why did I think I would suddenly find it now? Oh, man, did I finally bite off more than I could chew with this little project? The problem with sugar cookies, well any recipe, is if you ask people if they have a recipe they always tell you the one they use is "the best", but I've always found sugar cookies to be dull and bland. A few days later I was trolling the internet looking for new food blogs to read when I stumbled across a site with sugar cookies. Hmm... I loved her description and the fact that the recipe was her grandmother's. These might be a possibility. I decided to try the recipe out. Wow! Were they delicious! And, I'm talking about the raw dough. Seriously delicious! I couldn't wait to taste the baked cookie. Needless to say, the baked cookie was also delicious. Holy cow-after all these years of searching I had actually found a delicious sugar cookie recipe! I couldn't believe it. (Go check out the site, which is filled with all sorts of wonderful recipes and stories: www.wiseanticsoflife.blogspot.com and tell her The Baker sent you!) The recipe Kristen gave also included a frosting, but I knew that I wanted the finished cookies to be very high-end and not homemade looking, so I wanted to use a royal icing. But, again, I was in the same boat... I've never found a royal icing that I really liked. Again, fate intervened and brought me to www.joyofbaking.com for a fantastic royal icing recipe. The key difference between their recipe and all the other royal icings I've made is that they beat the icing for a solid ten minutes, which really thickens it and makes it the consistency of lightly whipped cream. I've always just stirred together some egg whites and powdered sugar, and wound up with some super sweet sludge... yuck! The other difference was that the recipe called for a small amount of lemon juice. I was afraid I was going to end up with lemon cookies, which are good, but definitely not what I was going for. But, the lemon juice was like the magic ingredient! When first mixed up, you can taste the lemony flavor, but as the icing sits and ripens it mellows out and the lemon juice just adds a bright fresh flavor but the actual taste of lemon disappears. It's absolutely delicious! Honestly the best royal icing I've even eaten. The process of baking and decorating the cookies took many, many days and I was very lucky that my sister was in town for a visit and came to help me. We had a great time and ate quite a few cookies in the process. Hey, somebody has to do quality control around here, right? The decorating process is the same no matter what the holiday is, so while it's too late to make these for this holiday season, you can certainly make these for Easter or Valentine's Day. It's definitely something that the more you do the better you'll get at it, so find lots of reasons to make them! -The Baker
Grandma's Sugar Cookies (taken from: www.wiseanticsoflife.blogspot.com) Christmas Cutout Cookies: - 3 C All-Purpose Flour
- 1 t Baking Powder
- 1/2 t Salt
- 8 oz Butter
- 3/4 C Sugar
- 1 Egg
- 2 T Milk
- 1 1/2 t Vanilla Extract
- cream butter and sugar; add egg, milk and vanilla, beating until smooth
- sift dry ingredients and gradually add; chill 1 hour
- roll 1/2 inch thick and cut into shapes
- bake on an ungreased cookie sheet 400 F for 5-8 minutes; don't let them get brown
- frost when cool
Note: these cookies freeze well (unfrosted) and you can double or triple the recipe with great results
Royal Icing ( www.joyofbaking.com) - 2 Egg whites (large)
- 2 t Lemon juice
- 3 C (330 g) Powdered sugar, sifted
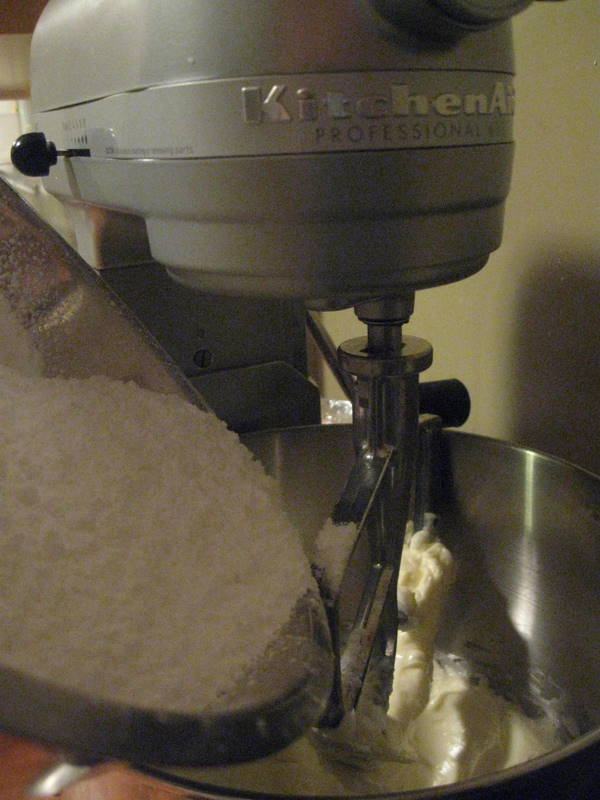
- in the bowl of your electric mixer (or with a hand mixer), beat the egg whites with the lemon juice, until light and frothy
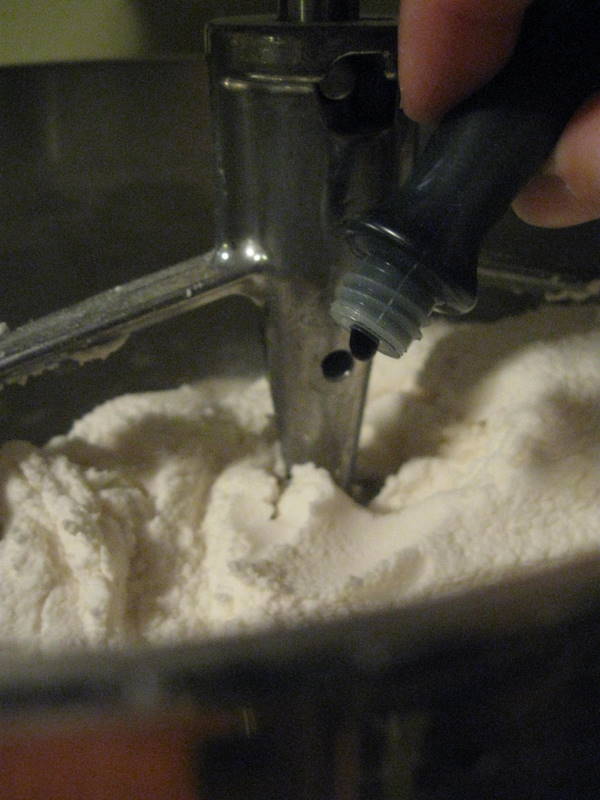
- add the sifted powdered sugar and beat on low speed until combined and smooth; then turn the mixer up to medium-high and beat it for at least ten minutes; it will be thick and very creamy; thin it down with a few drops of water at a time until it is the consistency of whipped cream
- the icing needs to be used immediately or transferred to an airtight container as royal icing hardens when exposed to air; cover with plastic wrap when not in use
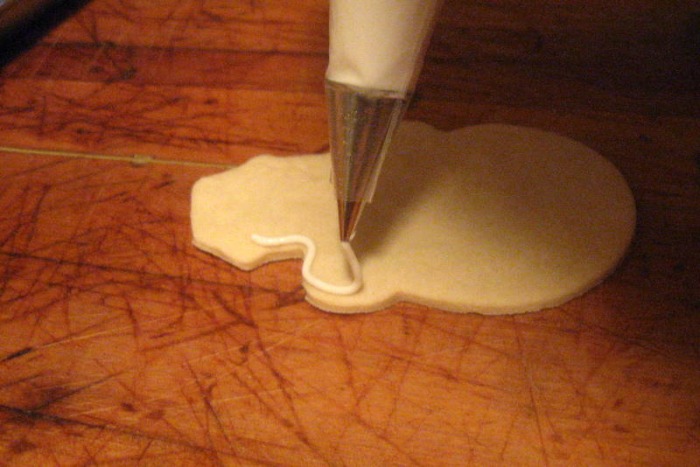
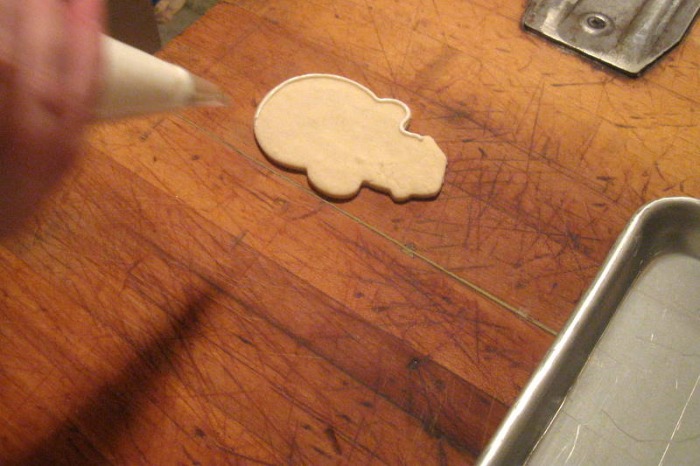
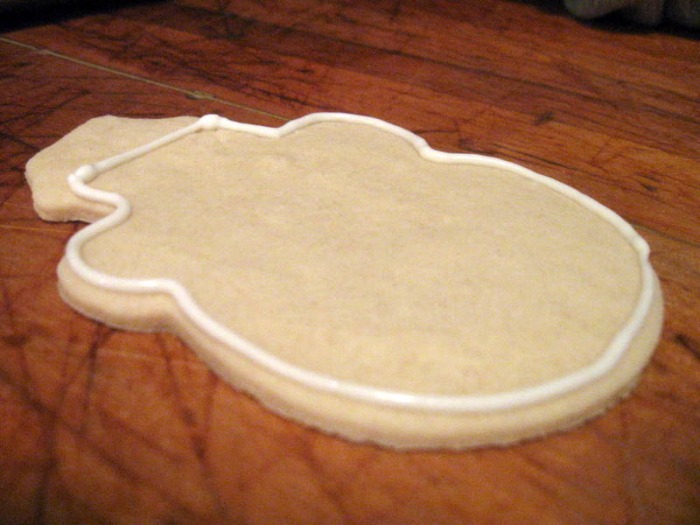
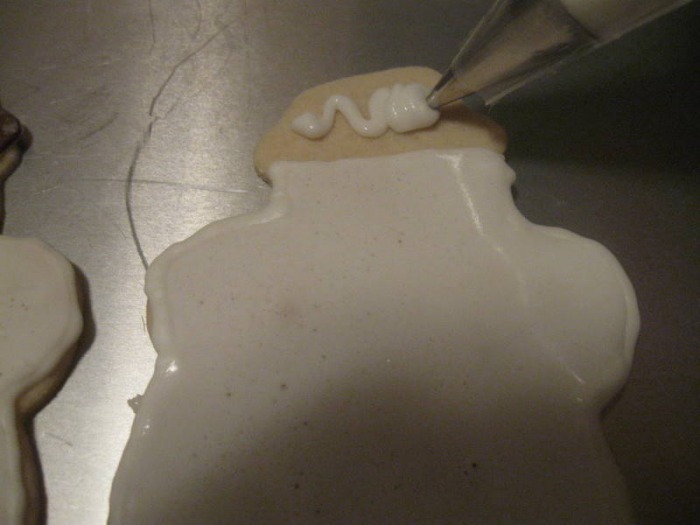
Decorating the cookies: - outline - after the cookies have cooled, outline the edge of the cookie using the royal icing; if you're planning on filling in the body of the cookie with a color other than white you'll want to color the icing that color; if you don't you'll have a white outline; use a disposable plastic piping bag fitted with a #2 or #3 tip, that way you can easily refill and keep going; you want the icing to be just stiff enough to hold it's shape but fluid enough that it easily flows out of the tip; to get the best outlines you want to hold the tip about 1/2" above the cookie; it takes a bit of practice to get used to not working right on top of the cookie
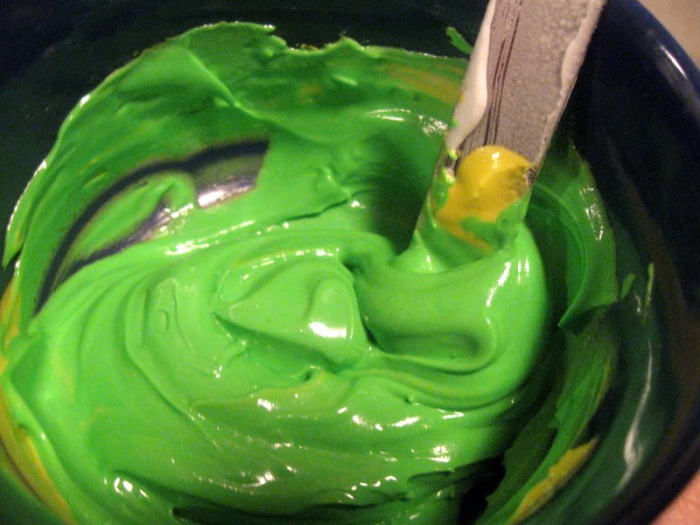
- flooding - let the outline dry until it's sturdy enough to be handled and dry enough to act as a dam for thinner icing; thin down icing to fill in the dam; tint the icing to the color you want (colors will darken the longer they sit); you can thin the icing by adding drops of water; you can use a pastry bag to flood the cookies, but I found it much easier to use squeeze bottles, which can be found at any craft store in the cake decorating section; you don't need to fill the entire area, you can fill in any holes with a paint brush sized pastry brush or a toothpick
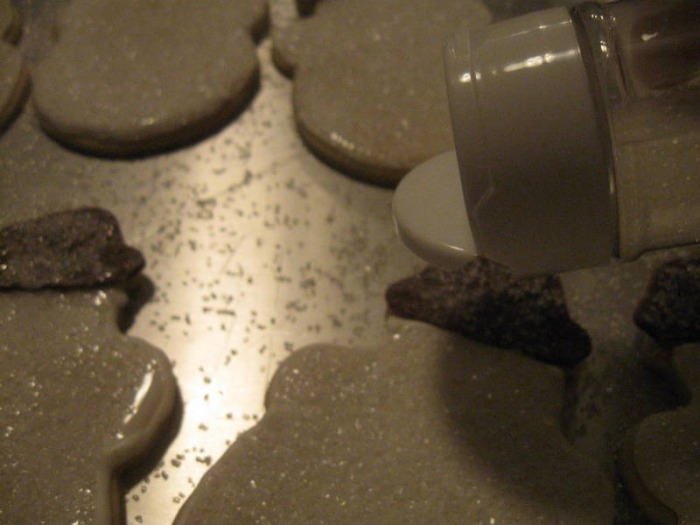
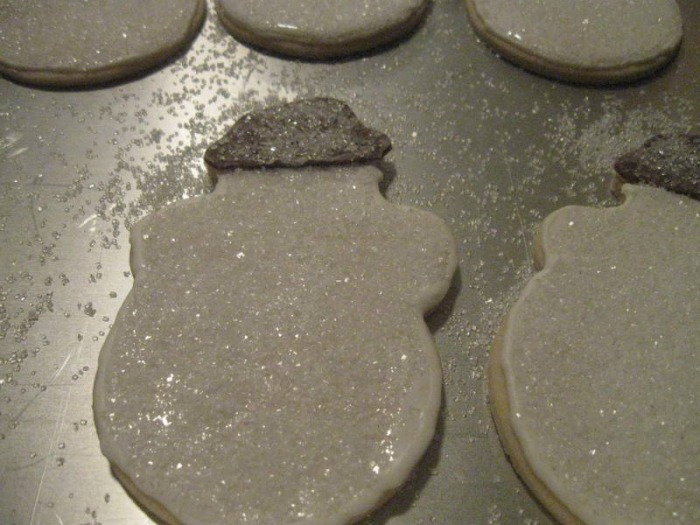
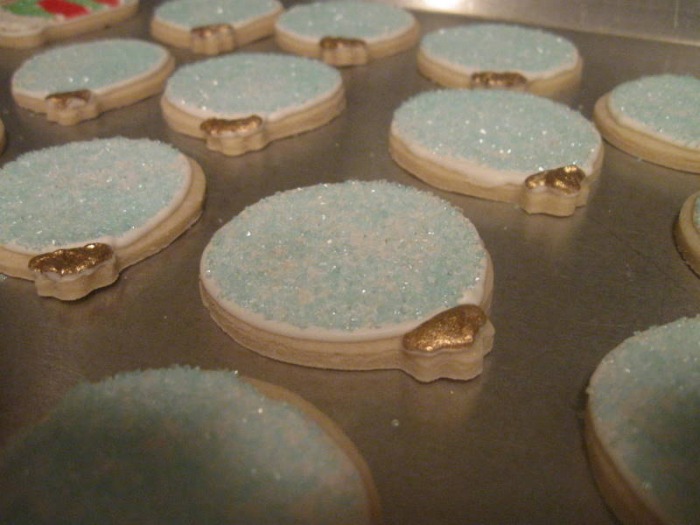
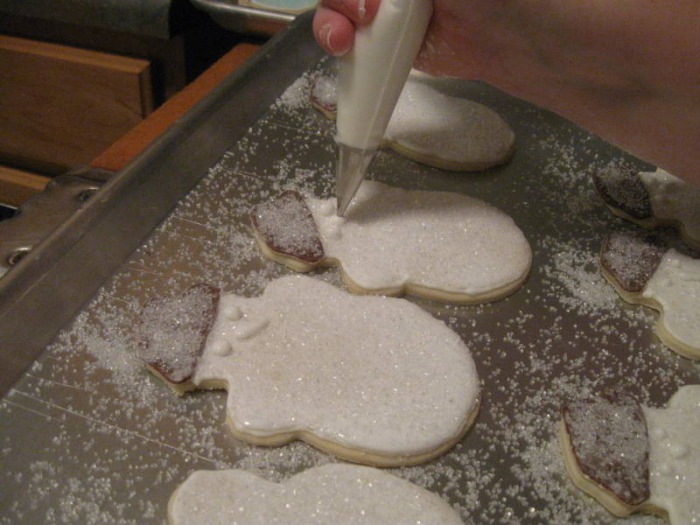
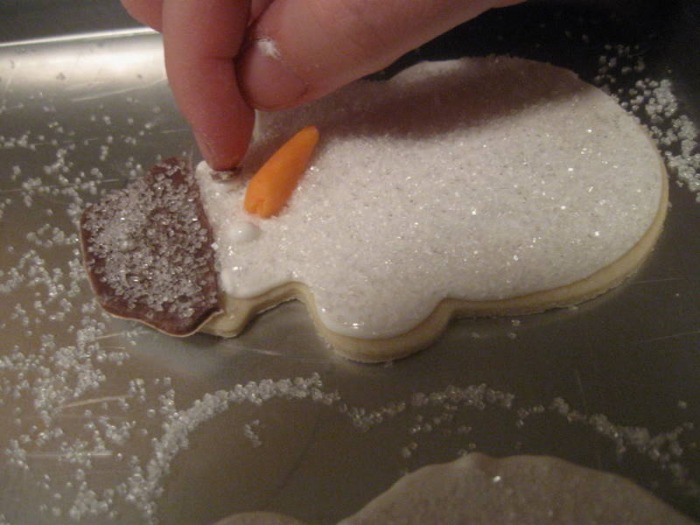
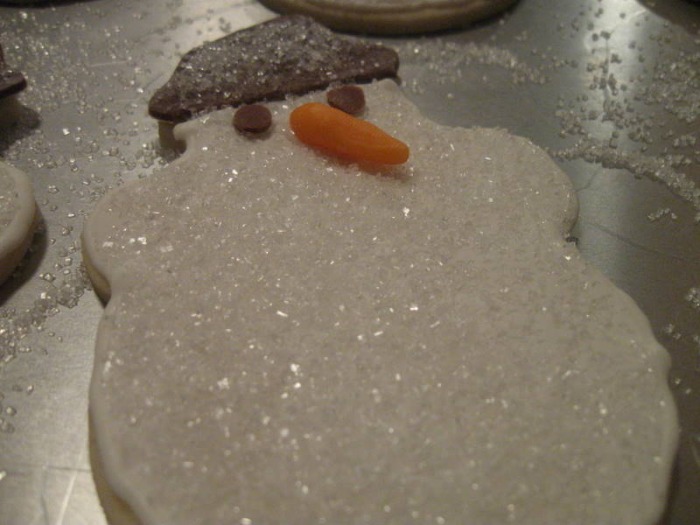
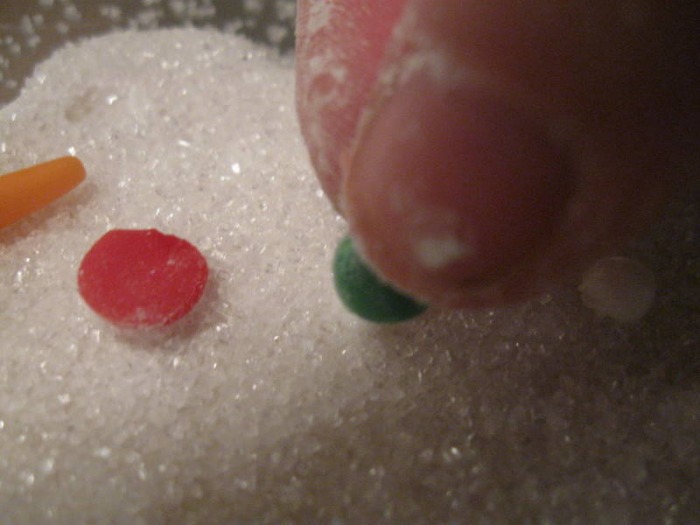
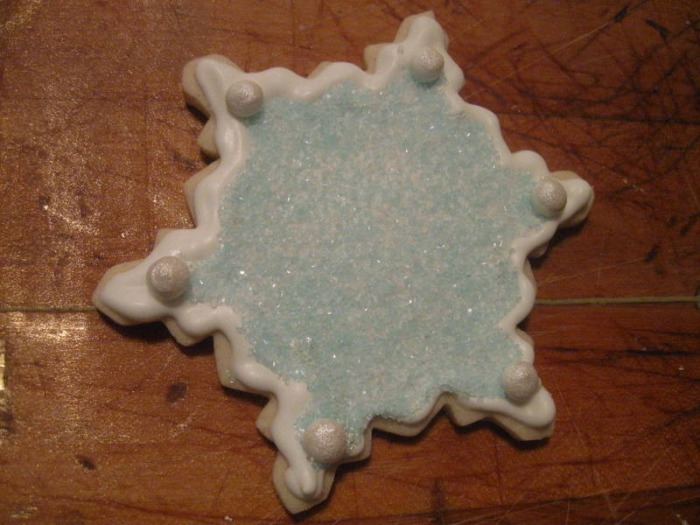
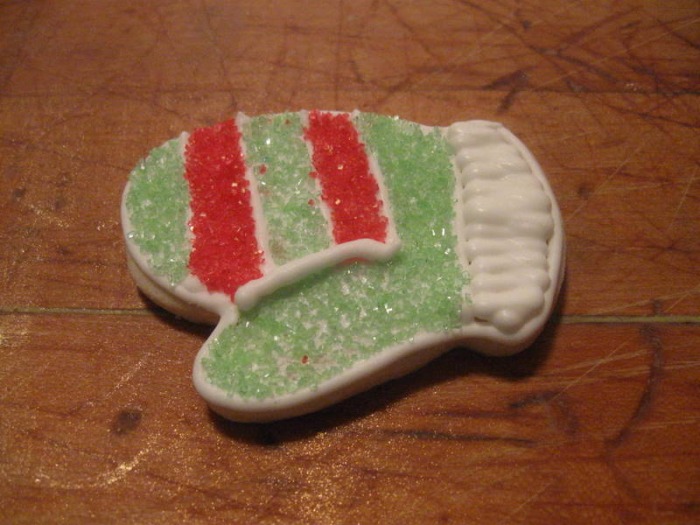
- let the flooded icing dry overnight unless you're dipping the cookies in sanding sugar; if you're dipping in sanding sugar you want to let the icing dry until it's tacky and then dip the cookie in sugar that you've got spilled into a wide shallow dish; keep in mind that some of the sugar will spill off once the icing is completely dry so dip a little heavy; if you want to do multiple colors of sanding sugar (like stripes) then you will need to flood the different sections separately and dip them in the sugar, let them dry completely and then flood the next section and dip, etc
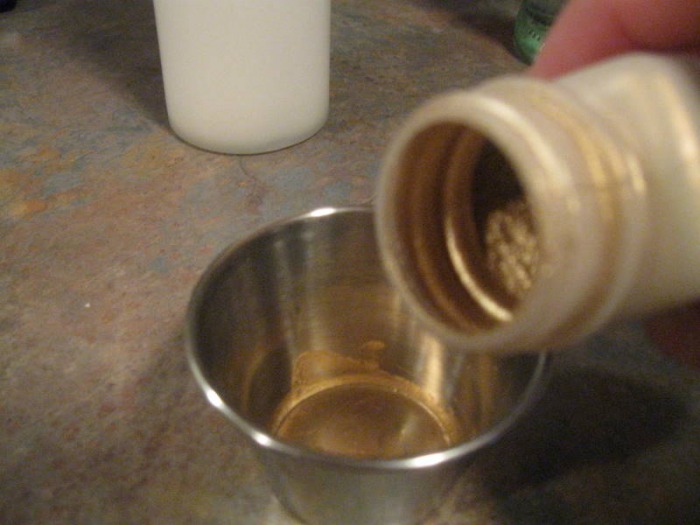
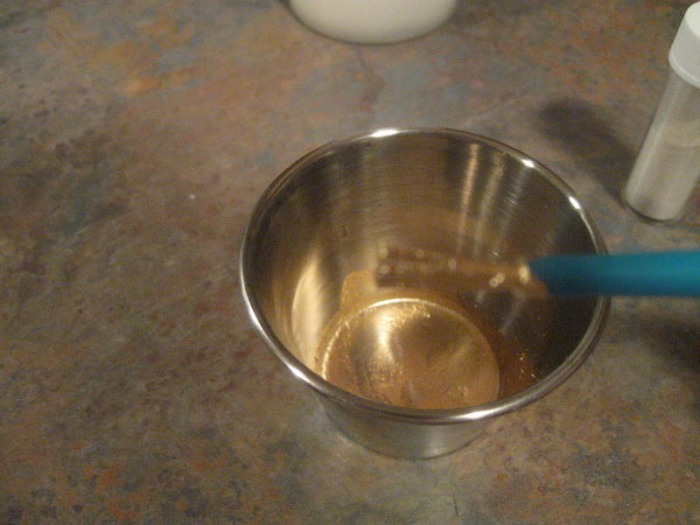
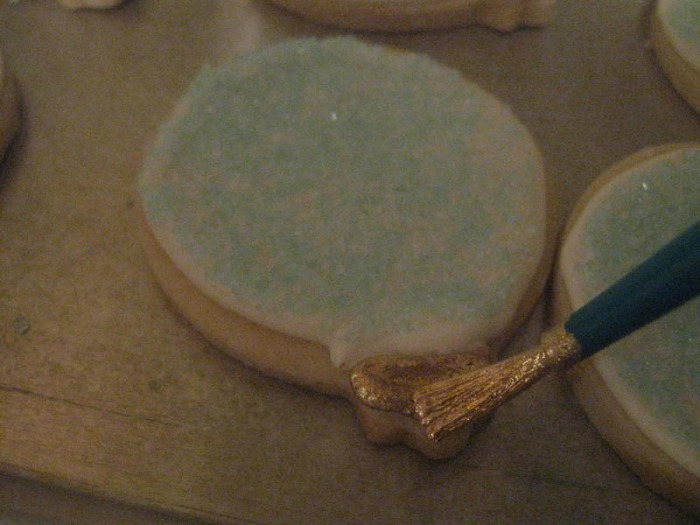
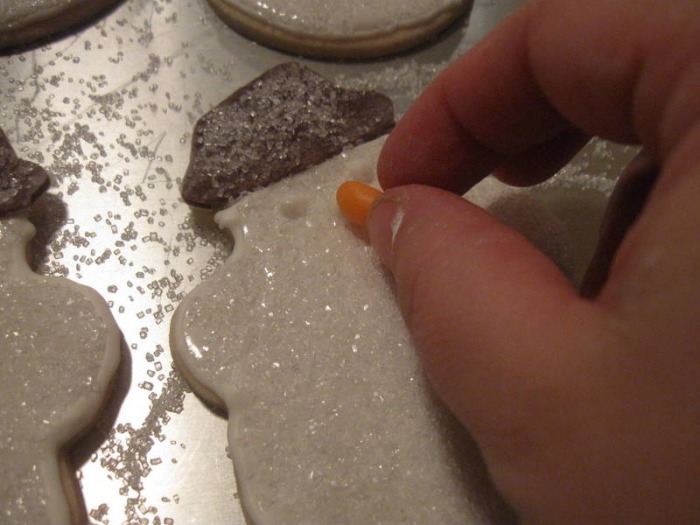
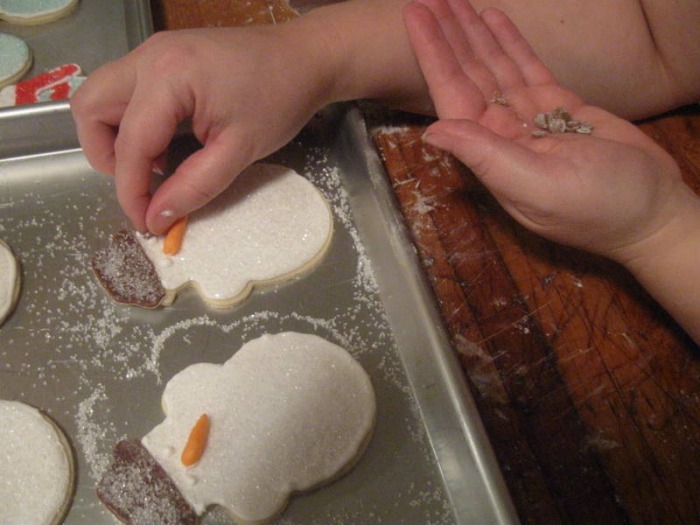
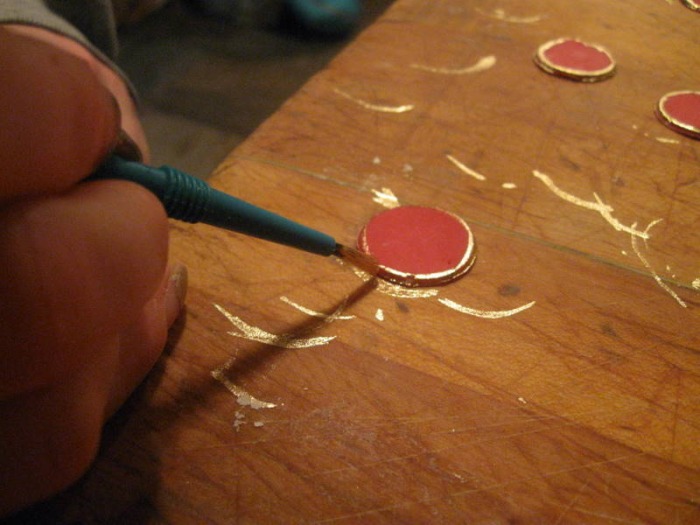
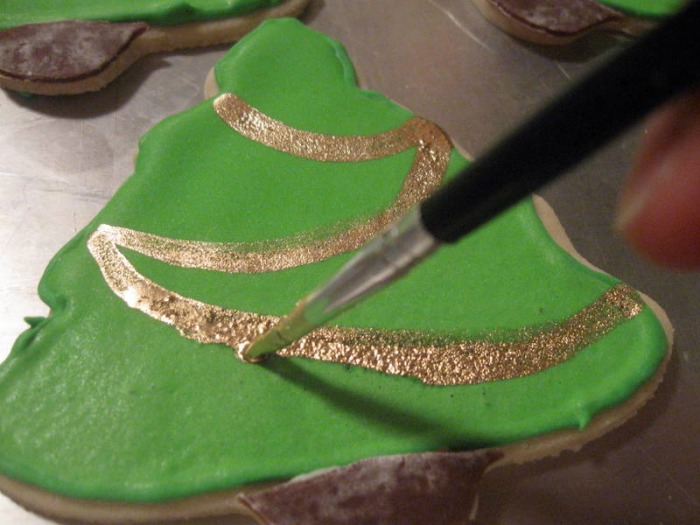
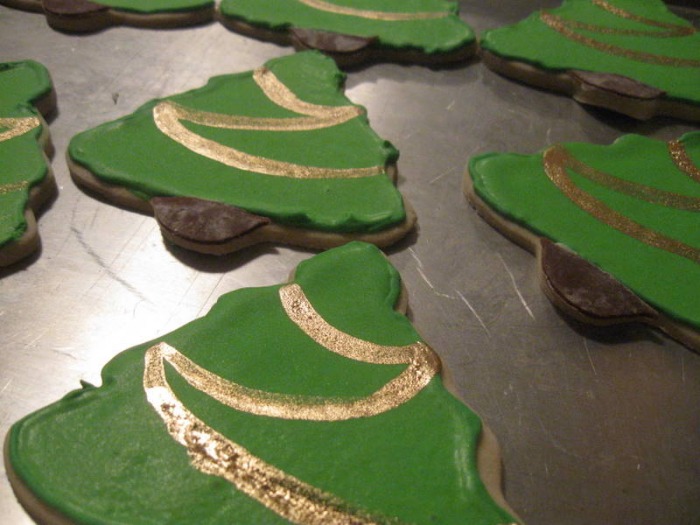
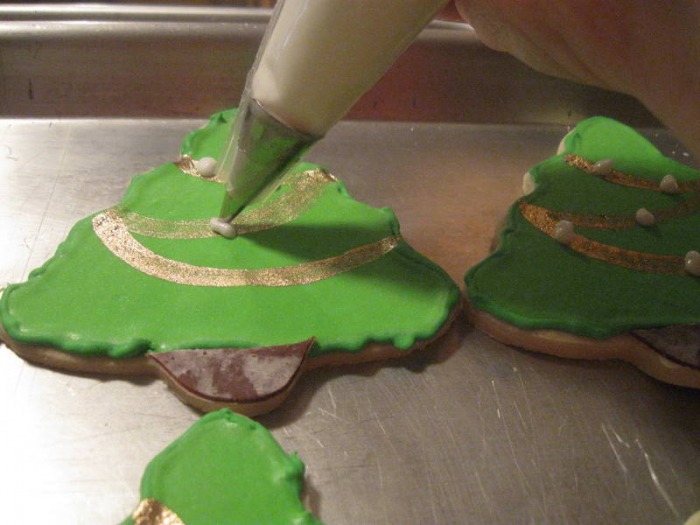
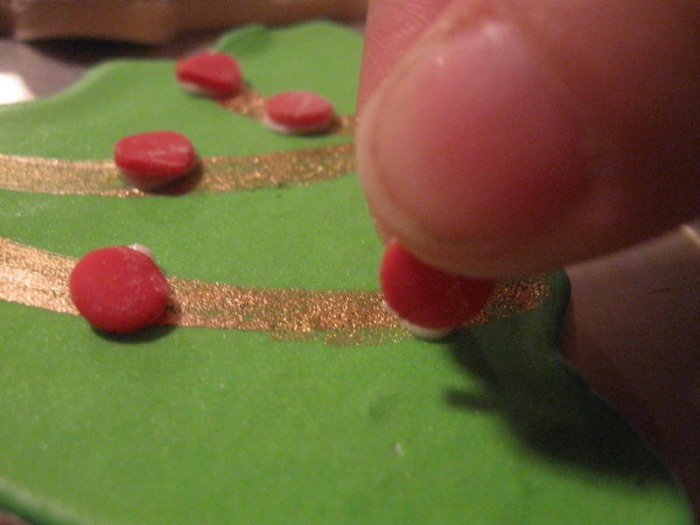
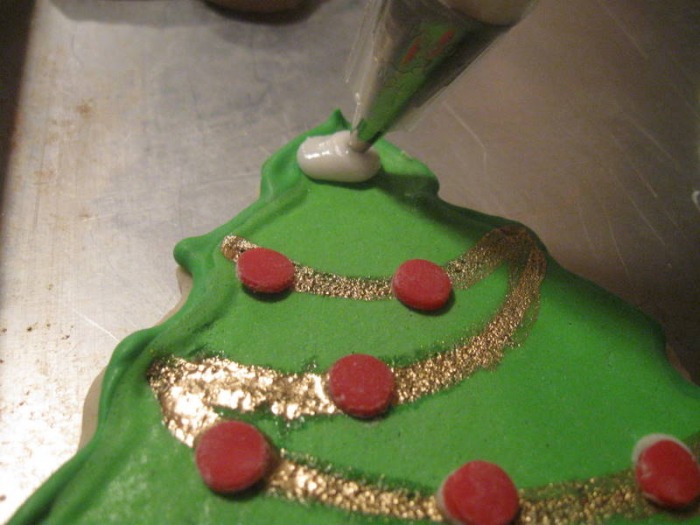
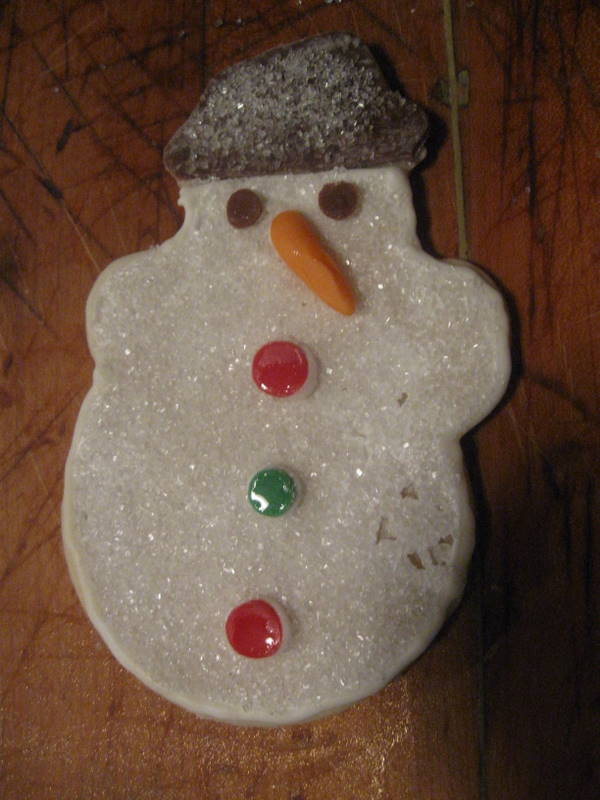
- once the icing is completely dry you can pipe decorations over it, you can paint on gold or silver dust or you can use markers that are made from edible ink to draw on decorations
- the biggest key to successfully decorating the cookies without pulling out your hair or giving up is to have a plan and stick with it... choose the shapes you're making ahead of time, plan how you want to decorate each design, decide on the colors you'll use and if you'll be using sanding sugar; make a list of everything you need and get it all ready before you start to decorate; trust me-it will simplify the process and keep it enjoyable!
- keep in mind that this can be a long process, so give yourself enough time to do the different steps and your cookies will turn out beautiful
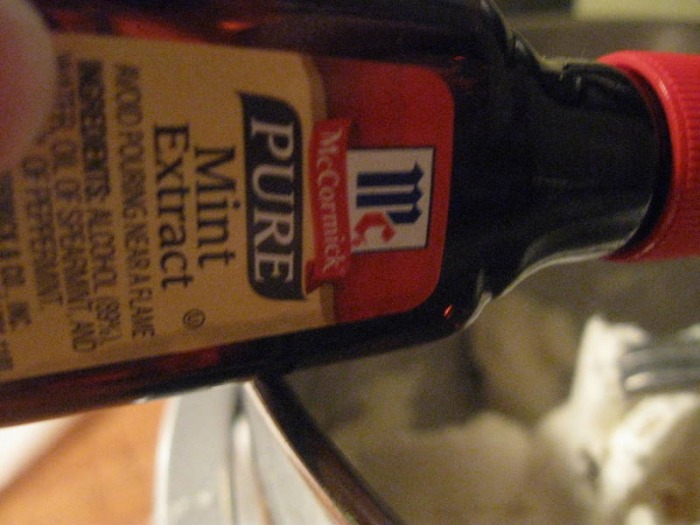
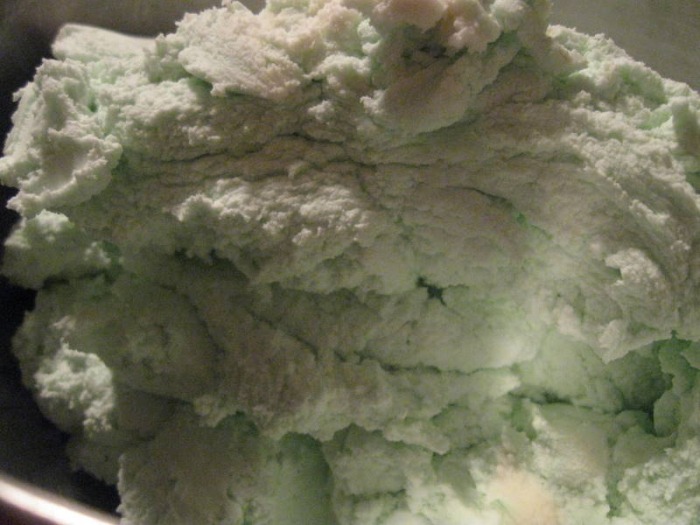
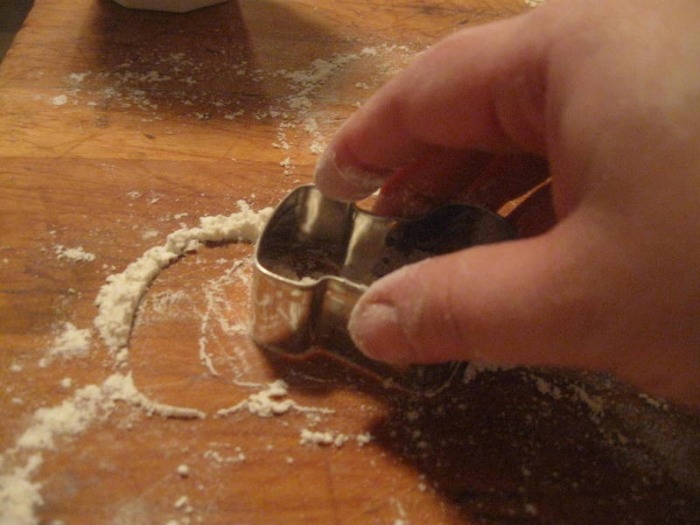
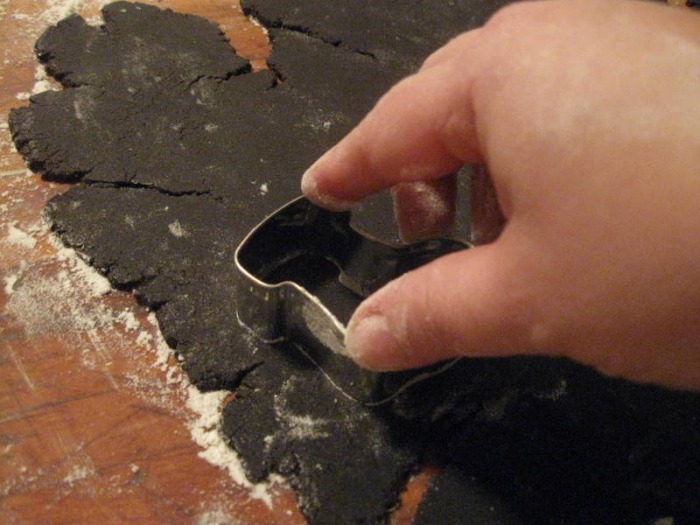
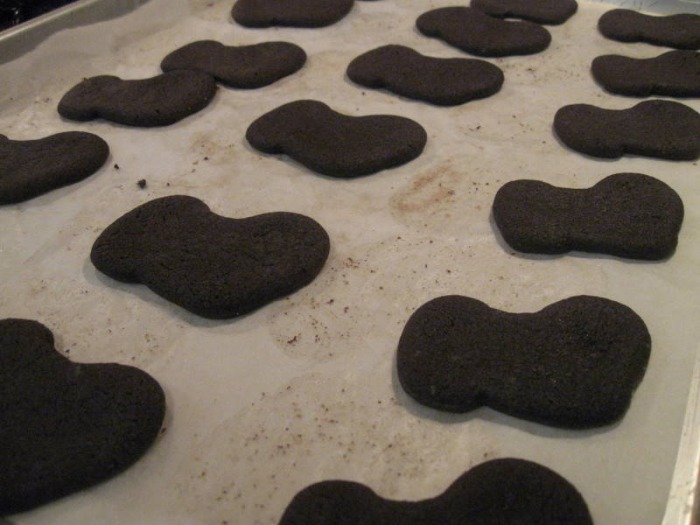
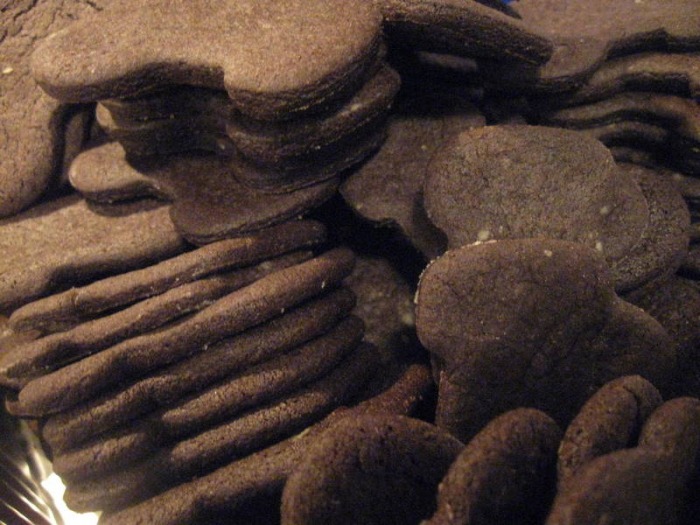
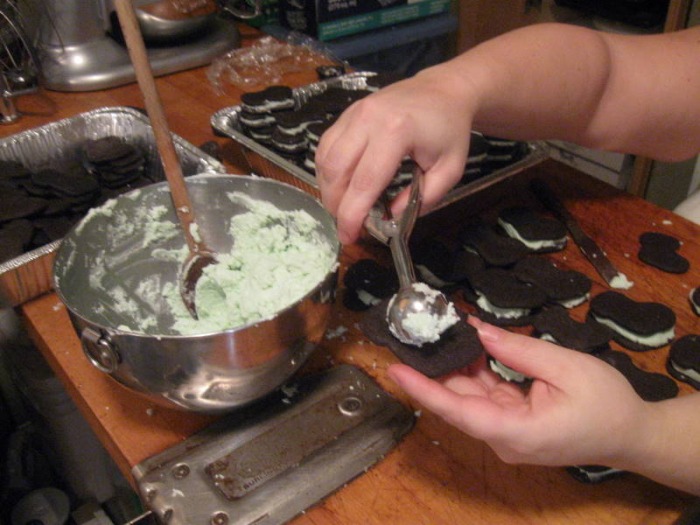
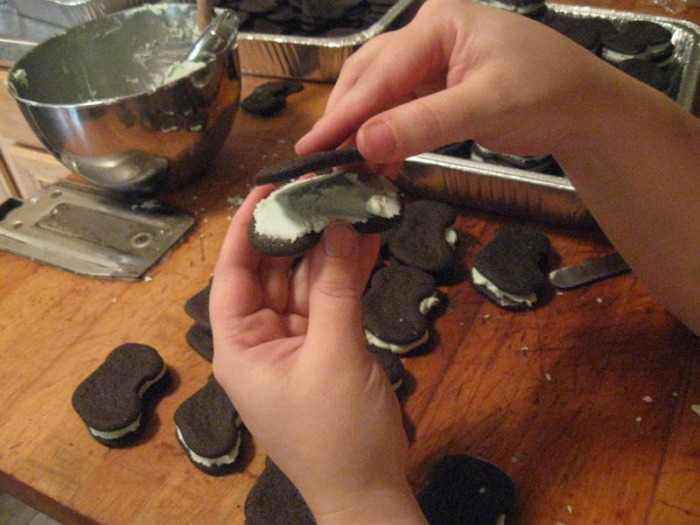
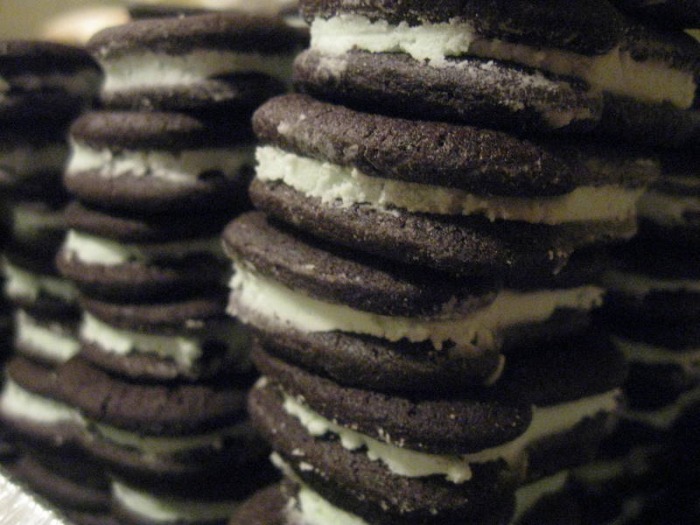
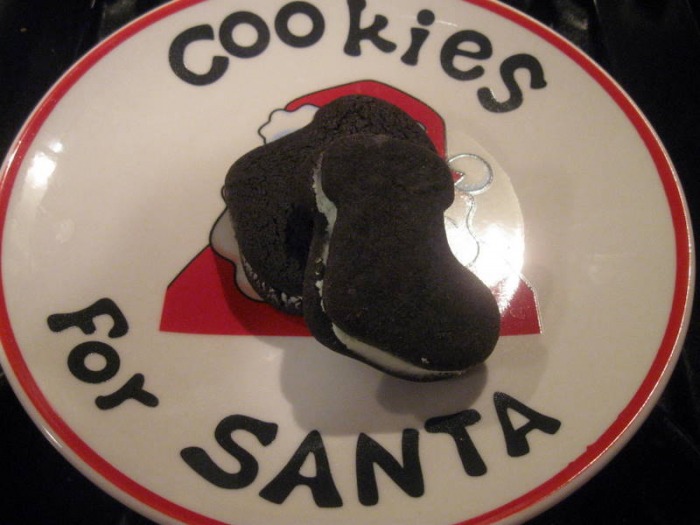
 I'm sure a lot of you read Smitten Kitchen's blog. If not, you need to go there right now and start reading. I'll wait here... okay, are you back? She is a huge inspiration and one of the many reasons I started writing this blog. A few years ago I found her blog accidentally when I wanted to make some homemade oreos and started googling. She has the most fantastic oreo recipe and I've made it several times. It's always been in the back of my mind that the dough would be great for cut out cookies. So, this year when I was narrowing down my choices for the cookies I was going to make for various cookie exchanges I decided to try out my idea. I decided to use a stocking cookie cutter and make the filling mint, in keeping with the holiday theme. The dough really held together well, and I think you could easily use it to cut out pretty much any shape. The filling itself is so neutral that you could easily flavor it with any extract to really customize your cookies. Of course, you could just leave the recipe as is to make traditional oreos! I found the dough was easier to roll out when it wasn't super cold right out of the refrigerator. It's pretty easy to roll even when it's warm, but I noticed that the cookies that I baked from the room temperature dough poofed up a lot more while they baked. They still looked like stockings, but the cookies cut from the cooler dough retained their shape better. Depending on what you're doing with them you may not care. Just be sure to liberally flour your work surface so the dough doesn't stick; or if you don't want to add more flour you can always roll the dough out between two pieces of plastic, use powdered sugar or you could use cocoa. As I said, I got this recipe from Smitten Kitchen's blog, and I don't think I made any changes, except for cutting them out, and making the filling mint. So go make some oreos and enjoy! -The Baker
Homemade Oreos (from www.smittenkitchen.com) Yield: 41 cookies (this will vary depending on how big the cookies you make are) Prep: Preheat oven 375 F CHOCOLATE WAFER COOKIE: - 1 ¼ C AP Flour
- ½ C Dutched cocoa (unsweetened)
- 1 t Baking Soda
- ¼ t Baking Powder
- ¼ t Salt
- 1 C Sugar
- ½ C + 2 T (1 ¼ sticks) Butter
- 1 Egg
- sift together flour, cocoa, baking soda, baking powder, salt and sugar into mixing bowl
- on low speed add butter until it looks “sandy”
- add egg; mix until dough comes together
- scoop (using #70 scoop; will make 41 balls)
- divide balls in ½ and roll into a disk (can fit 24-4X6-on a ½ sheet)
- bake for 8 minutes
- *To use this wafer cookie for making ice cream sandwiches increase the sugar to 1 ½ C*
CREAM FILLING: - ¼ C (½ stick) (57 g) Butter
- ¼ C (57 g) Vegetable Shortening
- 2 C (358 g) 10X (sifted)
- 2 t Vanilla Extract
- in mixing bowl add all ingredients
- in low, mix until filling comes together; be sure it's not too dry because the cookies won't stick together; if dry add a bit more vanilla
- then turn mixer on high and beat for 2 minutes until filling is light and creamy
To assemble:- half of the baked cookies will be tops and the other half will be bottoms
- scoop filling (using #70 scoop) and put on the bottoms
- place the tops on the filling and gently squeeze to spread the cream to the edges
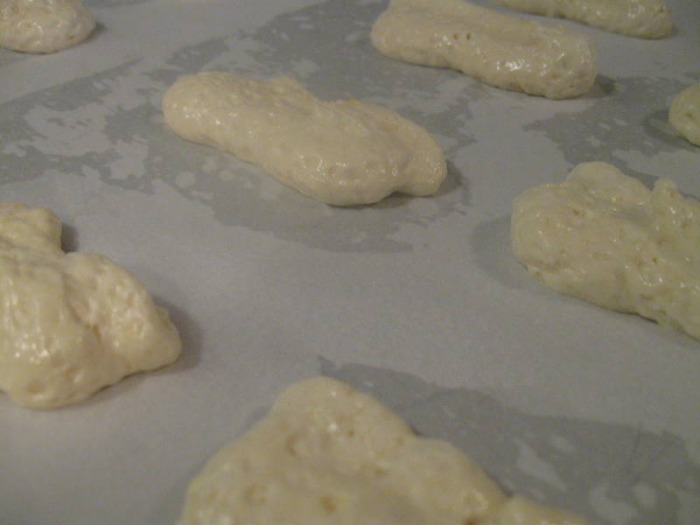
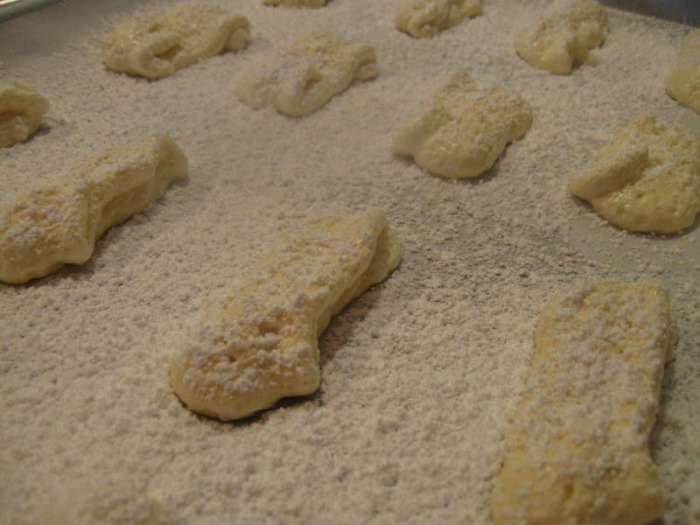
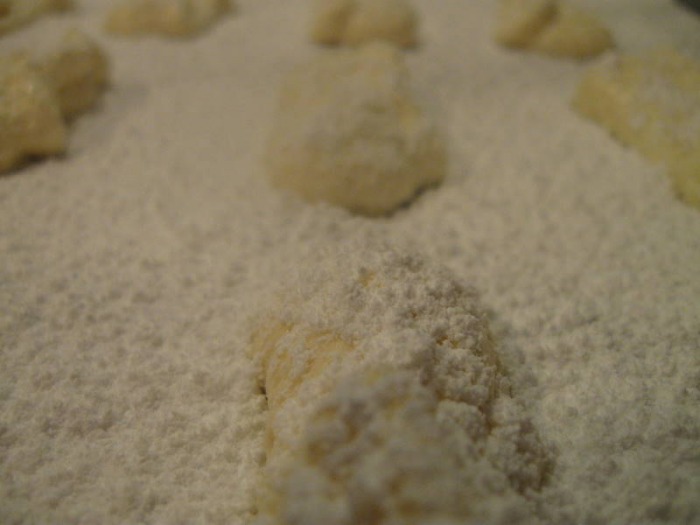
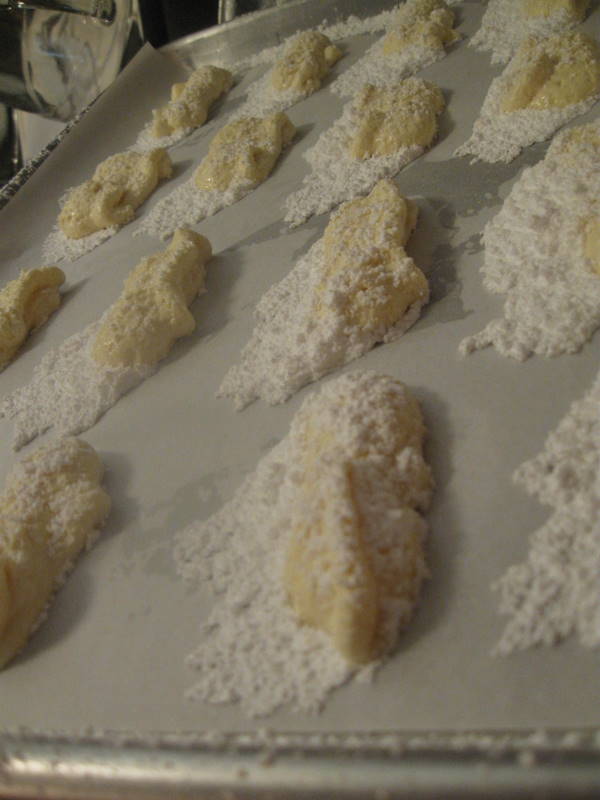
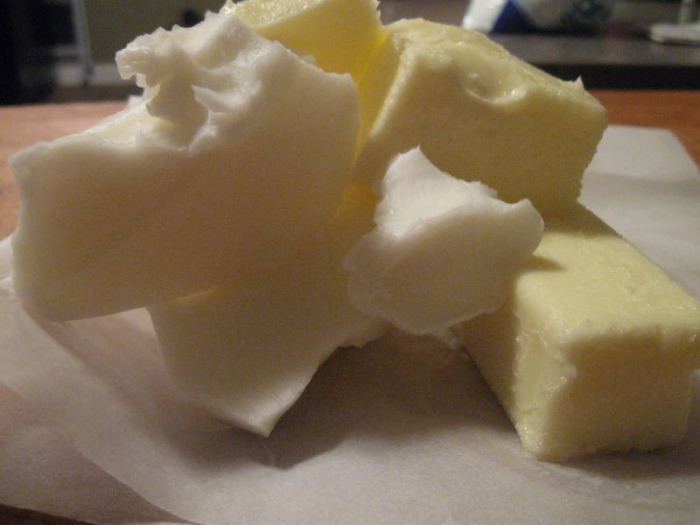
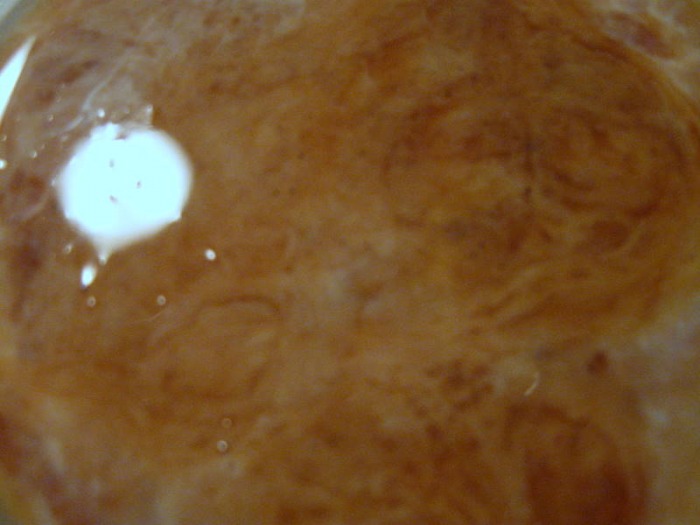
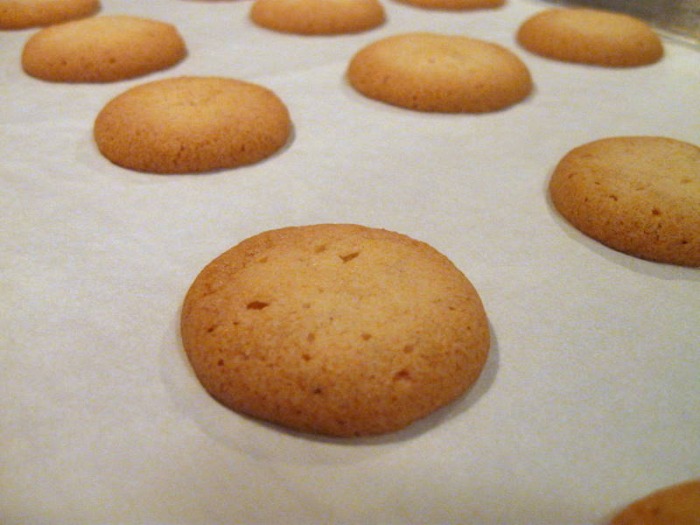
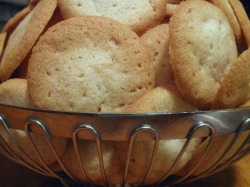 So you know how I'm constantly harping at you to try to make things yourself? How I insist homemade is so much better. How I look down my nose at store bought treats. Well, I'm going to let you in on a little secret... I have a major "thing" for Nabisco 'Nilla Wafers. I can eat the whole box. I don't mean, "oh, I can eat the whole box," but I eat just a handful. I mean literally, I can eat the whole box... and I have... several times... oh, all right, every single time I've bought them. I can't stop myself. I can't take the pressure of loading them into my cart and promising myself I won't eat the whole box in one sitting. But, by the time I've gotten to my car I've opened the box. By the time I get the groceries in the house it's halfway gone. As the last of the groceries are put away there are only a few cookies left. It's a pet peeve of mine to leave just a couple pieces of something in a box just so you can say you weren't the one who finished it. ( DO YOU HEAR ME M1???) So I feel compelled to finish the few stragglers. And once again I've eaten the whole box. So I've stopped buying them. But lately I've been craving them. I can't break my promise and go buy them so I decided to try my hand at making them. I scoured the internet and found quite a few recipes, but when I made them they were really just butter cookies. They were lacking the crunchy snap that 'Nilla Wafers have. They were also missing the way they seem to almost dissolve in your mouth and the golden color that I associate with 'Nilla Wafers. Until I found this recipe. From the pictures it seemed to be exactly what I was looking for. So I made a batch. They were super simple and quick to make. And WOW, were they good. So, what did I do? I ate the entire batch! Try these cookies out and fall in love with them like I did. They don't taste exactly like the Nabisco ones, they're so much better! You'll hate me but your kids will thank you! You can use them in puddings, or fill them and sandwich them together, or just eat them right off the pan! -The Baker
VANILLA WAFERS: (taken from www.seriouseats.com) yield: approx 10 dozen - 8 oz (224 g) Butter, softened
- 1/2 t (3 g) Salt
- 2 C (420 g) Sugar
- 2 Egg Whites
- 1 T (16 g) Vanilla Extract
- 2 T (32 g) Milk
- 2 2/3 C (320 g) All-Purpose Flour
- 1 1/2 t (6 g) Baking Powder
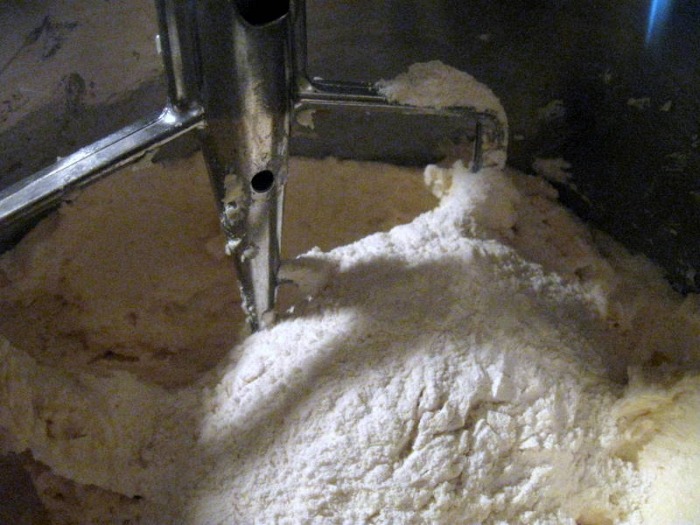
- with an electric mixer, cream butter, salt, sugar
- beat in egg whites until well incorporated
- beat in extract and milk until well incorporated
- whisk together flour and baking powder and add to butter mixture; mix just to incorporate
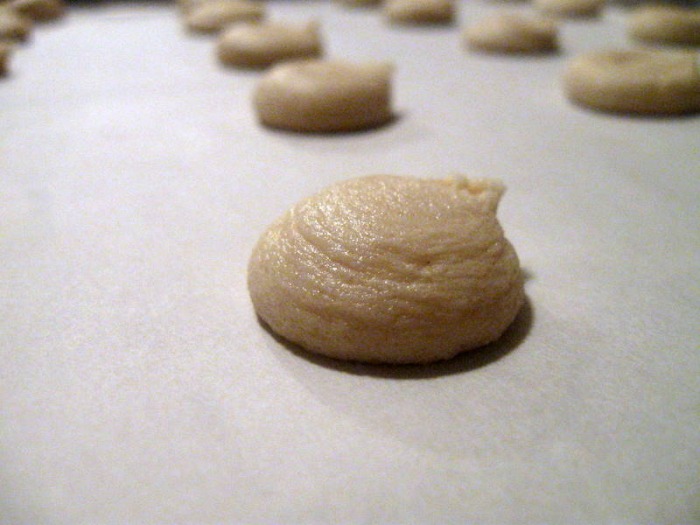
- fit a piping bag with a large, plain pastry tip; pipe batter into nickel-sized mounds, about 1 inch apart
- bake at 350 F for about 20 minutes, until cookies are lightly browned, rotating trays after the first 10 minutes for even coloring, cool completely before storing; cookies will keep in an airtight container for at least a week
|


 RSS Feed
