
I love the beautiful sugar cookies you see in magazines at holiday time. I've never actually made them because they are a lot of work and I've never found a sugar cookie dough that was good enough to make all that work worthwhile. I guess I'm not a huge fan of sugar cookies.
Then, a friend asked me if I would make her some undecorated sugar cookies for her son to take to school to decorate with his classmates for a school project. Sure, no problem! I can roll and cut out dough all day long... easy breezy! But then... she asked would I make some more for her own holiday parties. Uh-oh. I knew I would have to find a better recipe and then I would have to actually *GULP* decorate them! The thing I've been avoiding all these years!
I was a little stumped what to do about the recipe. I mean, I've been searching for years for a good one and I've never found one. Why did I think I would suddenly find it now? Oh, man, did I finally bite off more than I could chew with this little project? The problem with sugar cookies, well any recipe, is if you ask people if they have a recipe they always tell you the one they use is "the best", but I've always found sugar cookies to be dull and bland.
A few days later I was trolling the internet looking for new food blogs to read when I stumbled across a site with sugar cookies. Hmm... I loved her description and the fact that the recipe was her grandmother's. These might be a possibility. I decided to try the recipe out. Wow! Were they delicious! And, I'm talking about the raw dough. Seriously delicious! I couldn't wait to taste the baked cookie. Needless to say, the baked cookie was also delicious. Holy cow-after all these years of searching I had actually found a delicious sugar cookie recipe! I couldn't believe it. (Go check out the site, which is filled with all sorts of wonderful recipes and stories: www.wiseanticsoflife.blogspot.com and tell her The Baker sent you!)
The recipe Kristen gave also included a frosting, but I knew that I wanted the finished cookies to be very high-end and not homemade looking, so I wanted to use a royal icing. But, again, I was in the same boat... I've never found a royal icing that I really liked.
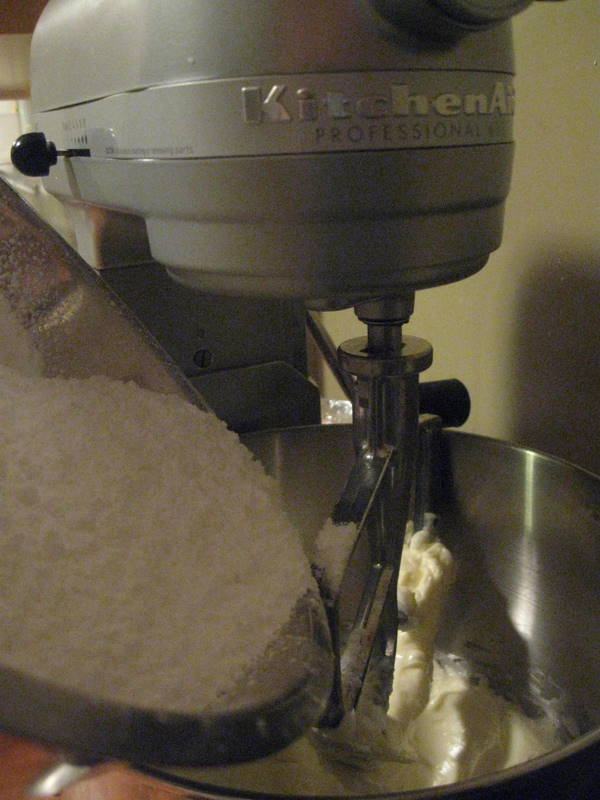
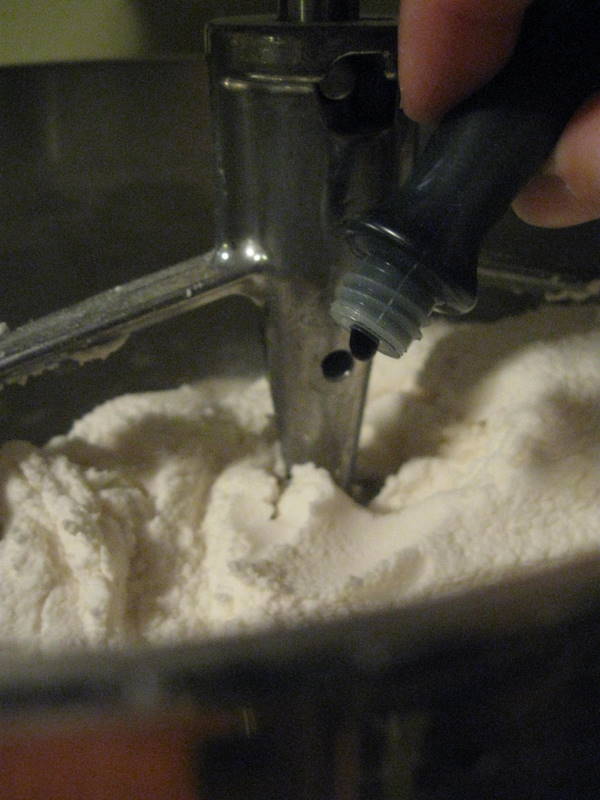
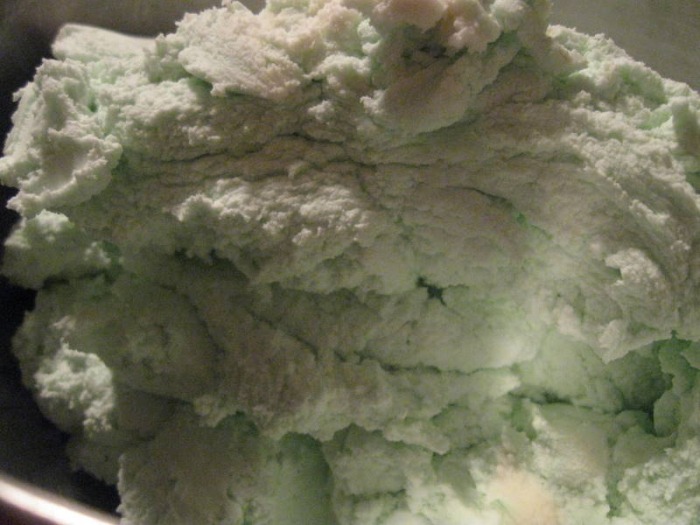
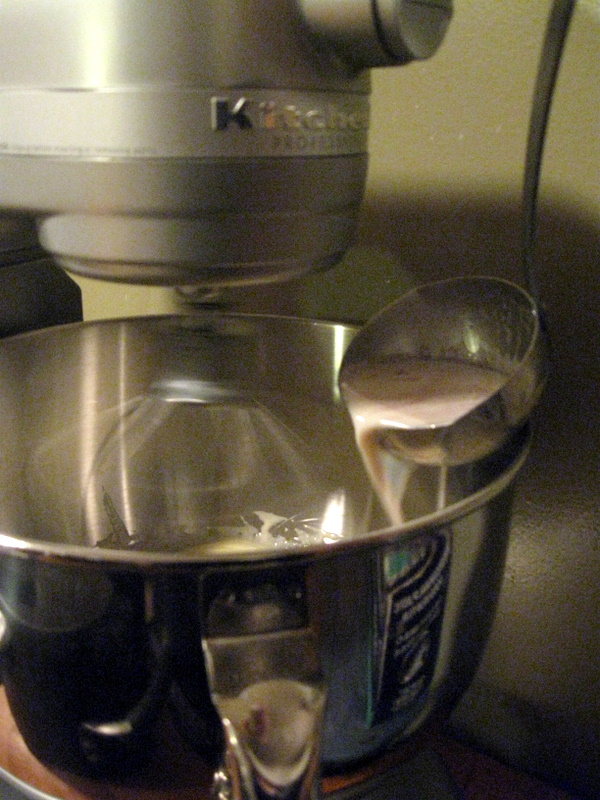
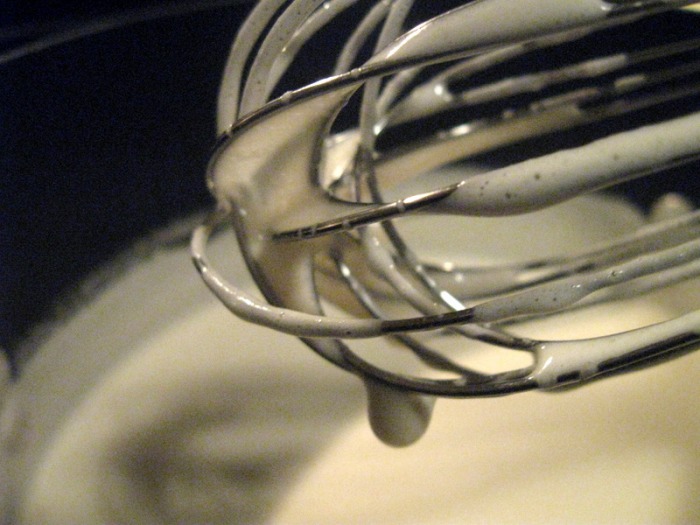
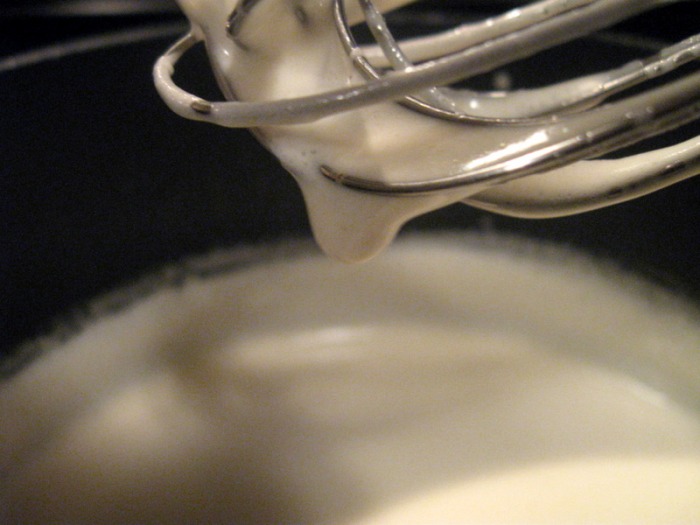
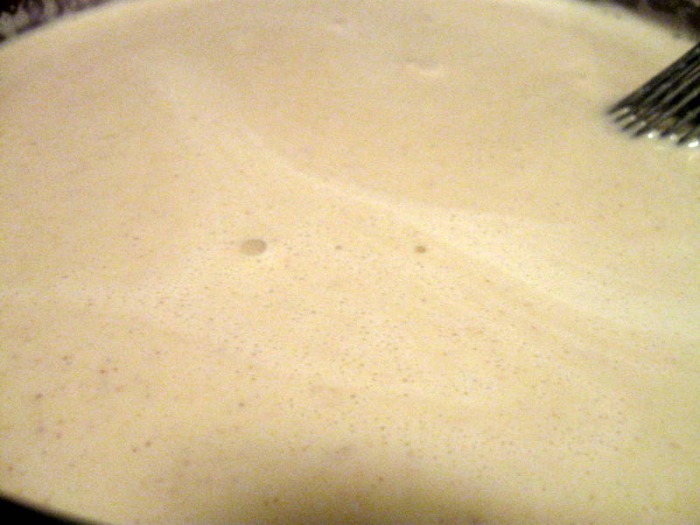
Again, fate intervened and brought me to www.joyofbaking.com for a fantastic royal icing recipe. The key difference between their recipe and all the other royal icings I've made is that they beat the icing for a solid ten minutes, which really thickens it and makes it the consistency of lightly whipped cream. I've always just stirred together some egg whites and powdered sugar, and wound up with some super sweet sludge... yuck!
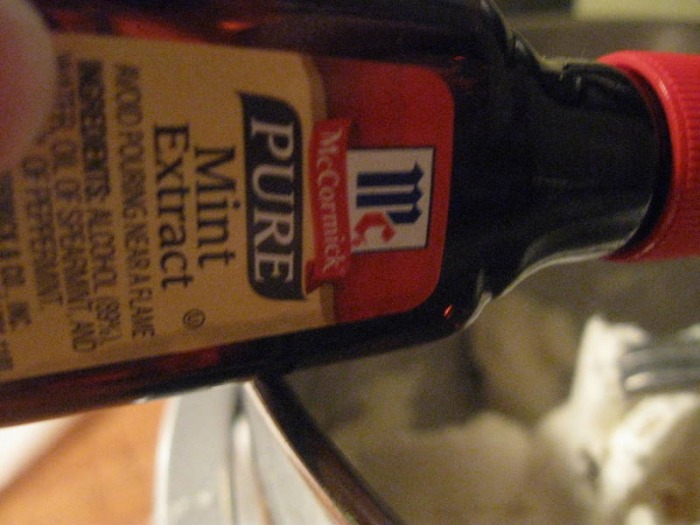
The other difference was that the recipe called for a small amount of lemon juice. I was afraid I was going to end up with lemon cookies, which are good, but definitely not what I was going for. But, the lemon juice was like the magic ingredient! When first mixed up, you can taste the lemony flavor, but as the icing sits and ripens it mellows out and the lemon juice just adds a bright fresh flavor but the actual taste of lemon disappears. It's absolutely delicious! Honestly the best royal icing I've even eaten.
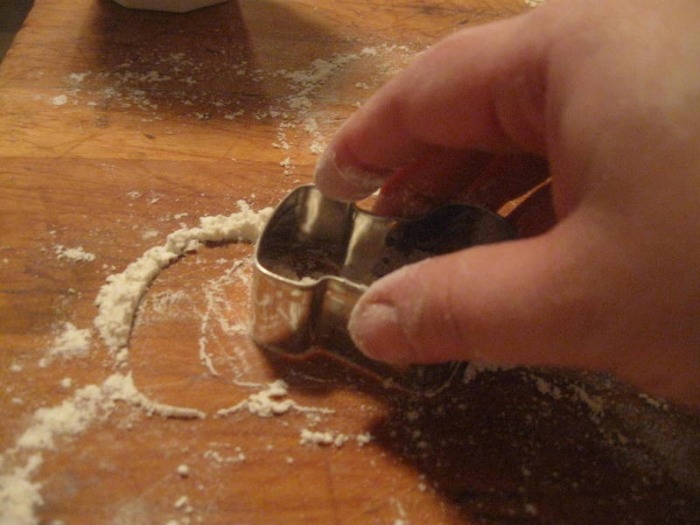
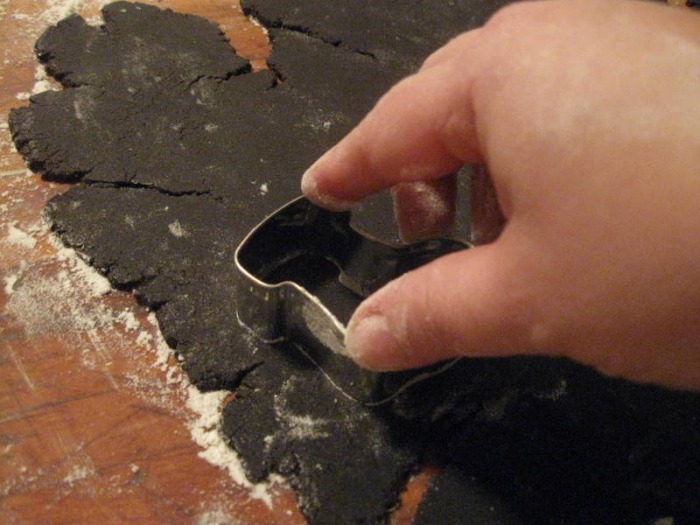
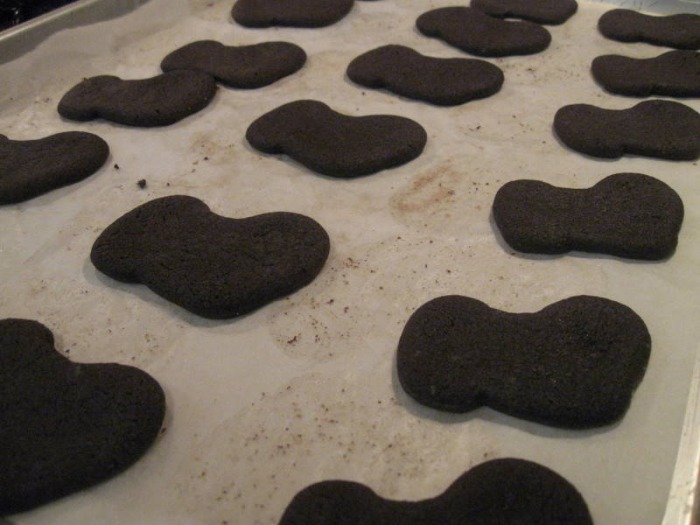
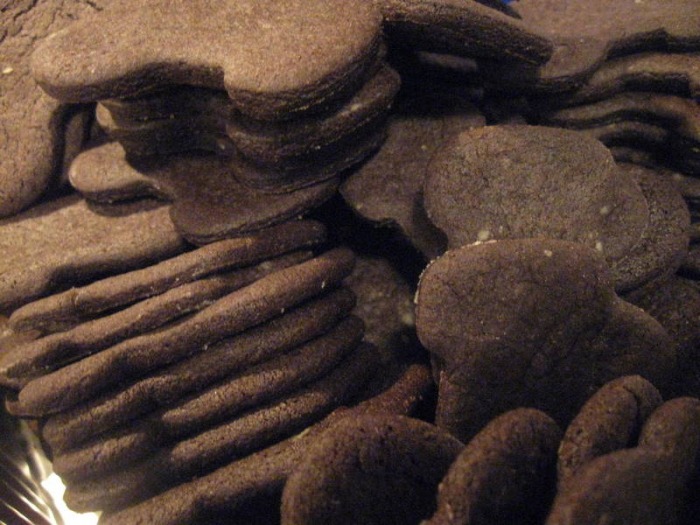
The process of baking and decorating the cookies took many, many days and I was very lucky that my sister was in town for a visit and came to help me. We had a great time and ate quite a few cookies in the process. Hey, somebody has to do quality control around here, right?
The decorating process is the same no matter what the holiday is, so while it's too late to make these for this holiday season, you can certainly make these for Easter or Valentine's Day. It's definitely something that the more you do the better you'll get at it, so find lots of reasons to make them!
-The Baker
Then, a friend asked me if I would make her some undecorated sugar cookies for her son to take to school to decorate with his classmates for a school project. Sure, no problem! I can roll and cut out dough all day long... easy breezy! But then... she asked would I make some more for her own holiday parties. Uh-oh. I knew I would have to find a better recipe and then I would have to actually *GULP* decorate them! The thing I've been avoiding all these years!
I was a little stumped what to do about the recipe. I mean, I've been searching for years for a good one and I've never found one. Why did I think I would suddenly find it now? Oh, man, did I finally bite off more than I could chew with this little project? The problem with sugar cookies, well any recipe, is if you ask people if they have a recipe they always tell you the one they use is "the best", but I've always found sugar cookies to be dull and bland.
A few days later I was trolling the internet looking for new food blogs to read when I stumbled across a site with sugar cookies. Hmm... I loved her description and the fact that the recipe was her grandmother's. These might be a possibility. I decided to try the recipe out. Wow! Were they delicious! And, I'm talking about the raw dough. Seriously delicious! I couldn't wait to taste the baked cookie. Needless to say, the baked cookie was also delicious. Holy cow-after all these years of searching I had actually found a delicious sugar cookie recipe! I couldn't believe it. (Go check out the site, which is filled with all sorts of wonderful recipes and stories: www.wiseanticsoflife.blogspot.com and tell her The Baker sent you!)
The recipe Kristen gave also included a frosting, but I knew that I wanted the finished cookies to be very high-end and not homemade looking, so I wanted to use a royal icing. But, again, I was in the same boat... I've never found a royal icing that I really liked.
Again, fate intervened and brought me to www.joyofbaking.com for a fantastic royal icing recipe. The key difference between their recipe and all the other royal icings I've made is that they beat the icing for a solid ten minutes, which really thickens it and makes it the consistency of lightly whipped cream. I've always just stirred together some egg whites and powdered sugar, and wound up with some super sweet sludge... yuck!
The other difference was that the recipe called for a small amount of lemon juice. I was afraid I was going to end up with lemon cookies, which are good, but definitely not what I was going for. But, the lemon juice was like the magic ingredient! When first mixed up, you can taste the lemony flavor, but as the icing sits and ripens it mellows out and the lemon juice just adds a bright fresh flavor but the actual taste of lemon disappears. It's absolutely delicious! Honestly the best royal icing I've even eaten.
The process of baking and decorating the cookies took many, many days and I was very lucky that my sister was in town for a visit and came to help me. We had a great time and ate quite a few cookies in the process. Hey, somebody has to do quality control around here, right?
The decorating process is the same no matter what the holiday is, so while it's too late to make these for this holiday season, you can certainly make these for Easter or Valentine's Day. It's definitely something that the more you do the better you'll get at it, so find lots of reasons to make them!
-The Baker
Grandma's Sugar Cookies (taken from: www.wiseanticsoflife.blogspot.com)
Christmas Cutout Cookies:
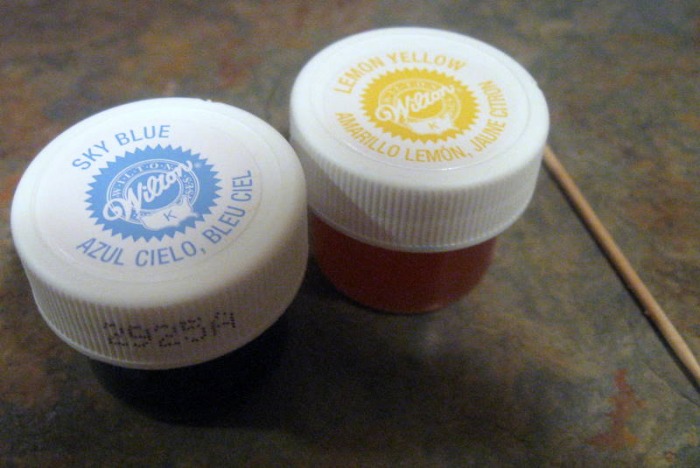
Royal Icing (www.joyofbaking.com)
Christmas Cutout Cookies:
- 3 C All-Purpose Flour
- 1 t Baking Powder
- 1/2 t Salt
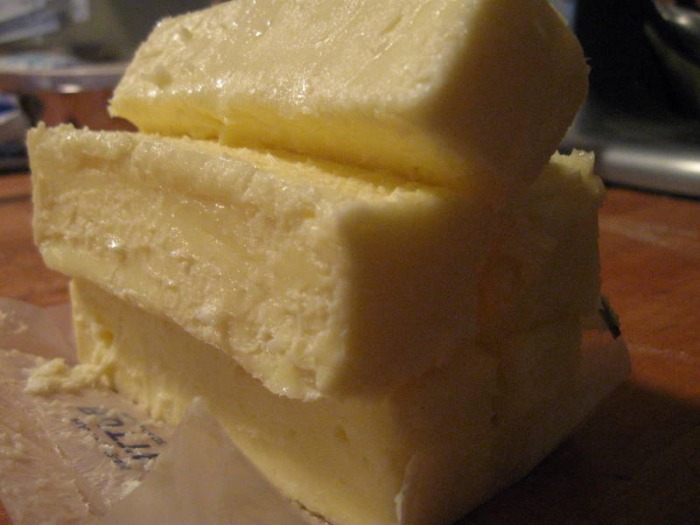
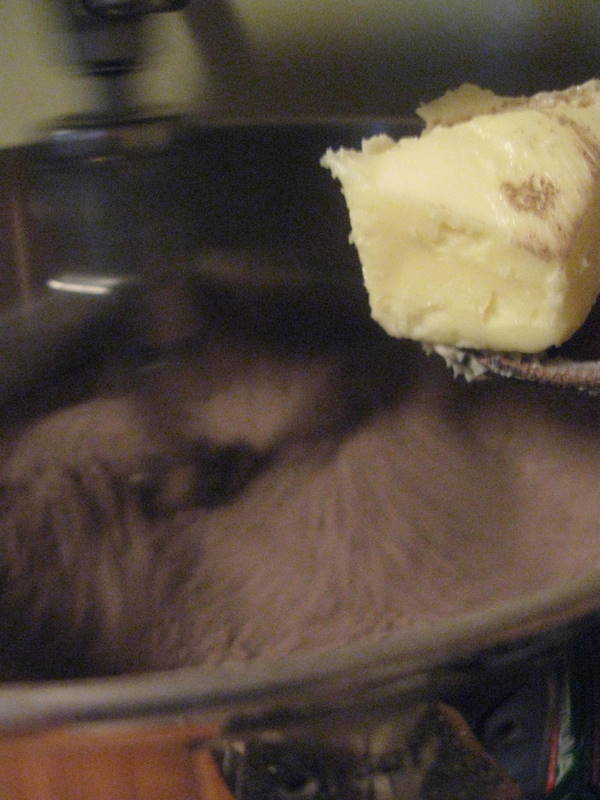
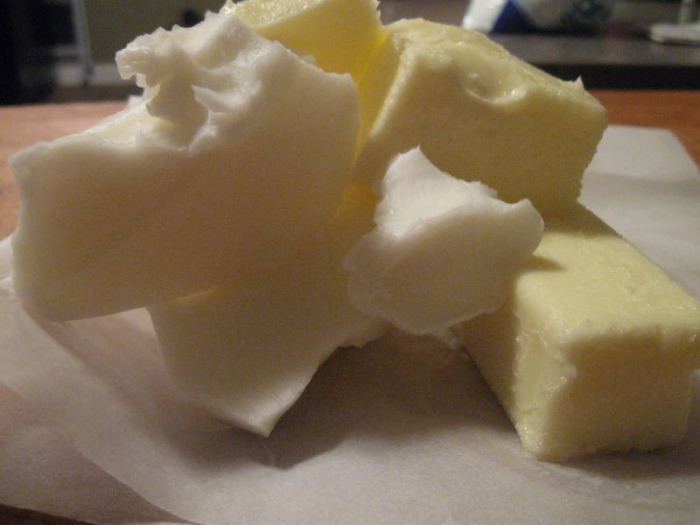
- 8 oz Butter
- 3/4 C Sugar
- 1 Egg
- 2 T Milk
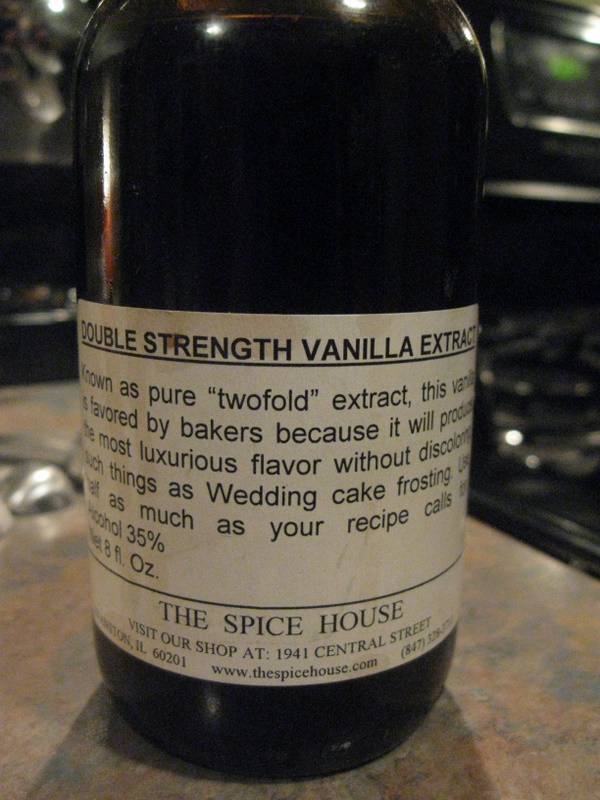
- 1 1/2 t Vanilla Extract
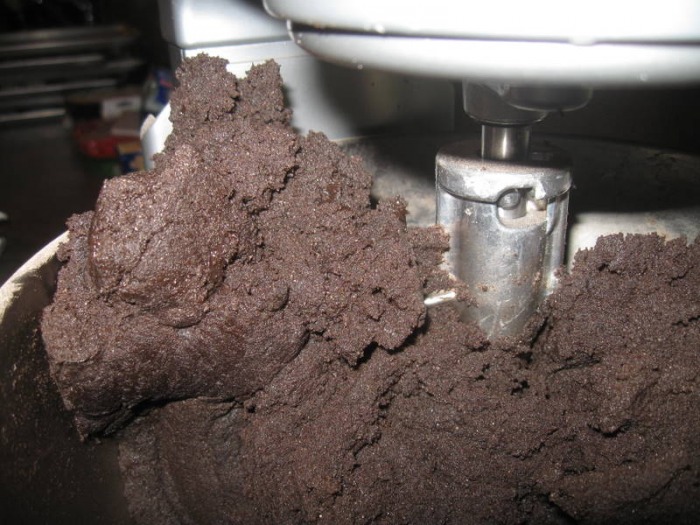
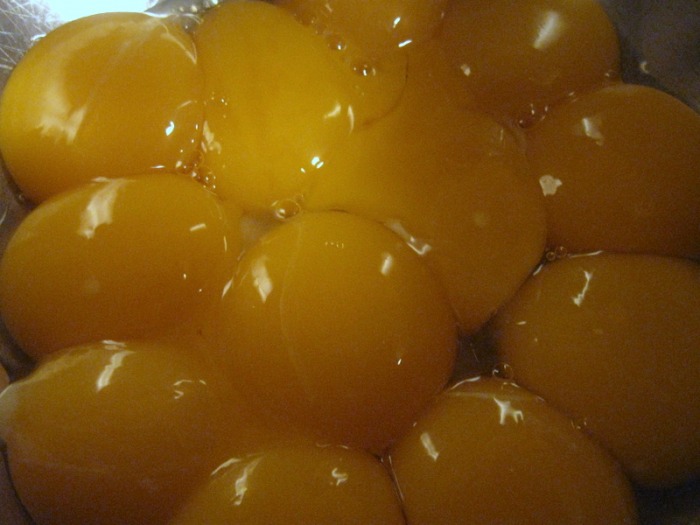
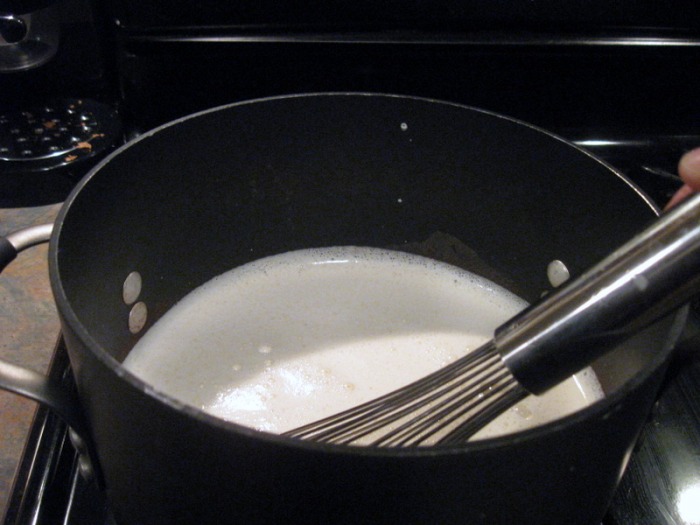
- cream butter and sugar; add egg, milk and vanilla, beating until smooth
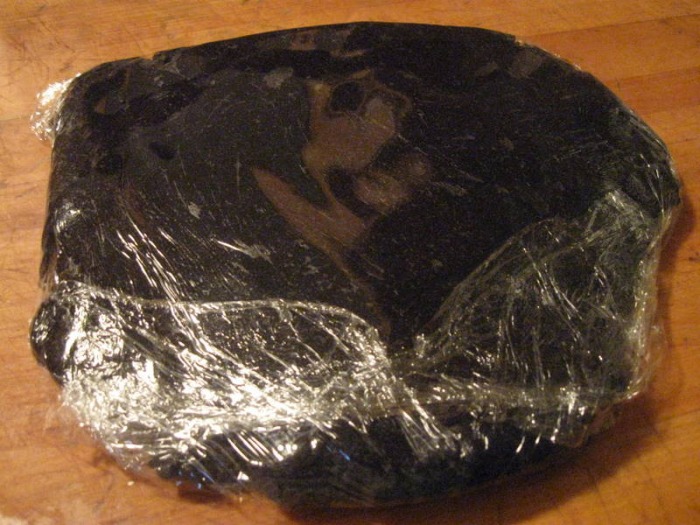
- sift dry ingredients and gradually add; chill 1 hour
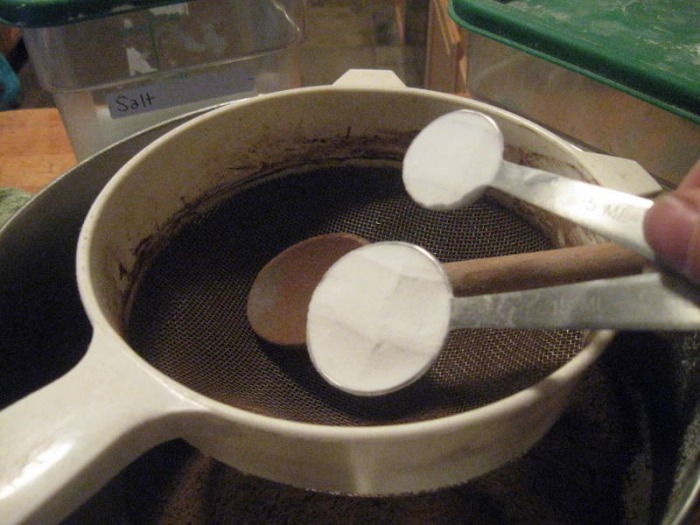
- roll 1/2 inch thick and cut into shapes
- bake on an ungreased cookie sheet 400 F for 5-8 minutes; don't let them get brown
- frost when cool
Royal Icing (www.joyofbaking.com)
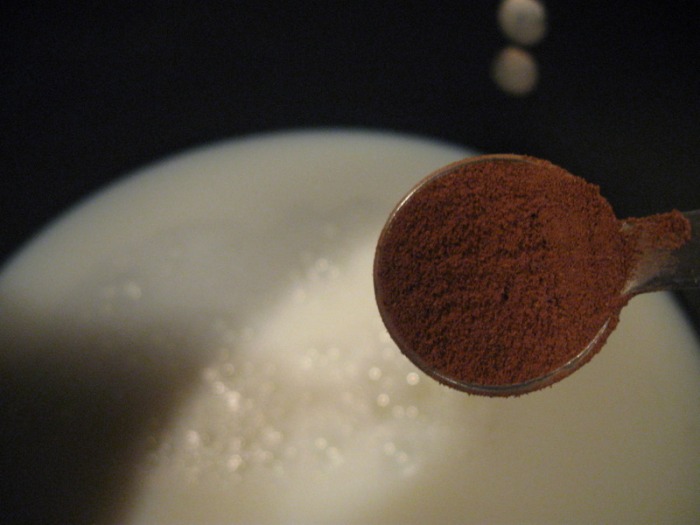
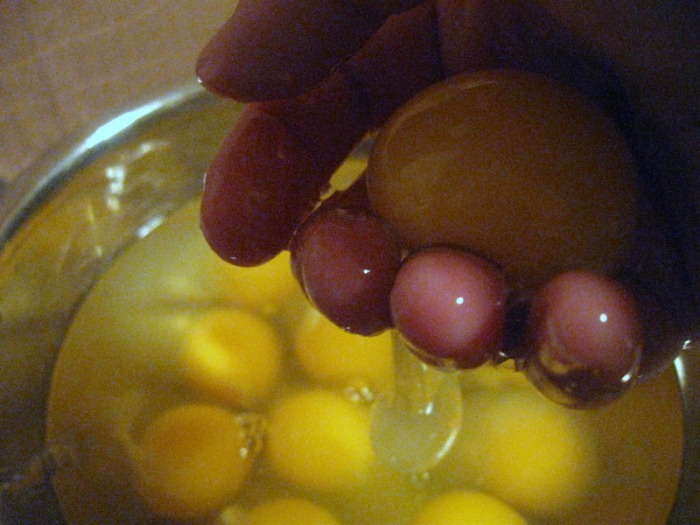
- 2 Egg whites (large)
- 2 t Lemon juice
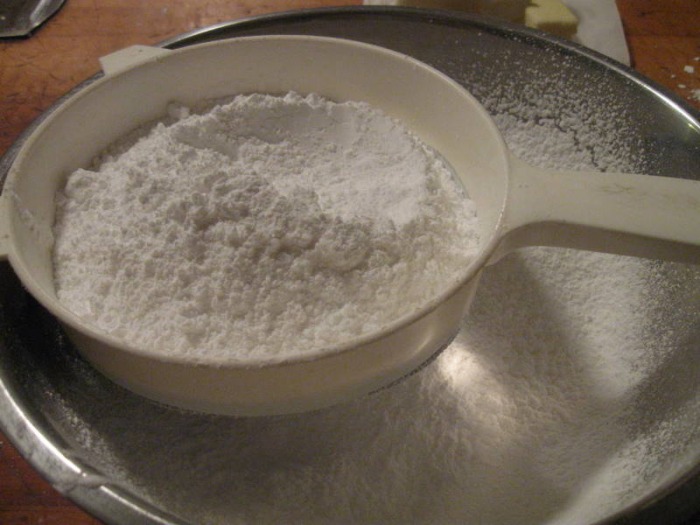
- 3 C (330 g) Powdered sugar, sifted
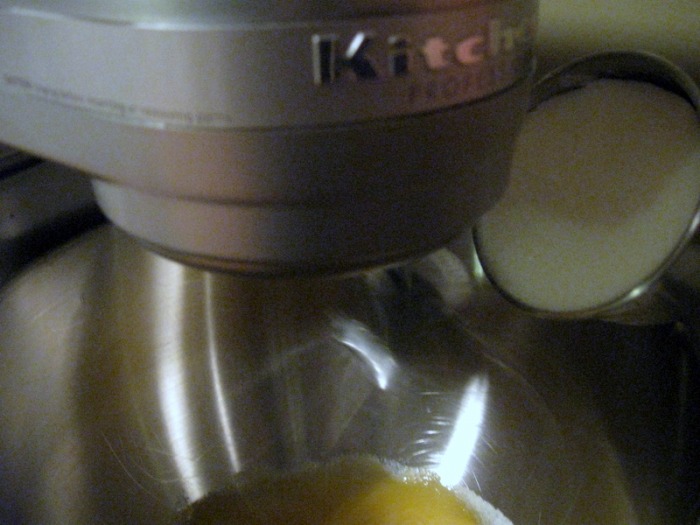
- in the bowl of your electric mixer (or with a hand mixer), beat the egg whites with the lemon juice, until light and frothy
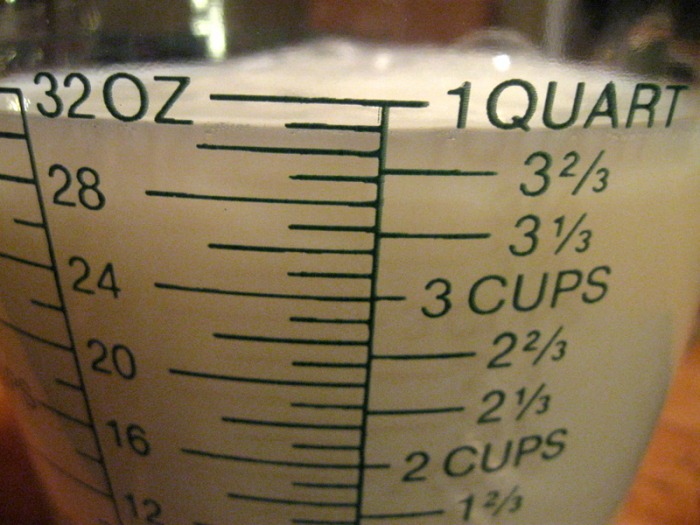
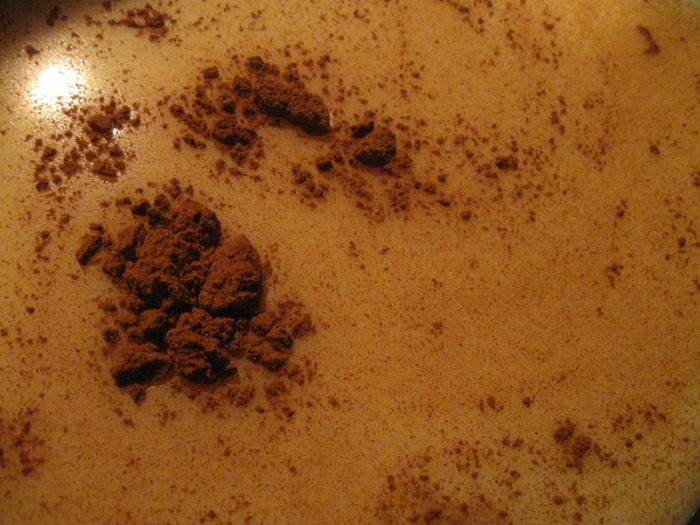
- add the sifted powdered sugar and beat on low speed until combined and smooth; then turn the mixer up to medium-high and beat it for at least ten minutes; it will be thick and very creamy; thin it down with a few drops of water at a time until it is the consistency of whipped cream
- the icing needs to be used immediately or transferred to an airtight container as royal icing hardens when exposed to air; cover with plastic wrap when not in use
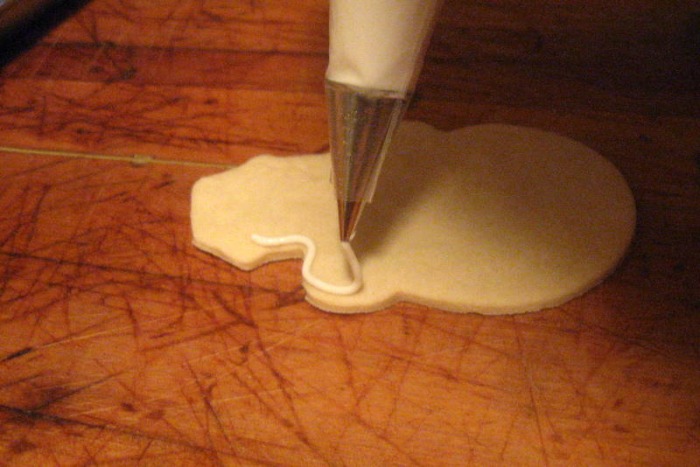
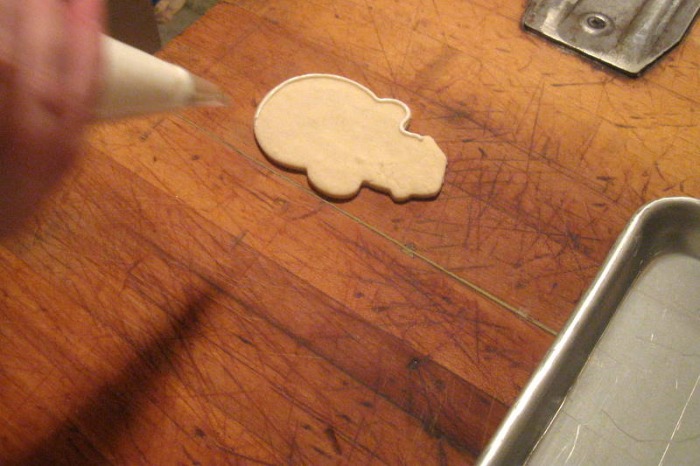
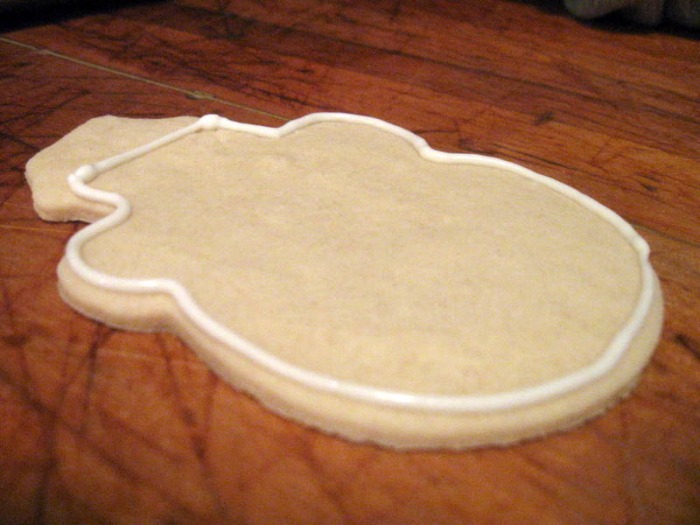
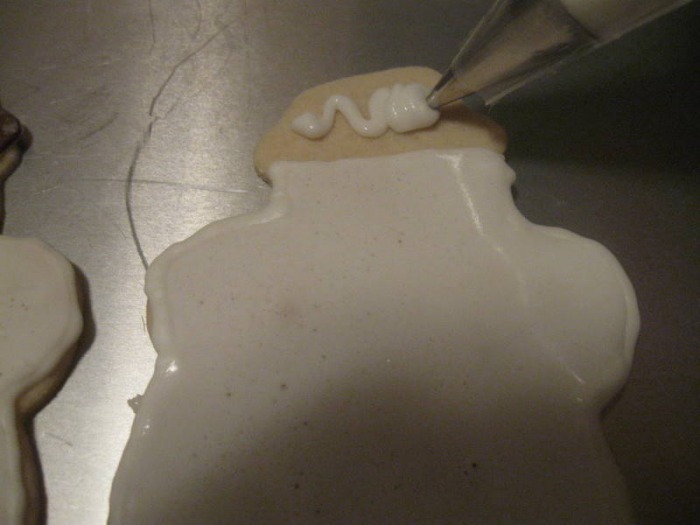
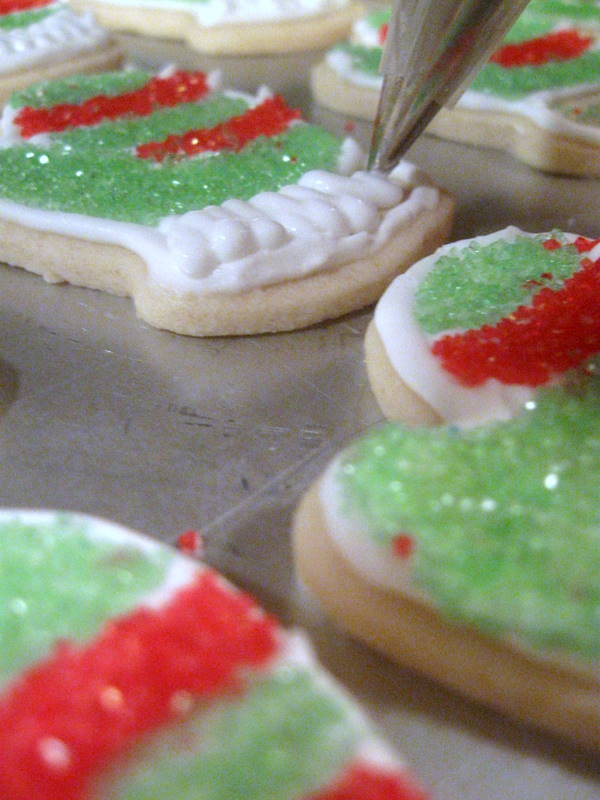
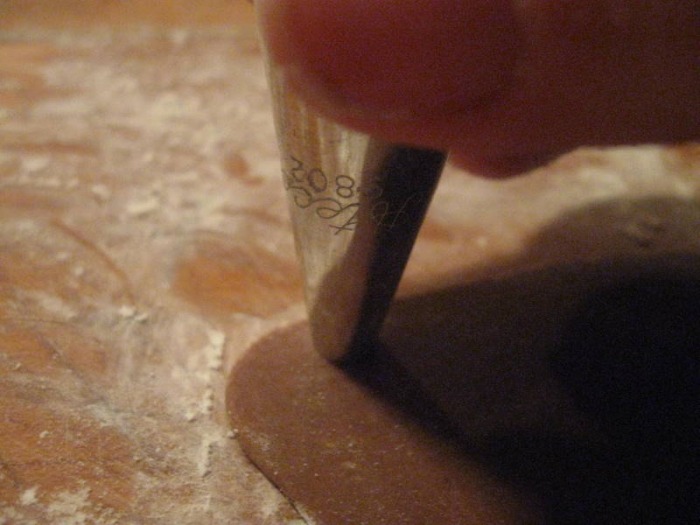
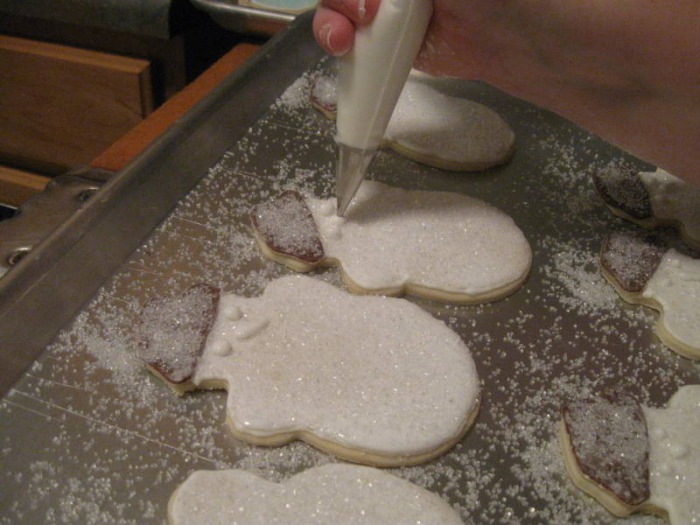
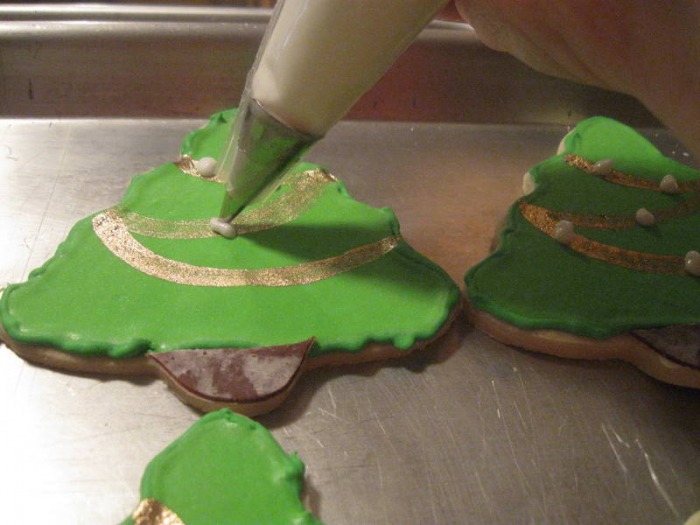
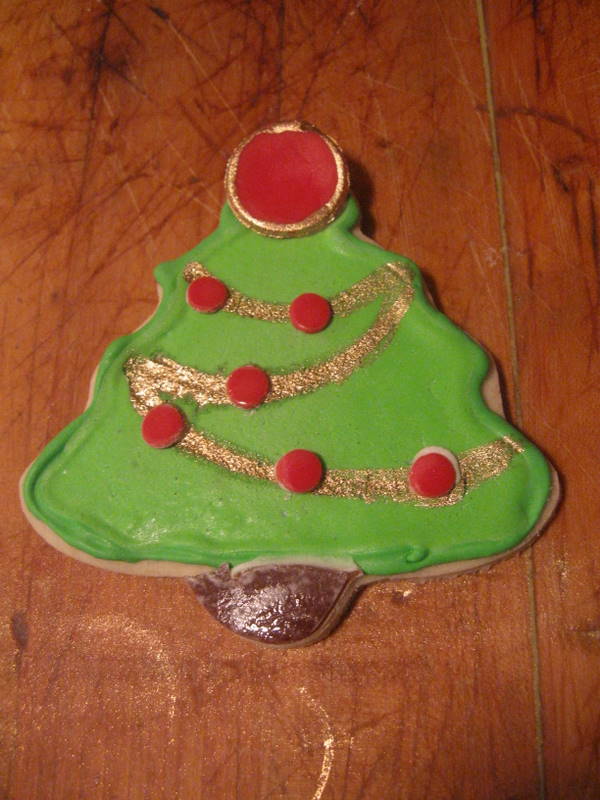
- outline - after the cookies have cooled, outline the edge of the cookie using the royal icing; if you're planning on filling in the body of the cookie with a color other than white you'll want to color the icing that color; if you don't you'll have a white outline; use a disposable plastic piping bag fitted with a #2 or #3 tip, that way you can easily refill and keep going; you want the icing to be just stiff enough to hold it's shape but fluid enough that it easily flows out of the tip; to get the best outlines you want to hold the tip about 1/2" above the cookie; it takes a bit of practice to get used to not working right on top of the cookie
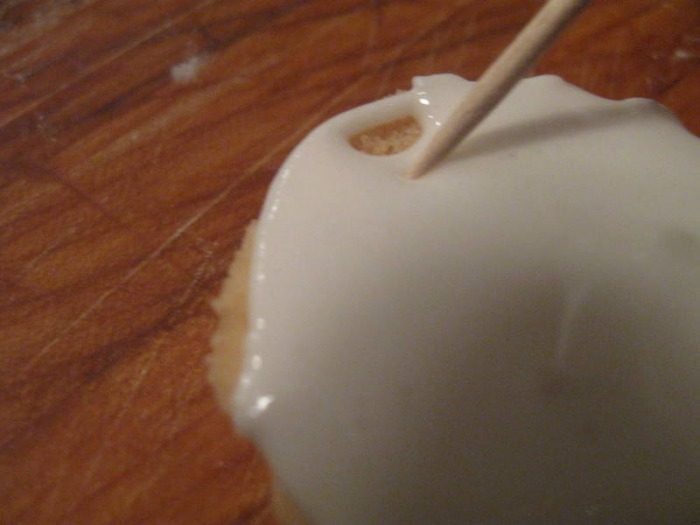
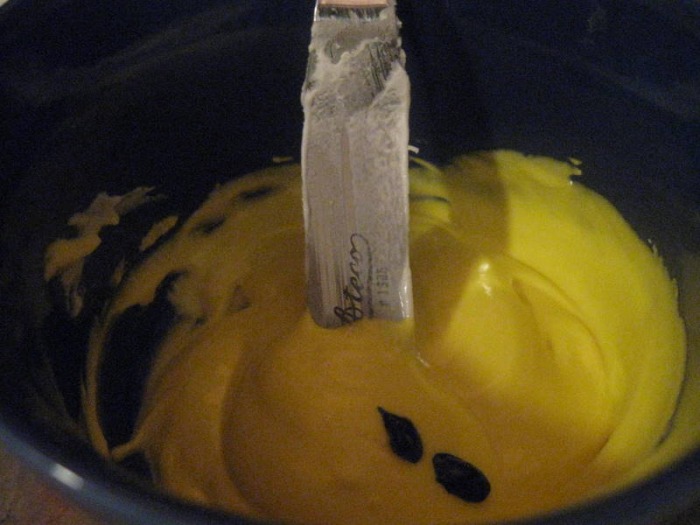
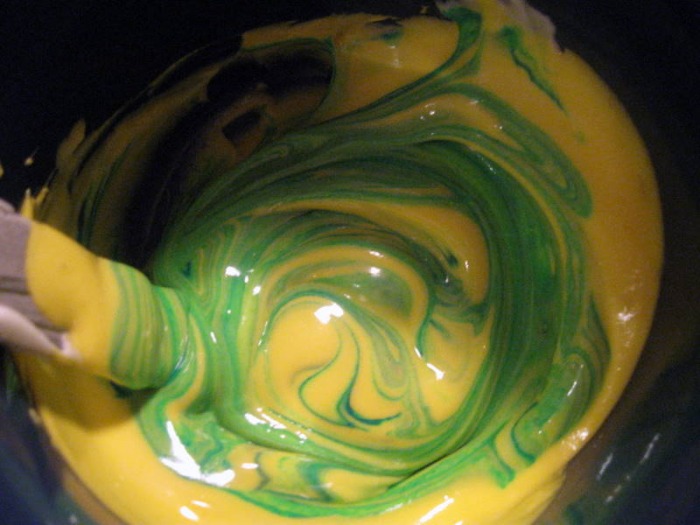
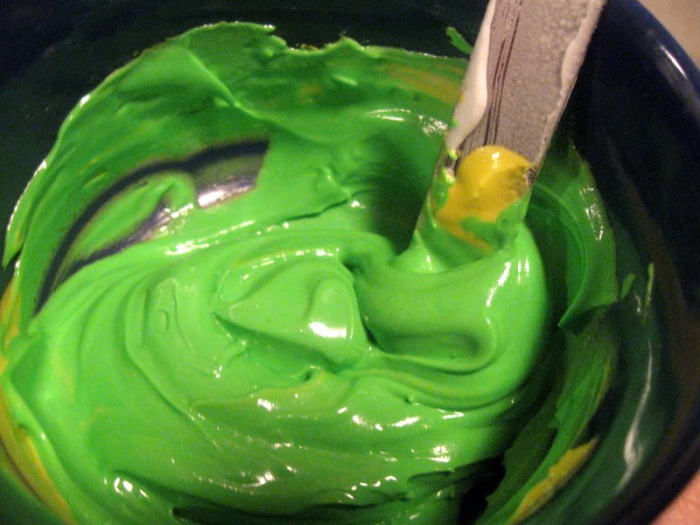
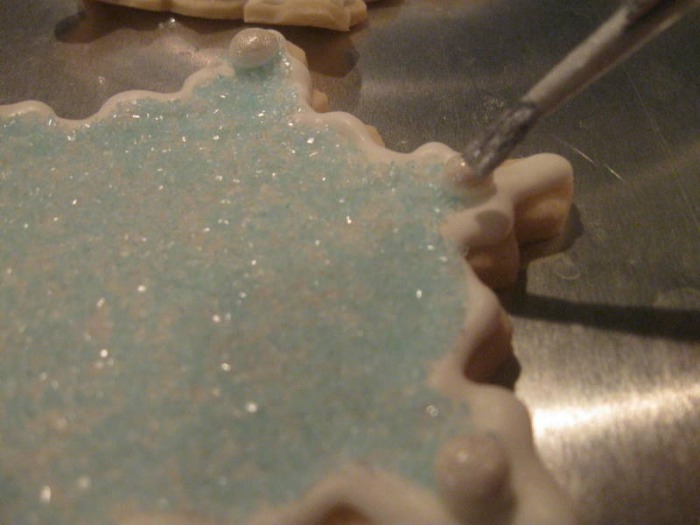
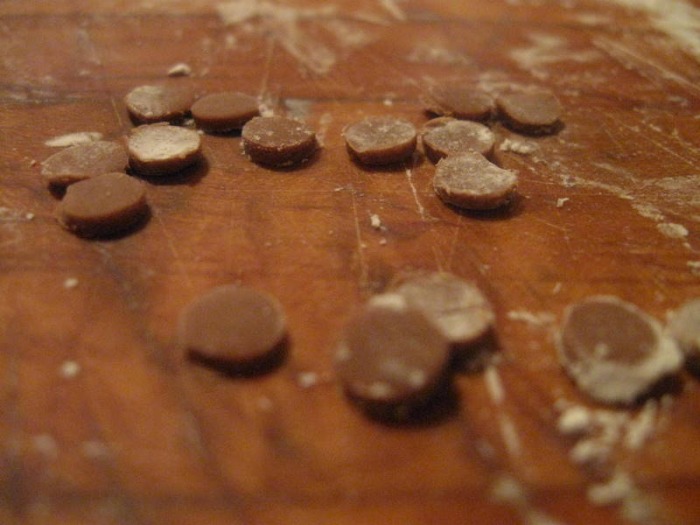
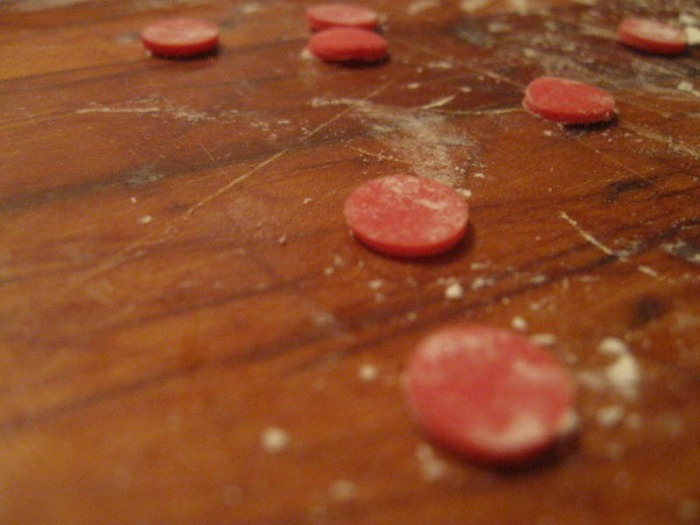
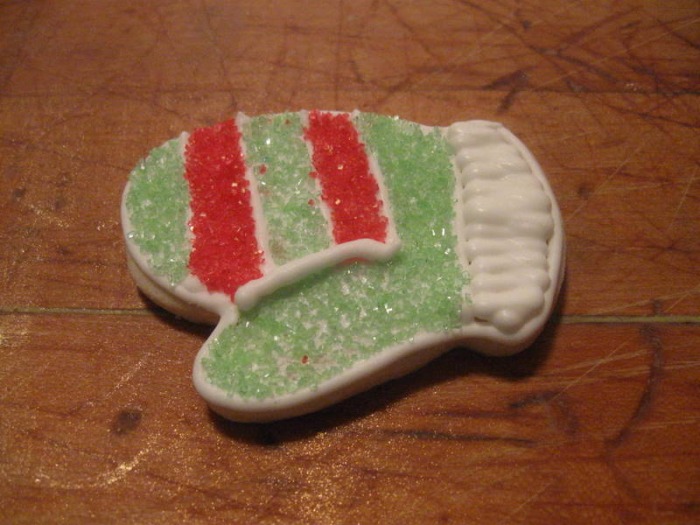
- flooding - let the outline dry until it's sturdy enough to be handled and dry enough to act as a dam for thinner icing; thin down icing to fill in the dam; tint the icing to the color you want (colors will darken the longer they sit); you can thin the icing by adding drops of water; you can use a pastry bag to flood the cookies, but I found it much easier to use squeeze bottles, which can be found at any craft store in the cake decorating section; you don't need to fill the entire area, you can fill in any holes with a paint brush sized pastry brush or a toothpick
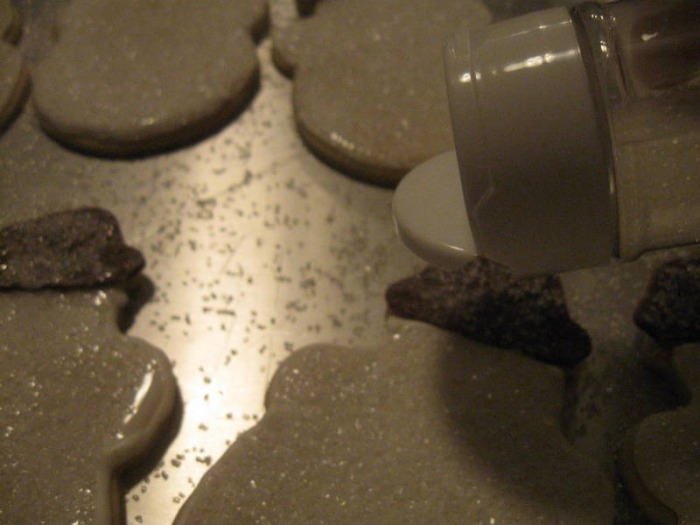
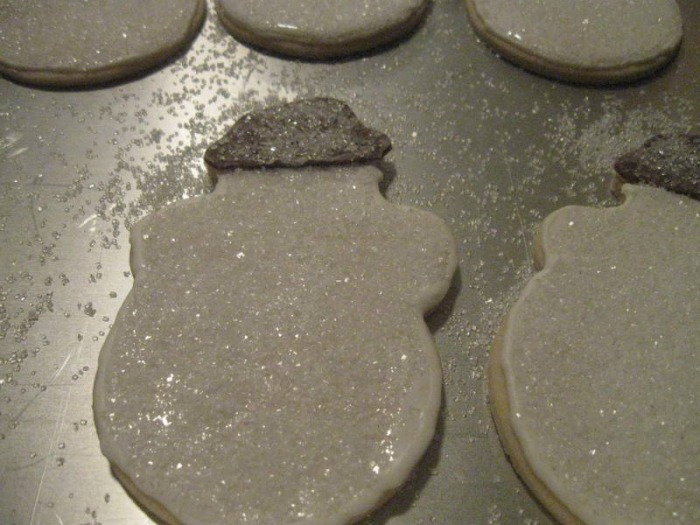
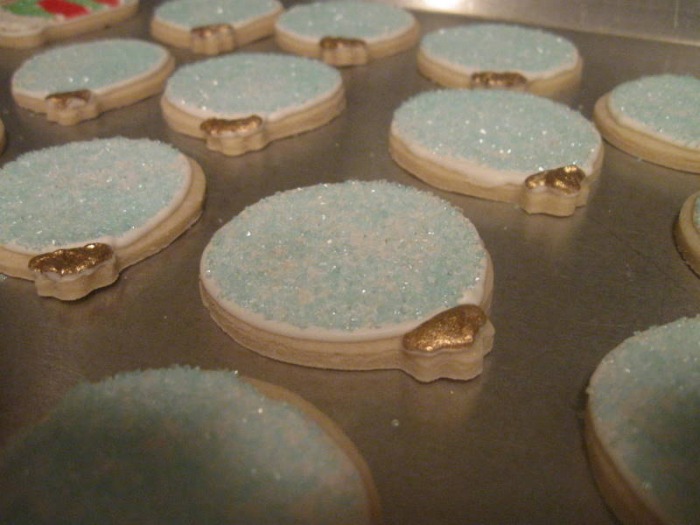
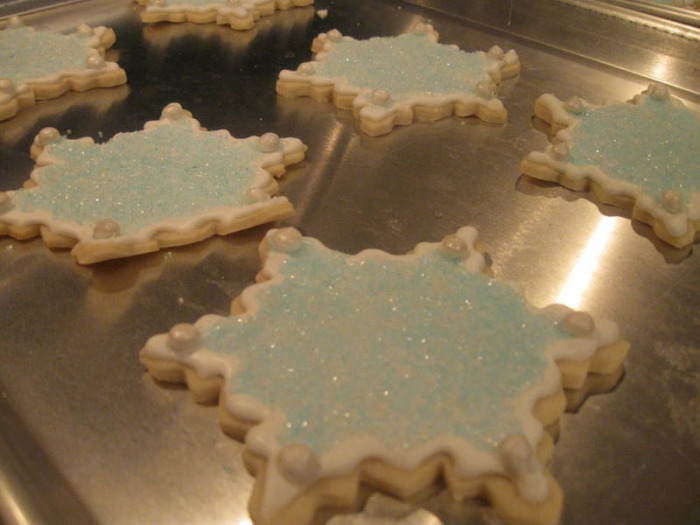
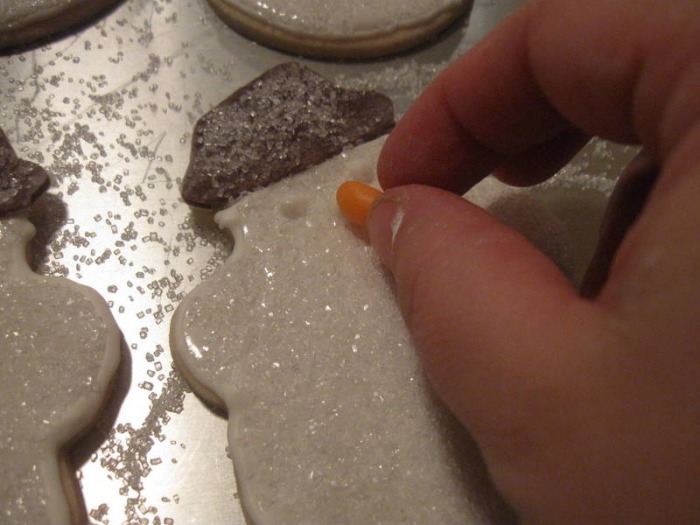
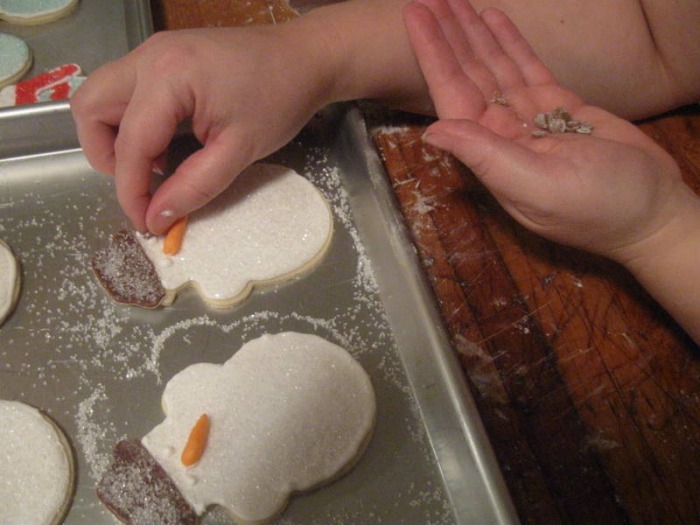
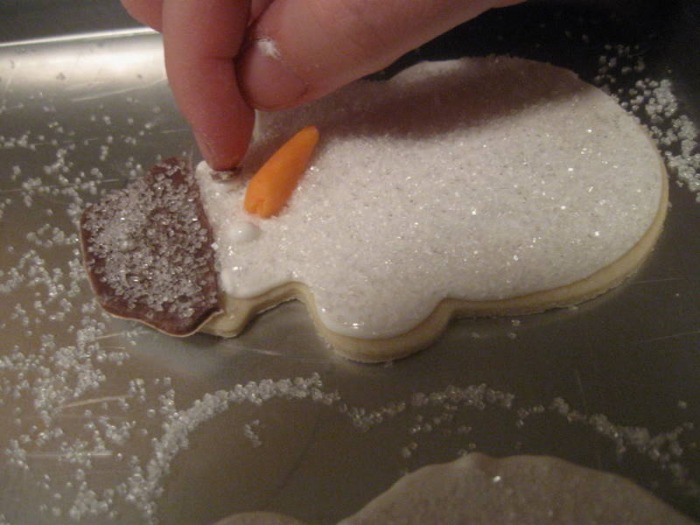
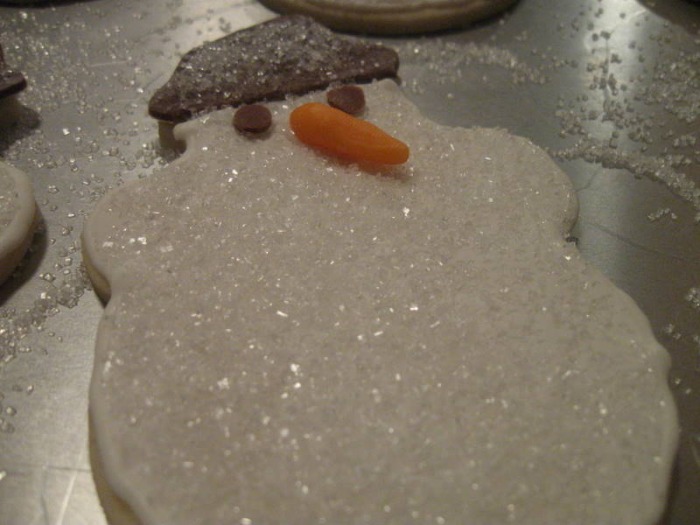
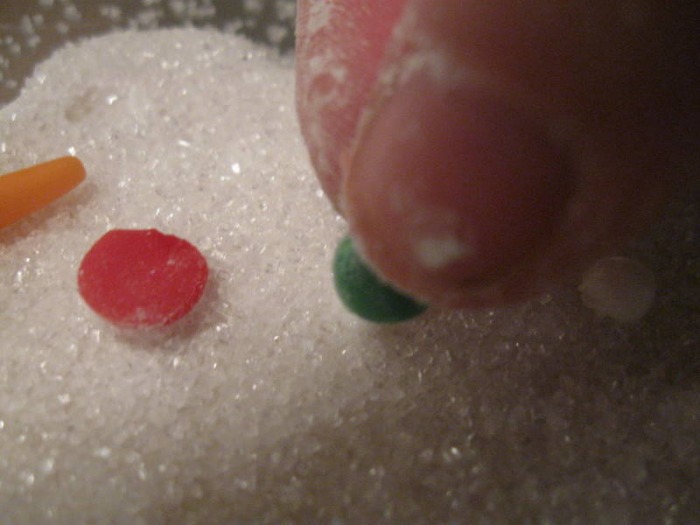
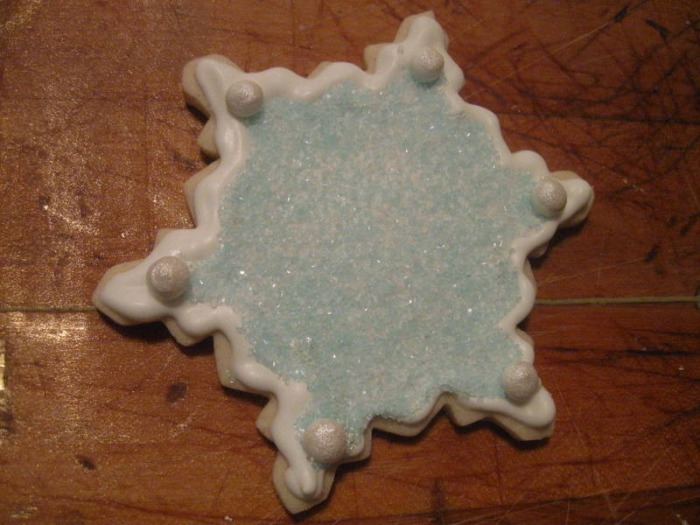
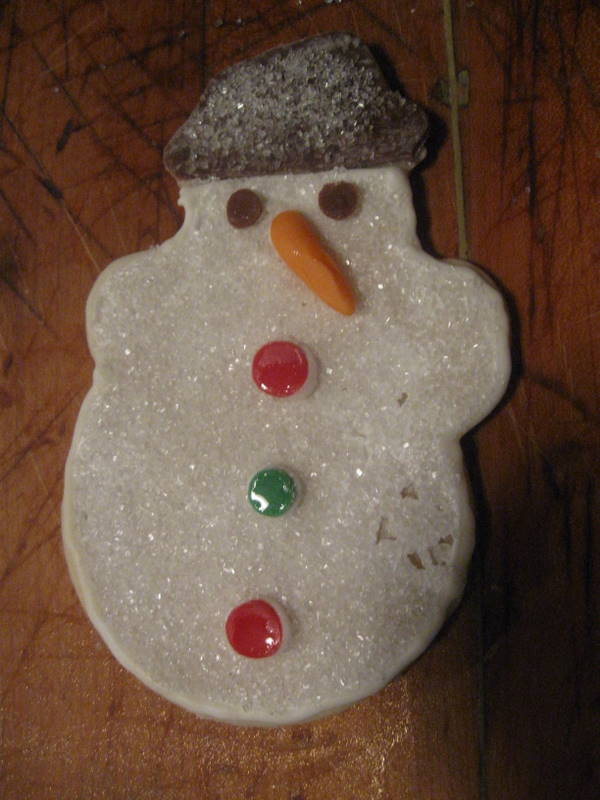
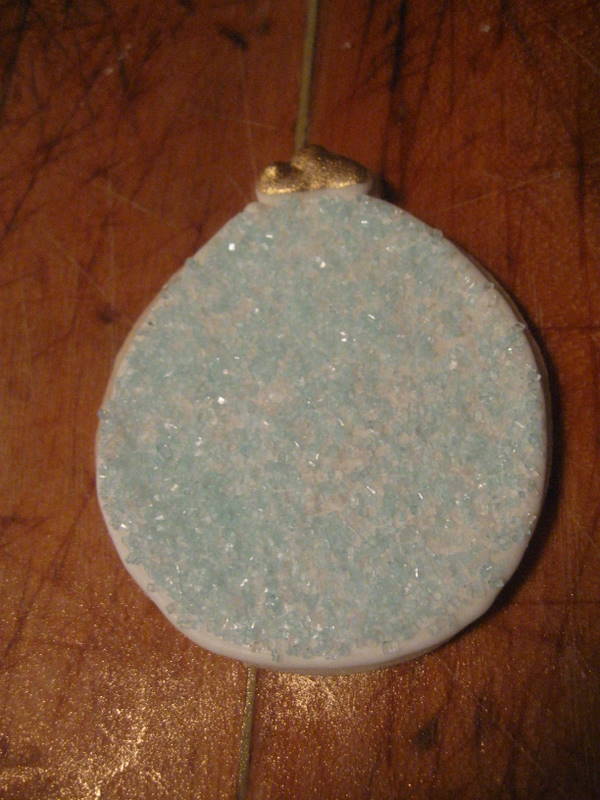
- let the flooded icing dry overnight unless you're dipping the cookies in sanding sugar; if you're dipping in sanding sugar you want to let the icing dry until it's tacky and then dip the cookie in sugar that you've got spilled into a wide shallow dish; keep in mind that some of the sugar will spill off once the icing is completely dry so dip a little heavy; if you want to do multiple colors of sanding sugar (like stripes) then you will need to flood the different sections separately and dip them in the sugar, let them dry completely and then flood the next section and dip, etc
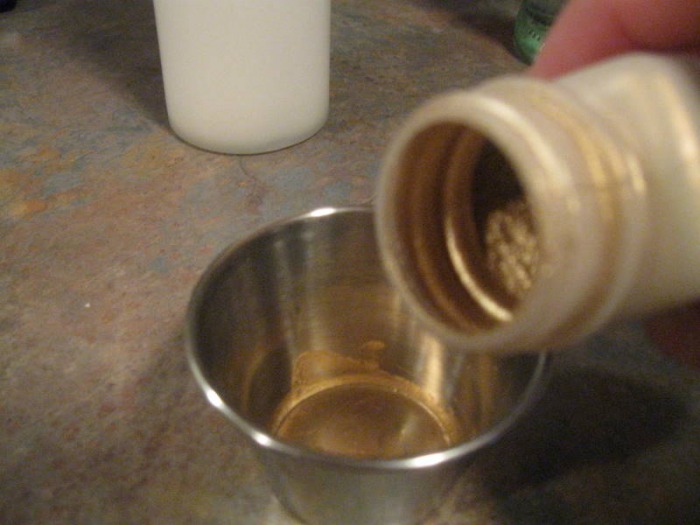
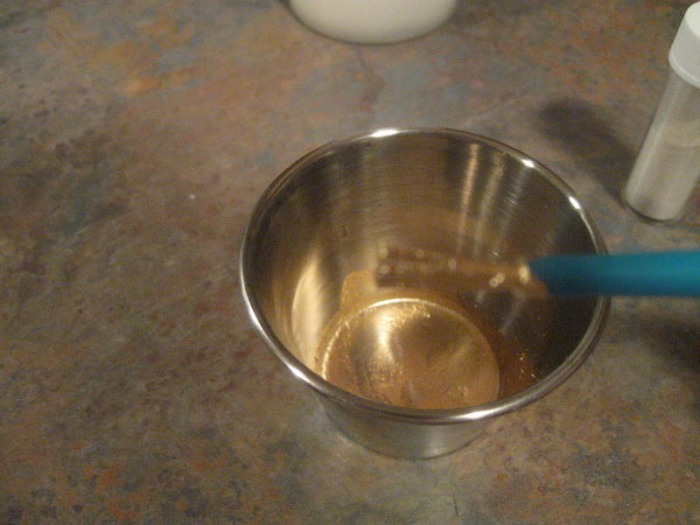
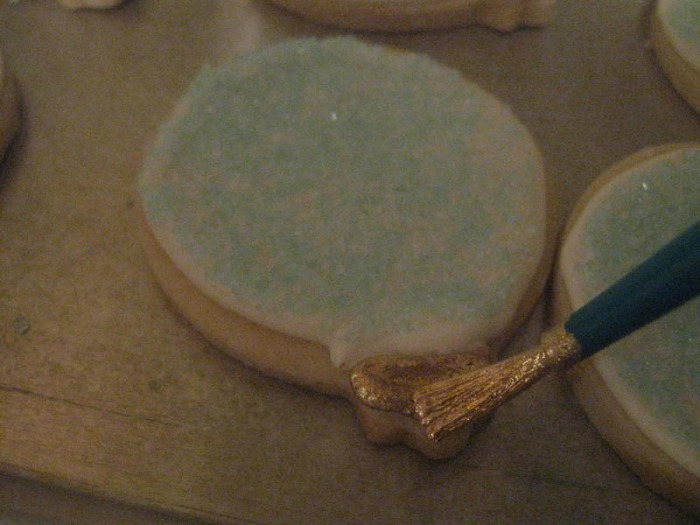
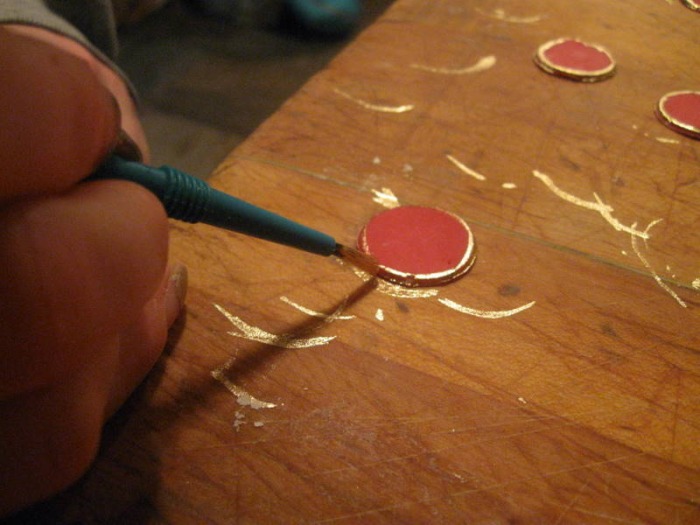
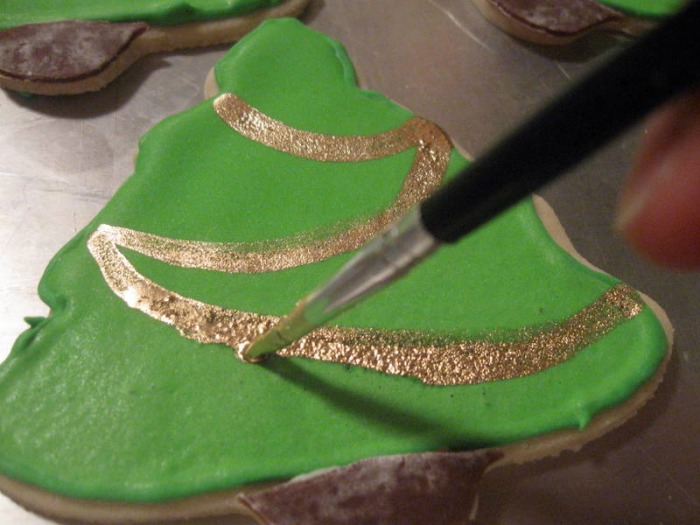
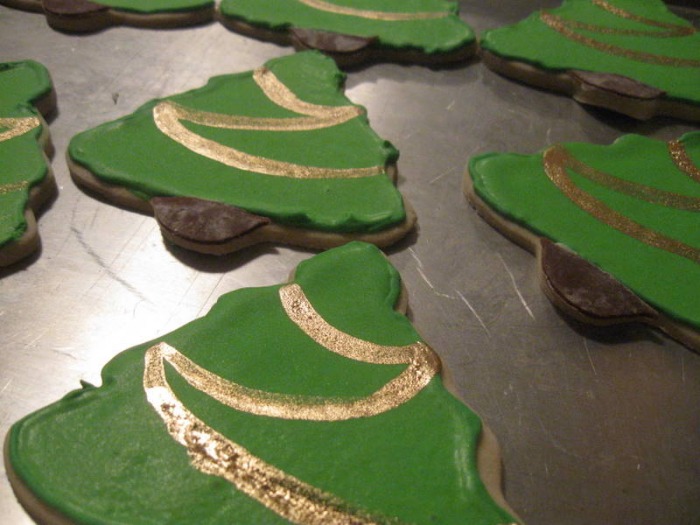
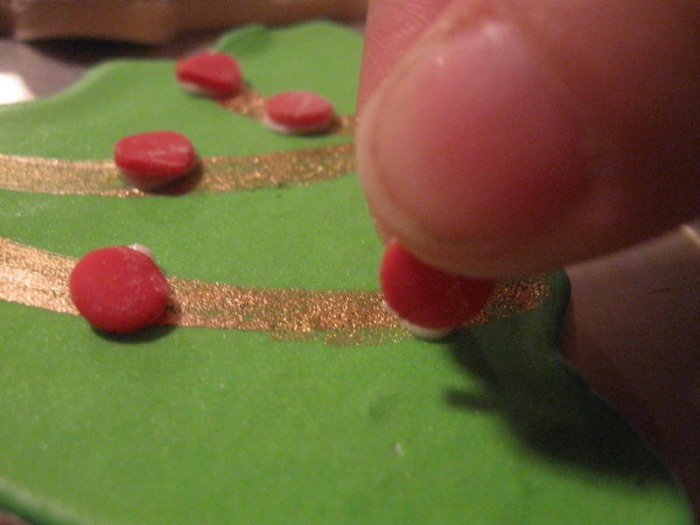
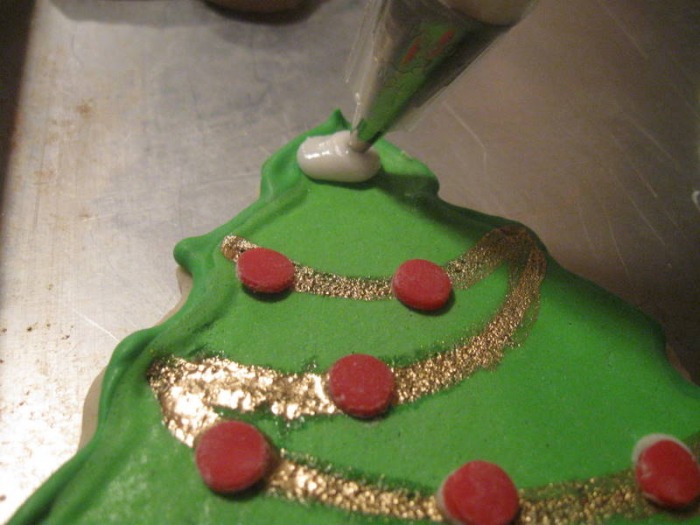
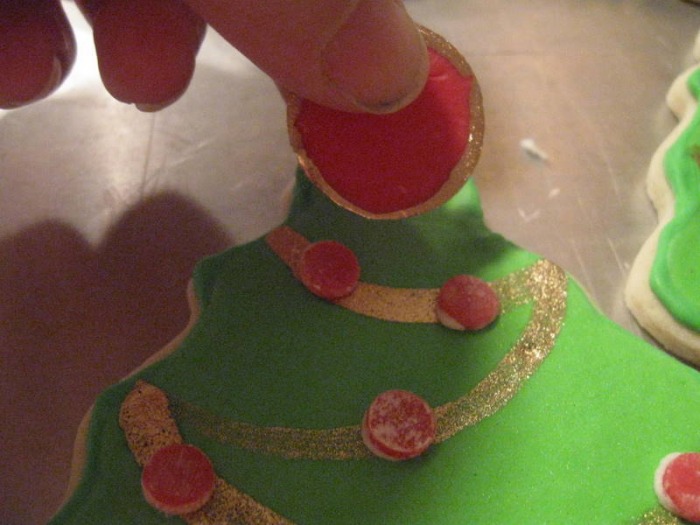
- once the icing is completely dry you can pipe decorations over it, you can paint on gold or silver dust or you can use markers that are made from edible ink to draw on decorations
- the biggest key to successfully decorating the cookies without pulling out your hair or giving up is to have a plan and stick with it... choose the shapes you're making ahead of time, plan how you want to decorate each design, decide on the colors you'll use and if you'll be using sanding sugar; make a list of everything you need and get it all ready before you start to decorate; trust me-it will simplify the process and keep it enjoyable!
- keep in mind that this can be a long process, so give yourself enough time to do the different steps and your cookies will turn out beautiful


 RSS Feed
