Picture
One of the best parts about owning the bakery is that I have the freedom to be creative.  I can collaborate with someone who needs a cake for a party they're throwing and they can give me the concept they're after and then I get to run with it.

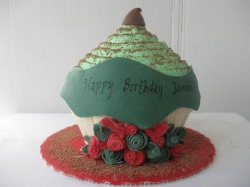
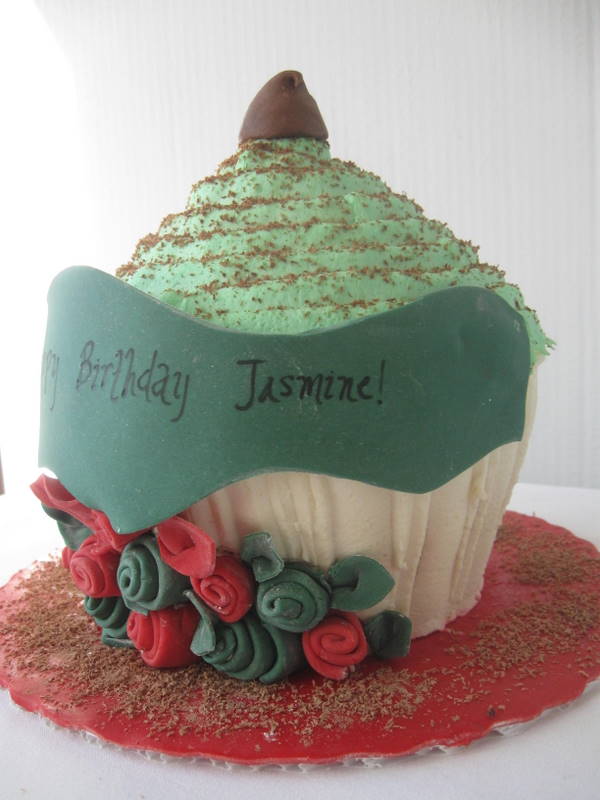
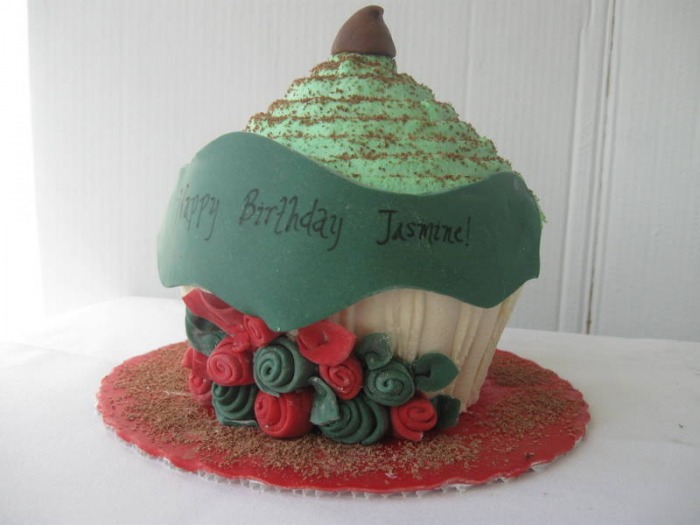
Just the other day we got a phone call from someone who wanted to really WOW his girlfriend.  He told us this was his first time ever doing something like this and he had an idea in his head, but not all the details.  Basically what he wanted was a giant cupcake and then he wanted to incorporate the colors that are important to his girlfriend.

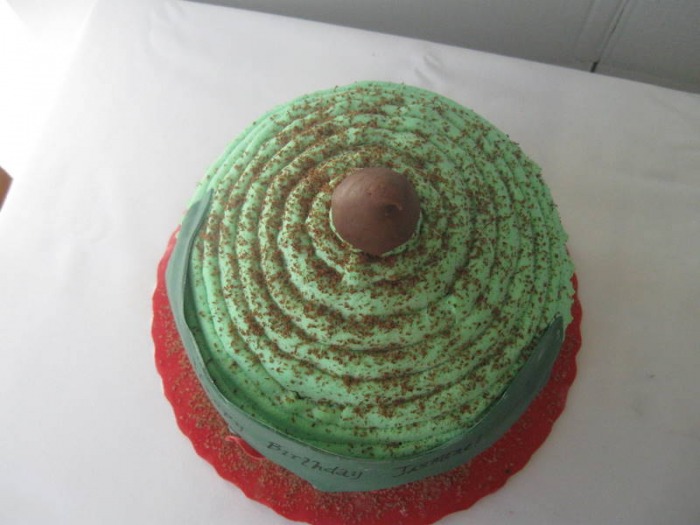
I wanted the cake to still look like a giant cupcake, since that was in fact what he wanted.  I didn't like the way the white cake board looked underneath the colorful cupcake and so I decided to cover it with red chocolate.  I think it looks fantastic!  After that I added some ribbon roses in the colors he requested and a banner wishing her a happy birthday.  I topped it off with a hand modeled "kiss". The cake turned out really colorful and fun, which I think was what he wanted.  When he picked the cake up from me he was thrilled.  I can only hope she was as thrilled as he was when he gave it to her!

-The Baker

 
Picture
So I've been away from the blog for a little while because I've been working on a special project and I didn't want the person I was doing it for to find out the surprise.  M2's best friend in the world is Morgan and yesterday was his 3rd birthday party.

His mom planned a "Mr. Man" themed party for him.  The invitations that Abbi made had a picture of him with a graphic of a necktie around his neck.  She decorated the room with neckties and she found chocolate mustaches on a stick for everyone to hold in front of their face.  Needless to say she's very creative.  So when she asked me to make cupcakes to serve at the party I was sweating!  My shtick is really yummy goodies but not necessarily anything cute and creative.  I thought maybe I would just make a variety of cupcakes and make some sprinkles using the colors from the invitations to coordinate; boring I know, but at least they would taste good.  And then, about a week before the party, I had a stroke of genius at 4:30 in the morning... and then couldn't fall back asleep because I was planning.

There's a fabulous site called Bakerella, featuring the most amazing, creative and fun goodies.  They say imitation is the best form of flattery so my mission was to emulate some of the cupcakes she makes but re-work them a bit to fit with my own tastes and of course the "Mr. Man" theme of the party.  I remembered that Bakerella had visited The Pioneer Woman and made cupcakes that Ree gave instructions for how to decorate, so I also visited that site.

The main thing I changed is that Bakerella uses fondant, and I have a major dislike for fondant, you might even say hatred.  I instead made and used chocolate clay.  I also used my own chocolate and white cake recipes instead of the recipe they used.  I had a blast making the cupcakes, and now all I can think about are other occasions that I can make them for.  I've been calling them "Capped Cupcakes" because of the chocolate clay cap.  I hope that if Bakerella ever sees my cupcakes she's flattered and not appalled!

Making all the decorations is a major undertaking, so get a cup of coffee and a muffin and sit down for a nice long read... at least there's lots of pictures!

-The Baker

CHOCOLATE CLAY:

  • 10 oz Chocolate
  • 1/3 C Corn Syrup
  1. in a shallow bowl, melt the chocolate in microwave (be careful so that the temperature does not exceed 100 F) for approximately 1 minute; stir. if chocolate is not completely melted, return to microwave for 10 seconds at a time and stir until smooth
  2. add corn syrup to the chocolate and mix well (scrape all the corn syrup into the chocolate with a rubber spatula)
  3. using a rubber spatula, stir and fold mixture, scraping the sides and bottom of the bowl well, until no shiny syrup is visible and the mixture forms a thick ball
  4. knead the clay until oil begins to ooze out, this is called "milking'; a lot of oil will come out, keep kneading until the clay is still oily but is starting to melt and feel very sticky in your hands
  5. pour mixture onto parchment paper (or waxed paper); let it sit and stiffen, uncovered, for at least 2 hours then roll into a ball and wrap in plastic until ready to use
  6. use at once or store in an airtight container at room temperature for up to 1 month
  7. your cutouts will harden after a few days at room temperature and can be saved by storing in a cool, dry place
  8. just remember to not overwork the clay or it will begin to lose oil again and become sticky and impossible to work with

BAKERELLA'S SIMPLE BUTTERCREAM:
(taken from The Pioneer Woman's site)
  • 1/2 pound (2 sticks) salted butter
  • 1 teaspoon vanilla
  • 1 pound powdered sugar
  • Cream or half-and-half for consistency
  1. cream butter and vanilla, then add powdered sugar in increments
  2. add cream or half-and-half to reach desired consistency; color with gel food coloring as desired
Notes:  Definitely check out The Pioneer Woman's site for beautiful pictures of the making of the buttercream.  I had some pretty nice pictures of me making the buttercream but they were accidentally deleted... sniff sniff...  I'm still upset.