 I know this will sound really dumb, and I debated whether or not to even admit it, but there are some things that would never occur to me to make. I'll see something in a bakery and buy a piece and later if I want another I either make another bakery run or I kick myself for not having bought more. Then it dawns on me that I can make pretty much anything I want.
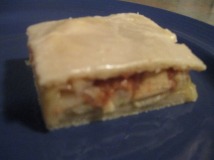
I love those apple squares you get at the bakery. It's a pastry crust loaded with apples and a nice sweet glaze. Nothing fancy, but that's what makes it so good. You don't always need fancy.
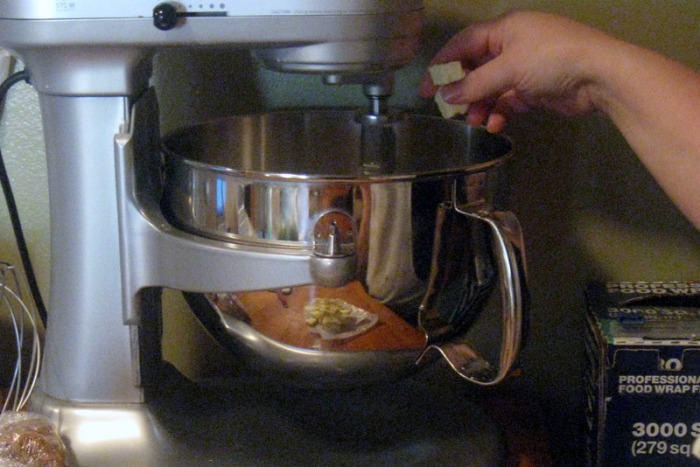
A couple of days ago The Chef came home with a bunch of apples and asked me to make some baked apples. I wasn't very inspired by that and pretty much just let the apples sit while I tried to get motivated to bake them. After a couple of days I came to terms with the fact I was never going to bake them. So, what could I do with them? Finally it came to me... I could make the Apple Squares I love so much!
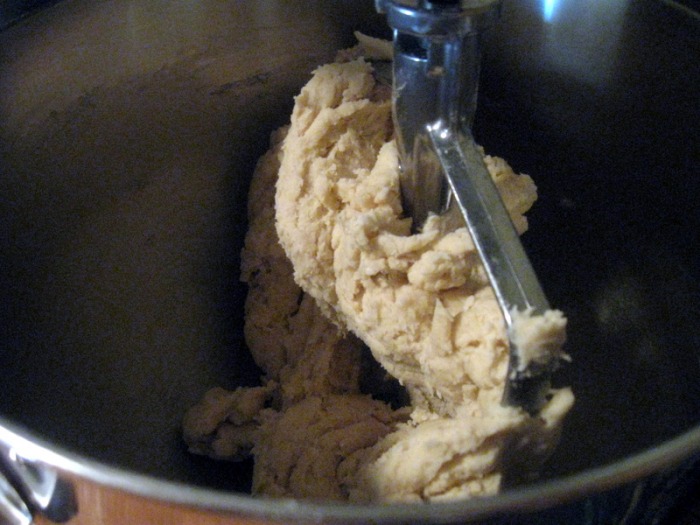
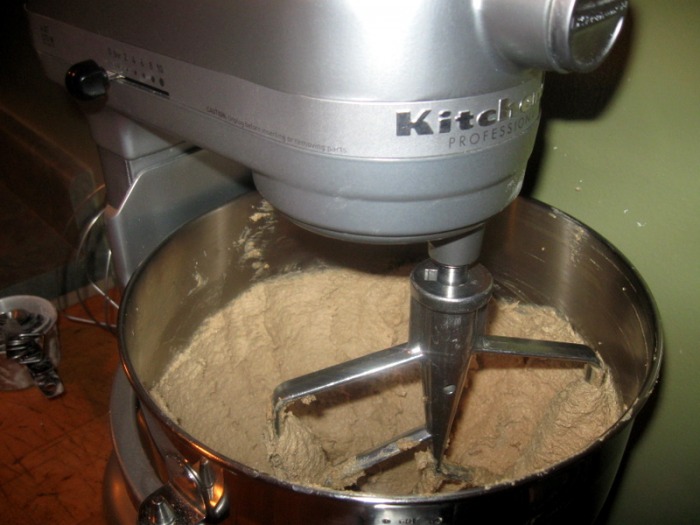
It's been so long since I had one that I couldn't really remember what exactly went into it so I got on the Internet to start researching. Good thing I did because the pastry crust is a pretty unique one. I would have just made a traditional sweet pastry crust, but it would've been off the mark and I probably wouldn't have been able to figure out why. The crust is in fact a yeast raised dough. Once I tasted it I was thrilled because it was dead on!
Like so many baked goods there are a million recipes floating around, but the one that seemed to keep coming up was from the King Arthur Flour catalogue. I read over several different blogs that all referenced that particular recipe, so I decided not to reinvent the wheel and used that one, with just a few minor changes. I assumed I would make it once and see where it was wrong and then correct it and make it again. Not so... it was spot on! It really tasted just like the squares I've gotten at the bakery, but as an added bonus, not only did I get to eat a tasty pastry, but my house smelled wonderful!
The key to making this successfully is to be really organized. There are a lot of steps and you need to prepare the different components. Once you've got all your components ready it's a snap to put it together. Making the whole thing start to finish took me about two hours of pretty consistent work, so you do need a chunk of time to get it finished.
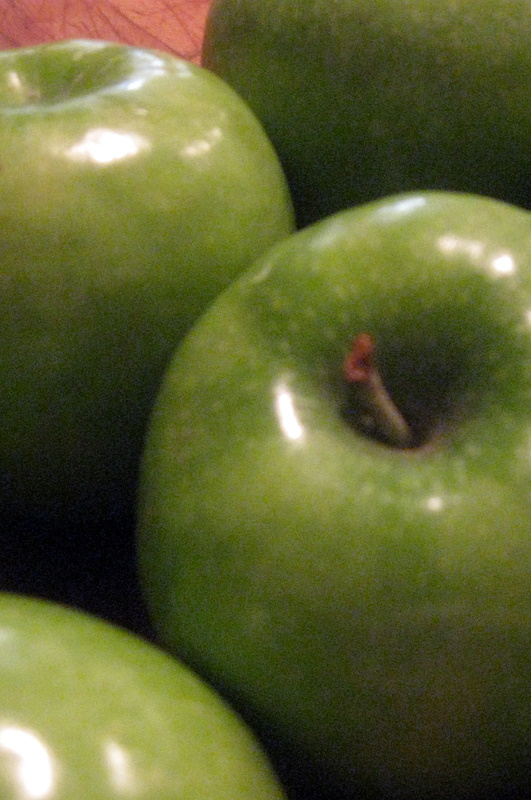
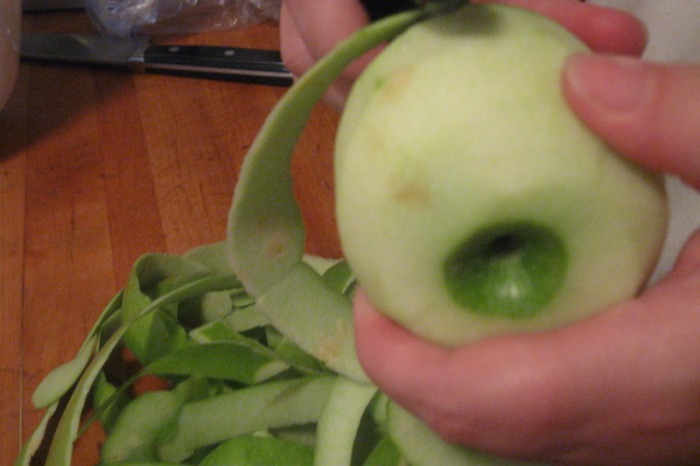
I used eight medium sized Granny Smith apples, but you could easily increase the quantity of apples if you want the square to be really loaded. Other good additions would be some raisins, craisins or dried cherries. You could probably cheat and save yourself some time by using prepared apple pie filling, but keep in mind that those apples tend to be a little mushier and one of the things that makes the Apple Squares so good is that the apples stay fairly crisp. I've never tried with the canned apples, so I can't give them a thumbs up or thumbs down.
-The Baker
GLAZED APPLE SQUARESyield: 18" x 13" pan Pastry: - 1/2 C Milk, warm
- 2 Eggs
- 2 t Yeast, instant
- 4 C All-purpose Flour
- 1 t Salt
- 8 oz Butter, cold, cut into pieces
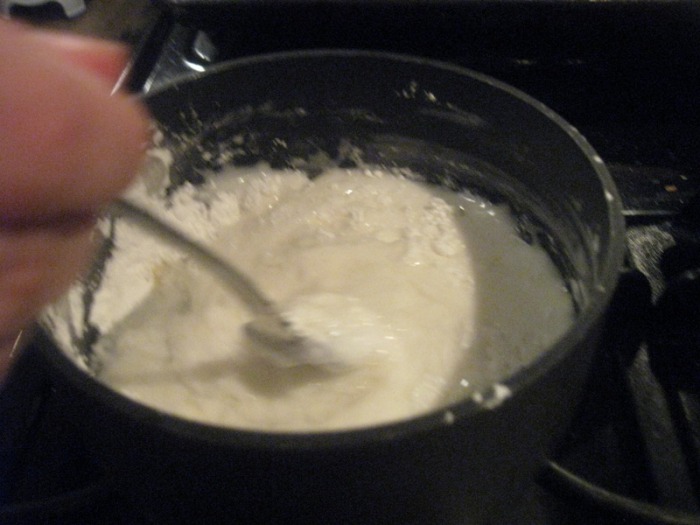
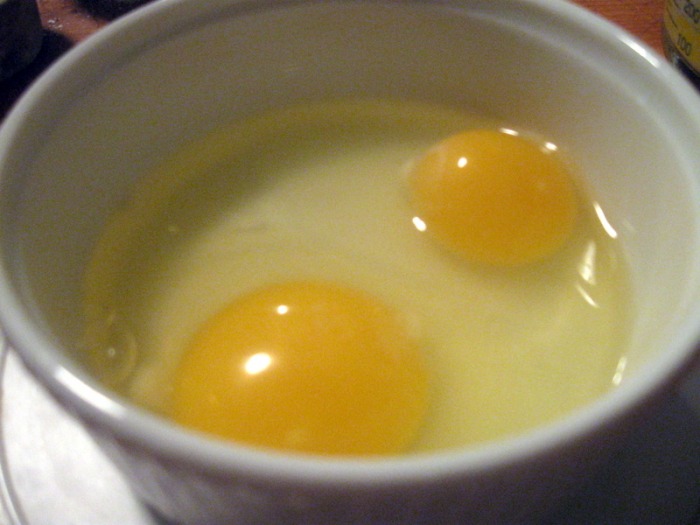
- In a small bowl, beat the eggs and milk together, and set aside
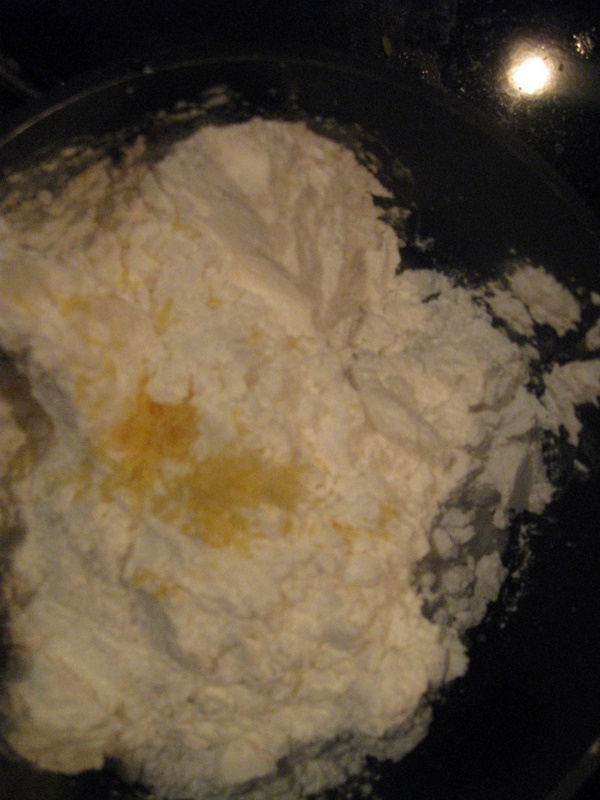
- In a large bowl, combine the yeast, flour, and salt
- Cut in the butter with a mixer (or you could use a pastry blender or two knives) until the mixture resembles coarse crumbs
- Add the egg/milk mixture, stirring until a soft dough forms
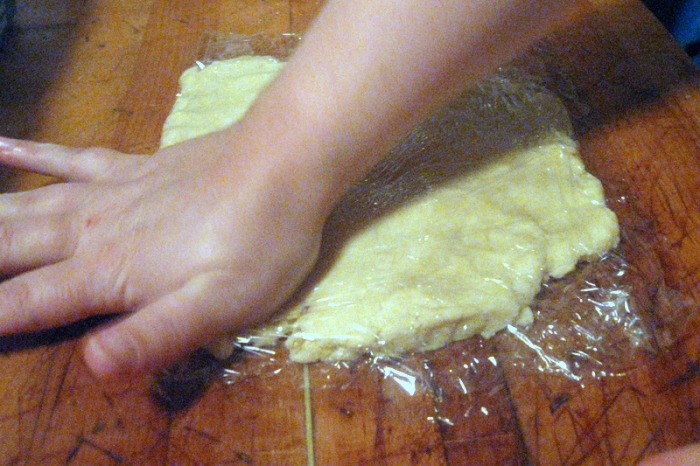
- Divide the dough in half, form into thin rectangles, wrap in plastic wrap, and refrigerate for about 30 minutes
Apple Filling: - 3/4 C Sugar, granulated
- 1/2 C All-purpose flour
- 1/4 t Salt
- 2 t Cinnamon, ground
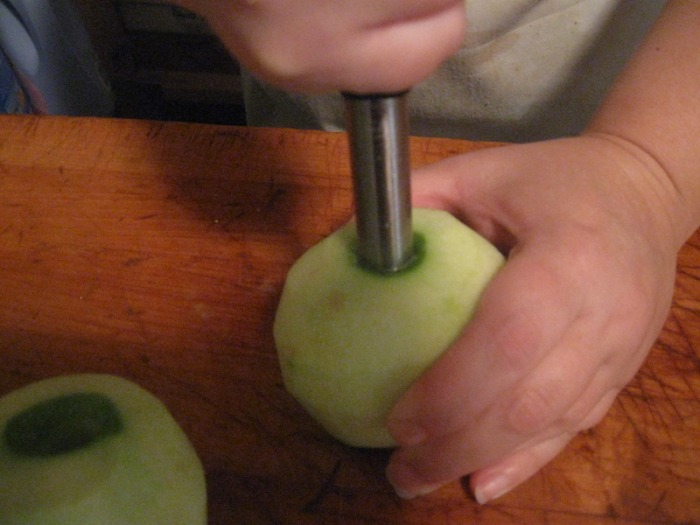
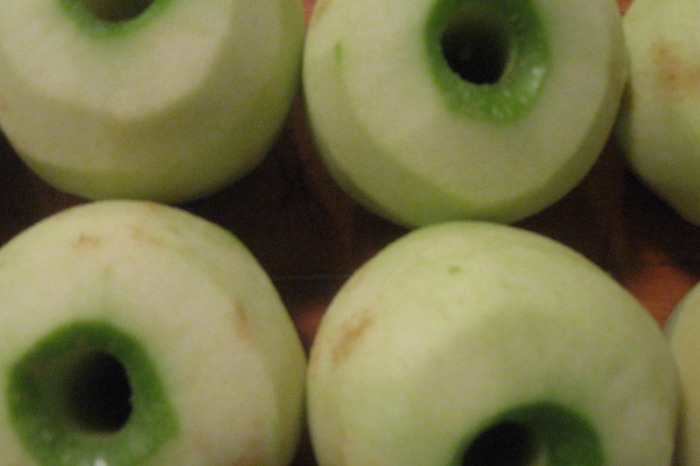
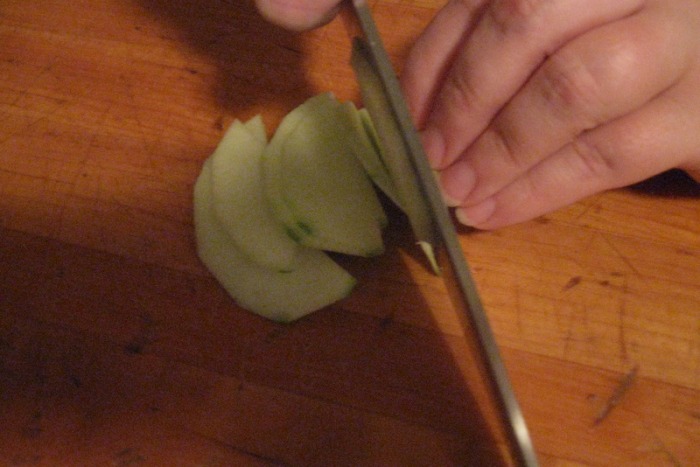
- 10 C (about 3 lbs before peeling) Tart cooking apples; peeled, cored & very thinly sliced
- In a small bowl, combine together the sugar, flour, salt, and cinnamon; set aside
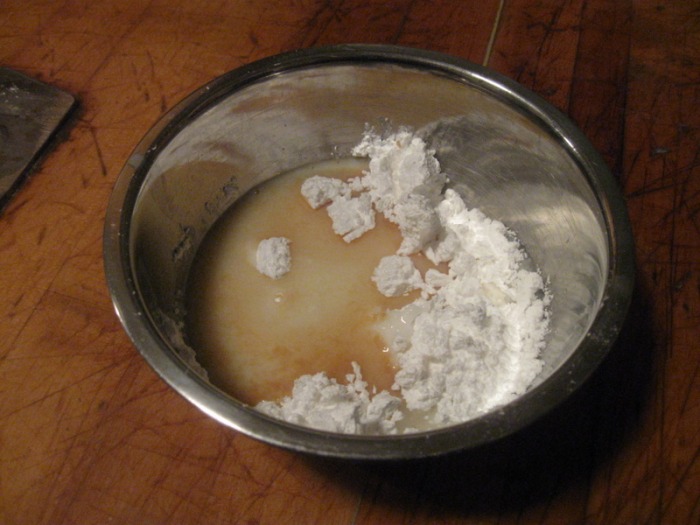
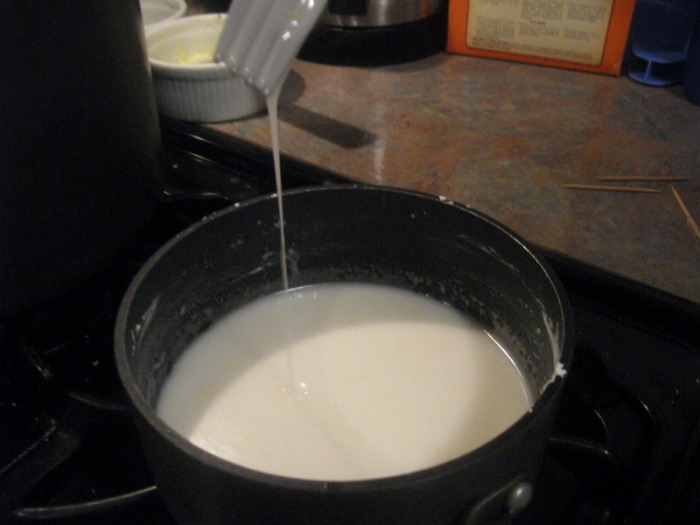
Glaze: - 3 C Powdered sugar
- 6 T Milk
- 2 t Vanilla Extract
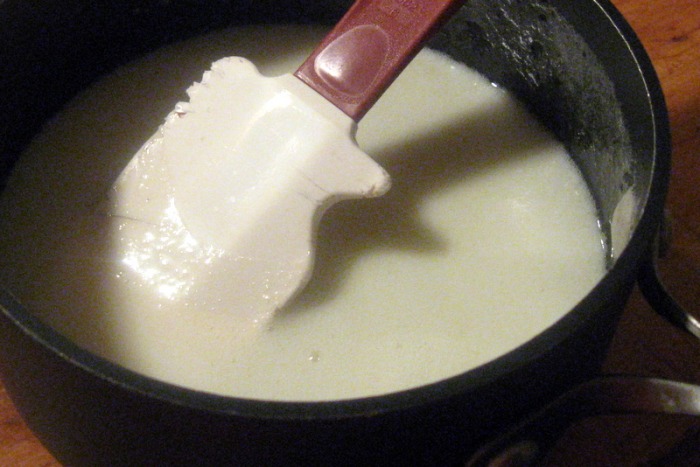
- In a bowl, combine the sugar, milk, and vanilla until smooth; set aside
Putting it all together: - Lightly grease a 13 x 18-inch baking pan
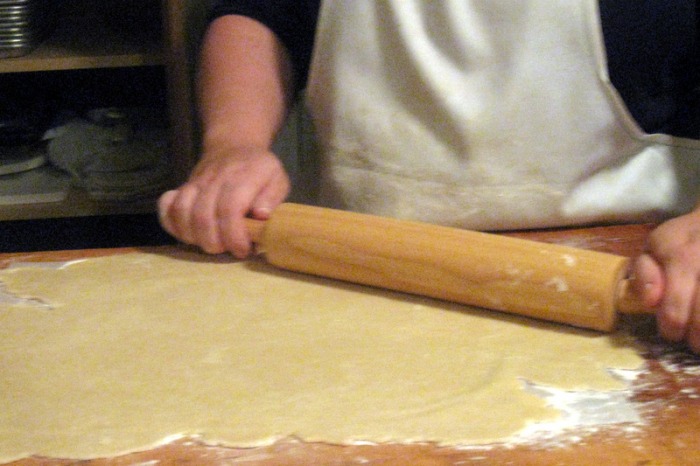
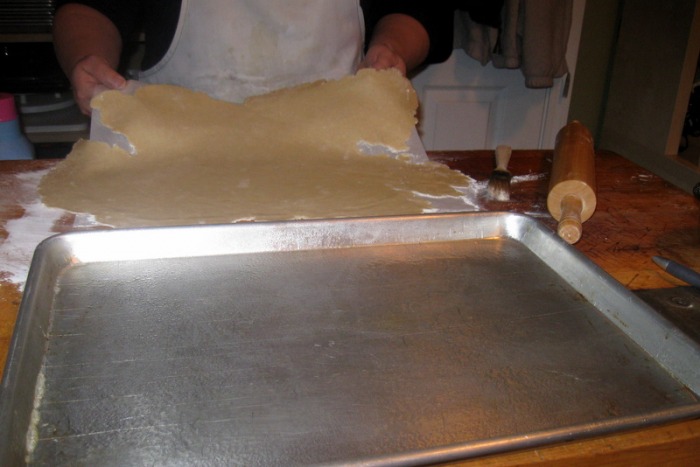
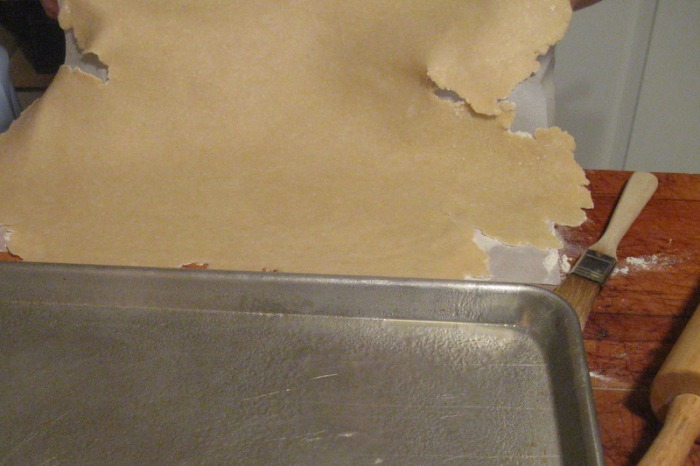
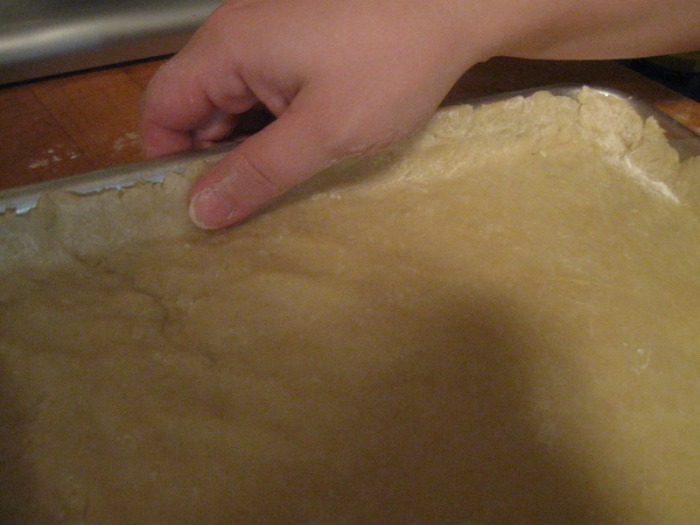
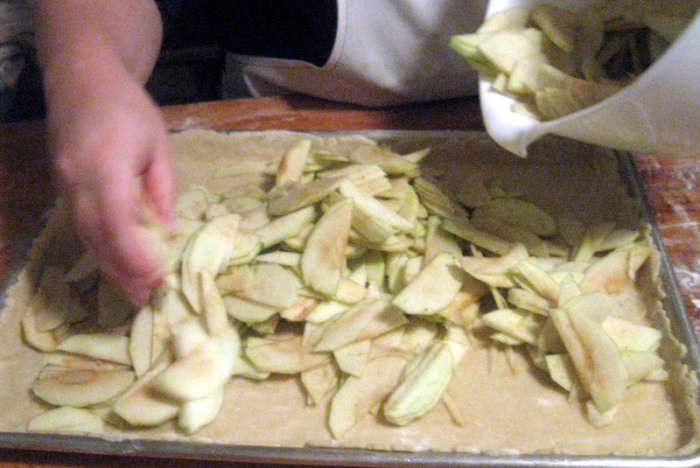
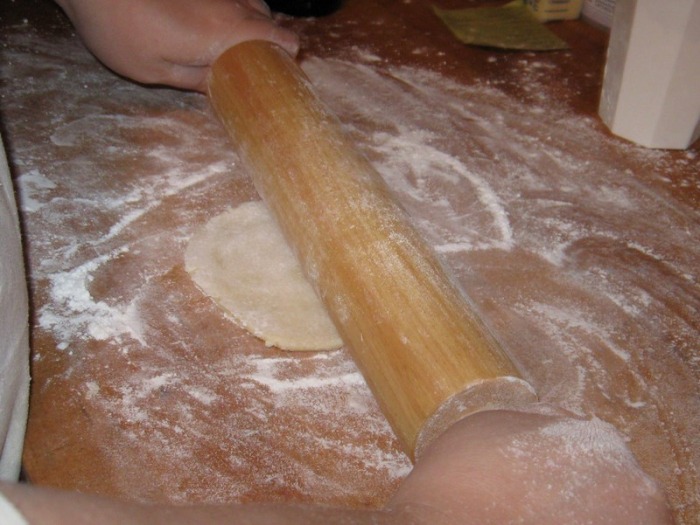
- Cut a piece of parchment paper the size of the 1/2 sheet pan; remove one portion of the refrigerated dough and roll it over the parchment paper into a rectangle (the dough will be fairly thin); transfer the dough to the prepared baking pan by flipping it over into the pan and gently peeling the parchment off, then smoothing the dough where it needs it and working the dough up the sides of the pan
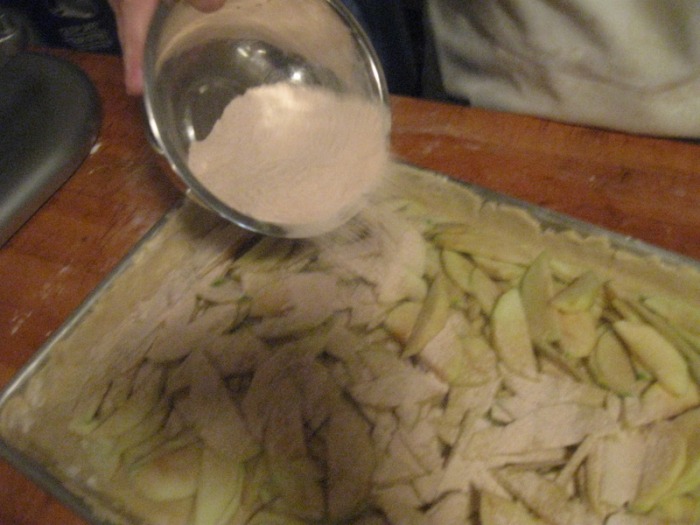
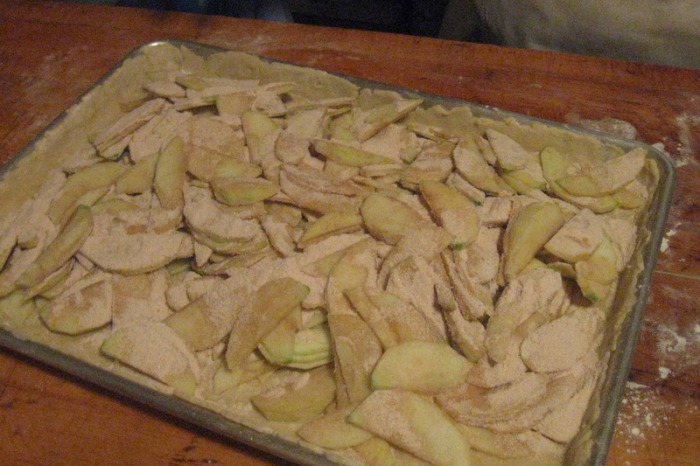
- Spread the apples over the dough being sure they are level and not domed, then sprinkle with the sugar mixture
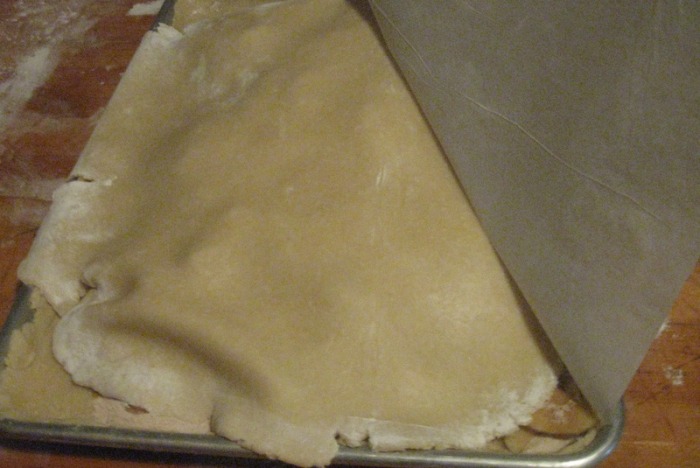
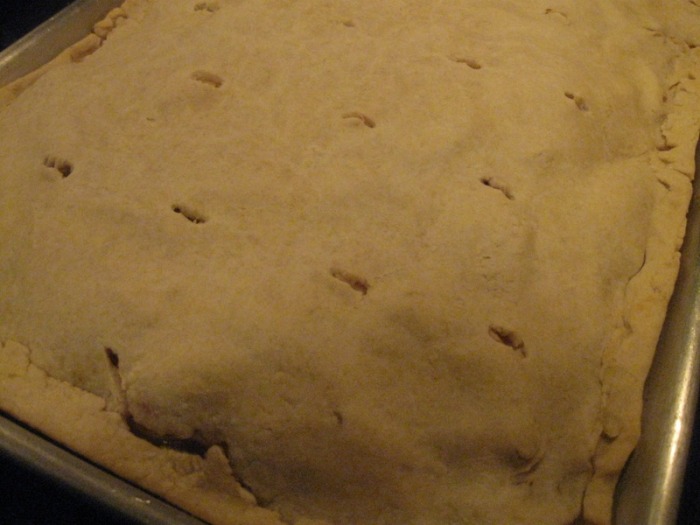
- Roll out the remaining dough and place it over the top of the apples; pinch the edges together; cut steam vents in the top
- Gently brush the top with melted butter and cover with plastic wrap lightly, and let rise in a cool place for about 1 hour
- Towards the end of the rise, preheat the oven to 350 F
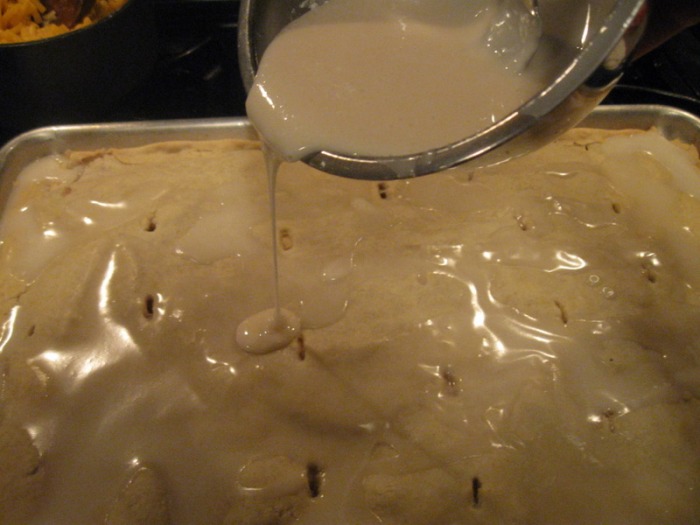
- Bake the pastry for approximately 25 to 30 minutes, until it’s golden brown; remove from the oven and cool on a rack for 20 minutes
- Drizzle glaze over the cooled bars; let cool completely; cut into squares
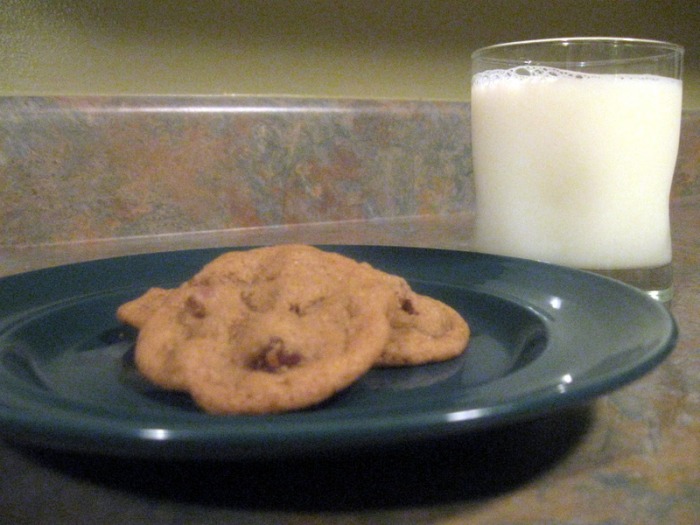
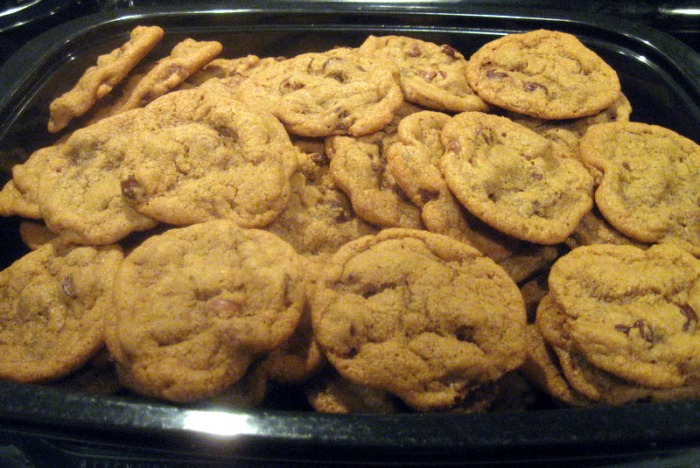
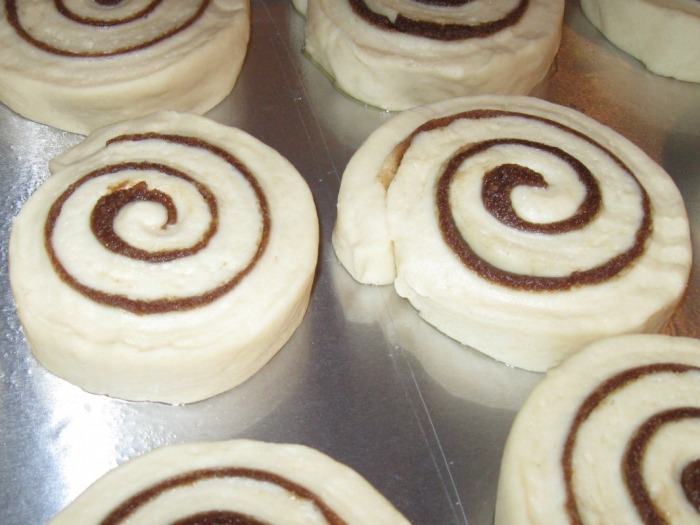
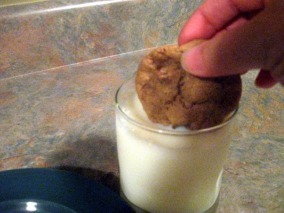 Chocolate Chip cookies may not be the most exciting cookie out there, but at our house when I say I'm going to make cookies, that's what is expected to come out of the oven. If I make something else it's usually greeted with, "you didn't make chocolate chip cookies?" Plus, I personally, have an affinity for chocolate chip cookies. I survived my entire high school career by eating two chocolate chip cookies and a pint of chocolate milk every day from the cafeteria. (How was I so skinny then, and not so much anymore???) They were always fresh out of the oven and still mostly raw. They were served on a couple of napkins and by the time I finished the napkins were soaked with grease... mmmm... The cookies were so good that my older sister and her best friend snuck back into our old school several years after they graduated to go to the cafeteria to buy some!
Needless to say, I've had a lot of experience making chocolate chip cookies. As a kid, during the holidays, we always made a variety of cookies to be given as gifts and I was always in charge of making the chocolate chips. Sometimes they would turn out fantastic and other times they were so-so and I never knew why. Many years (and many batches) later, I've learned some important points about cookie making.
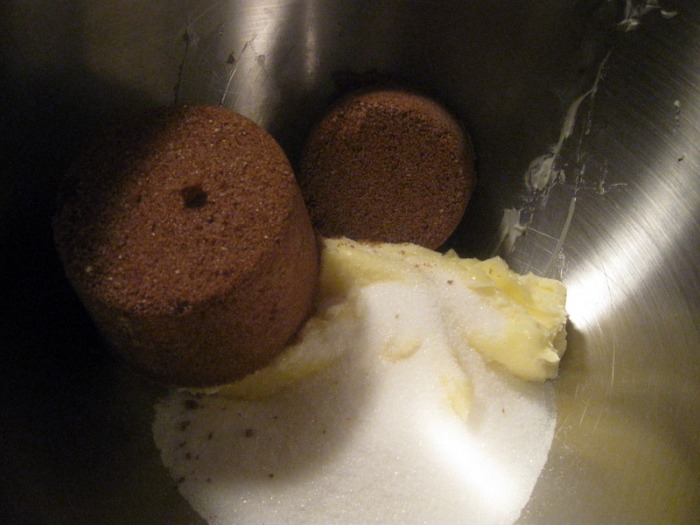
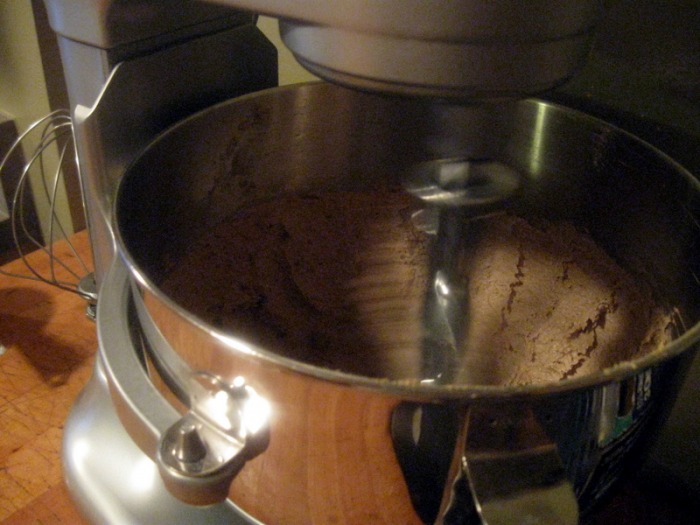
The number one thing I've learned is the importance of creaming. That's the single most important thing you can do to ensure you end up with good cookies. If you don't thoroughly cream your butter you won't introduce the tiny air bubbles that are essential for the structure of your cookie.
Start with your ingredients at room temperature. If you decide at the last minute to make cookies and all of your butter is in the fridge just pop it in the microwave for a few seconds until it softens up, but isn't melted. Then put your butter in the mixer and let it start mixing, which is introducing air into the butter. Then add your sugars. Let the butter and sugars cream at high speed until they've become a lighter color and it looks to be about double in volume. WALK AWAY IF YOU HAVE TO! Seriously, it's that important.
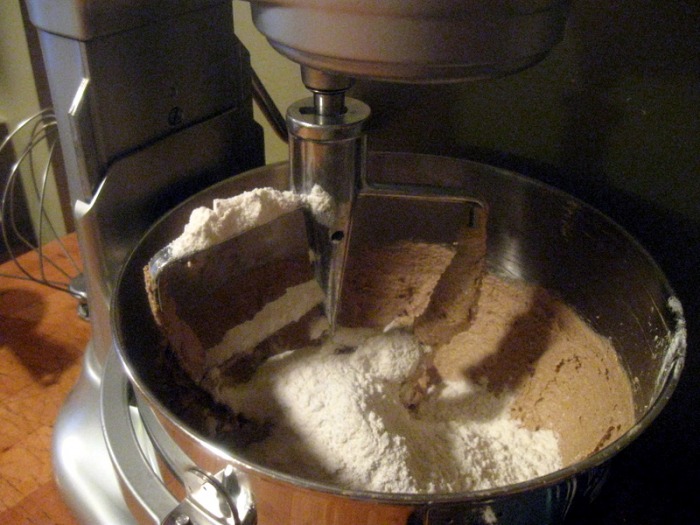
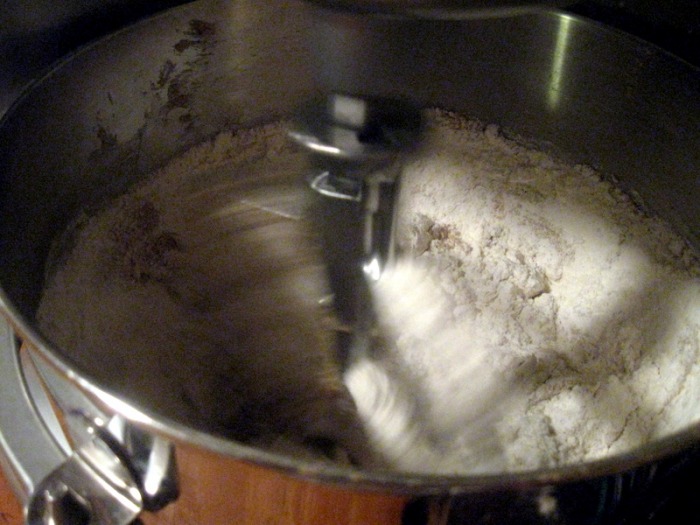
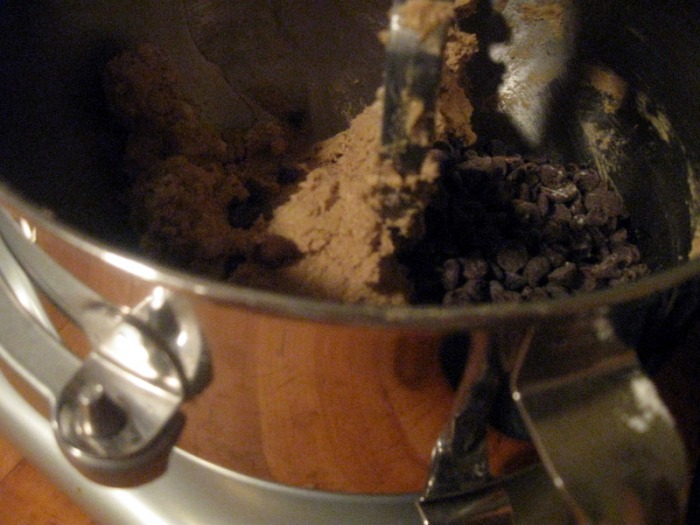
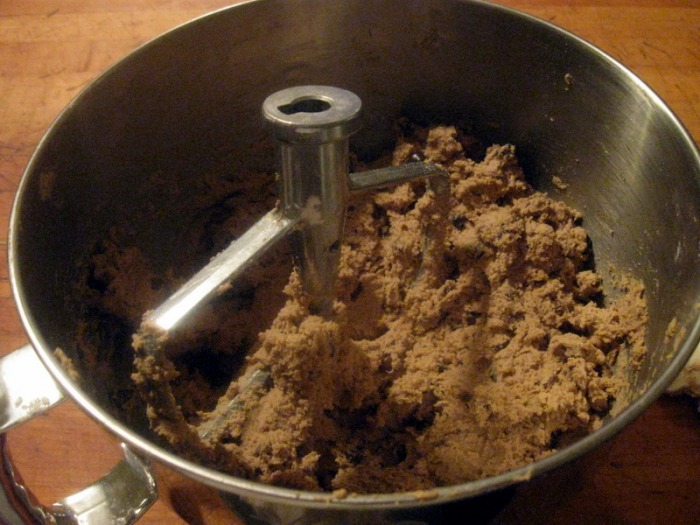
The next very important step to keep in mind is to add all of your dry ingredients ALL AT THE SAME TIME. Don't add a little of the flour, then mix, then add a little more, then mix... by doing this you're developing the gluten (a protein in the flour). If you develop the gluten too much you will have very heavy bread-like cookies and not the tender cookie you're looking for. Very slightly under-mix the flour and then add your chips and nuts (if you're using any). The reason for this is that you'll continue to develop gluten when you mix in your chips, but if you under-mix the flour, by the time the chips are mixed in the dough will be perfectly mixed.
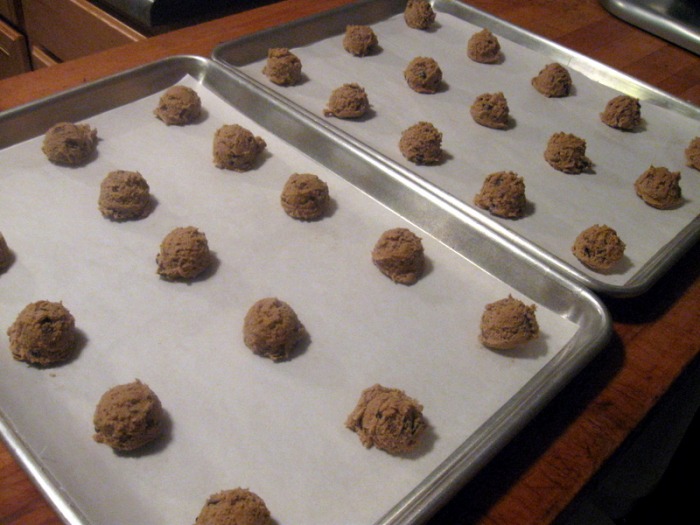
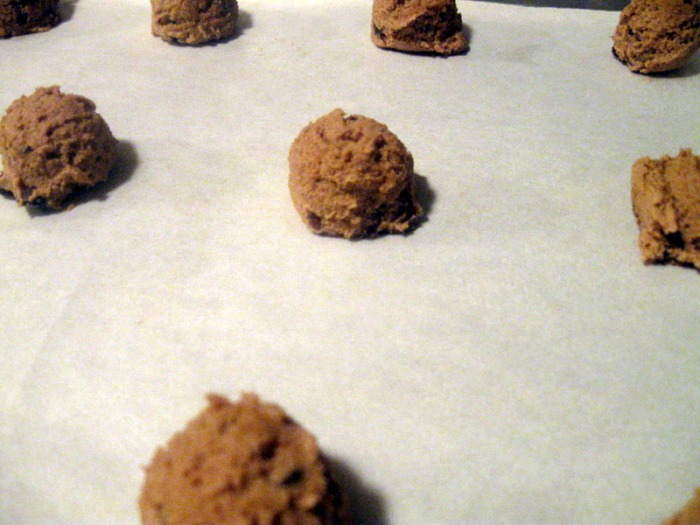
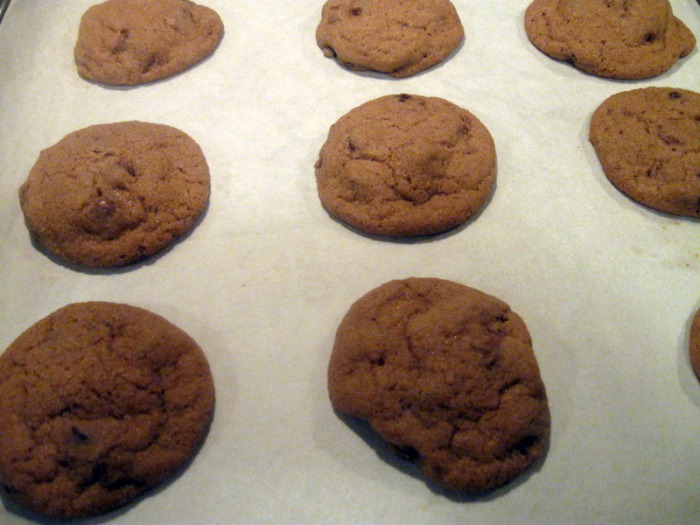
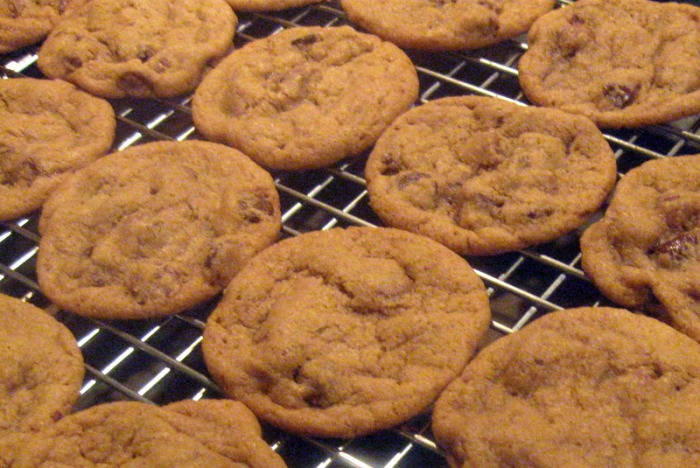
Then scoop and bake! I use a small scooper to keep the cookies all the same size and that way they all bake in the same amount of time. If you don't have a scooper just use two spoons. If you don't want all the cookies you can scoop them into little balls, line them up on a cookie pan (they don't need any space between them), wrap them really well and freeze them. Then you can just pop a few out at a time and bake them fresh for a nice little treat. You can also roll the cookies into a log, wrap in plastic and freeze. Then slice off a few or the whole tube when you're ready to bake. (Neither of those methods have ever been used at our house.)
-The Baker
CHOCOLATE CHIP COOKIES
yield: approximately 6 dozen 2" cookies- 1 C Butter
- ½ C Sugar
- 1 ½ C Dark Brown Sugar
- 2 ea Eggs
- 2 ½ C AP Flour
- ¾ t Salt
- 1 t Baking Powder
- 1 t Baking Soda
- 2 t Vanilla Extract
- 2 C Chocolate Chips (I use a mix of semi-sweet and milk chocolate)
- Cream softened butter; add sugars until light and fluffy.
- Add room temperature eggs, one at a time; just until incorporated.
- Sift together all dry ingredients; add to mixer on low; mix just until incorporated.
- Stir in chocolate chips.
- Scoop onto sheet pans and bake at 350 F for 12 minutes.
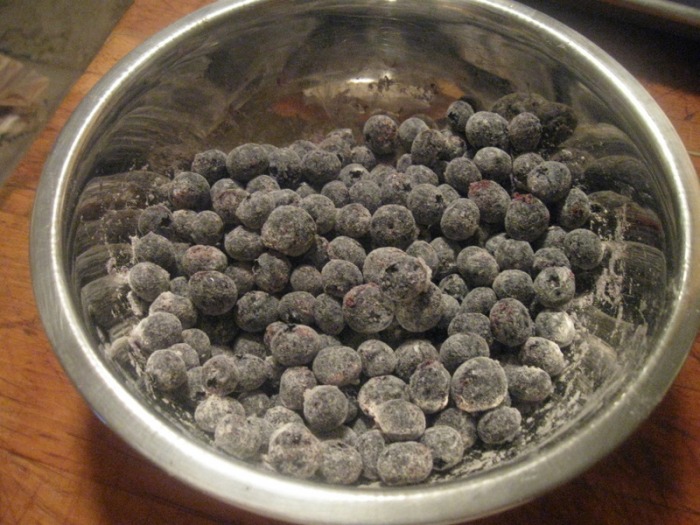
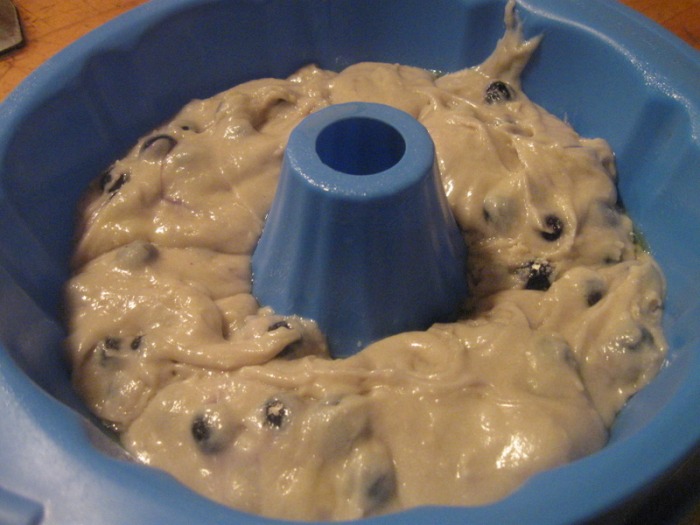
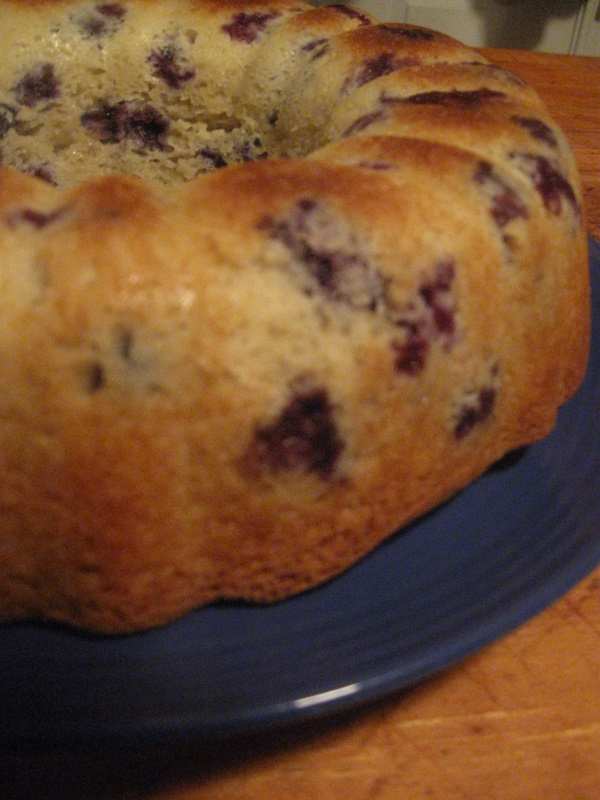
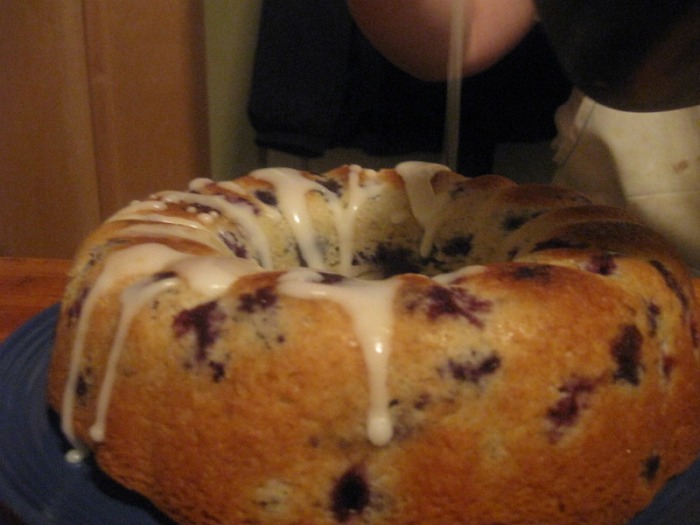
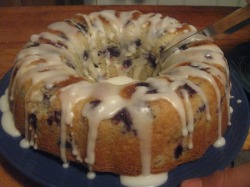 The Chef was home yesterday and we decided to tackle cleaning out the refrigerator. (Cue scary music.) We found all sorts of things that we'd forgotten about. Lots of expired salad dressing and moldy slop that was once food. Yuck. When we got to the freezer I found the blueberries that my friend Abbi had given me a while back that I stuck in the freezer and forgot all about. Now that it truly is fall the produce isn't as tasty as it was just a few weeks ago and my mouth watered thinking about what I could do with them.
An obvious choice would be blueberry muffins, but Abbi and I (with the kids) did that already. How about a bundt cake so I can use that bundt pan I insisted on buying but have never used? I reached into the cobwebs of my mind for a recipe from a bakery I used to work at and stirred it all together and popped it into the oven.
This is such a versatile recipe, you could make muffins, mini-muffins, muffin tops or loaves out of it. You also could use other fruit or even cinnamon chips. (Unfortunately cinnamon chips aren't carried in many stores, although they used to be, but you can still find them at King Arthur's Flour, www.kingarthurflour.com, and several other online places.)
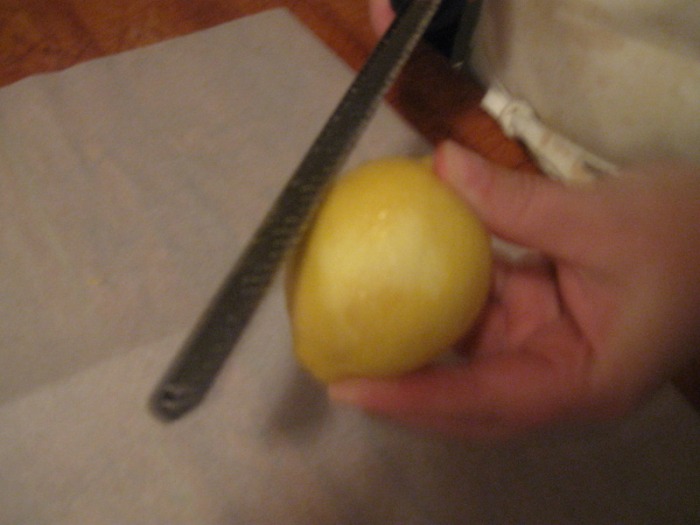
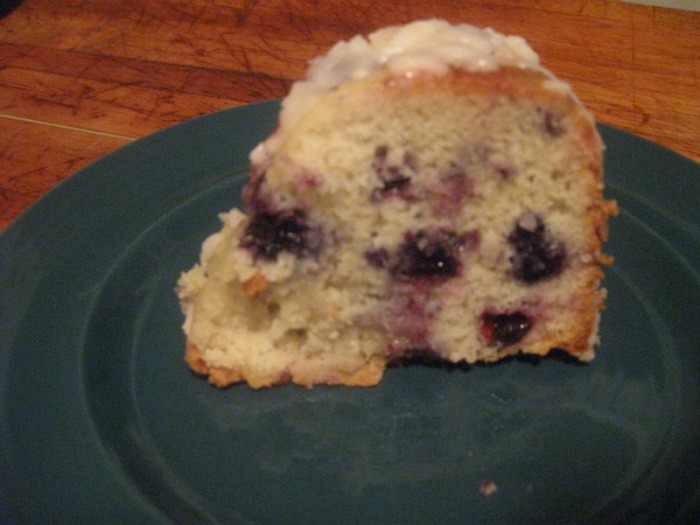
Fresh out of the oven the cake looked delicious, but I decided to add a lemon glaze since I'd also rescued a lemon in the "Great Refrigerator Clean-Up of 2009". Blueberry and lemon is a match made in Heaven as far as I'm concerned! If you use a different fruit that doesn't go with lemon, or a chip, just leave the cake plain or use an appropriate Streusel. A nice neutral Streusel is: 2/3 C brown sugar, 1/4 C All-purpose flour, 1/4 t cinnamon, 2 T butter. Mix with a fork until it has nice coarse texture.
This is a great dessert or a really decadent breakfast. There's enough that you could have it for both, which is what we did!
-The Baker
Cake Base:- 3 C (400 g) All-purpose Flour
- 1 1/2 C (295 g) Sugar, granulated
- 1 t (7) Salt
- 1 T + 1 t (16 g) Baking Powder
- 2/3 C (130 g) Vegetable Oil
- 2 ea (100 g) Egg
- 2/3 C (165 g) Milk
- 2 C Blueberries
- Toss the blueberries in a small amount of the flour (this will prevent them from sinking to the bottom of the pan); set aside
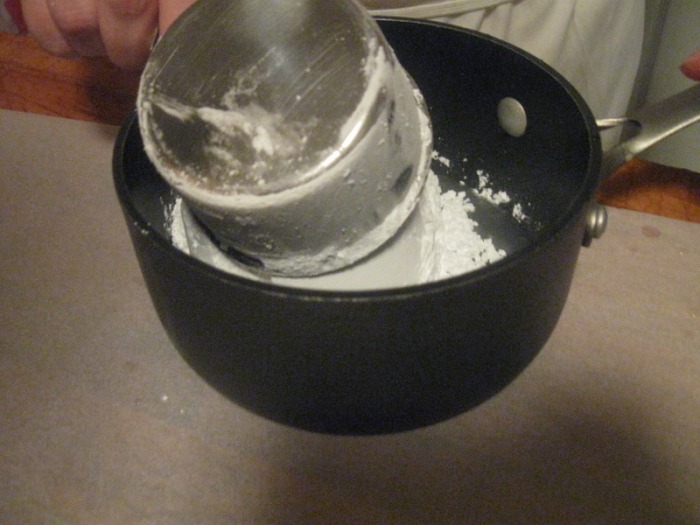
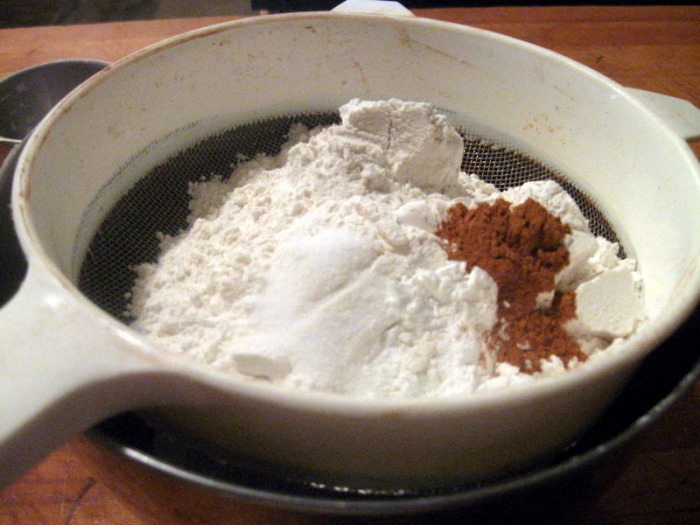
- Sift flour, sugar, salt and baking powder into a bowl; set aside
- Combine oil, egg and milk in another bowl and whisk together
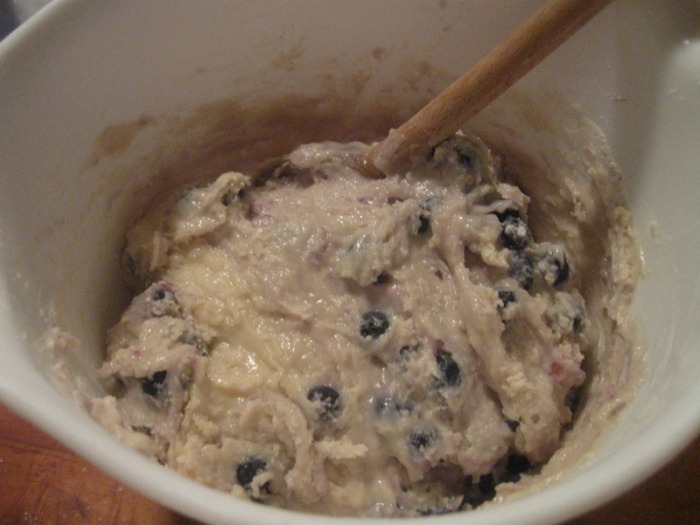
- Mix together all the dry ingredients with the wet; stop mixing before it's completely combined; stir in the floured blueberries; stir just until just barely mixed, streaks of flour is all right (over-mixing will cause the cake to be very heavy and dry)
- Spoon into prepared 9" x 3" bundt pan
- Bake at 350 F for 65 minutes
- Let the cake cool in the pan and then flip out onto a platter
- Drizzle the warm glaze over the cake
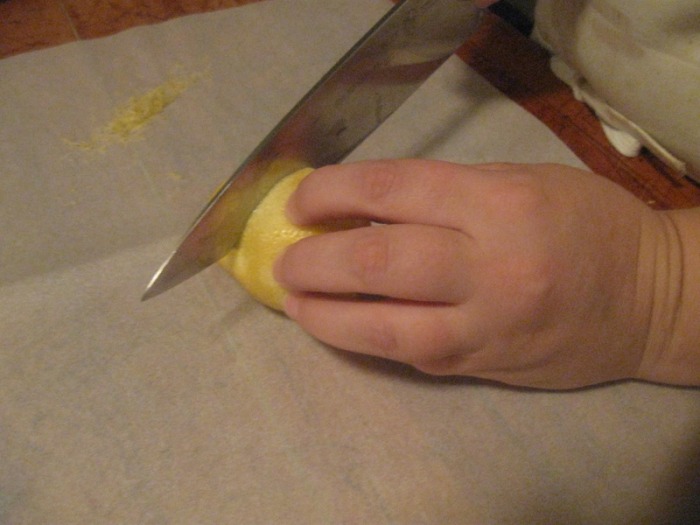
Lemon Glaze:- Zest from 1 lemon
- Juice from 1 lemon
- 1 C Powdered Sugar
- 1 T Water
- Zest and juice lemon into a small pot
- Add the powdered sugar; stir
- Place pot over low heat; add the water to help dissolve the sugar; if you want the glaze to be thinner add more water, thicker add less water
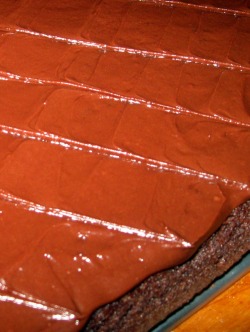
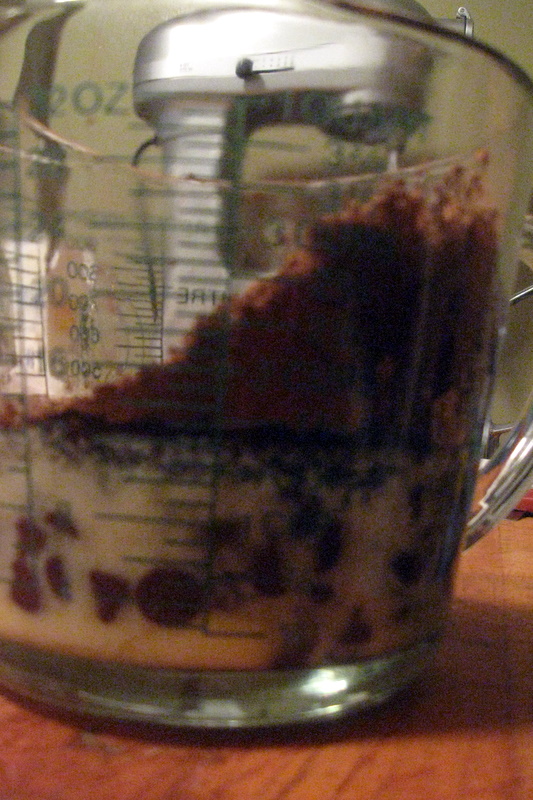
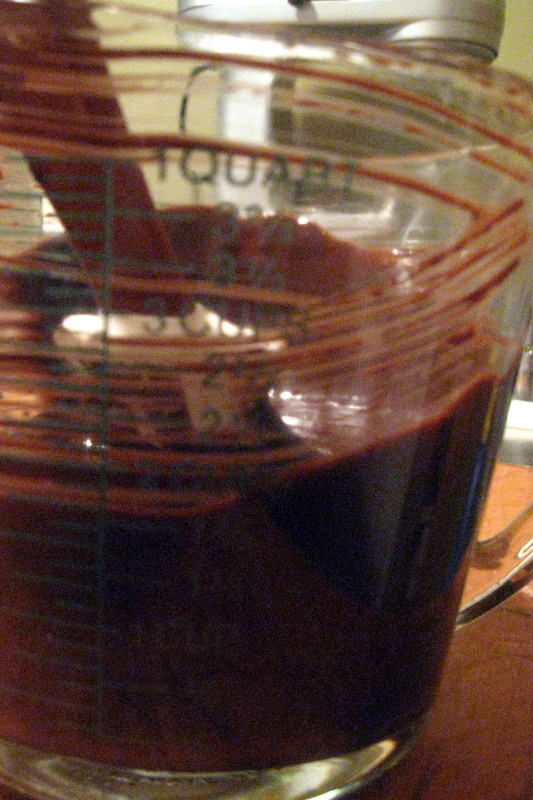
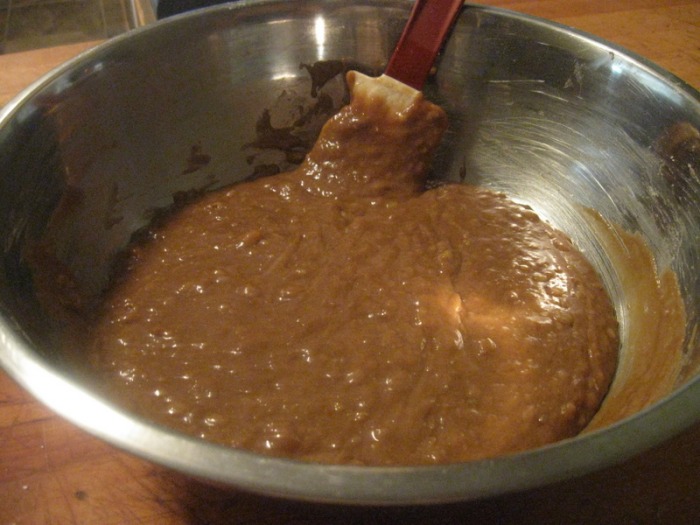
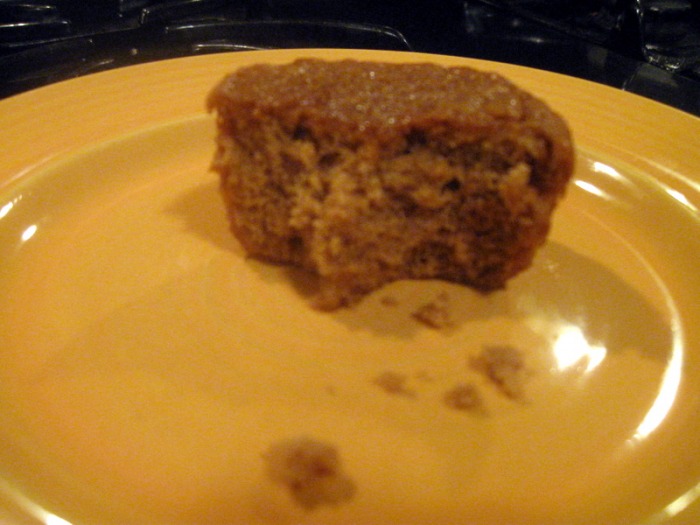
It's easy to make a good brownie. All it takes is some expensive, high quality chocolate. More and more grocery stores are carrying quality chocolate, but if yours doesn't, just run over to your specialty food shop. What? You don't have one near you? Well, with the internet the world is getting smaller every day. So, hop online and order some chocolate to be shipped overnight to you. Oh, but hopefully you're not in the midst of a brownie crave during the hot summer months, because a lot of companies won't ship chocolate to you for fear of it melting during transport. Once you've tracked down your chocolate all you have to do is put your craving on hold until it arrives and then you can whip up a batch of brownies and pop them in the oven. Almost instant gratification! Yeah, not quite. When I want instant gratification, I want it NOW, not tomorrow or the day after, or even worse at the end of the summer.
That just wasn't good enough for me. I want to be able to make a killer brownie at the drop of a hat without needing to hunt down chocolate or keep expensive chocolate on hand, which let's face it, I'd just end up eating between brownie cravings. So I began a quest to find a brownie recipe that would make luscious brownies out of regular ingredients most of us just have on hand.
How does a brownie recipe quest work, you ask? Well, I'd find a promising recipe and make it and it would fall flat. It would too dry, too cakey, too bland, too blah. Believe me, I made a lot of bad brownies. You know when people say things like, "well, even a bad xyz is still a good xyz", not true when it comes to brownies. Look, I told you, I'm up front with myself when it comes to eating baked goods... they're loaded with fat and calories and I know I shouldn't eat them as much as I do, so when I do eat them I want them to be GREAT. To die for, even. So I kept trying. Then I talked to my friend Wendy and told her of the "Brownie Quest" and she asked if I wanted to try her recipe. So she sent it over to me. And I made it. And they were good, but not "fight to death over the last one" good. So I started tweaking. I put my culinary degree to work and really broke down the recipe and analyzed why each ingredient was there. After several more attempts and several more changes I had completely re-worked the recipe and they're fabulous!
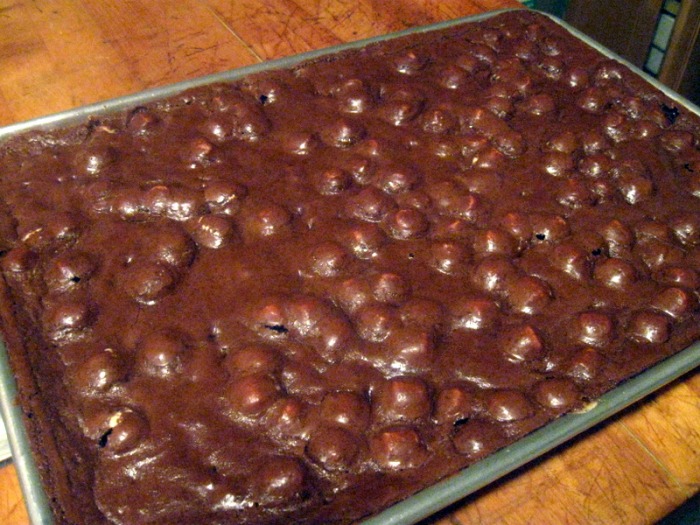
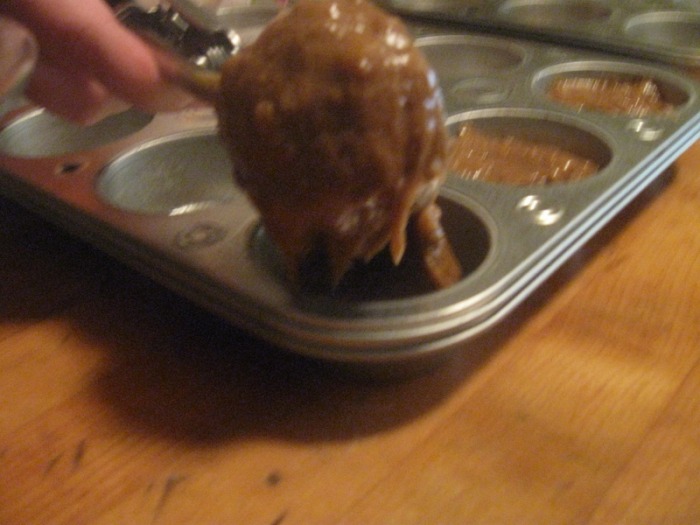
BROWNIES
yield 1 - 1/2 sheet pan(approximately 18" x 13")
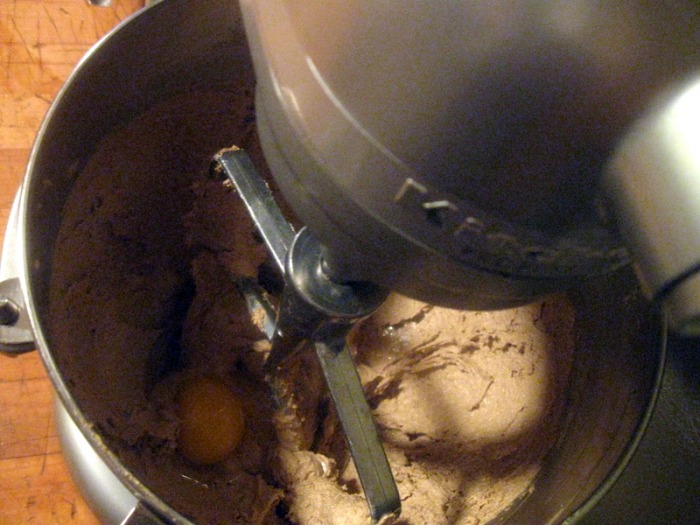
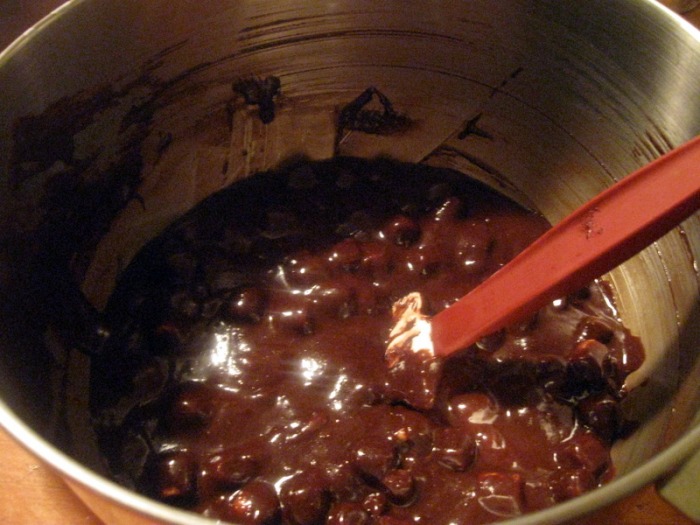
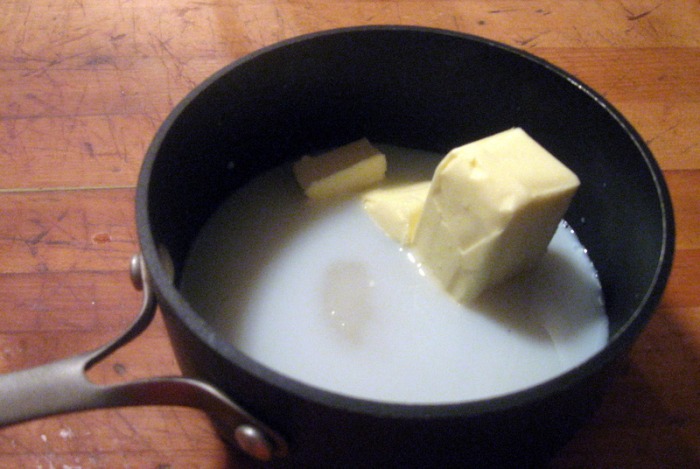
- melt butter, 1st portion chocolate chips and cocoa (can be done in microwave)
- whisk in sugar and eggs
- stir in dry ingredients
- stir in 2nd portion chocolate chips
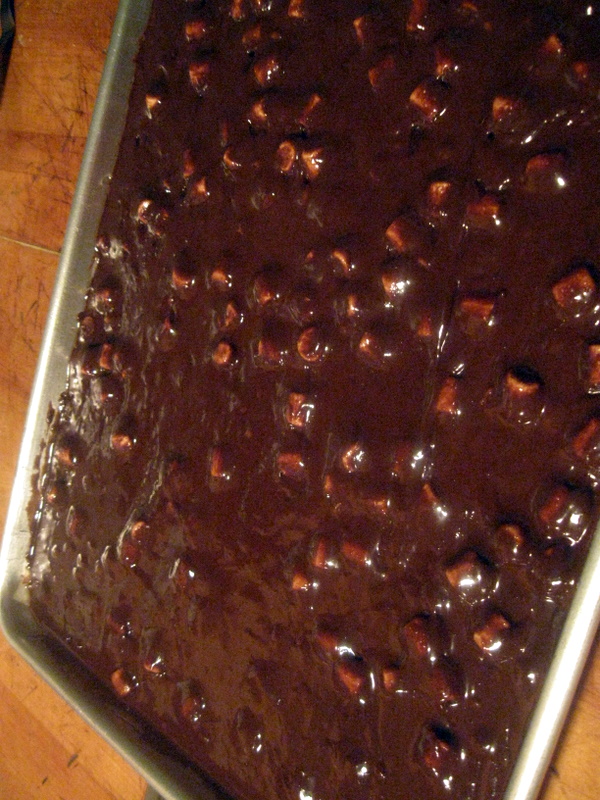
- pour in prepared pan
- top with miniature marshmallows and push under batter
- bake at 350 30 mins for ½ sheet
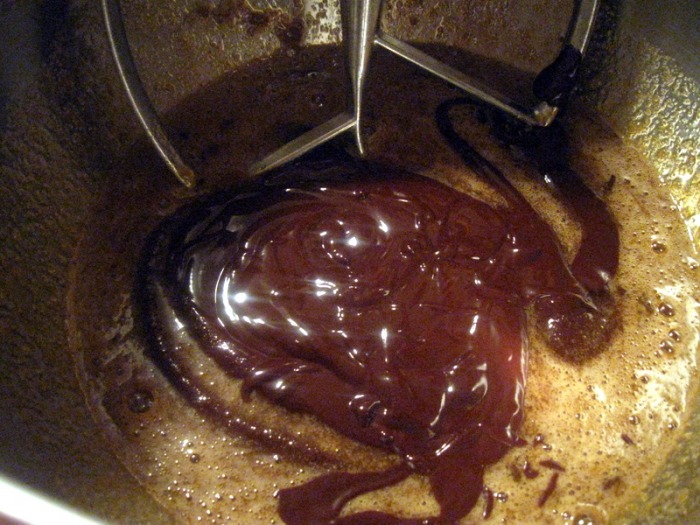
Chocolate Fudge Frosting:
- Scale sugar, milk and butter into a pot; bring to a boil, stirring constantly.
- Remove from heat; add chocolate chips, stir until melted and incorporated.
- Whip in mixer until creamy and cool.
- Frost warm brownies or cover with plastic and put in cooler. When ready to use, warm in microwave for 15 seconds, stir and then frost.
-The Baker
 When I walked into the kitchen this morning I found…
I think we all know what this means - BANANA MUFFINS! For me, when I hear something is a “muffin” that implies a certain healthiness. In this case nothing could be further from the truth. Other than the fact that they’re not loaded with preservatives there’s nothing healthy about these muffins. But, the taste, oh the taste! They’re sweet and rich with just the right amount of banana flavor and the edges are crispy, which is so unlike most other muffins. It’s almost like having a crisp little cookie sitting on top of your muffin. But, they’re ugly, and I mean really ugly. One taste, though, and you won’t care. BANANA MUFFINSyield 21 standard sized muffins (recipe from cooks.com website)- 2 1/4 cups all purpose or white whole wheat flour
- 1/2 teaspoon salt
- 2 teaspoons baking powder
- 1/2 teaspoon ground cinnamon
- 1/2 cup melted butter
- 2 cups firmly packed dark brown sugar
- 2 large eggs
- 2 large extra ripe bananas (peeled and mashed; I like to use a potato masher)
- 1 teaspoon vanilla
- 1/2 cup walnuts or pecans, chopped (optional)
- In a large bowl sift together the flour, salt, baking powder, and cinnamon
- In a separate bowl, mix the butter and brown sugar; stir in the eggs; then add the bananas; stir in the vanilla
- Combine the liquid mixture with the dry ingredients, stirring together only until mixed; stir in chopped nuts, if using
- Scoop the batter into greased muffin cups, filling 2/3 full
- Bake in a 350°F oven for 25-30 minutes or until a toothpick inserted in a center comes out clean.
Hints: I like to cool the muffins in the pan just until they’re not falling apart fragile. If you let them cool completely in the pan the heat will steam them and they’ll be soggy. After you’ve removed them from the pan cool them on a wire rack upside down to, again, prevent them from getting soggy. -The Baker
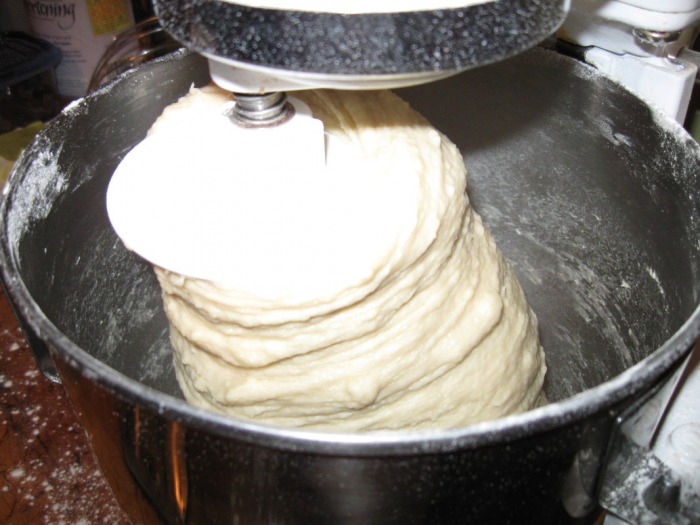
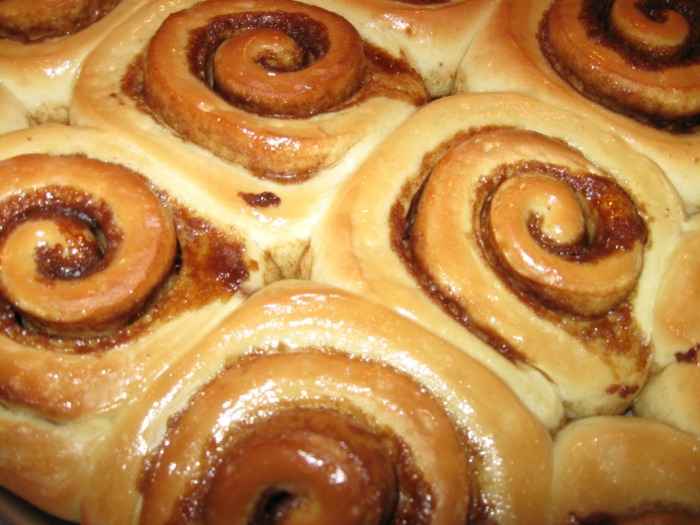
This is your new blog post. Click here and start typing, or drag in elements from the top bar. 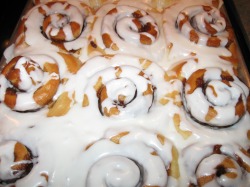 I’m realistic about my baking. I know it’s full of fat and calories and all that bad stuff you’re not supposed to have. But, the way I see it is if you went to the trouble of baking something you’ve kind of earned a free pass to eat it. Sure, you could pop open a can of cinnamon rolls and make your house smell good. Or you could go out and buy a cinnamon roll and scarf it down. But, have you really EARNED it? I’m all about justifying my bad habits. Who doesn’t love a good cinnamon roll? It’s comfort food at its yeastiest. So warm and sweet right out of the oven; slightly salty, slightly sweet. Mmm… So I went on a quest to make the perfect cinnamon roll. I didn’t want bread with a cinnamon filling; I wanted a sweet dough that was delicate to eat yet hearty enough to stand up to an ooey, gooey, cinnamon-y filling. I searched through cookbooks and all over the internet, constantly tinkering, until I came up with this recipe. During my search I made a lot of cinnamon rolls… some downright awful, some okay, but these were the hands down winner. I’m not sure how much of this recipe is my own creation and how much I pirated from someone else’s recipe. If this looks awfully similar to your mom’s recipe let me know, I’d love to give her credit!
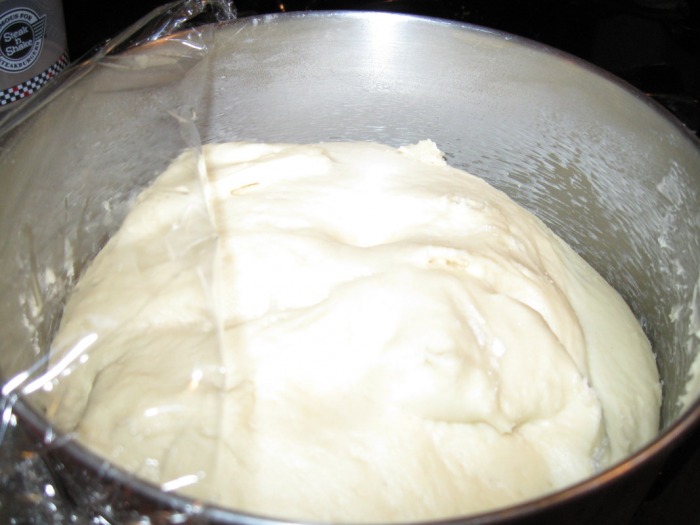
Cinnamon rolls can be time consuming, so it’s best to plan ahead when you know you’ll be wanting some for breakfast. If you wait to start them until the day you want them you won’t be eating them until afternoon, which isn’t necessarily a bad thing. You can bake them ahead of time and then re-warm them in the morning when you’re ready to eat them. You can also get them all the way to the point of being in the pan and then pop them in the fridge until the next morning when you’re ready to bake. Pull them out of the refrigerator while your oven heats up to allow the rolls to come to room temperature and then bake them off as usual.
CINNAMON ROLLS yield: approximately 16 large cinnamon rolls, depending how thick you slice them Sweet Yeast Bread: - 2 packages (4 1/2 t) Yeast
- 1 C Water, warm
- 2/3 C + 1 t (separated) Sugar
- 1 C Milk, warm
- 2/3 C Butter, warm
- 2 t Salt
- 2 Eggs
- 7 C AP Flour
- Proof yeast in the warm water with the 1 t of separated sugar
- Combine milk, 2/3 C sugar, butter, salt and eggs
- Add yeast mixture to milk mixture
- Add flour and knead
- Let rise in bowl
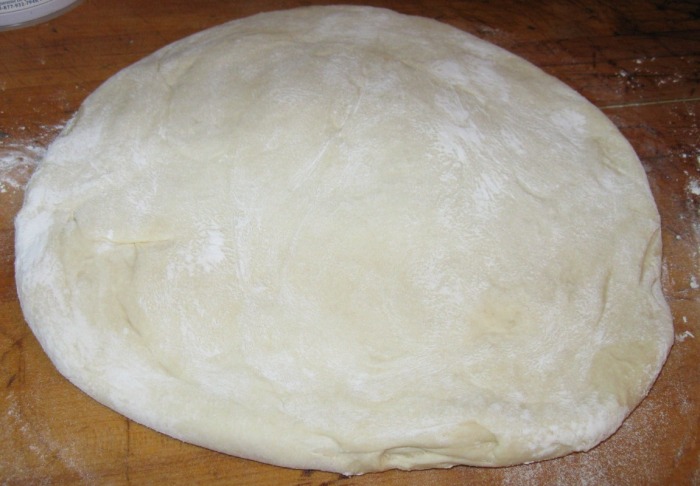
- Punch down, let rest 5 minutes
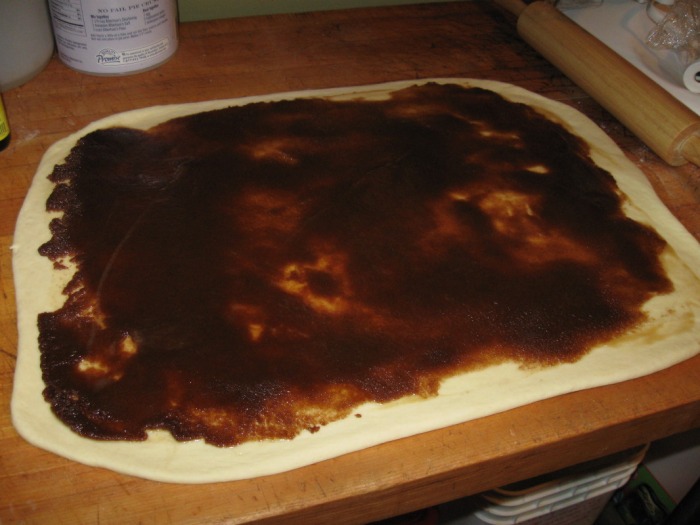
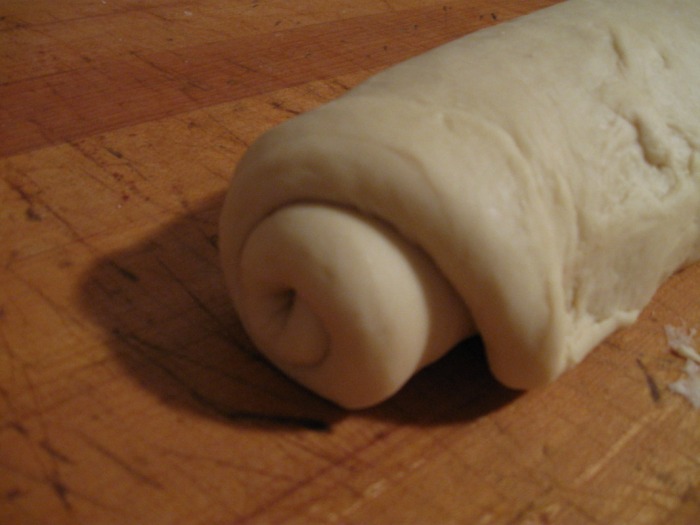
- Roll out to a large rectangle; smear on the cinnamon filling almost to the edges; roll up into a fairly tight log; and using a very sharp serrated knife, slice into rolls about 1” thick
- Place on buttered pan approximately 1/2” apart
- Let rise on pan
- Bake at 350 F for approximately 30 minutes; take care not to over-bake
Hints: During the last rise and the baking, the rolls will grow so that they’re touching; you want the rolls on the outside of the pan to be golden brown, but the rolls on the inside to be just starting to brown; the inside rolls will continue to bake from the heat of the other rolls; if you bake until the inside rolls are golden brown the outside rolls will be over-baked and dry. Cinnamon Filling: - 8 oz Butter, melted
- 3 C Dark Brown Sugar
- 1/4 C Ground Cinnamon
- 1 C Raisins (optional)
- Melt butter
- If using raisins you may want to soak them in warm water or warm brandy to soften them and to add a little flavor
- Stir in brown sugar, cinnamon and raisins (if using)
- Set aside until ready to fill rolls
Icing: - 4 oz Butter, melted
- 1/4 C Milk, warm
- 5 C Powdered Sugar, sifted
- Melt butter
- Warm milk (this will prevent the butter from re-solidifying when you stir the milk and butter together)
- Slowly stir everything together
- If you want thicker icing add more powdered sugar; if you want thinner icing add more milk
- Drizzle onto warm rolls
-The Baker
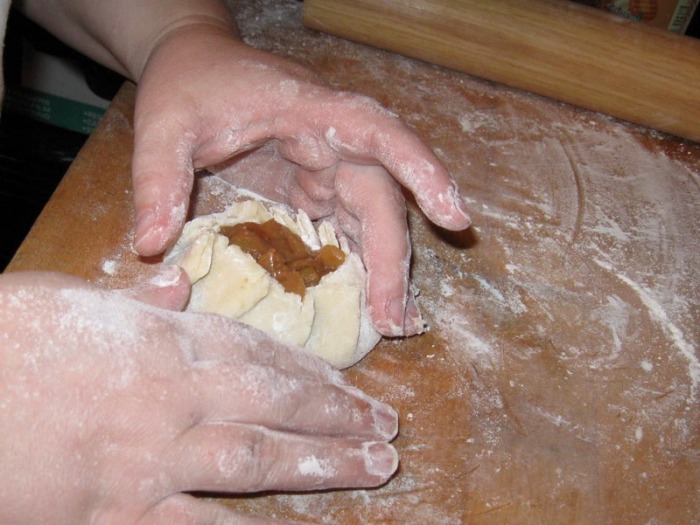
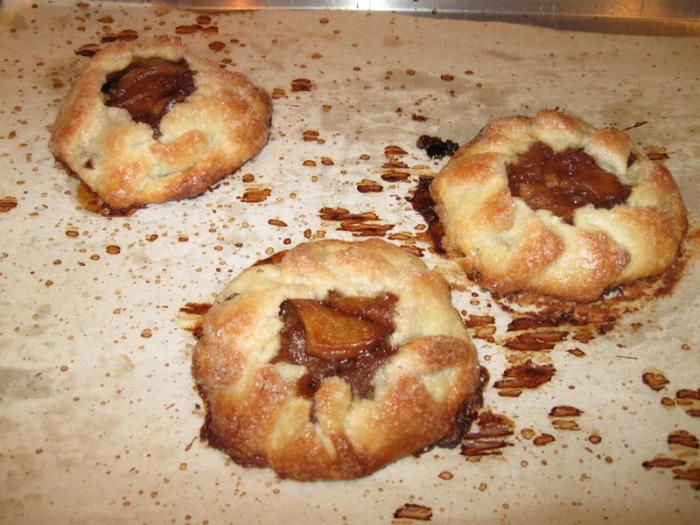
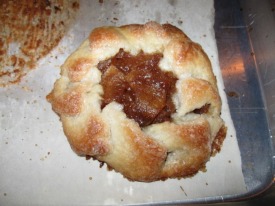 It’s fall in Chicago and that means it’s time to start figuring out what to do with all the apples. One of my favorite things is a delicious apple crostada. It’s basically an individual apple pie with a pastry crust instead of a traditional pie crust. Served warm with some homemade caramel sauce and vanilla bean ice cream and you’ve got a little spot of cozy heaven.
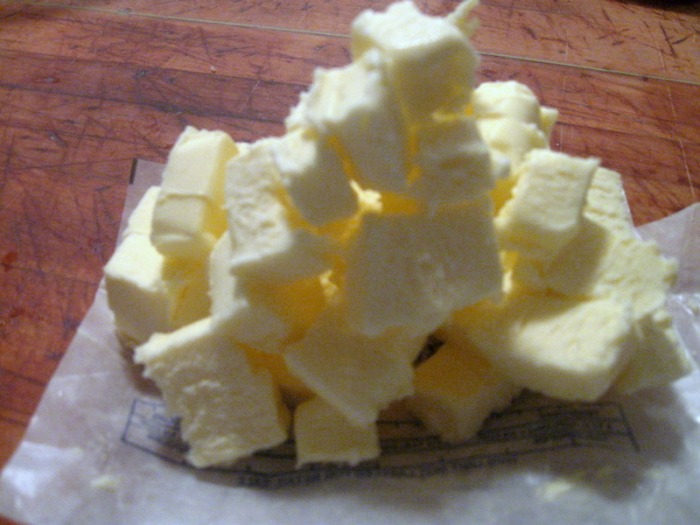
APPLE CROSTADAS sweet dough (yield 2 1/2 lbs of dough): - 1 lb (454 g) Butter, cold
- 1 lb 2 oz (511 g) AP Flour
- 4 oz (115 g) Sugar, granulated
- 1 3/4 t (12 g) Salt, iodized
- 3 oz (92 g) Water, ice cold
- cut butter into 1” cubes
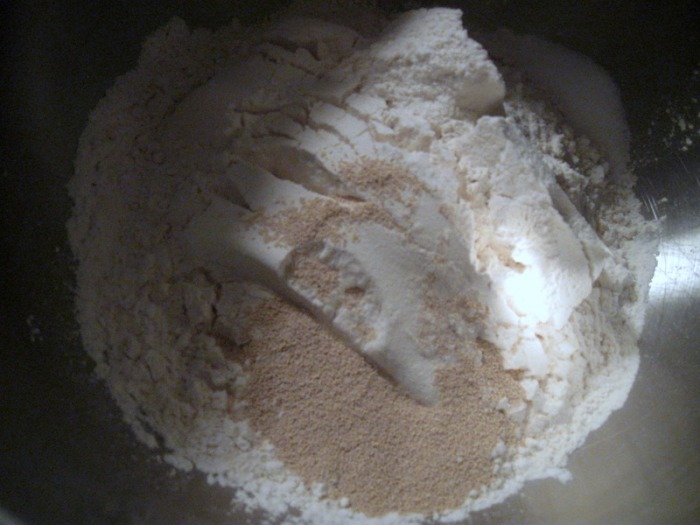
- place 1/2 of the flour, sugar and salt in food processor and pulse to mix
- add 1/2 the butter and pulse 10 times, until blended and the butter is pea sized (the flour and butter should not be completely mixed)
- repeat steps 2 & 3 with the remaining ingredients
- transfer to a mixer with a paddle, pour in water (strain out the ice cubes), while mixing on low (speed 1) just until incorporated for approximately 20 0 30 seconds; do not let it become a solid mass
- roll dough into logs; wrap in plastic; chill overnight
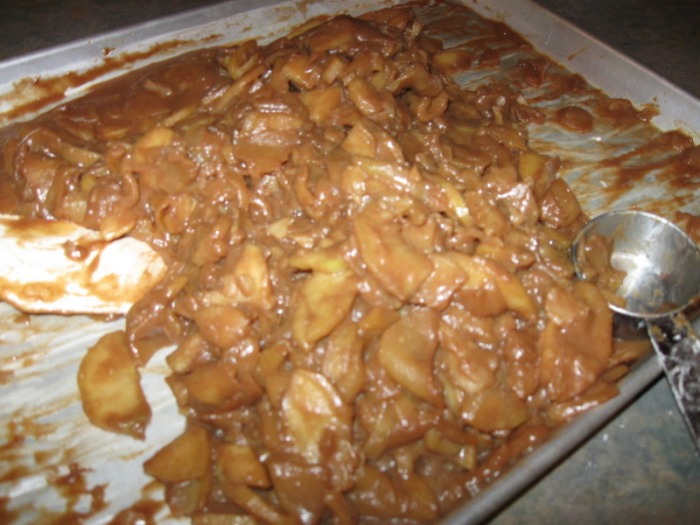
Apple Filling (yield 1 lb 8 oz filling; enough to fill 2 1/2 lbs dough): - 1 lb 4 oz Granny Smith apples, peeled and sliced
- 1 C Raisins, optional
- 2 1/2 oz Sugar, granulated
- 2 oz Butter, whole
- 2 T Cinnamon, ground
- 1/4 t Nutmeg, ground
- 1 T Cornstarch
- 1 T Water
- in saute pan, melt butter, stir in sugar and cook until light brown
- add apples and raisins (if using), increase heat, and cook until apples are slightly soft (approximately 5 - 7 minutes)
- add spices, mix well and cook for an additional 5 minutes
- mix cornstarch with water in a small mixing bowl and add to apple mixture and continue cooking for another 2 - 3 minutes, or until thickened, (don’t overcook)
- remove from heat, spread evenly over parchment lined sheet pans and allow to cool
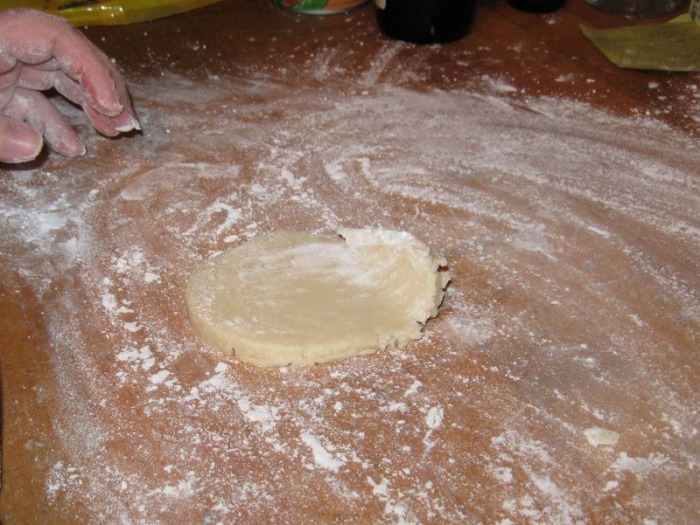
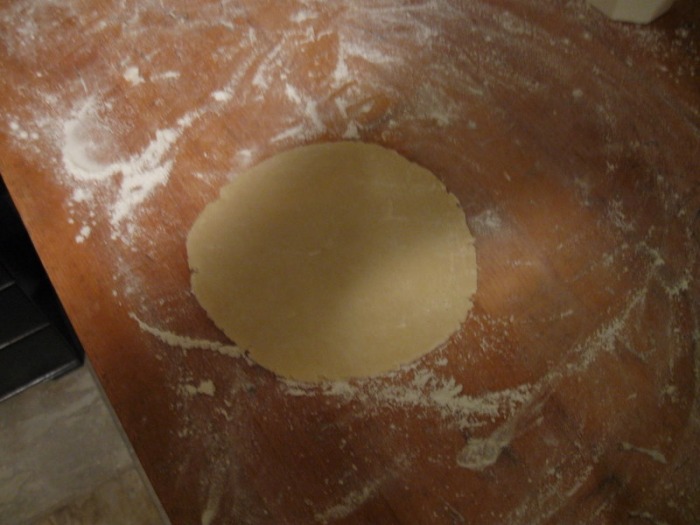
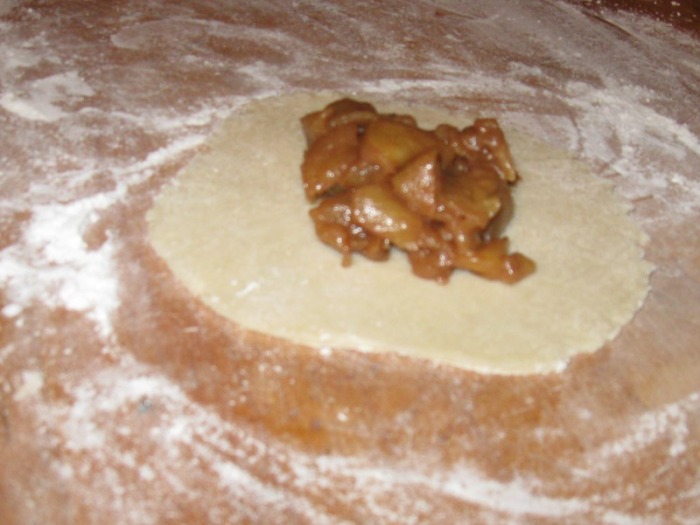
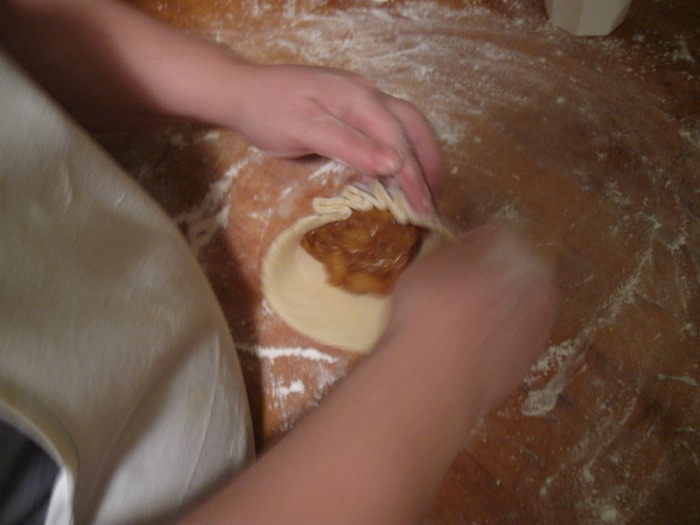
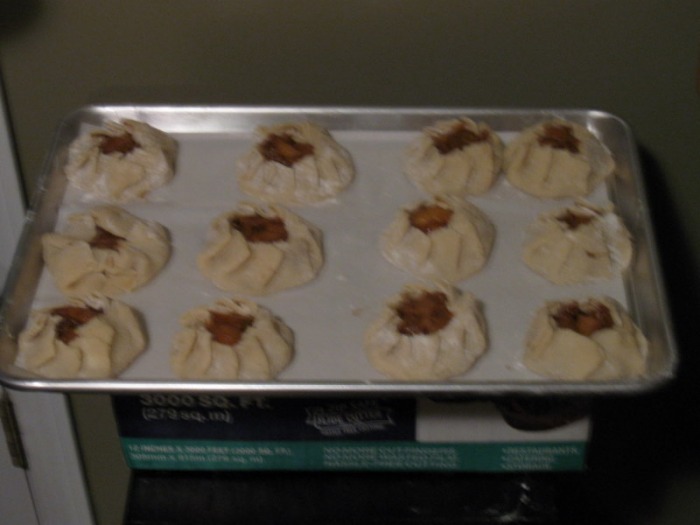
Notes: 6 small apples yields approximately 1 lb 4 oz of peeled and cored apples 1 lb 4 oz peeled, sliced and cored apples = approximately 5 cups (volume) Putting it all together (this will yield 24 crostadas): Assembly instructions: - roll 1 portion of dough into 3 1/2” round disk (a portion of dough is 2 oz; or just divide the logs into 24 equal pieces)
- using 1/4 cup measuring cup, fill dough circle with 1 portion of filling (mounded)
- form an open beggar’s purse using 8 folds and creating a 1” opening
- transfer to a parchment lined sheet pan; cover with plastic; and freeze (the crostadas hold their shape better when baked from solidly frozen)
Baking instructions: - brush the entire crust of the crostada with warmed heavy cream; then coat the crust with either granulated sugar or crystallized sugar (just sugar the crust, not the opening)
- bake in a 375 F oven for 50 minutes
-The Baker
|


 RSS Feed
