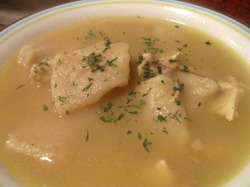
 We've had quite a busy holiday season with lots of rich meals and many, many desserts and goodies. All that over-indulgence left me craving a simple but delicious dinner. Is there anything that fits that description more perfectly than chicken and dumplings?
This was a great blog meal for us because The Chef made the broth and I made the dumplings. A perfect marriage! It's such a simple meal that more often than not you will have everything on-hand already that you need to make it.
For me this meal brings back great childhood memories. My best friend was English and her mom always cooked home-style foods. They didn't own a microwave and her mother would cook and re-heat everything the old fashioned way in the oven. When I was younger both of my parents worked and I would usually walk home from school with my friend. In the winter when we would arrive there, freezing cold, her mother would always have a bowl of some wonderful comfort food piping hot waiting for us.
After you're done celebrating New Year's, light a fire and whip up a pot of chicken and dumplings. Then cozy up with the people you love and have a fantastic night reminiscing about the past year and making plans for the new one.
Happy New Year!
-The Baker and The Chef
Broth: - 1 (approx 3 lbs) Chicken, whole
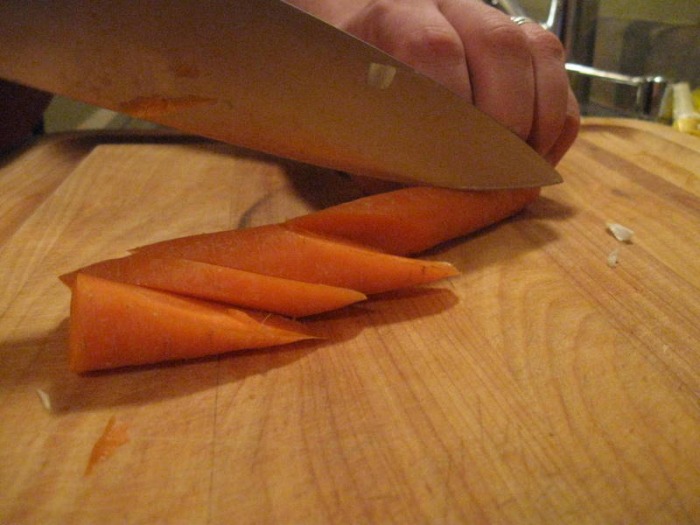
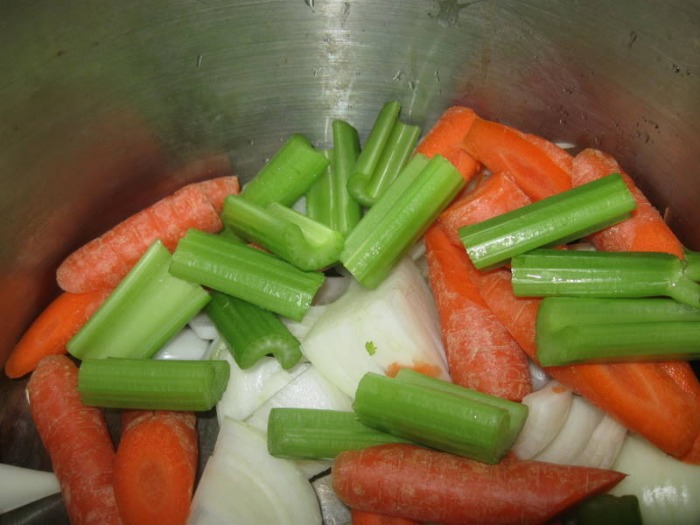
- 4 Carrots, roughly chopped
- 3 ribs Celery, roughly chopped
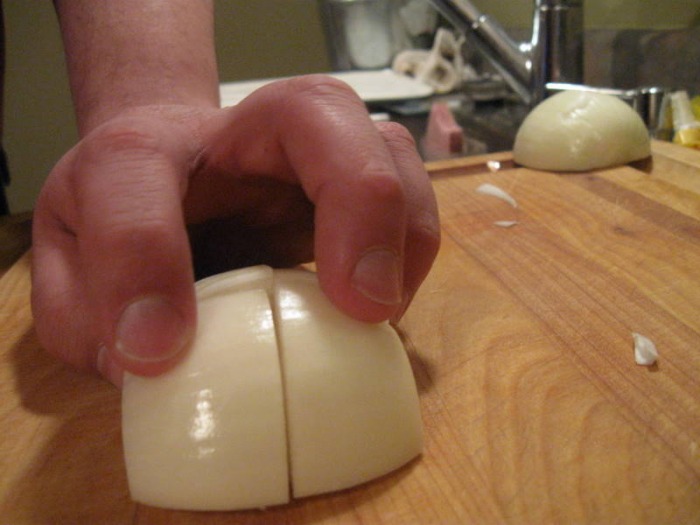
- 1 Onion, roughly chopped
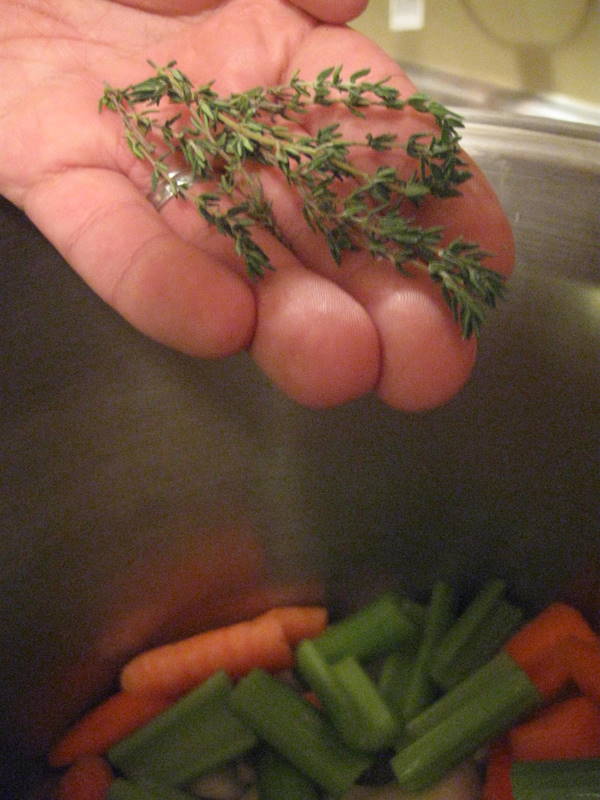
- 3 sprigs Thyme, fresh
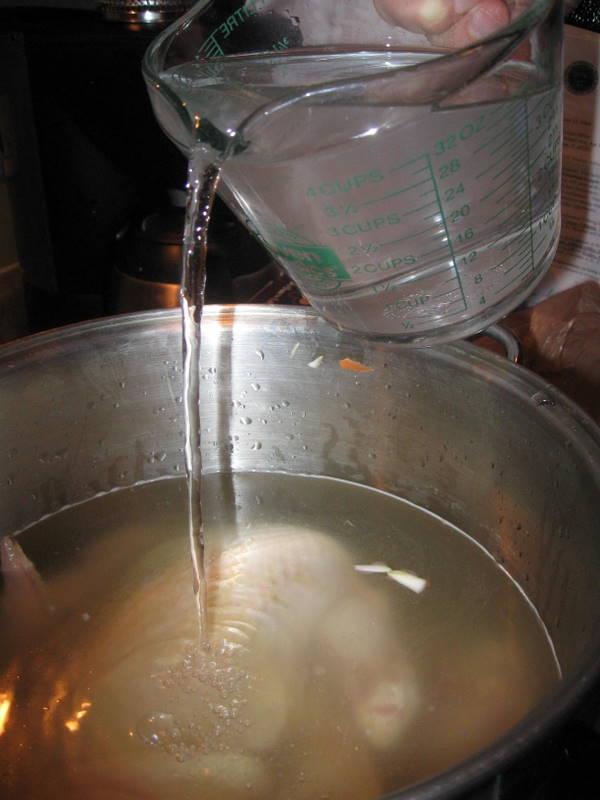
- 2 qts Chicken broth
- 1 1/2 qts Water
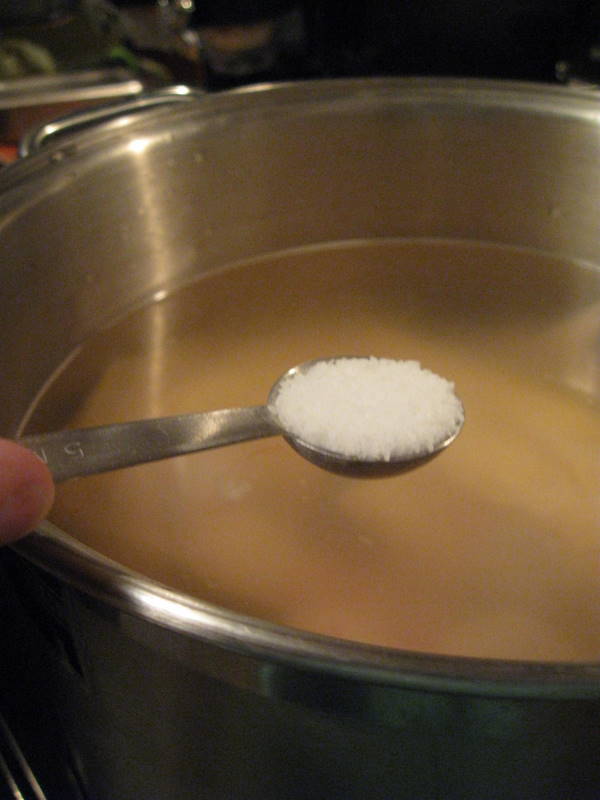
- 2 t Salt
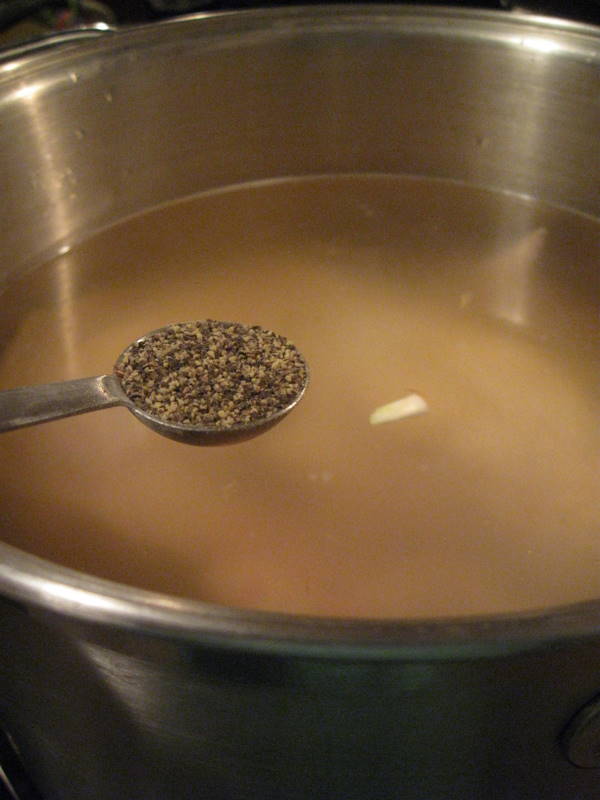
- 1 t Black pepper
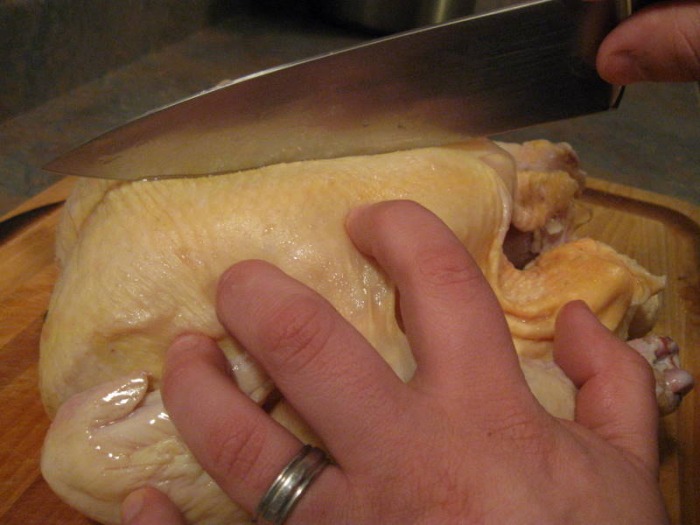
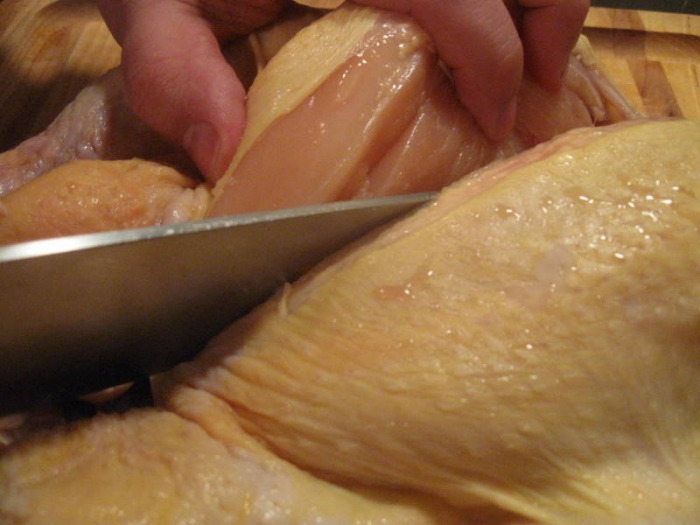
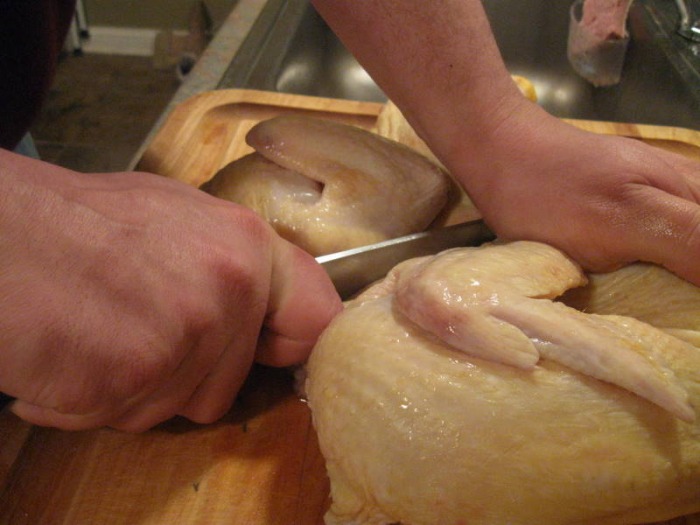
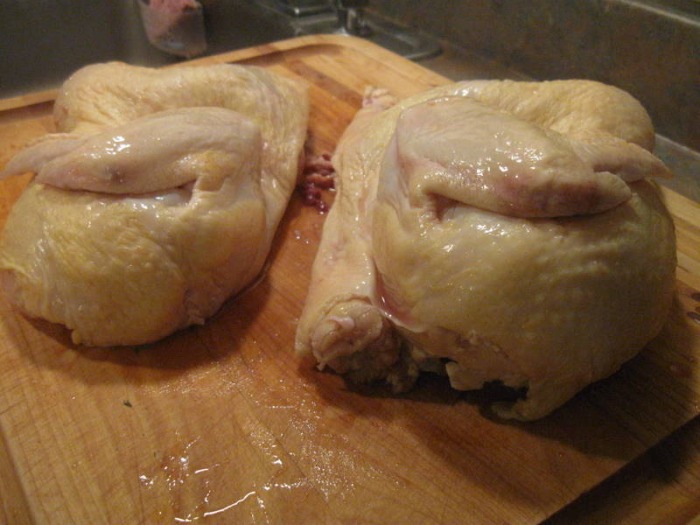
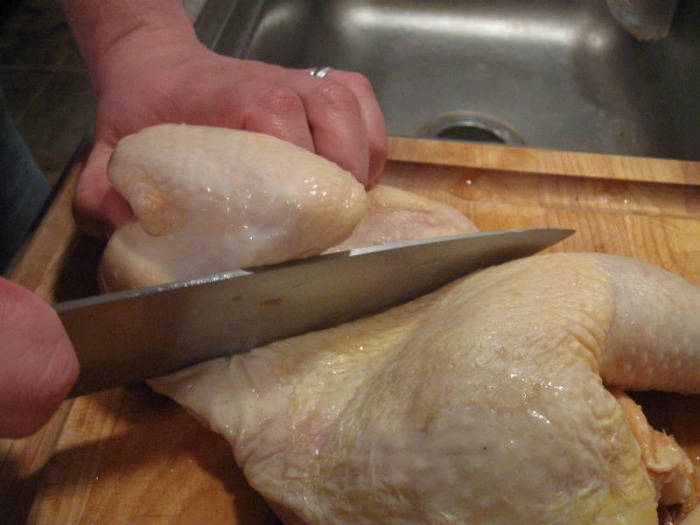
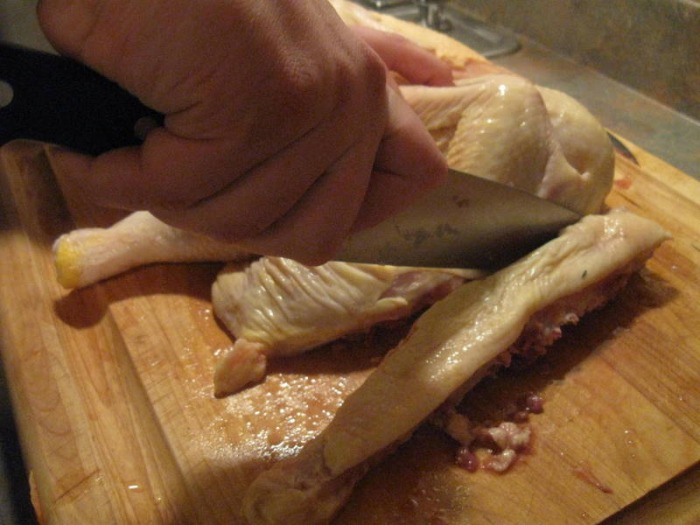
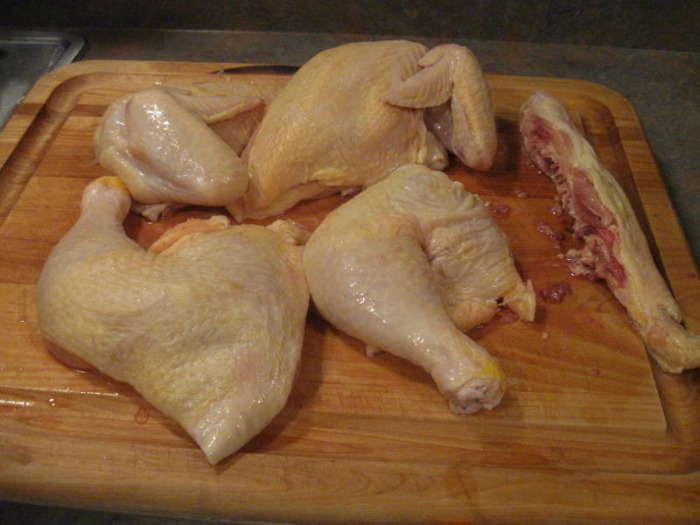
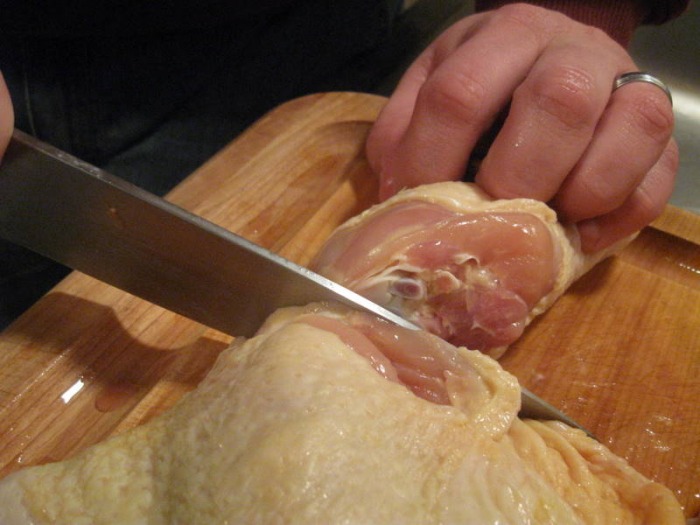
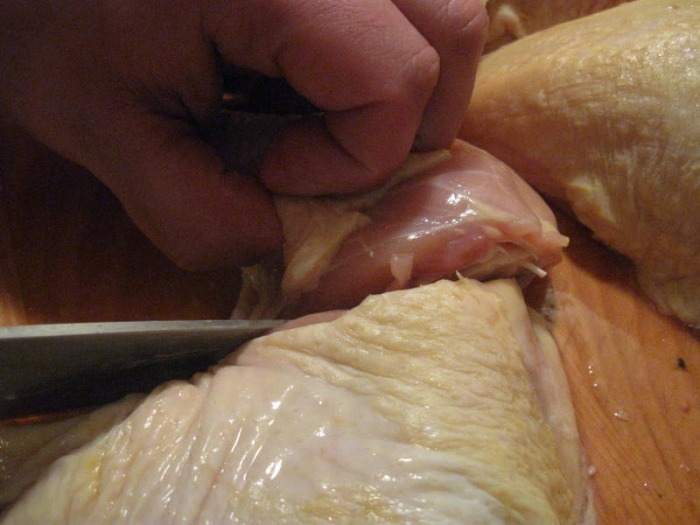
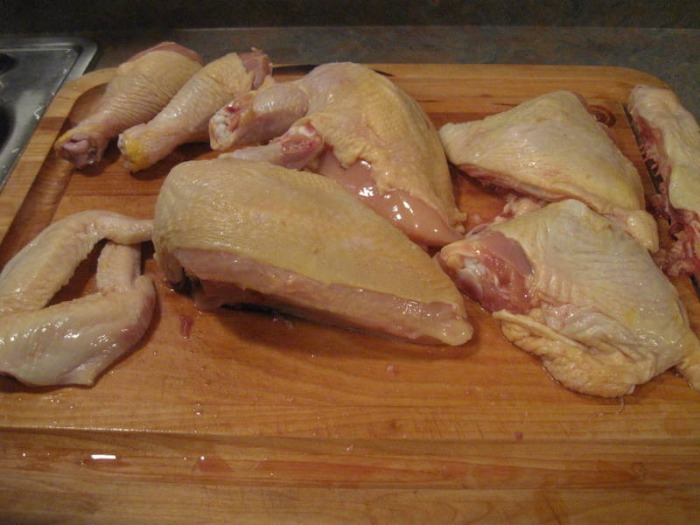
- cut chicken into 8 pieces
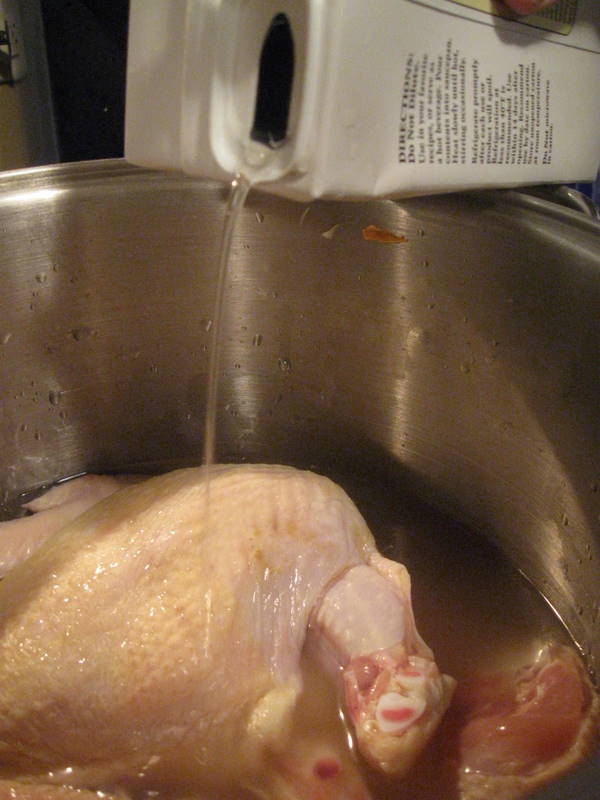
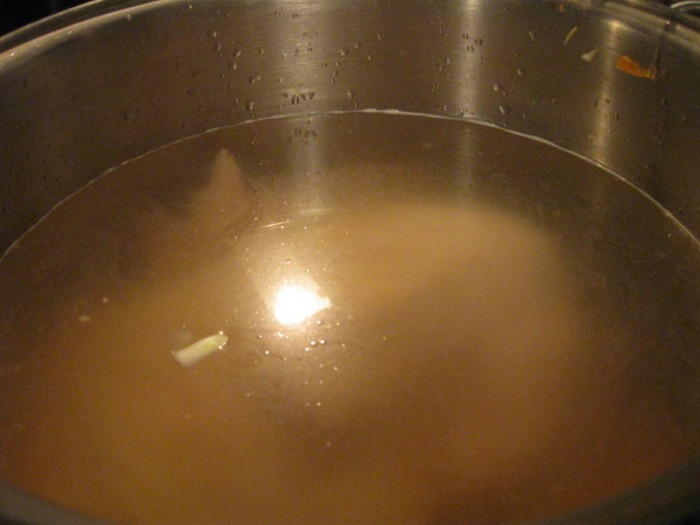
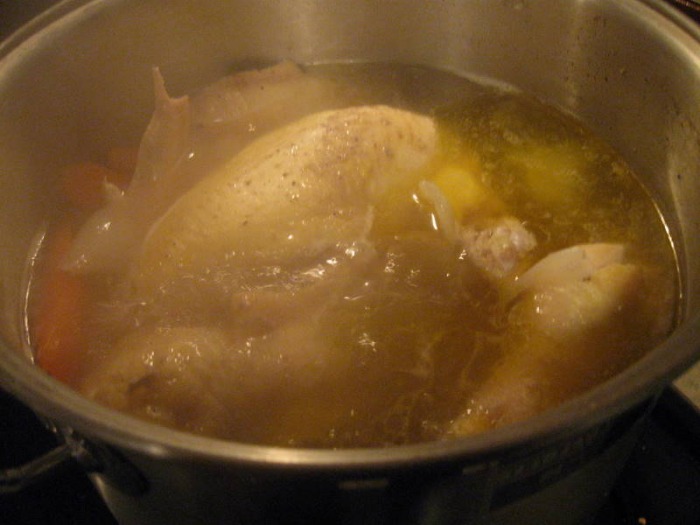
- put cut chicken, vegetables, broth, water, thyme, salt and pepper in large stock pot; cover and bring to a boil
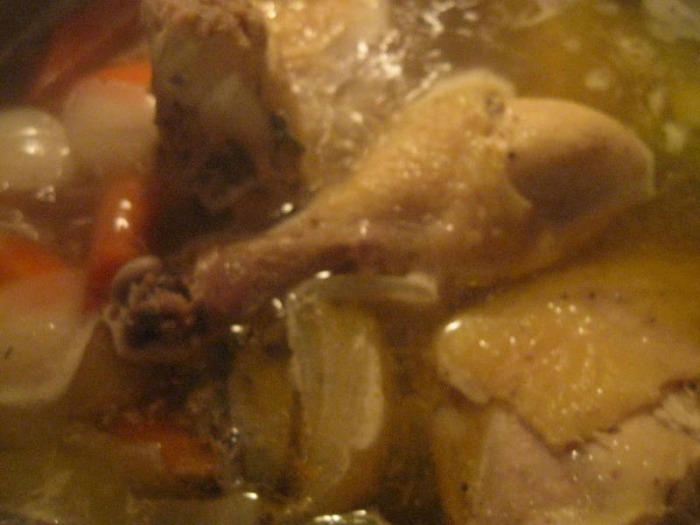
- remove lid; lower heat; simmer for approximately one hour, or until chicken is cooked; while cooking, skim any film that rises to the top
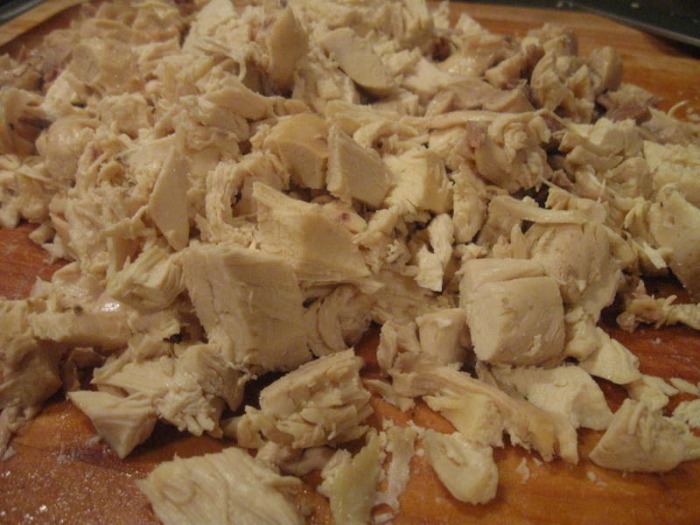
- using tongs, removed cooked chicken from broth; let cool until you comfortably handle them with your hands
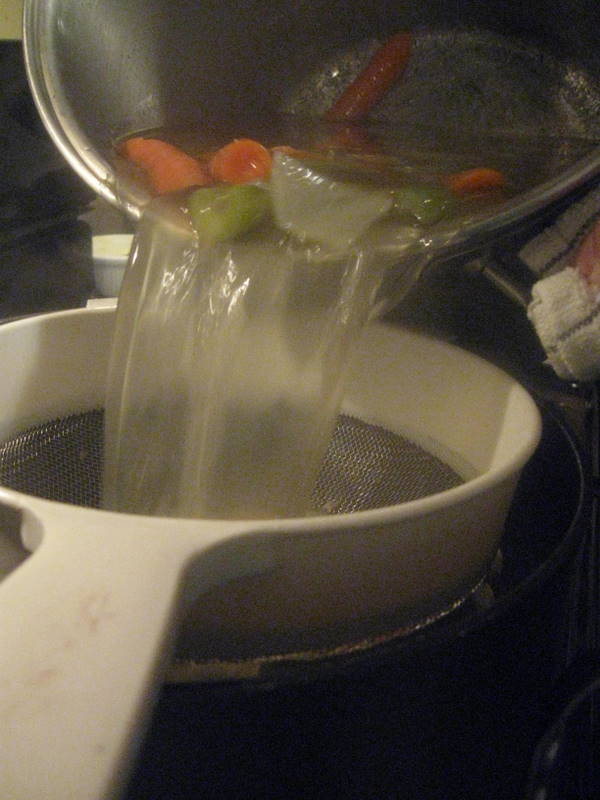
- while the chicken is cooling, strain the broth, and put the broth back into the pot
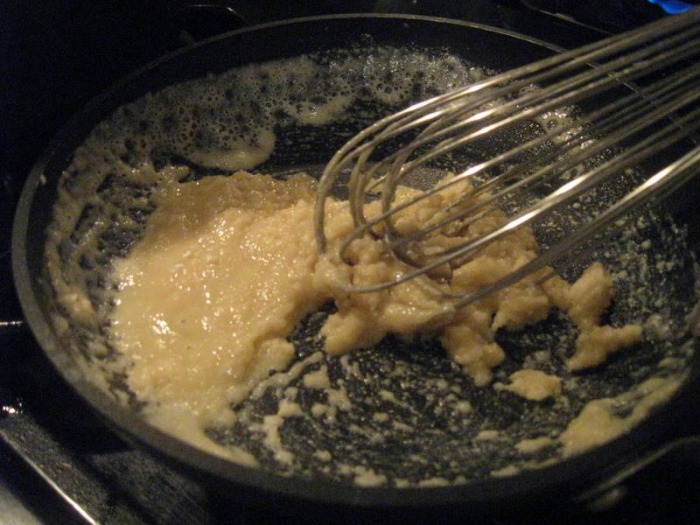
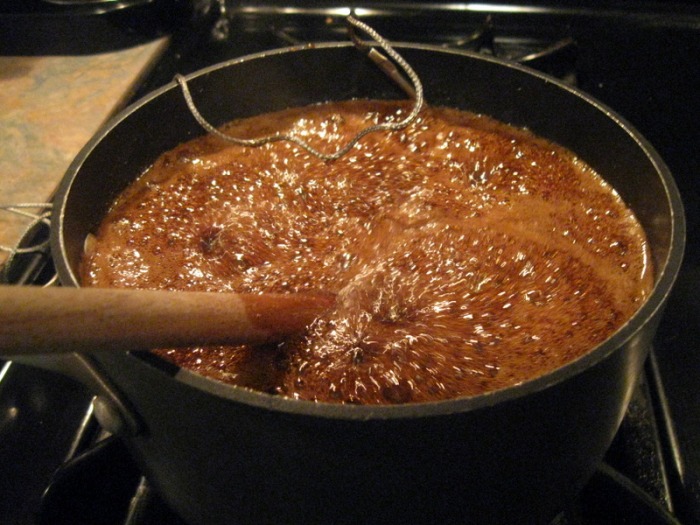
- make roux
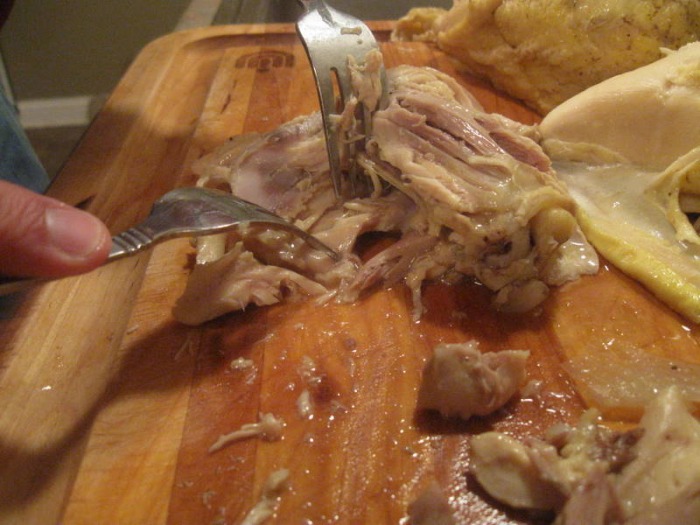
- when the chicken has cooled off, remove skin, fat and bones and discard; reserve the meat and then dice, set aside
- make the dumplings
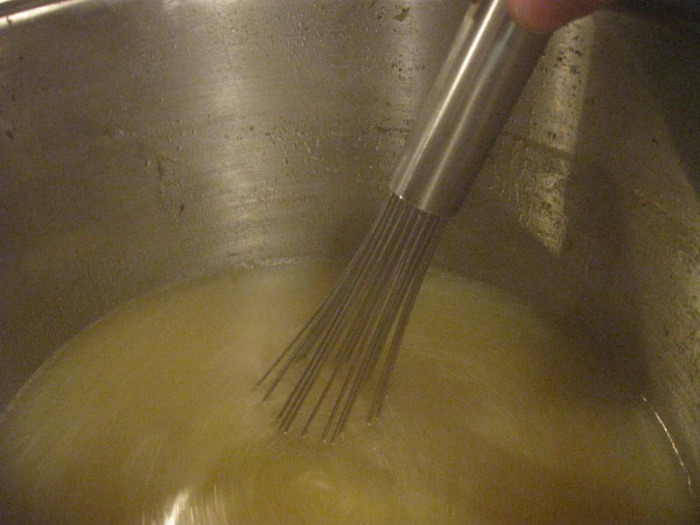
- return broth to a boil and thicken with roux; taste the broth and add more salt and pepper if needed
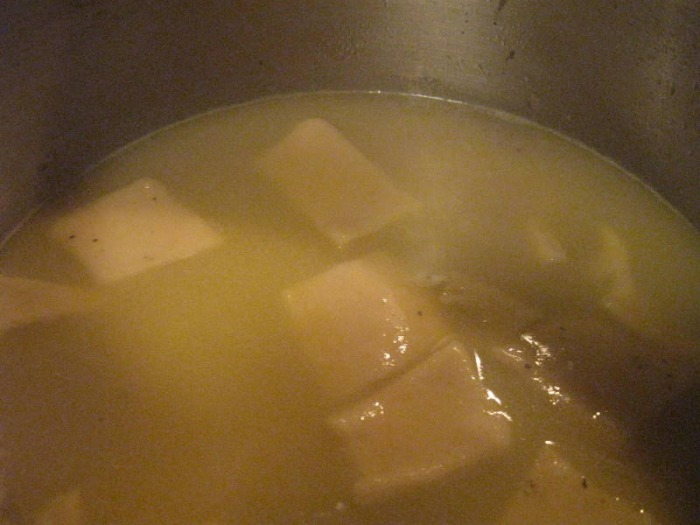
- add the raw dumplings and cook for 8-12 minutes, or until done
- add the diced chicken back and heat until warm; serve
Roux: - 4 oz Butter
- 1/2 C All-Purpose Flour
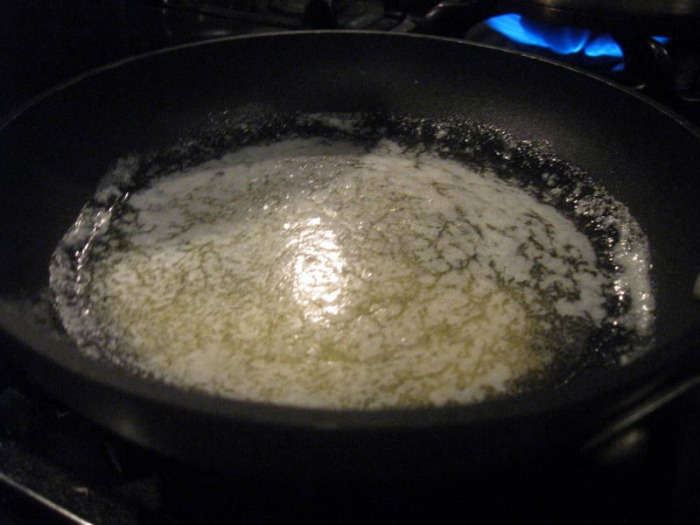
- melt butter in saute pan
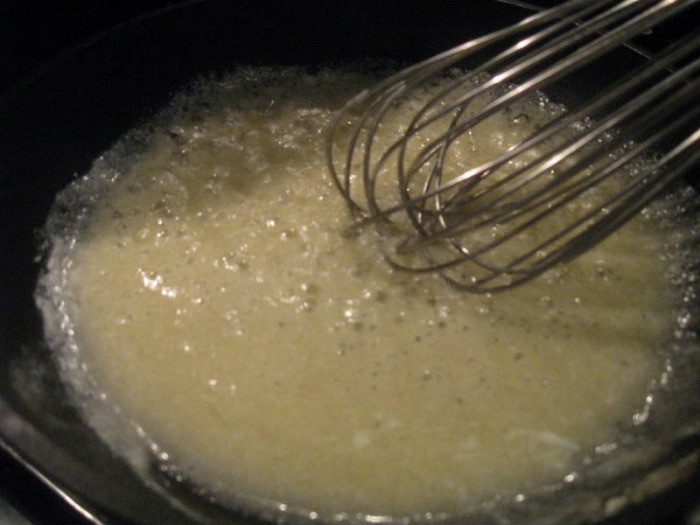
- whisk in flour; keep whisking until the flour is completely mixed in; continue whisking until the roux is a pale brown (2 - 3 minutes)
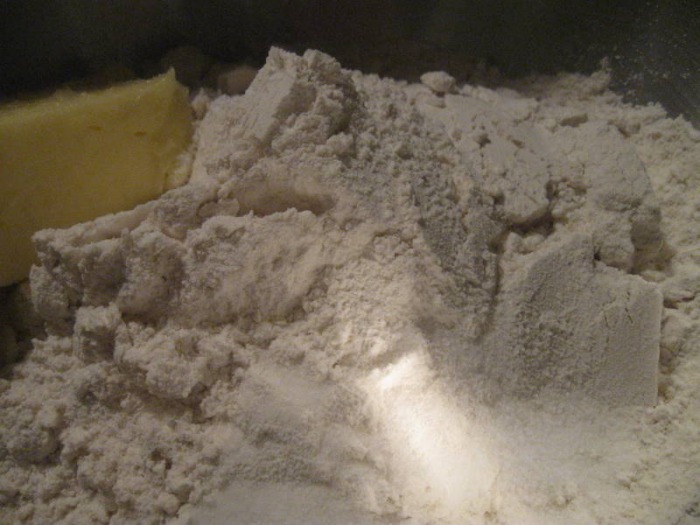
Dumplings: - 2 C All-purpose flour
- 1/2 t Salt
- 5 T Butter
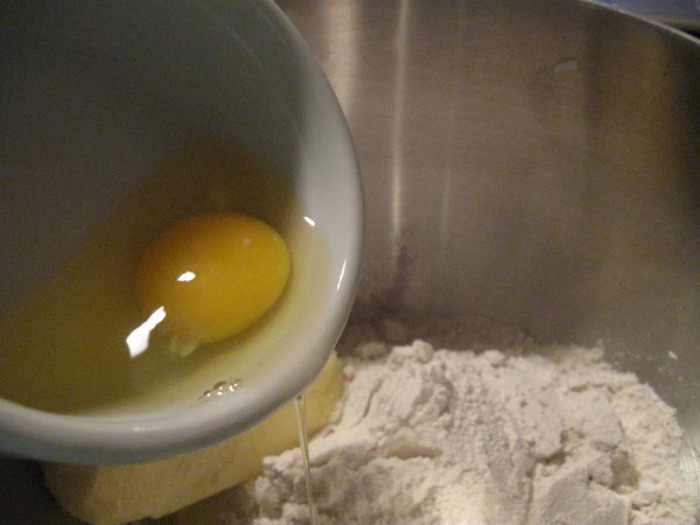
- 1 Egg
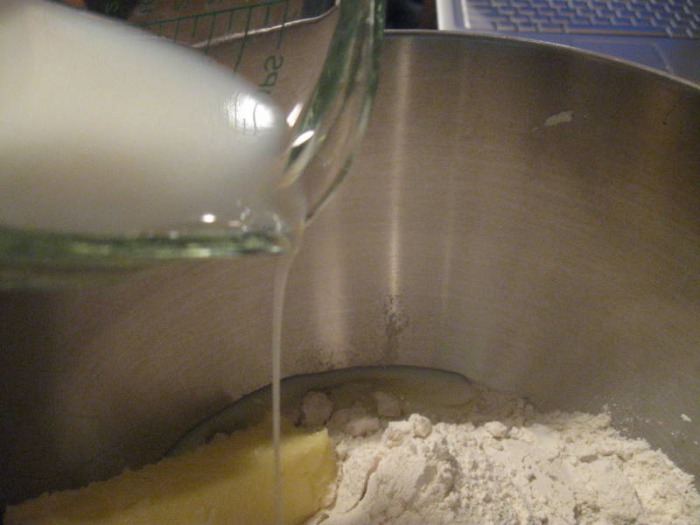
- 1/2 C Whole Milk
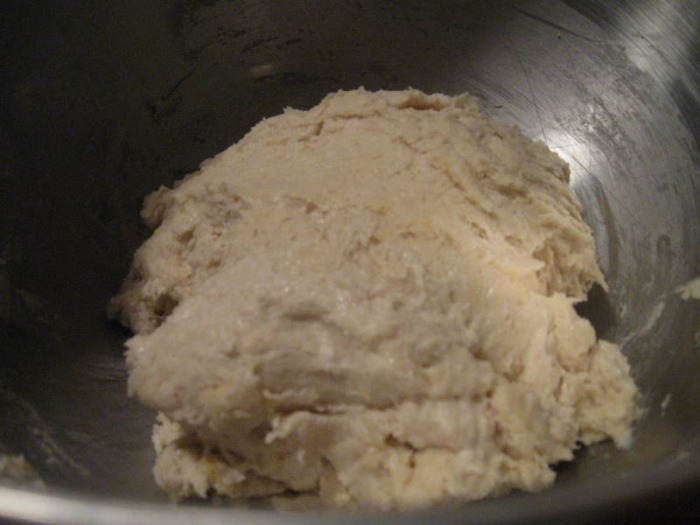
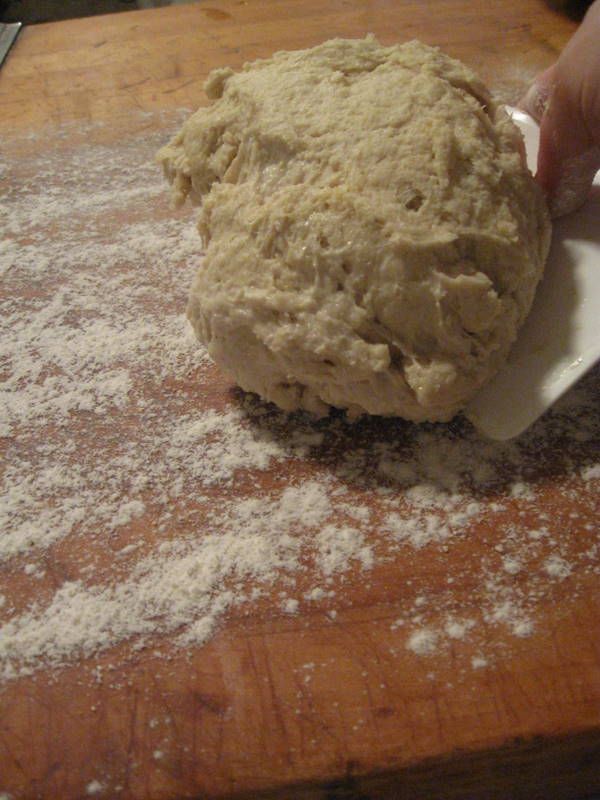
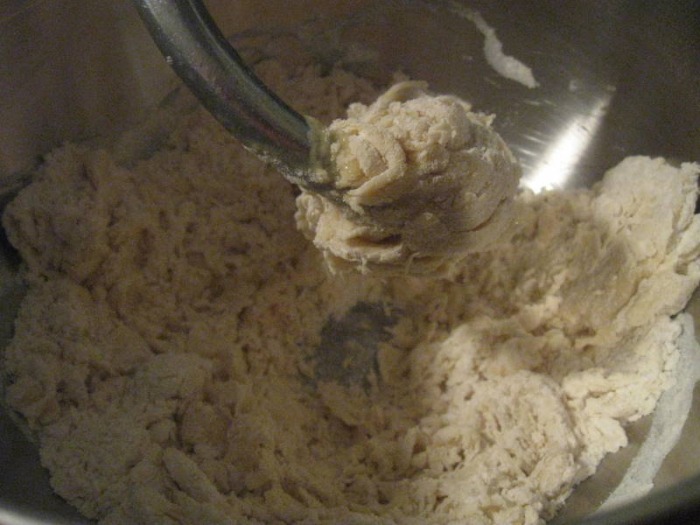
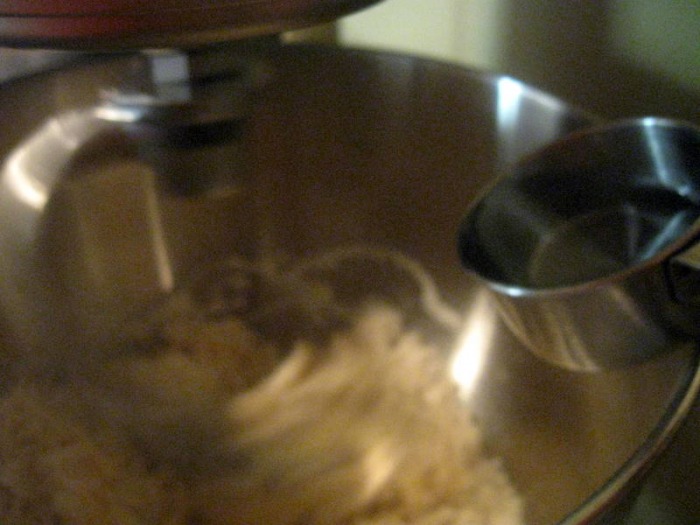
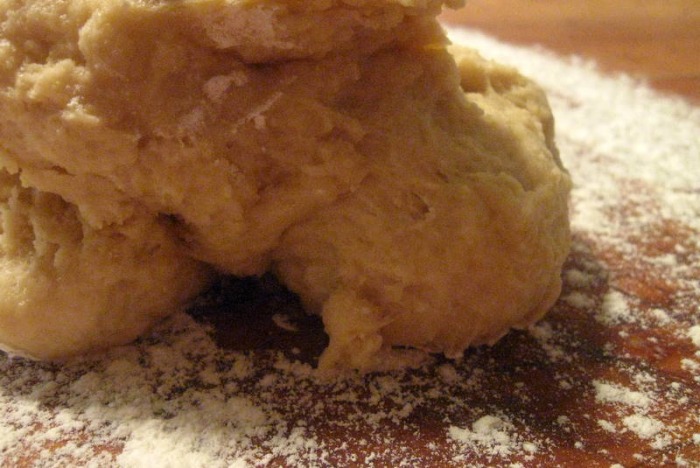
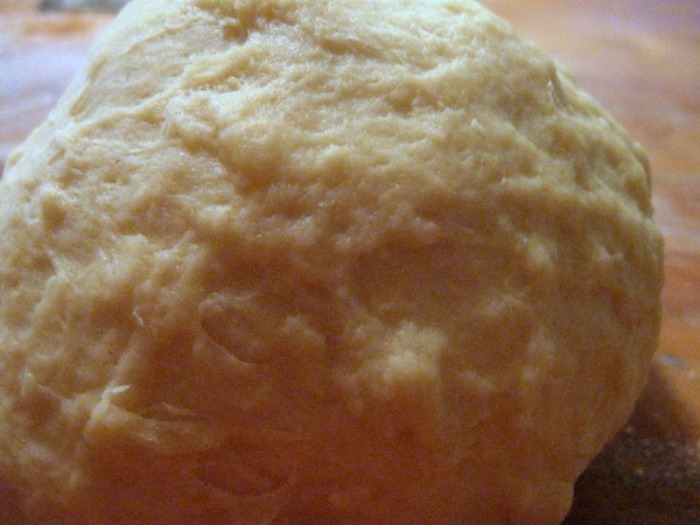
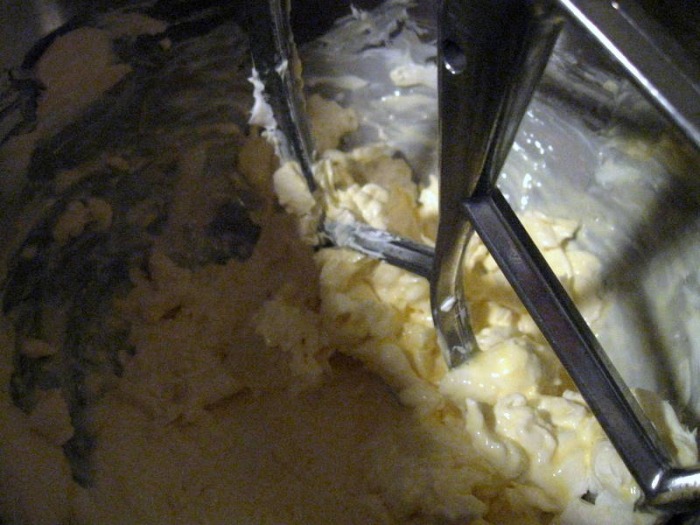
- mix your flour, salt, egg, butter and milk in a stand mixer until a ball forms
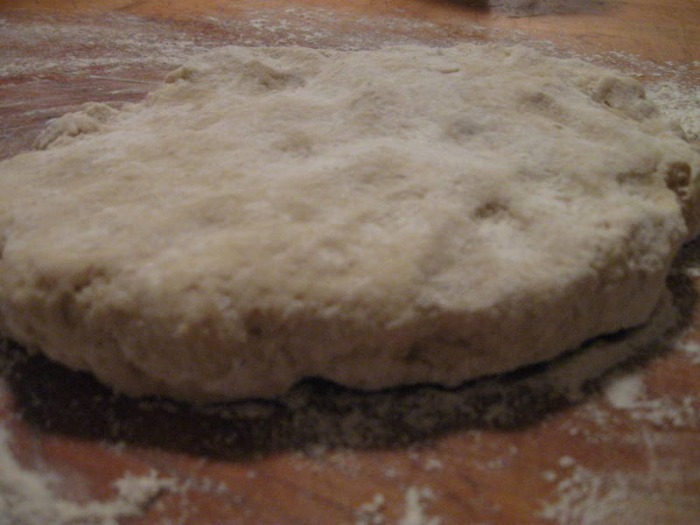
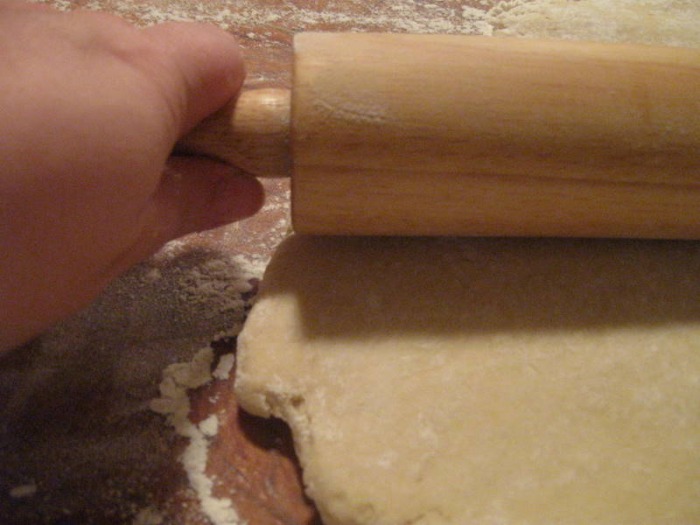
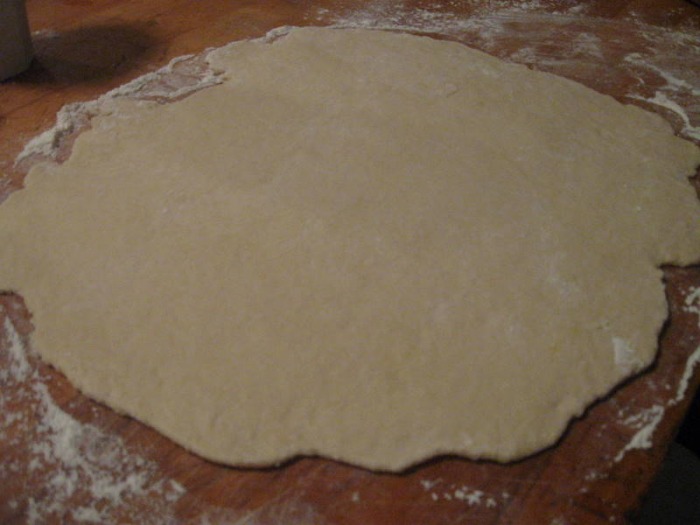
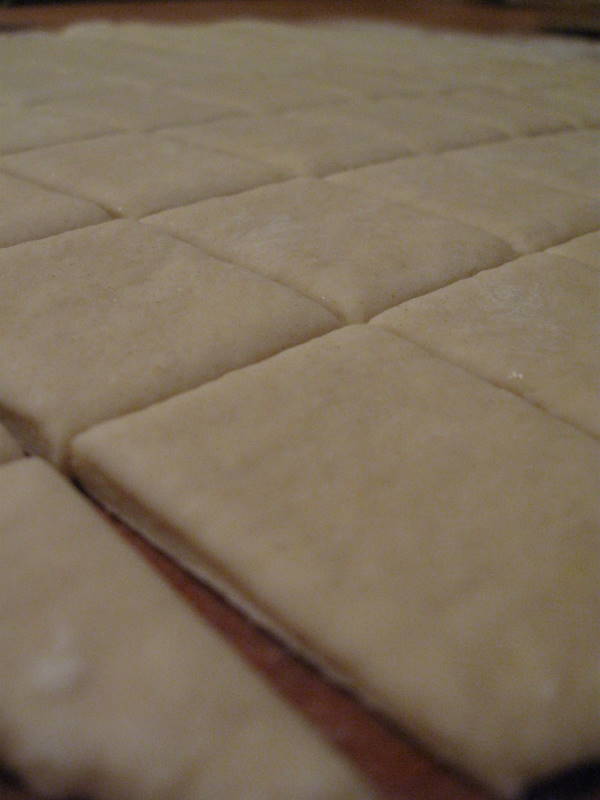
- roll the dough to about 1/8"; use a sharp knife or pizza cutter to cut dough into bite size pieces
Putting it all together: - bring the chicken broth to a boil
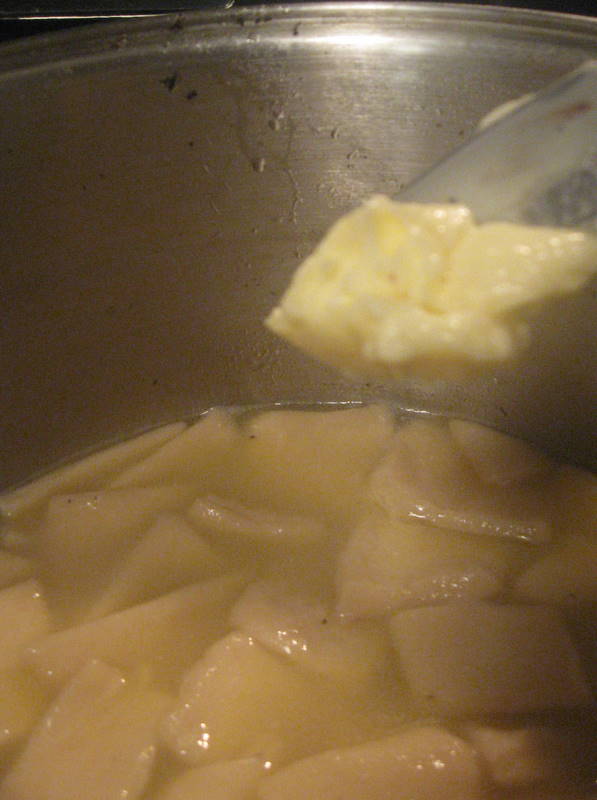
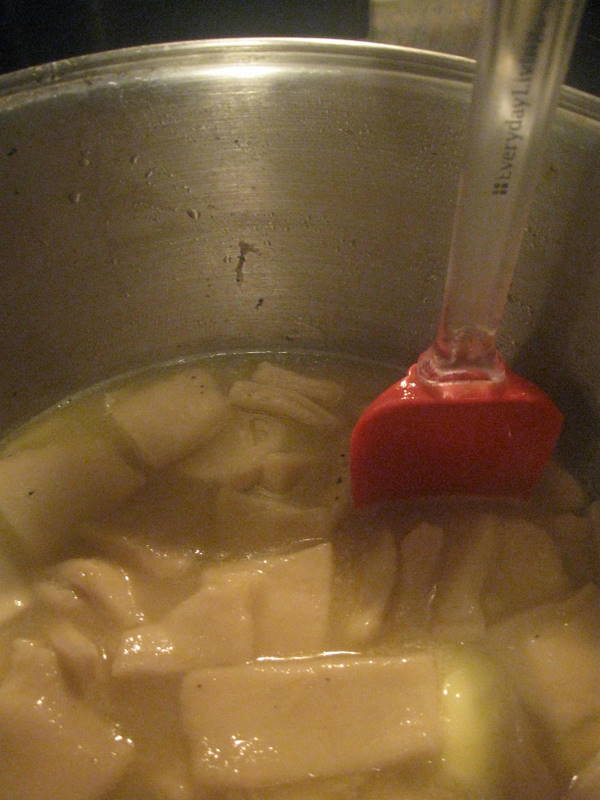
- drop dumplings into boiling broth, ensuring that they submerge; add all the dumplings at once; to keep dumplings from sticking together add a tablespoon of butter and stir
- reduce heat to medium-low and cook for 8 to 10 minutes
- add chicken and simmer until chicken is heated
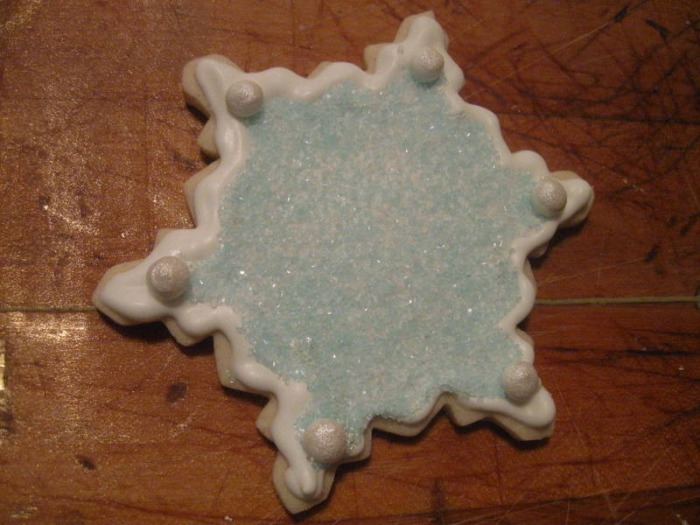
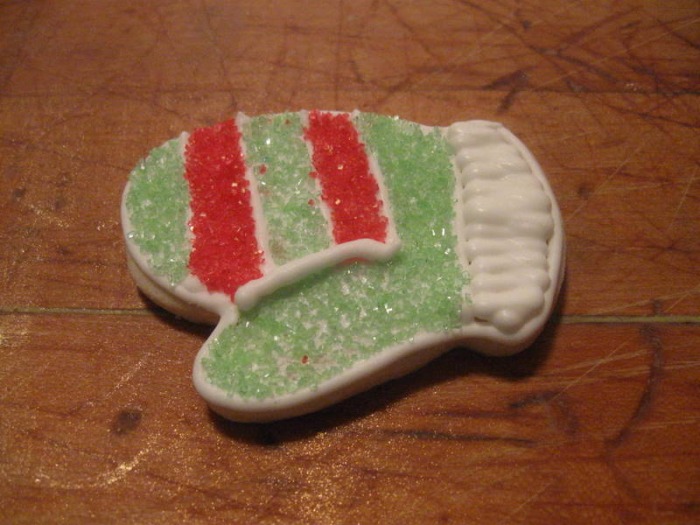
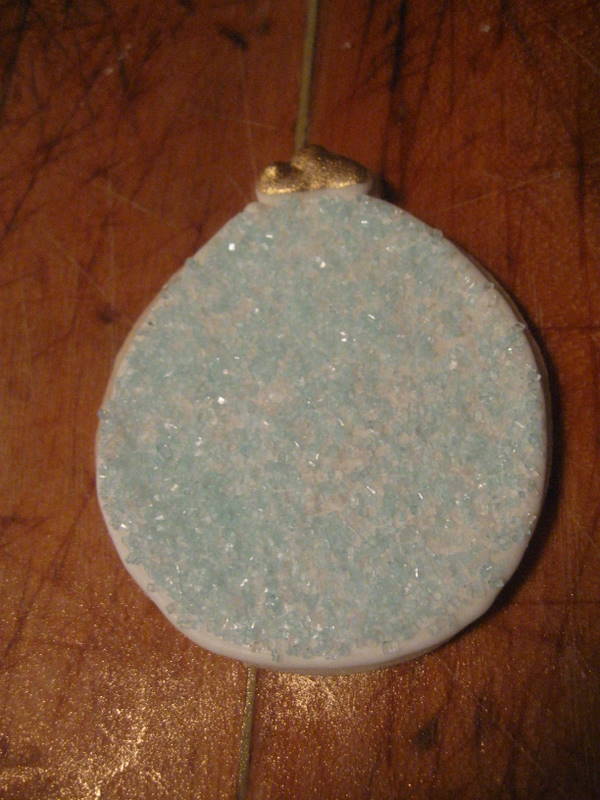
 I love the beautiful sugar cookies you see in magazines at holiday time. I've never actually made them because they are a lot of work and I've never found a sugar cookie dough that was good enough to make all that work worthwhile. I guess I'm not a huge fan of sugar cookies. Then, a friend asked me if I would make her some undecorated sugar cookies for her son to take to school to decorate with his classmates for a school project. Sure, no problem! I can roll and cut out dough all day long... easy breezy! But then... she asked would I make some more for her own holiday parties. Uh-oh. I knew I would have to find a better recipe and then I would have to actually *GULP* decorate them! The thing I've been avoiding all these years! I was a little stumped what to do about the recipe. I mean, I've been searching for years for a good one and I've never found one. Why did I think I would suddenly find it now? Oh, man, did I finally bite off more than I could chew with this little project? The problem with sugar cookies, well any recipe, is if you ask people if they have a recipe they always tell you the one they use is "the best", but I've always found sugar cookies to be dull and bland. A few days later I was trolling the internet looking for new food blogs to read when I stumbled across a site with sugar cookies. Hmm... I loved her description and the fact that the recipe was her grandmother's. These might be a possibility. I decided to try the recipe out. Wow! Were they delicious! And, I'm talking about the raw dough. Seriously delicious! I couldn't wait to taste the baked cookie. Needless to say, the baked cookie was also delicious. Holy cow-after all these years of searching I had actually found a delicious sugar cookie recipe! I couldn't believe it. (Go check out the site, which is filled with all sorts of wonderful recipes and stories: www.wiseanticsoflife.blogspot.com and tell her The Baker sent you!) The recipe Kristen gave also included a frosting, but I knew that I wanted the finished cookies to be very high-end and not homemade looking, so I wanted to use a royal icing. But, again, I was in the same boat... I've never found a royal icing that I really liked. Again, fate intervened and brought me to www.joyofbaking.com for a fantastic royal icing recipe. The key difference between their recipe and all the other royal icings I've made is that they beat the icing for a solid ten minutes, which really thickens it and makes it the consistency of lightly whipped cream. I've always just stirred together some egg whites and powdered sugar, and wound up with some super sweet sludge... yuck! The other difference was that the recipe called for a small amount of lemon juice. I was afraid I was going to end up with lemon cookies, which are good, but definitely not what I was going for. But, the lemon juice was like the magic ingredient! When first mixed up, you can taste the lemony flavor, but as the icing sits and ripens it mellows out and the lemon juice just adds a bright fresh flavor but the actual taste of lemon disappears. It's absolutely delicious! Honestly the best royal icing I've even eaten. The process of baking and decorating the cookies took many, many days and I was very lucky that my sister was in town for a visit and came to help me. We had a great time and ate quite a few cookies in the process. Hey, somebody has to do quality control around here, right? The decorating process is the same no matter what the holiday is, so while it's too late to make these for this holiday season, you can certainly make these for Easter or Valentine's Day. It's definitely something that the more you do the better you'll get at it, so find lots of reasons to make them! -The Baker
Grandma's Sugar Cookies (taken from: www.wiseanticsoflife.blogspot.com) Christmas Cutout Cookies: - 3 C All-Purpose Flour
- 1 t Baking Powder
- 1/2 t Salt
- 8 oz Butter
- 3/4 C Sugar
- 1 Egg
- 2 T Milk
- 1 1/2 t Vanilla Extract
- cream butter and sugar; add egg, milk and vanilla, beating until smooth
- sift dry ingredients and gradually add; chill 1 hour
- roll 1/2 inch thick and cut into shapes
- bake on an ungreased cookie sheet 400 F for 5-8 minutes; don't let them get brown
- frost when cool
Note: these cookies freeze well (unfrosted) and you can double or triple the recipe with great results
Royal Icing ( www.joyofbaking.com) - 2 Egg whites (large)
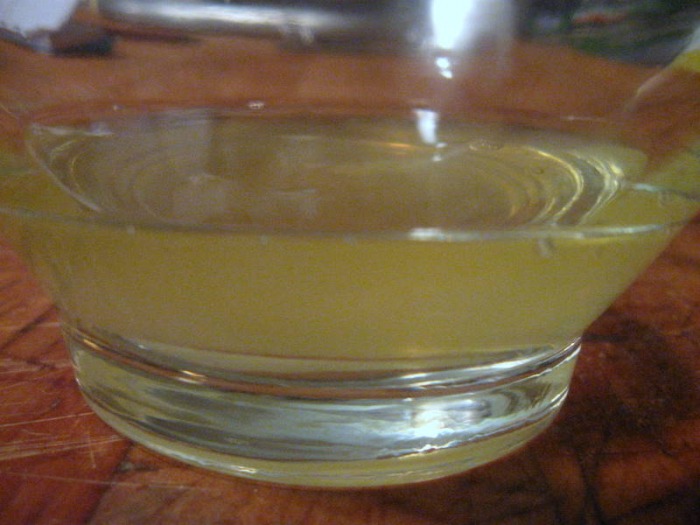
- 2 t Lemon juice
- 3 C (330 g) Powdered sugar, sifted
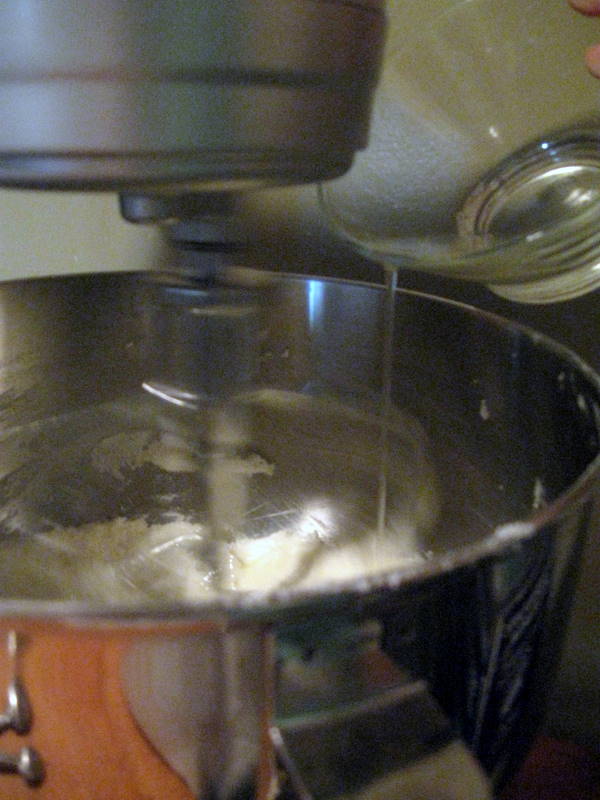
- in the bowl of your electric mixer (or with a hand mixer), beat the egg whites with the lemon juice, until light and frothy
- add the sifted powdered sugar and beat on low speed until combined and smooth; then turn the mixer up to medium-high and beat it for at least ten minutes; it will be thick and very creamy; thin it down with a few drops of water at a time until it is the consistency of whipped cream
- the icing needs to be used immediately or transferred to an airtight container as royal icing hardens when exposed to air; cover with plastic wrap when not in use
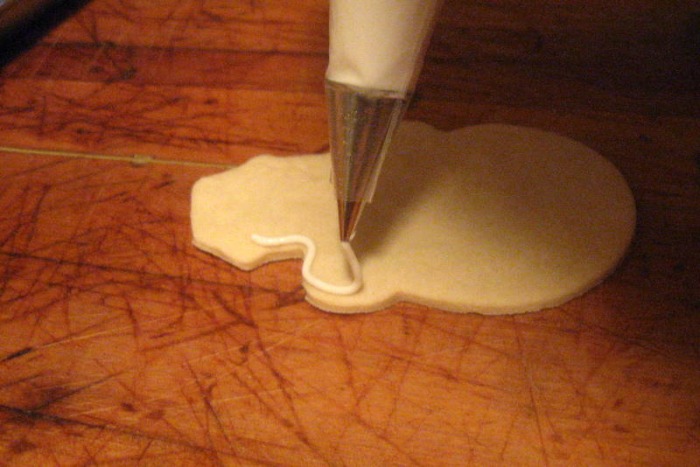
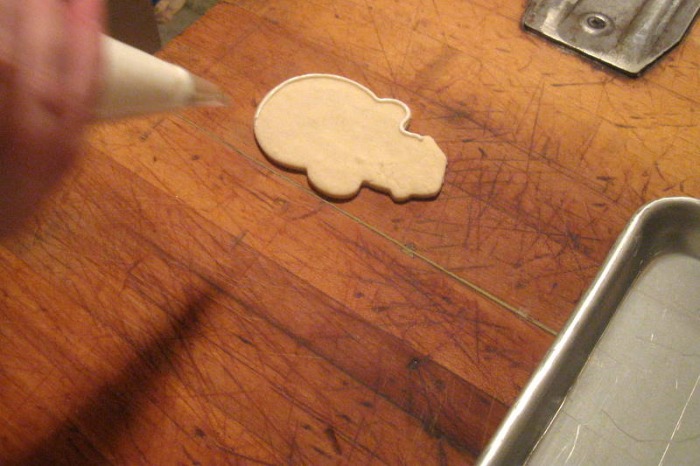
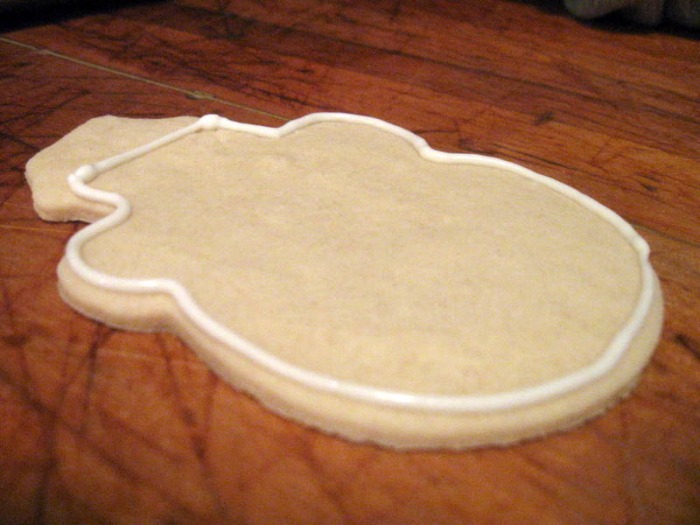
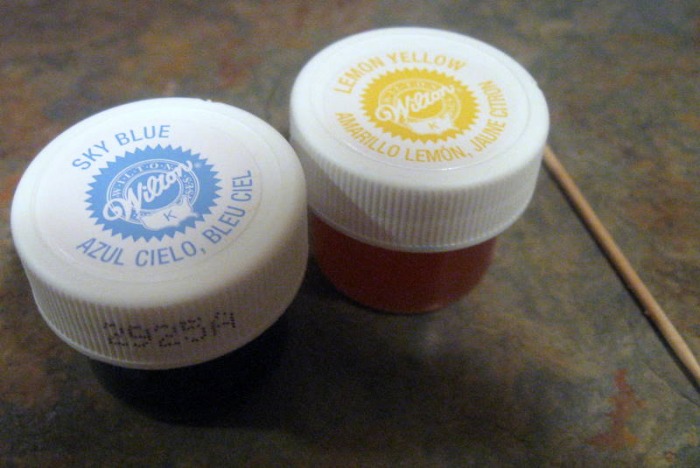
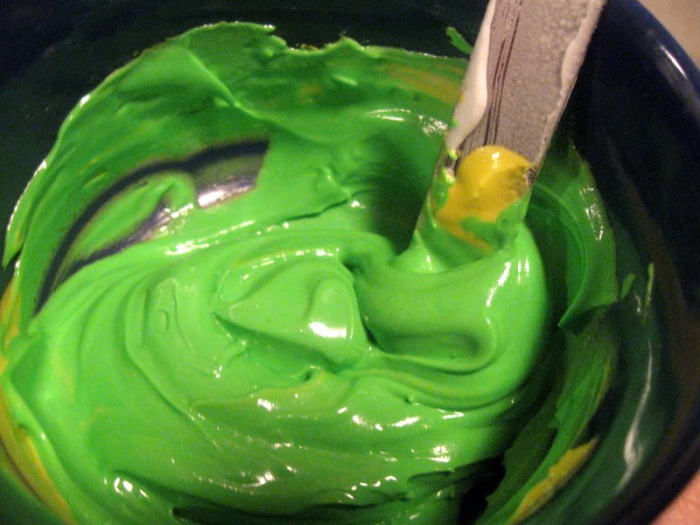
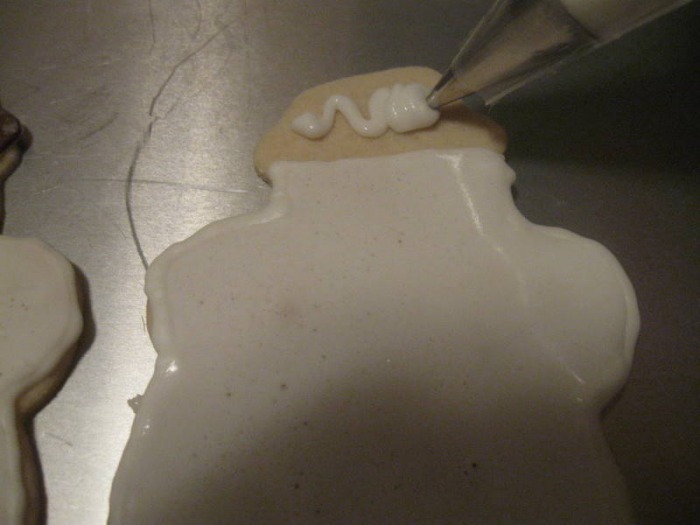
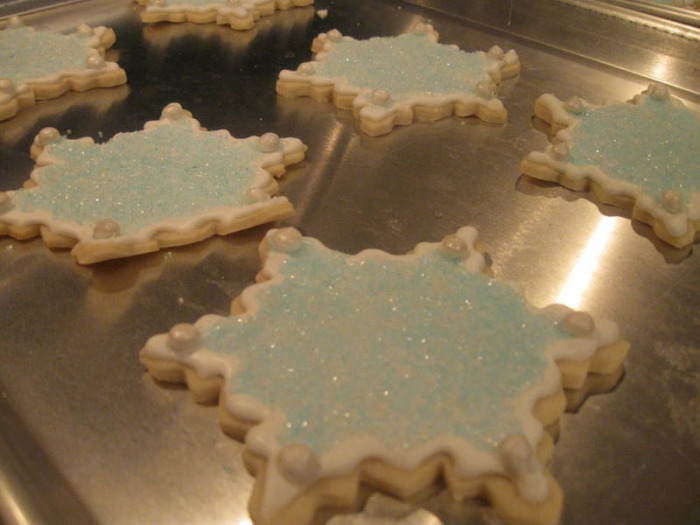
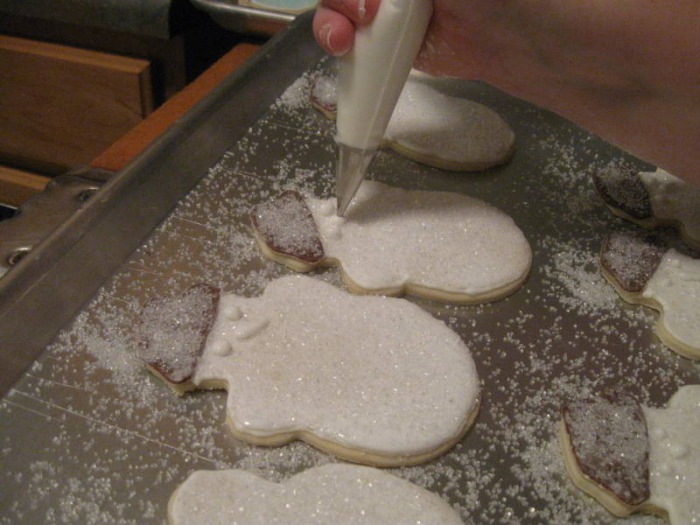
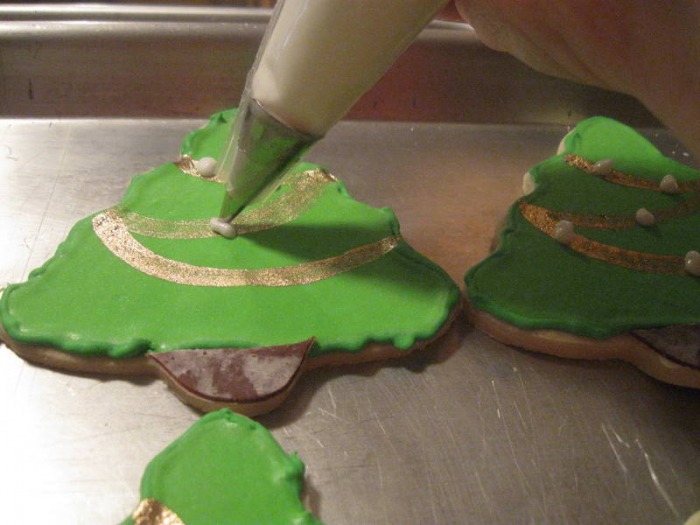
Decorating the cookies: - outline - after the cookies have cooled, outline the edge of the cookie using the royal icing; if you're planning on filling in the body of the cookie with a color other than white you'll want to color the icing that color; if you don't you'll have a white outline; use a disposable plastic piping bag fitted with a #2 or #3 tip, that way you can easily refill and keep going; you want the icing to be just stiff enough to hold it's shape but fluid enough that it easily flows out of the tip; to get the best outlines you want to hold the tip about 1/2" above the cookie; it takes a bit of practice to get used to not working right on top of the cookie
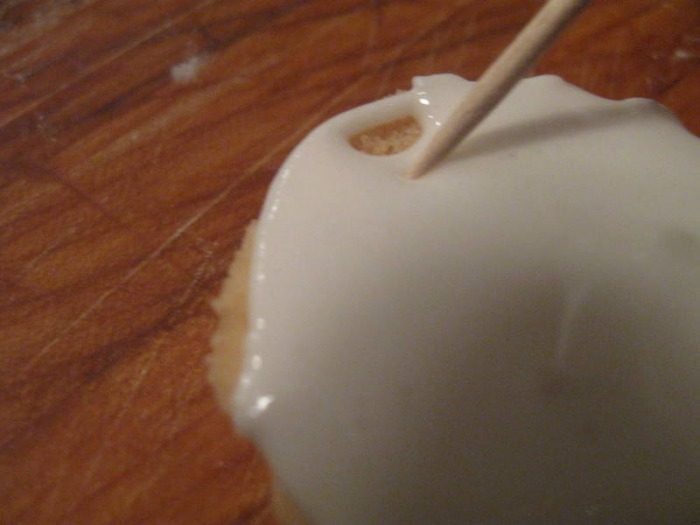
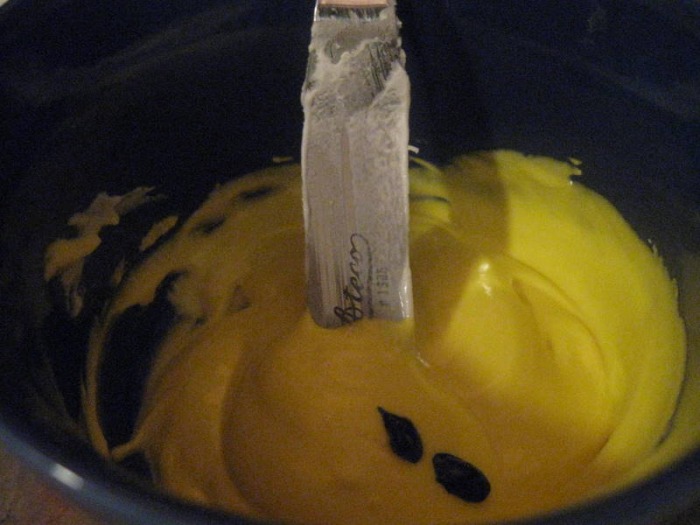
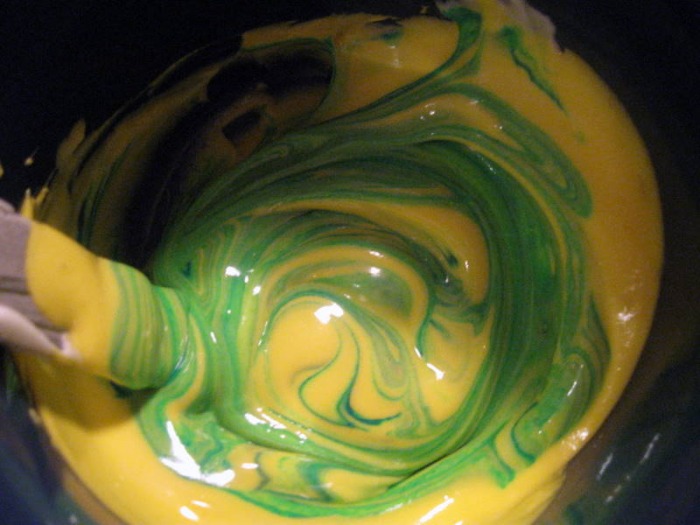
- flooding - let the outline dry until it's sturdy enough to be handled and dry enough to act as a dam for thinner icing; thin down icing to fill in the dam; tint the icing to the color you want (colors will darken the longer they sit); you can thin the icing by adding drops of water; you can use a pastry bag to flood the cookies, but I found it much easier to use squeeze bottles, which can be found at any craft store in the cake decorating section; you don't need to fill the entire area, you can fill in any holes with a paint brush sized pastry brush or a toothpick
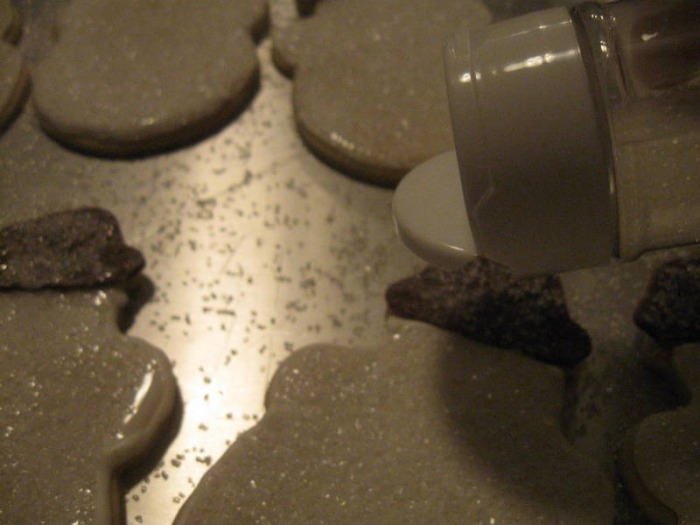
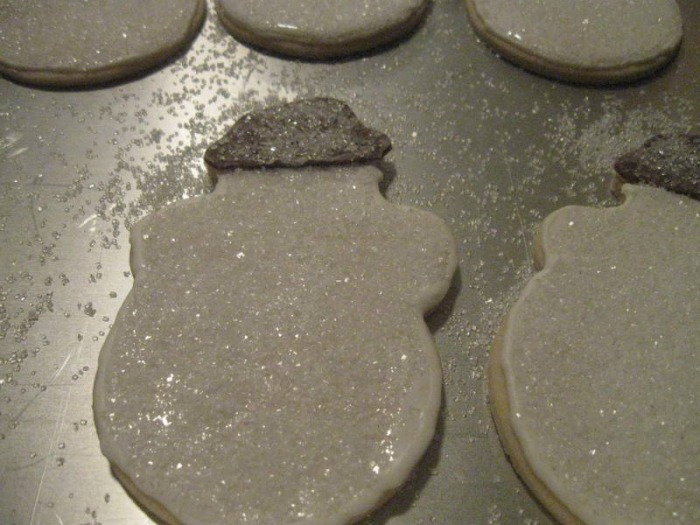
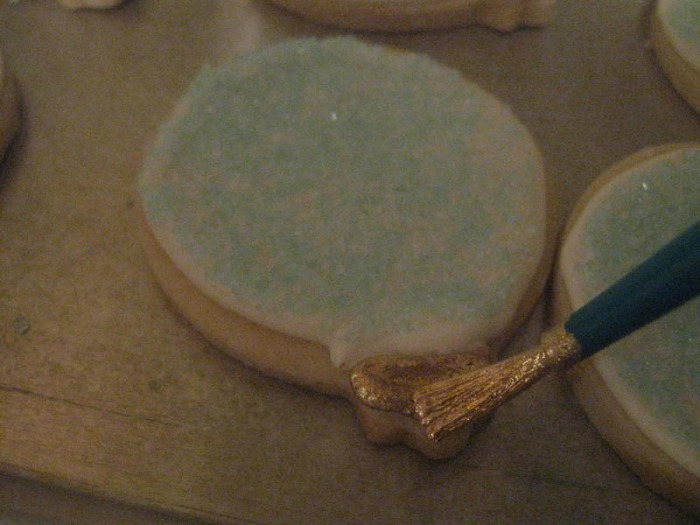
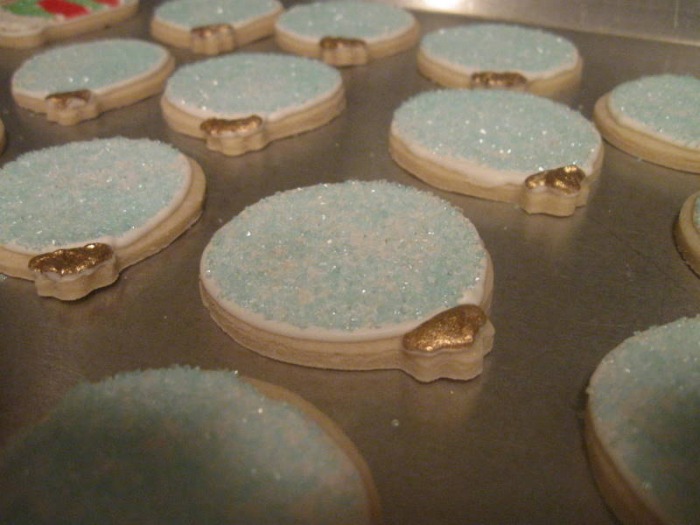
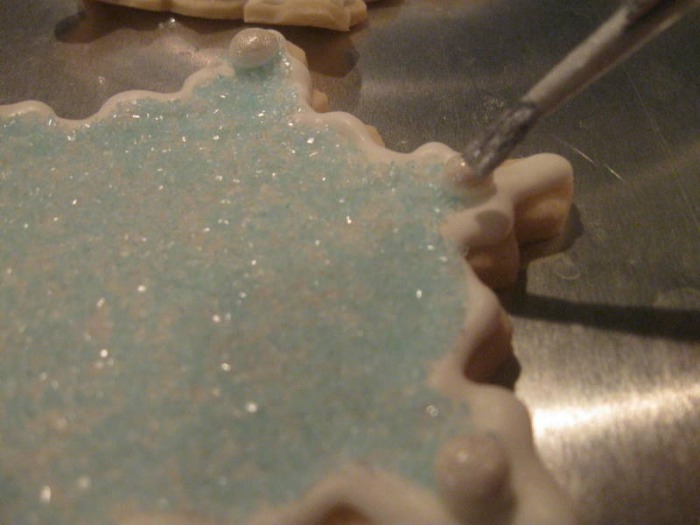
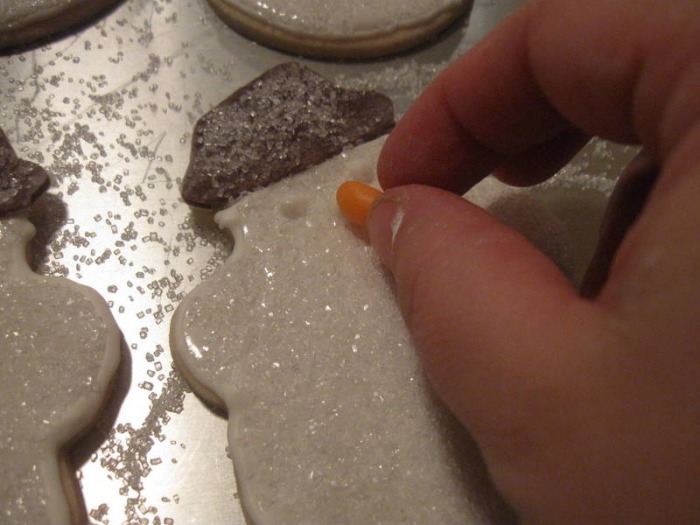
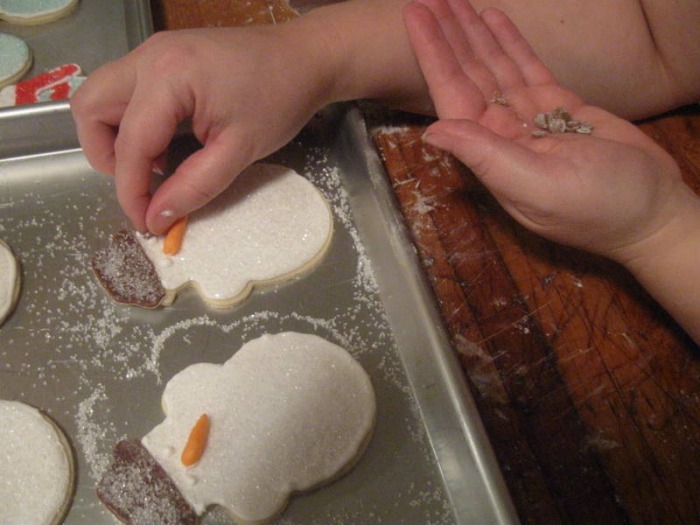
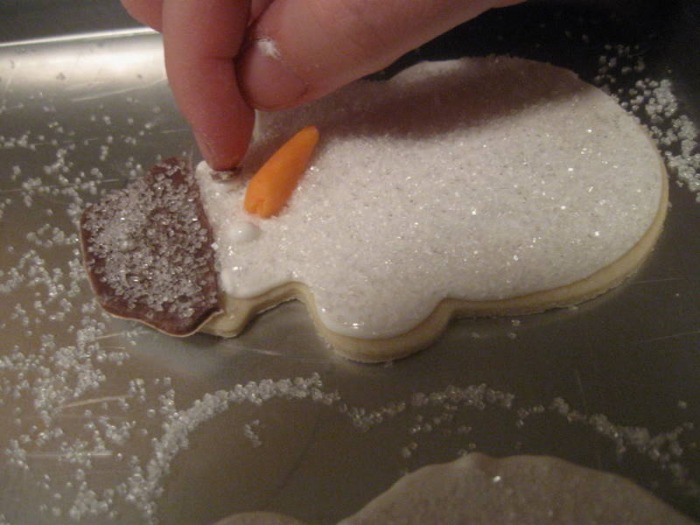
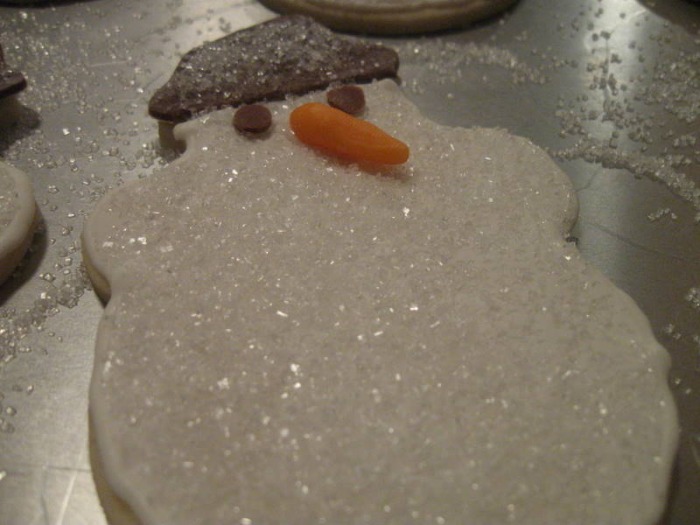
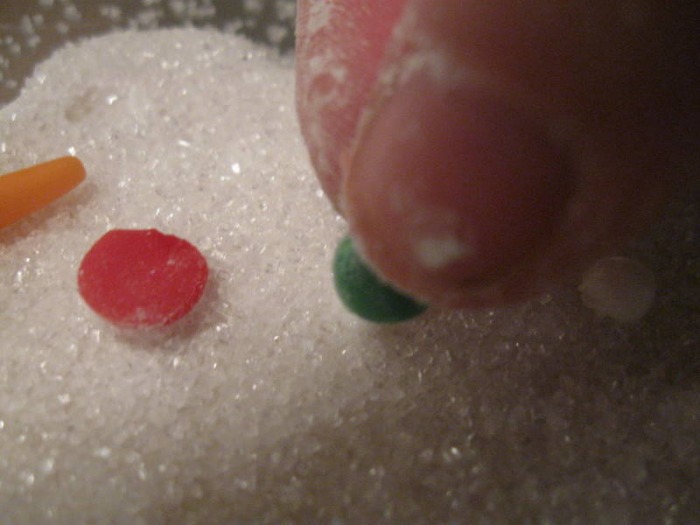
- let the flooded icing dry overnight unless you're dipping the cookies in sanding sugar; if you're dipping in sanding sugar you want to let the icing dry until it's tacky and then dip the cookie in sugar that you've got spilled into a wide shallow dish; keep in mind that some of the sugar will spill off once the icing is completely dry so dip a little heavy; if you want to do multiple colors of sanding sugar (like stripes) then you will need to flood the different sections separately and dip them in the sugar, let them dry completely and then flood the next section and dip, etc
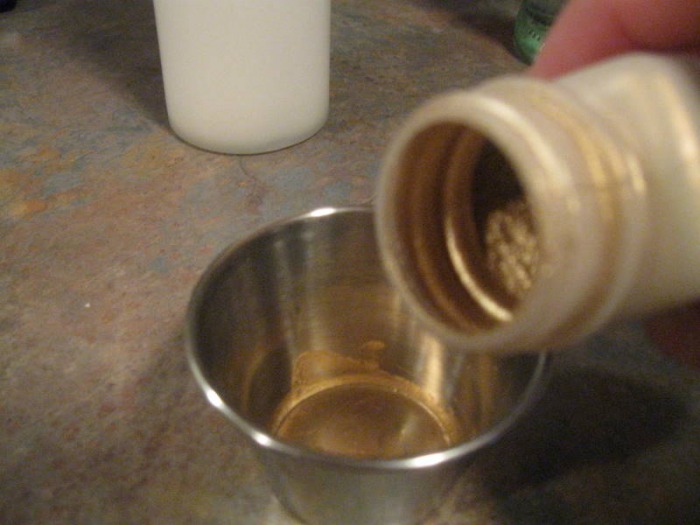
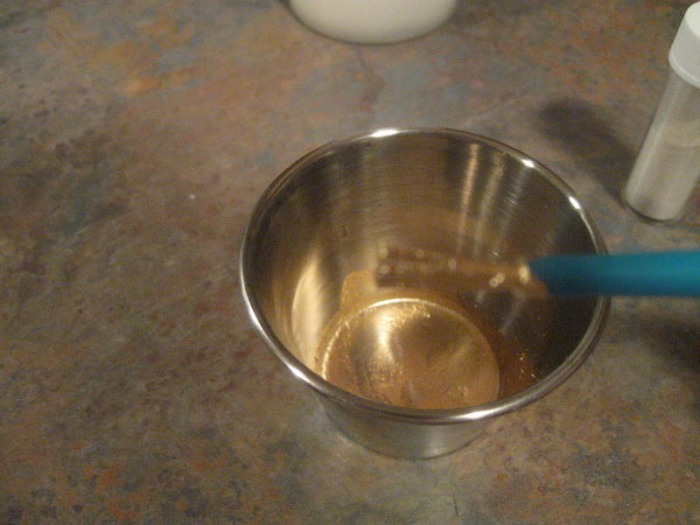
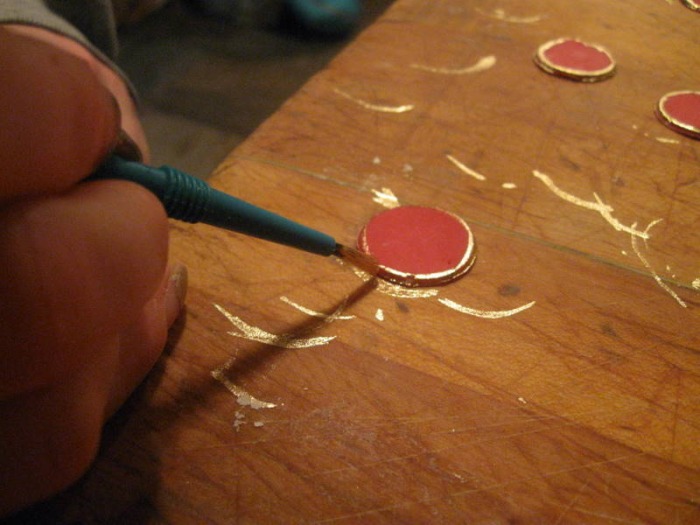
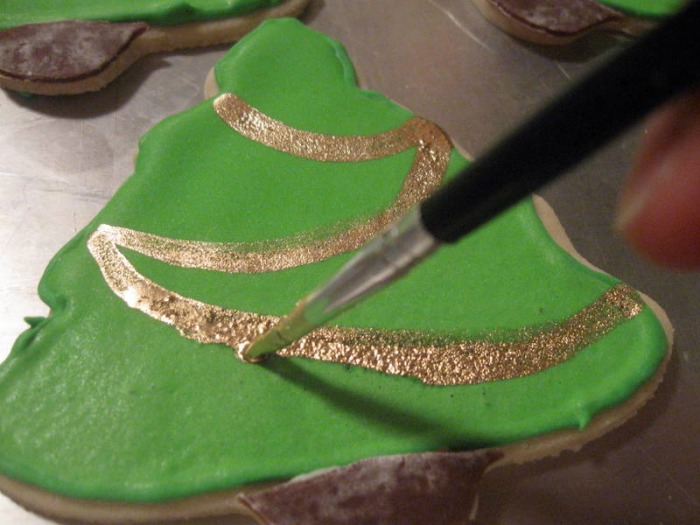
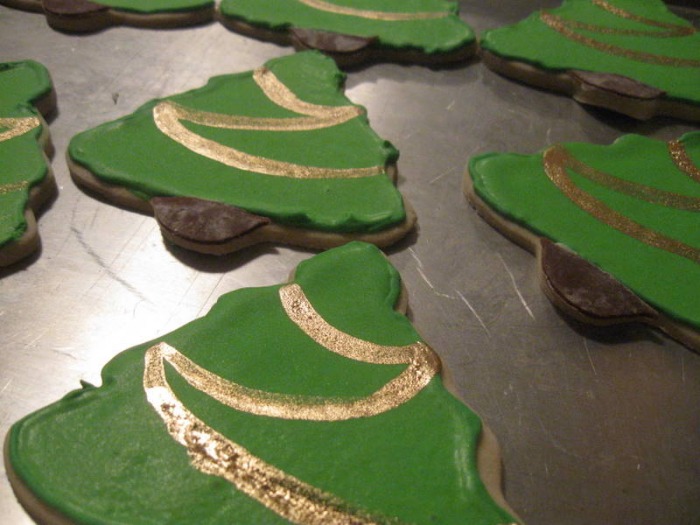
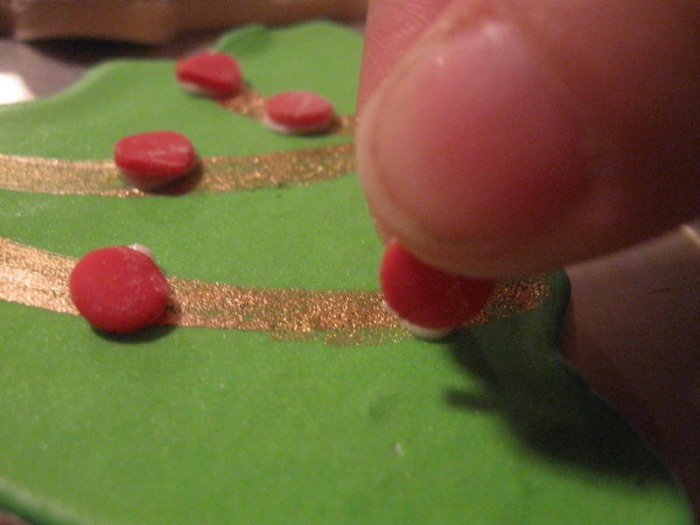
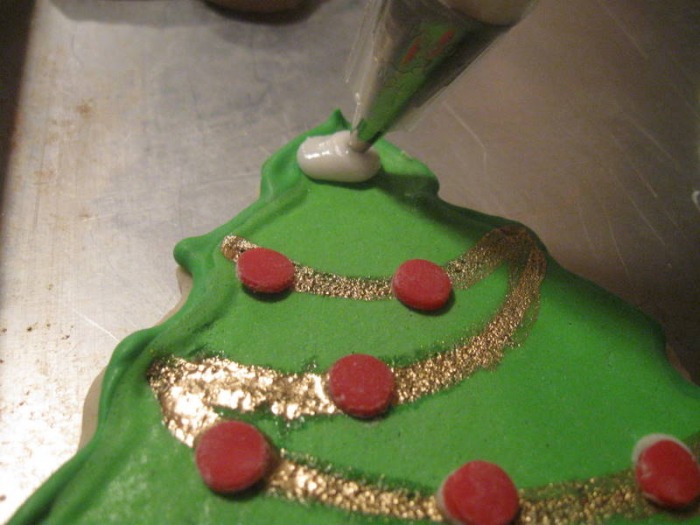
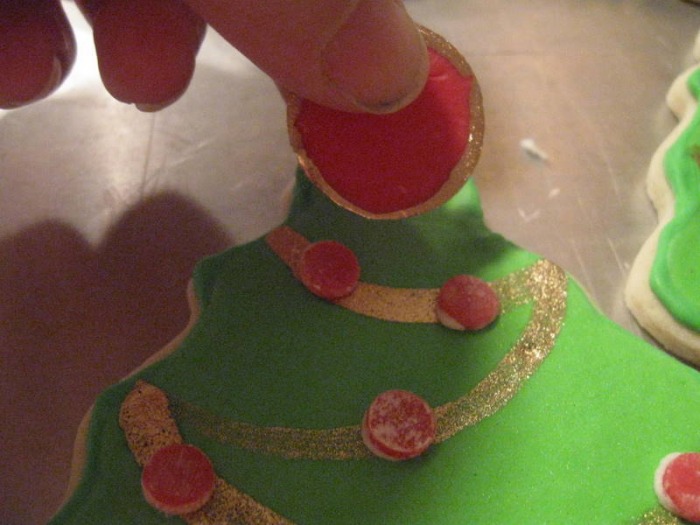
- once the icing is completely dry you can pipe decorations over it, you can paint on gold or silver dust or you can use markers that are made from edible ink to draw on decorations
- the biggest key to successfully decorating the cookies without pulling out your hair or giving up is to have a plan and stick with it... choose the shapes you're making ahead of time, plan how you want to decorate each design, decide on the colors you'll use and if you'll be using sanding sugar; make a list of everything you need and get it all ready before you start to decorate; trust me-it will simplify the process and keep it enjoyable!
- keep in mind that this can be a long process, so give yourself enough time to do the different steps and your cookies will turn out beautiful
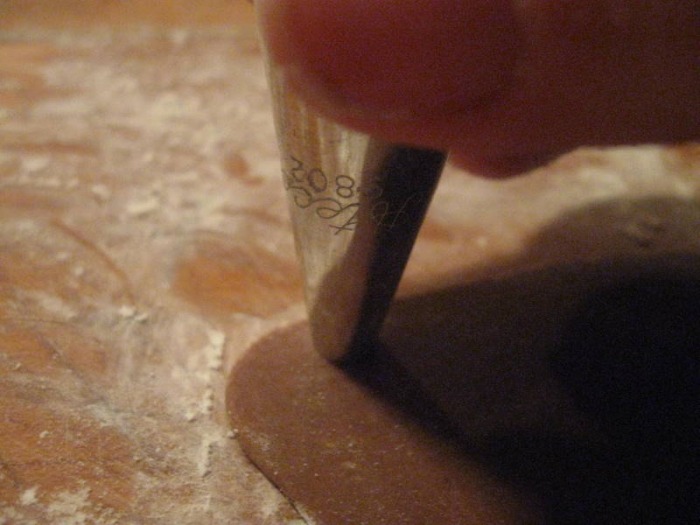
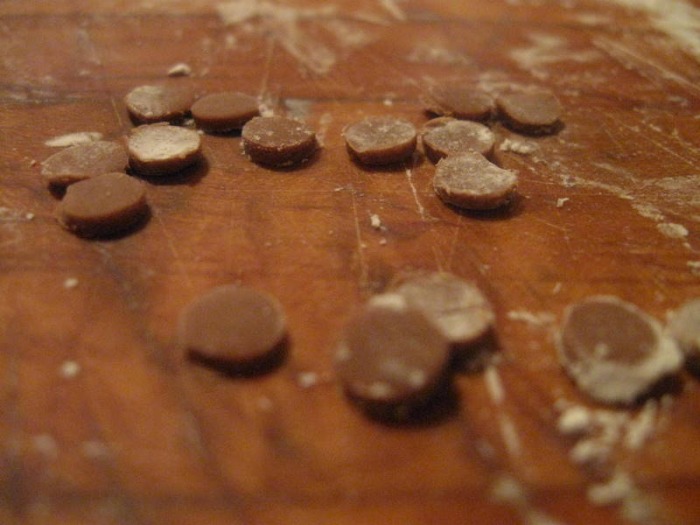
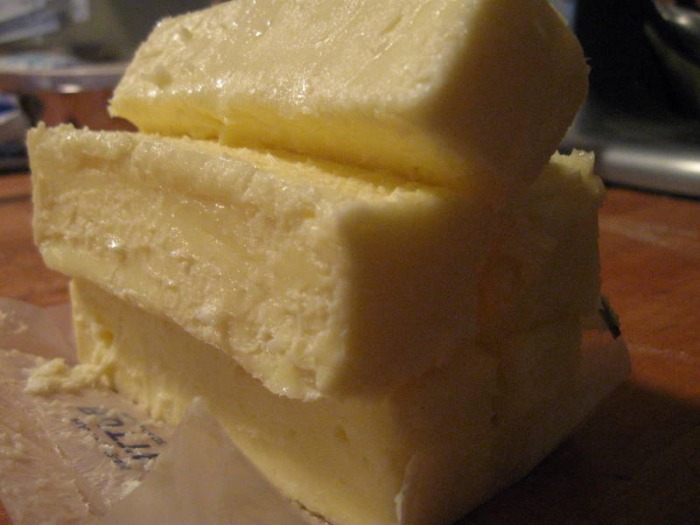
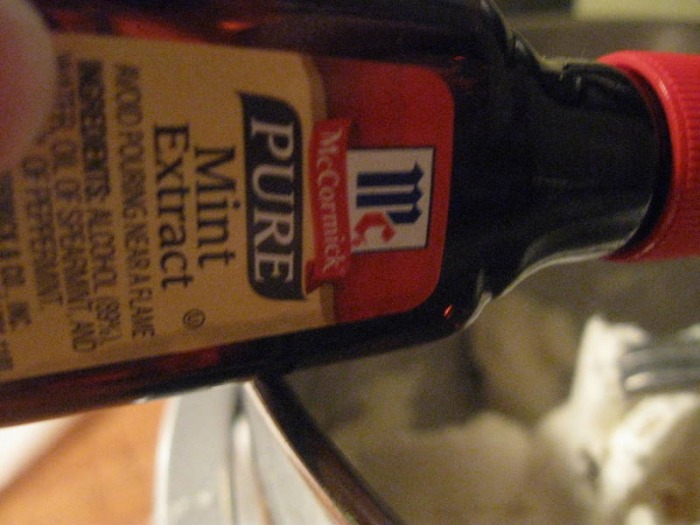
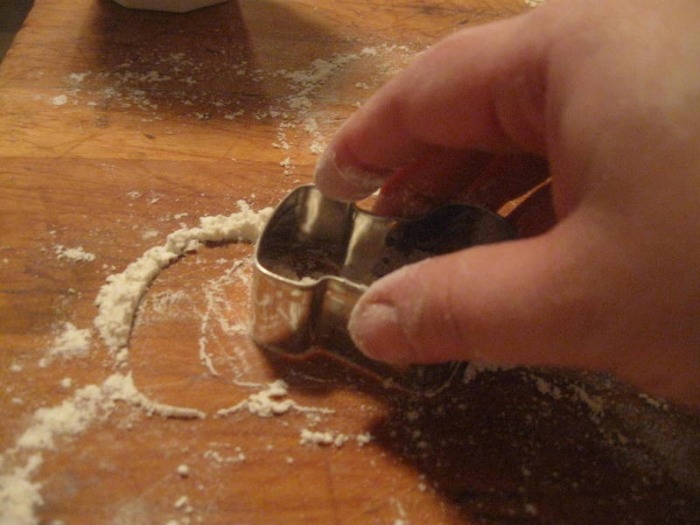
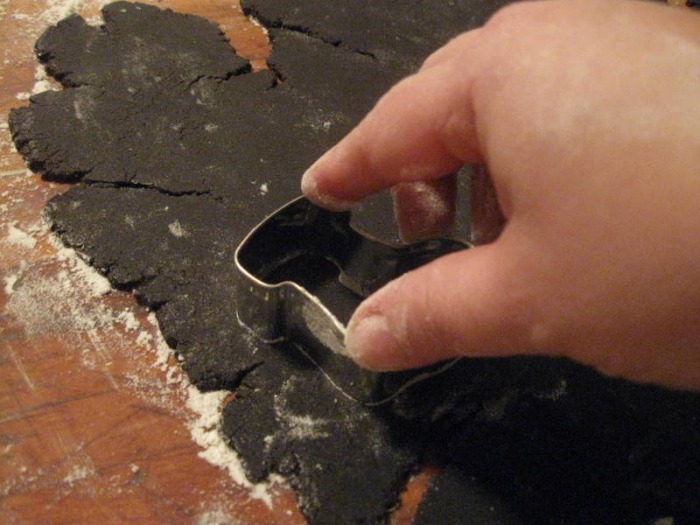
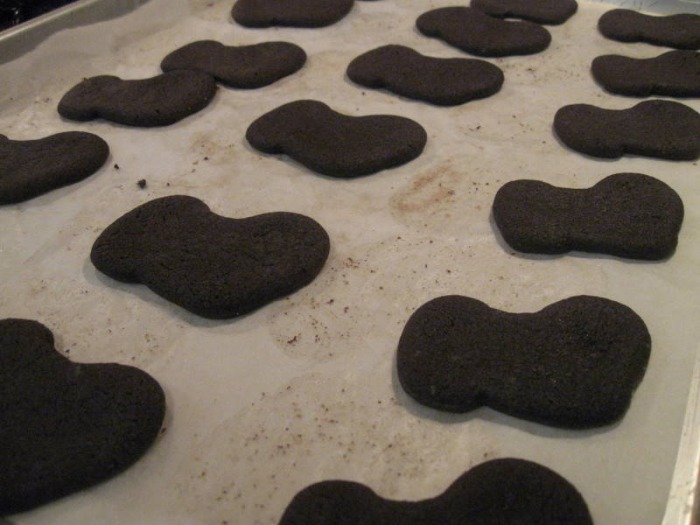
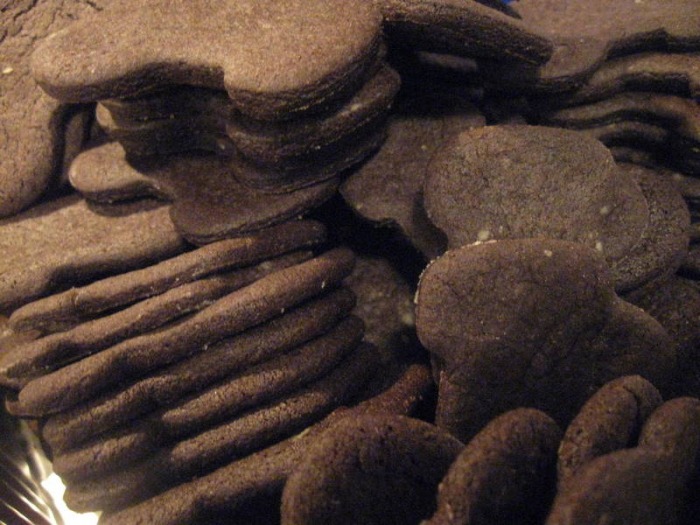
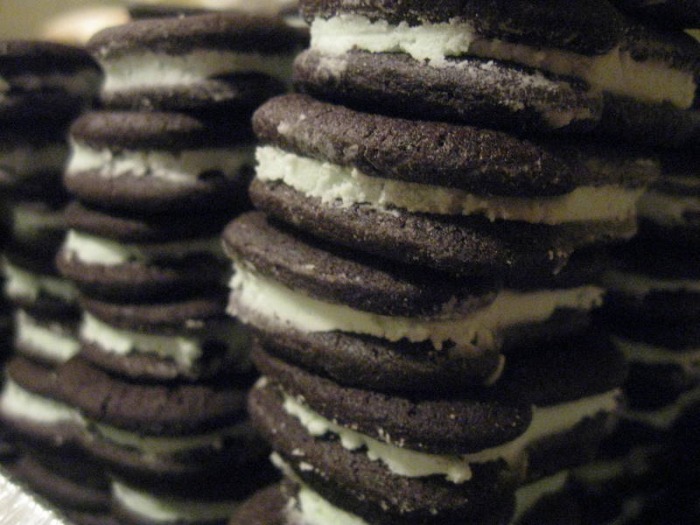
 I'm sure a lot of you read Smitten Kitchen's blog. If not, you need to go there right now and start reading. I'll wait here... okay, are you back? She is a huge inspiration and one of the many reasons I started writing this blog. A few years ago I found her blog accidentally when I wanted to make some homemade oreos and started googling. She has the most fantastic oreo recipe and I've made it several times. It's always been in the back of my mind that the dough would be great for cut out cookies. So, this year when I was narrowing down my choices for the cookies I was going to make for various cookie exchanges I decided to try out my idea. I decided to use a stocking cookie cutter and make the filling mint, in keeping with the holiday theme. The dough really held together well, and I think you could easily use it to cut out pretty much any shape. The filling itself is so neutral that you could easily flavor it with any extract to really customize your cookies. Of course, you could just leave the recipe as is to make traditional oreos! I found the dough was easier to roll out when it wasn't super cold right out of the refrigerator. It's pretty easy to roll even when it's warm, but I noticed that the cookies that I baked from the room temperature dough poofed up a lot more while they baked. They still looked like stockings, but the cookies cut from the cooler dough retained their shape better. Depending on what you're doing with them you may not care. Just be sure to liberally flour your work surface so the dough doesn't stick; or if you don't want to add more flour you can always roll the dough out between two pieces of plastic, use powdered sugar or you could use cocoa. As I said, I got this recipe from Smitten Kitchen's blog, and I don't think I made any changes, except for cutting them out, and making the filling mint. So go make some oreos and enjoy! -The Baker
Homemade Oreos (from www.smittenkitchen.com) Yield: 41 cookies (this will vary depending on how big the cookies you make are) Prep: Preheat oven 375 F CHOCOLATE WAFER COOKIE: - 1 ¼ C AP Flour
- ½ C Dutched cocoa (unsweetened)
- 1 t Baking Soda
- ¼ t Baking Powder
- ¼ t Salt
- 1 C Sugar
- ½ C + 2 T (1 ¼ sticks) Butter
- 1 Egg
- sift together flour, cocoa, baking soda, baking powder, salt and sugar into mixing bowl
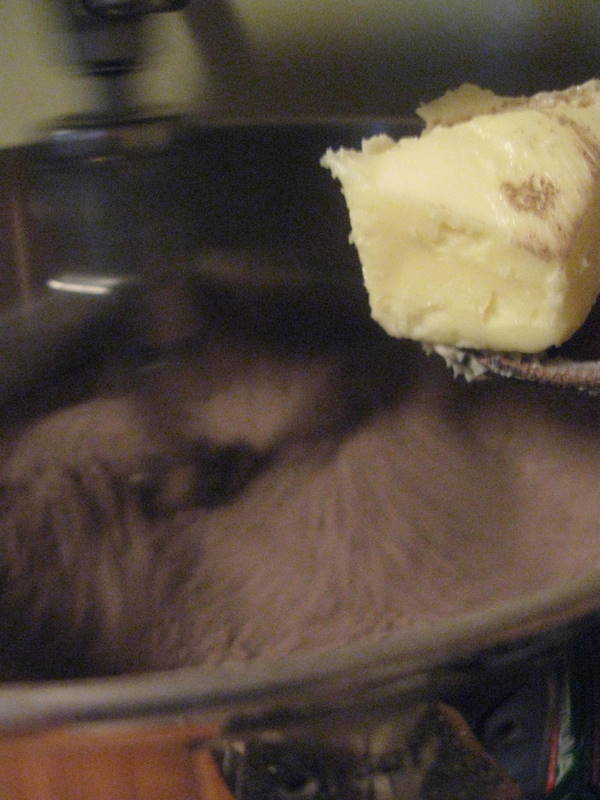
- on low speed add butter until it looks “sandy”
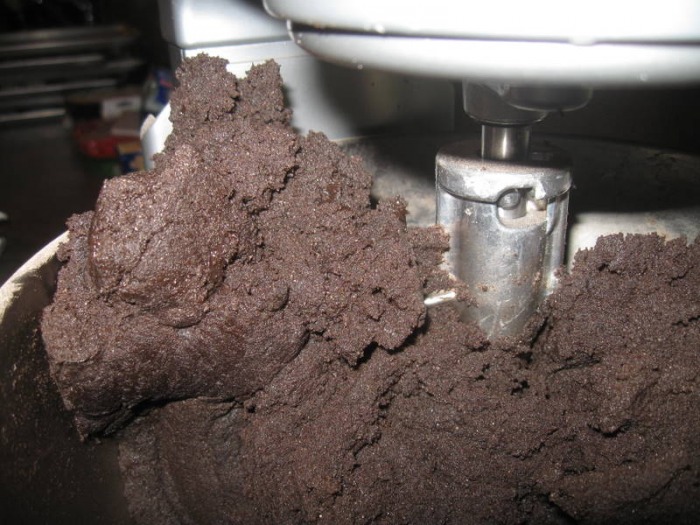
- add egg; mix until dough comes together
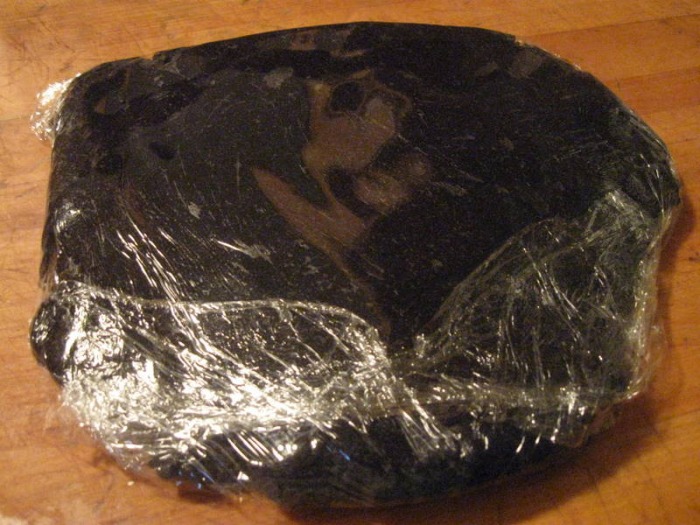
- scoop (using #70 scoop; will make 41 balls)
- divide balls in ½ and roll into a disk (can fit 24-4X6-on a ½ sheet)
- bake for 8 minutes
- *To use this wafer cookie for making ice cream sandwiches increase the sugar to 1 ½ C*
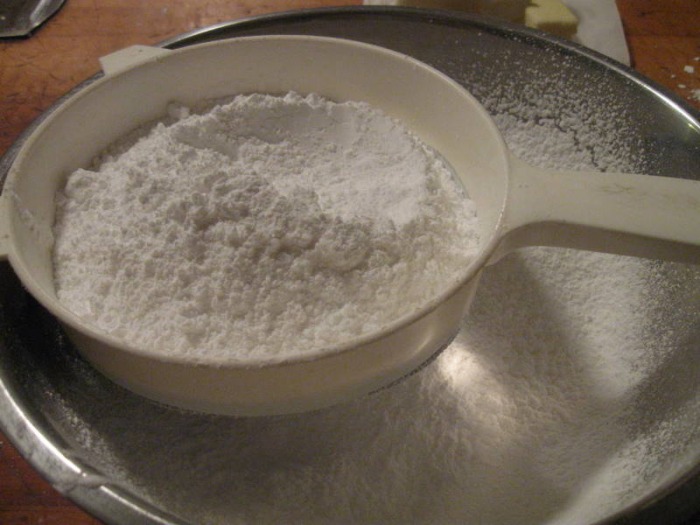
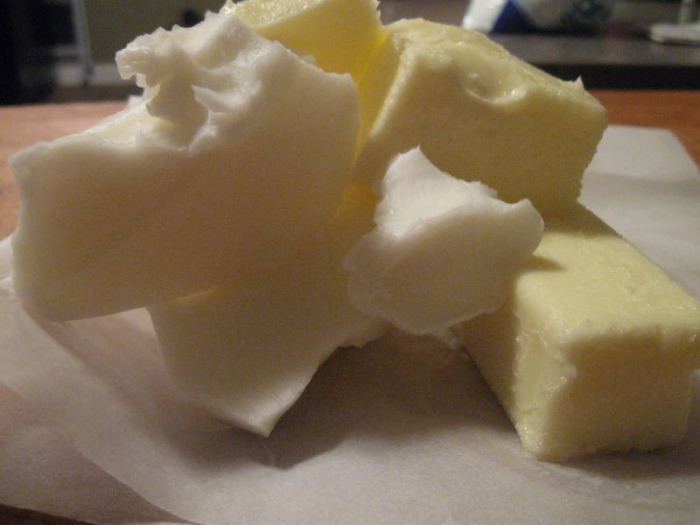
CREAM FILLING: - ¼ C (½ stick) (57 g) Butter
- ¼ C (57 g) Vegetable Shortening
- 2 C (358 g) 10X (sifted)
- 2 t Vanilla Extract
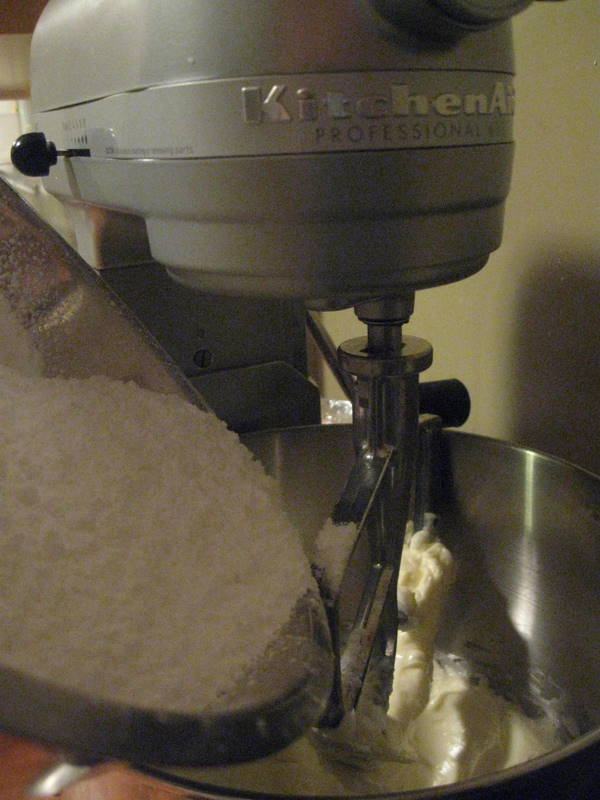
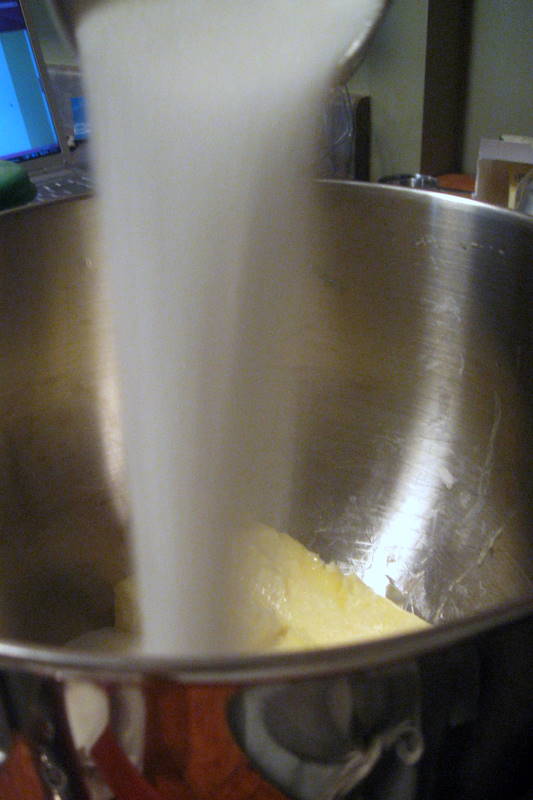
- in mixing bowl add all ingredients
- in low, mix until filling comes together; be sure it's not too dry because the cookies won't stick together; if dry add a bit more vanilla
- then turn mixer on high and beat for 2 minutes until filling is light and creamy
To assemble:- half of the baked cookies will be tops and the other half will be bottoms
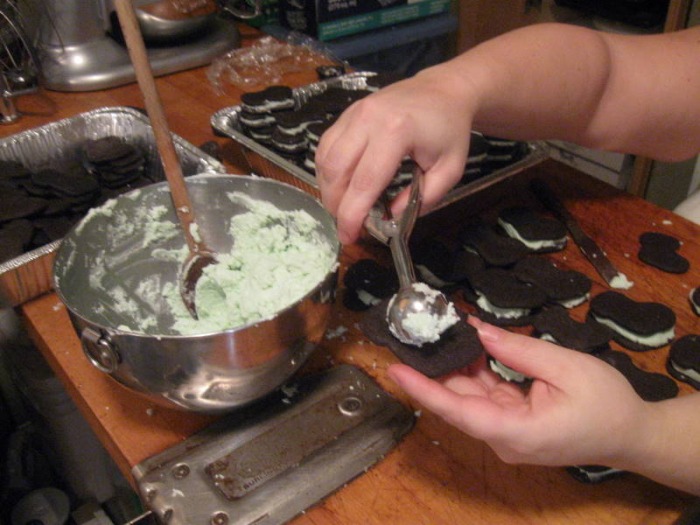
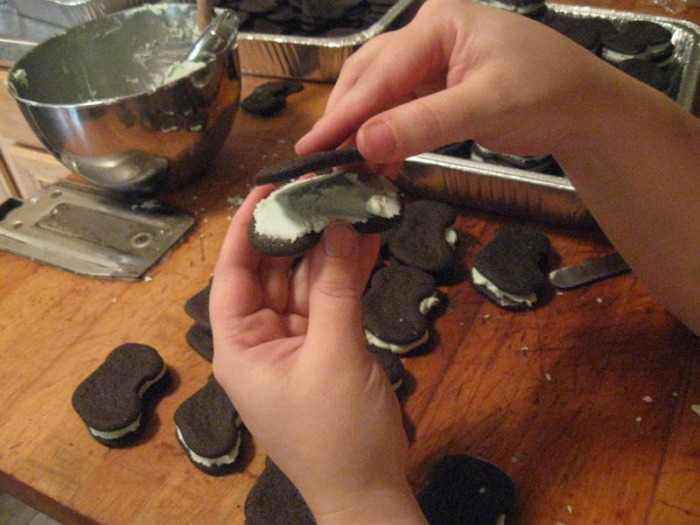
- scoop filling (using #70 scoop) and put on the bottoms
- place the tops on the filling and gently squeeze to spread the cream to the edges
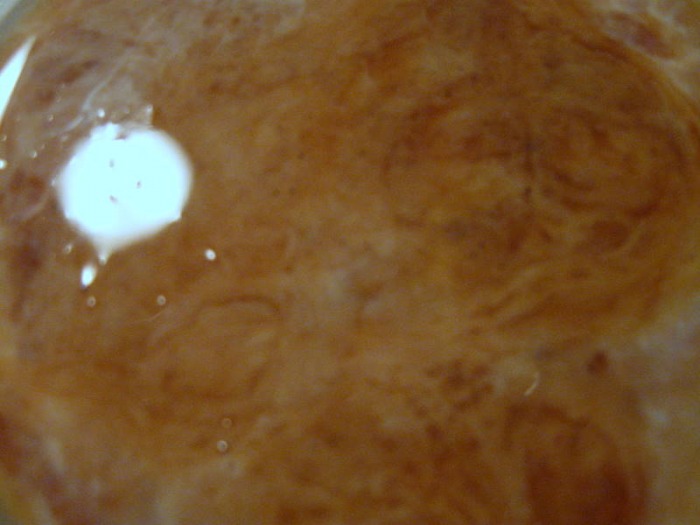
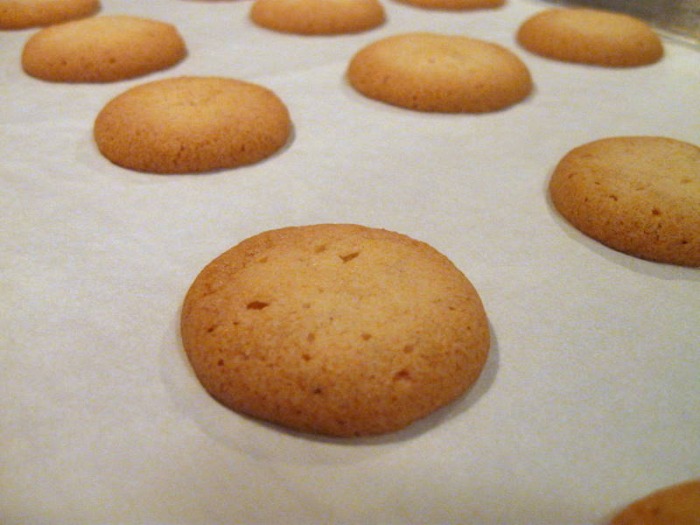
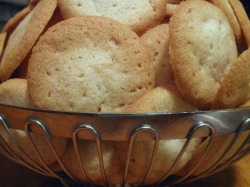 So you know how I'm constantly harping at you to try to make things yourself? How I insist homemade is so much better. How I look down my nose at store bought treats. Well, I'm going to let you in on a little secret... I have a major "thing" for Nabisco 'Nilla Wafers. I can eat the whole box. I don't mean, "oh, I can eat the whole box," but I eat just a handful. I mean literally, I can eat the whole box... and I have... several times... oh, all right, every single time I've bought them. I can't stop myself. I can't take the pressure of loading them into my cart and promising myself I won't eat the whole box in one sitting. But, by the time I've gotten to my car I've opened the box. By the time I get the groceries in the house it's halfway gone. As the last of the groceries are put away there are only a few cookies left. It's a pet peeve of mine to leave just a couple pieces of something in a box just so you can say you weren't the one who finished it. ( DO YOU HEAR ME M1???) So I feel compelled to finish the few stragglers. And once again I've eaten the whole box. So I've stopped buying them. But lately I've been craving them. I can't break my promise and go buy them so I decided to try my hand at making them. I scoured the internet and found quite a few recipes, but when I made them they were really just butter cookies. They were lacking the crunchy snap that 'Nilla Wafers have. They were also missing the way they seem to almost dissolve in your mouth and the golden color that I associate with 'Nilla Wafers. Until I found this recipe. From the pictures it seemed to be exactly what I was looking for. So I made a batch. They were super simple and quick to make. And WOW, were they good. So, what did I do? I ate the entire batch! Try these cookies out and fall in love with them like I did. They don't taste exactly like the Nabisco ones, they're so much better! You'll hate me but your kids will thank you! You can use them in puddings, or fill them and sandwich them together, or just eat them right off the pan! -The Baker
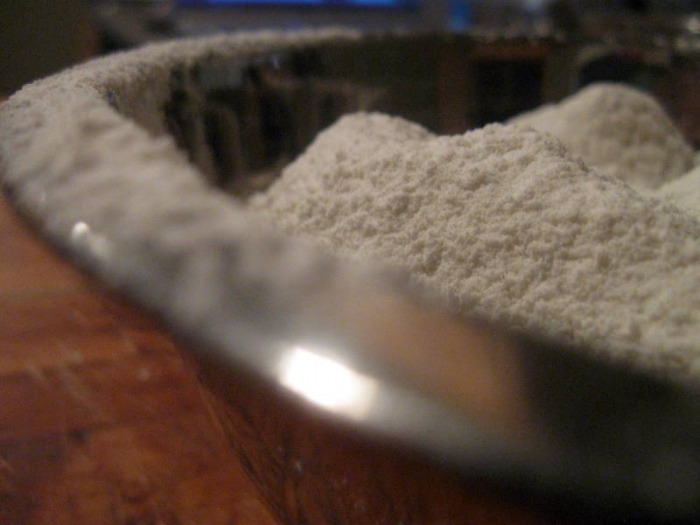
VANILLA WAFERS: (taken from www.seriouseats.com) yield: approx 10 dozen - 8 oz (224 g) Butter, softened
- 1/2 t (3 g) Salt
- 2 C (420 g) Sugar
- 2 Egg Whites
- 1 T (16 g) Vanilla Extract
- 2 T (32 g) Milk
- 2 2/3 C (320 g) All-Purpose Flour
- 1 1/2 t (6 g) Baking Powder
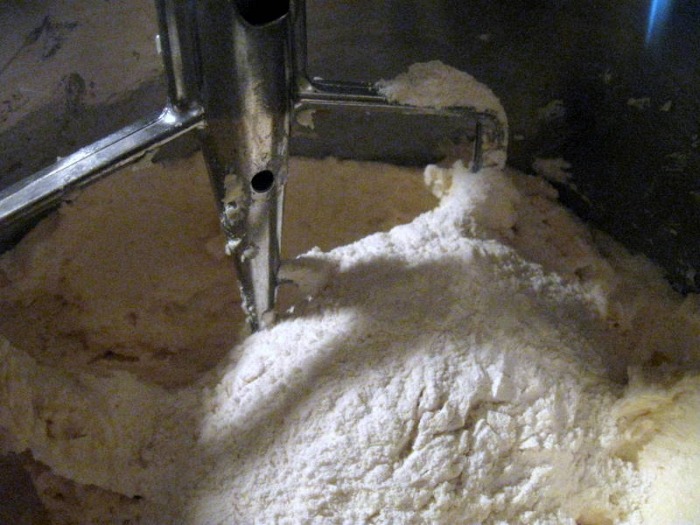
- with an electric mixer, cream butter, salt, sugar
- beat in egg whites until well incorporated
- beat in extract and milk until well incorporated
- whisk together flour and baking powder and add to butter mixture; mix just to incorporate
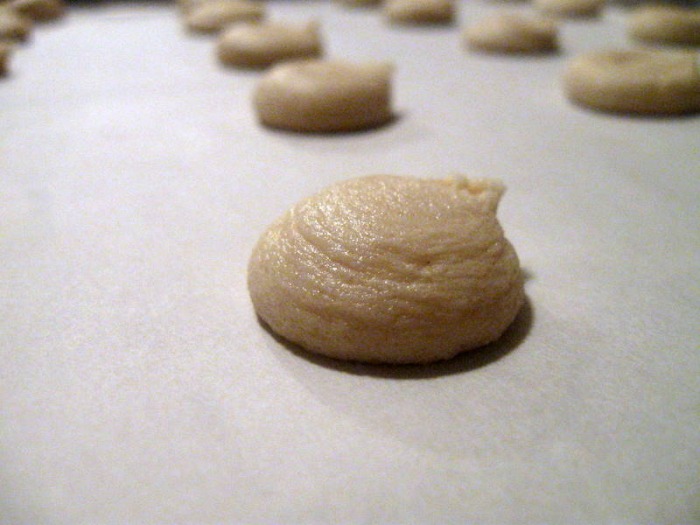
- fit a piping bag with a large, plain pastry tip; pipe batter into nickel-sized mounds, about 1 inch apart
- bake at 350 F for about 20 minutes, until cookies are lightly browned, rotating trays after the first 10 minutes for even coloring, cool completely before storing; cookies will keep in an airtight container for at least a week
 When I was in culinary school I had a fantastic Introduction to Baking and Pastry instructor, but the instructor for the Advanced class was worthless. He was the pastry chef at a very upscale hotel here in Chicago, so I know that he had talent, but when it came to teaching he either didn't care or he wasn't able to teach. He would stand around chit-chatting with people as they passed through the kitchen and cracking jokes. If you ever asked him a question his answer was always, "ham". I'm not kidding. It didn't matter what you asked him... "where are the eggs?" "ham". "how long should this bake?" "ham." "what temperature should the oven be?" "ham". It was really frustrating.
Early on I realized I wasn't going to learn anything from him. I decided that I would just teach myself. I made a goal to bake every single formula (that's what bakers call recipes) in the text book. By the end of the semester I had accomplished my goal!
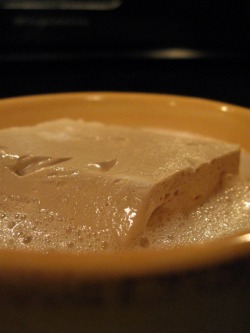
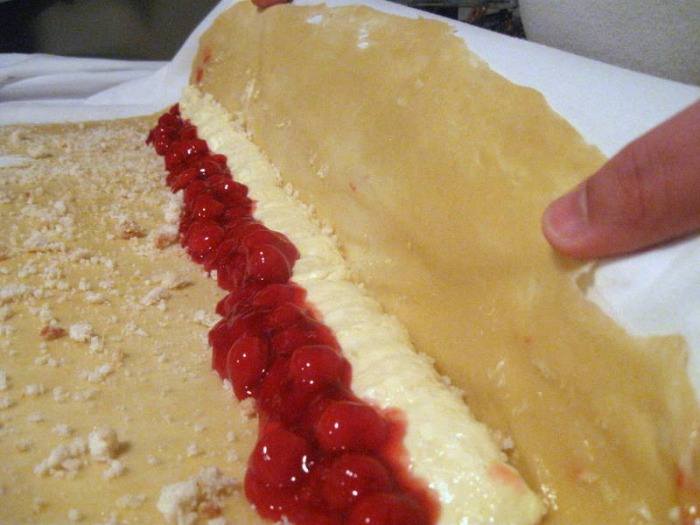
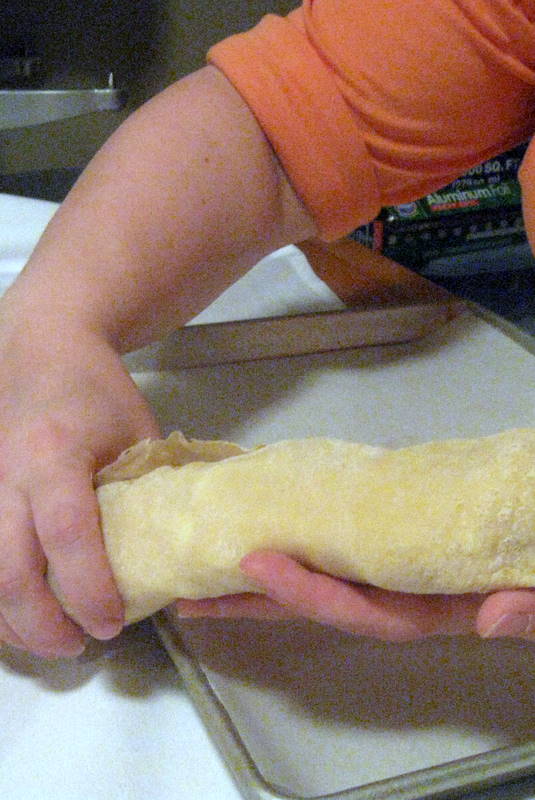
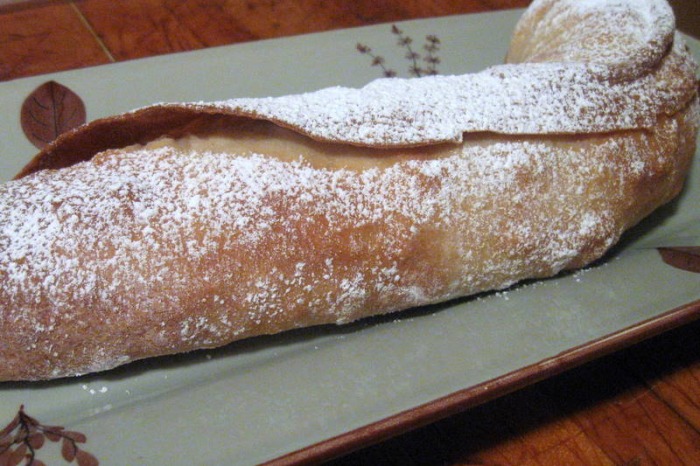
One of the most challenging (and for me, intriguing) recipes was strudel dough. It's definitely an old world recipe that gets passed down through families. You really only find strudel in older mom and pop style bakeries. You won't find it in any trendy bakeries. I won't lie, it's a challenge to make, but it's definitely possible and I highly recommend it.
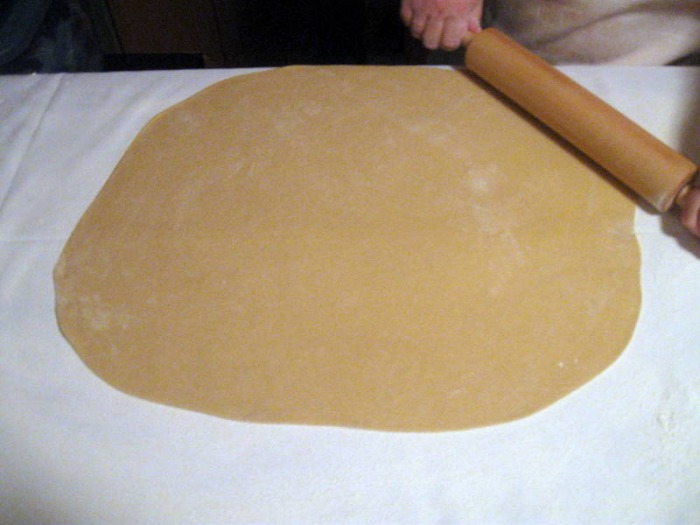
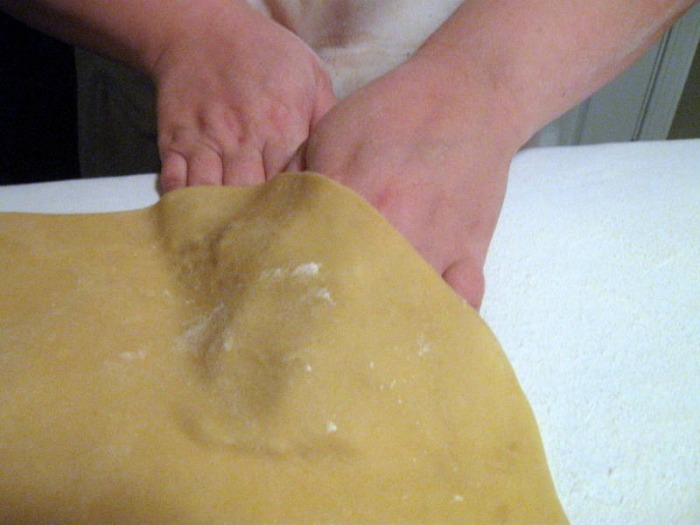
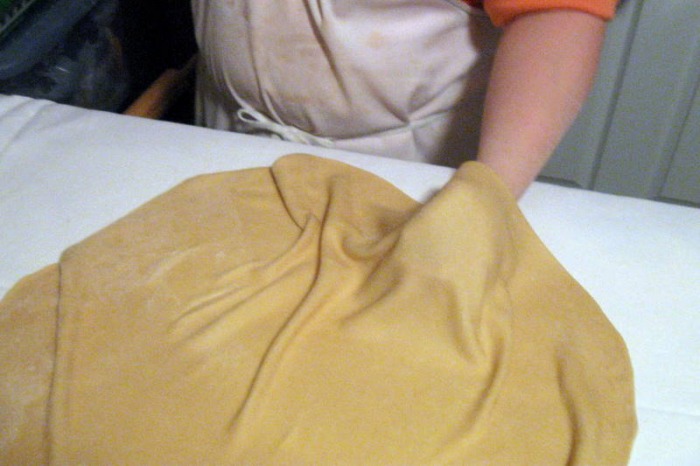
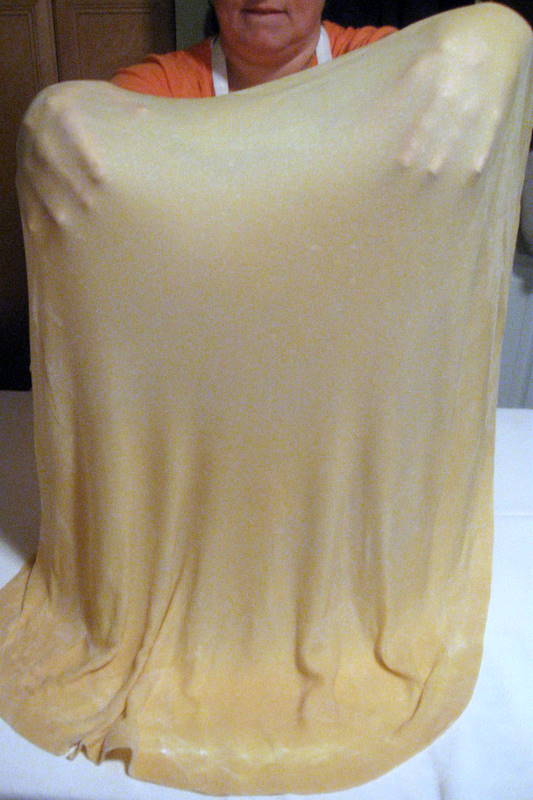
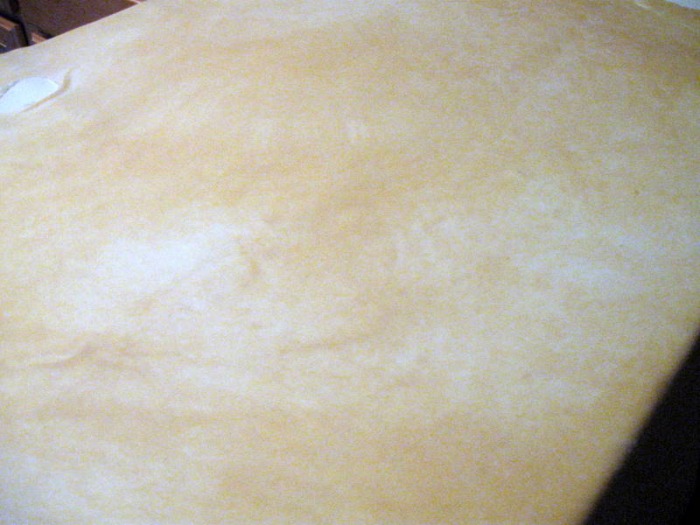
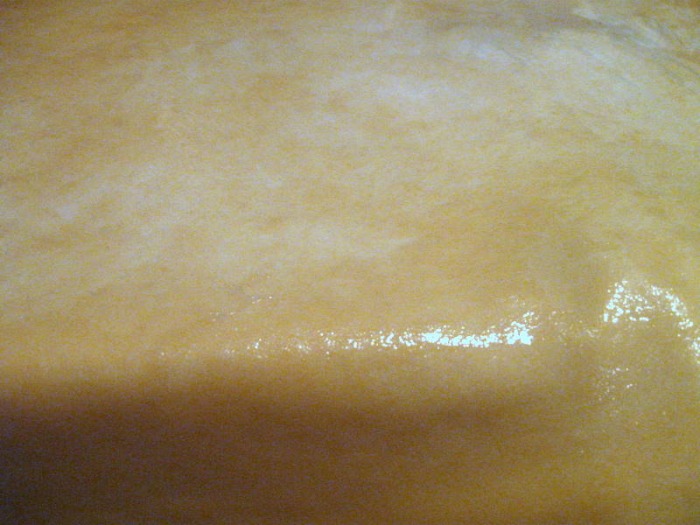
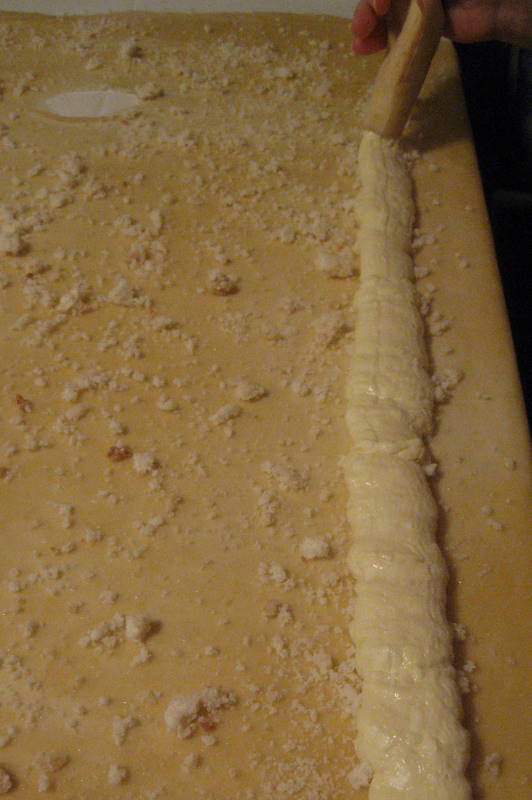
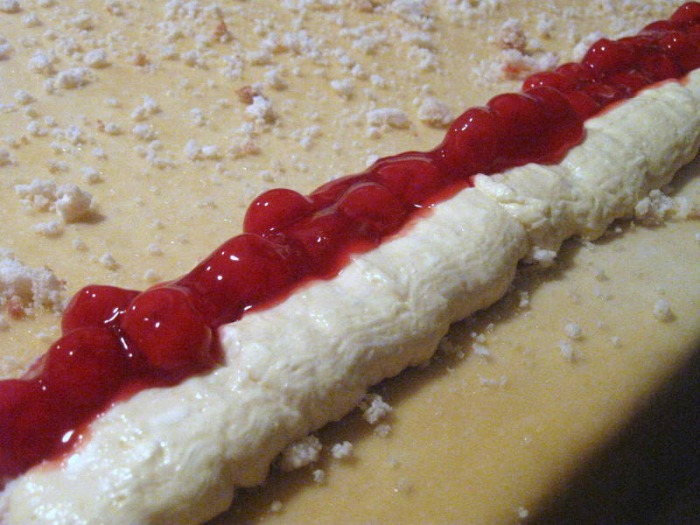
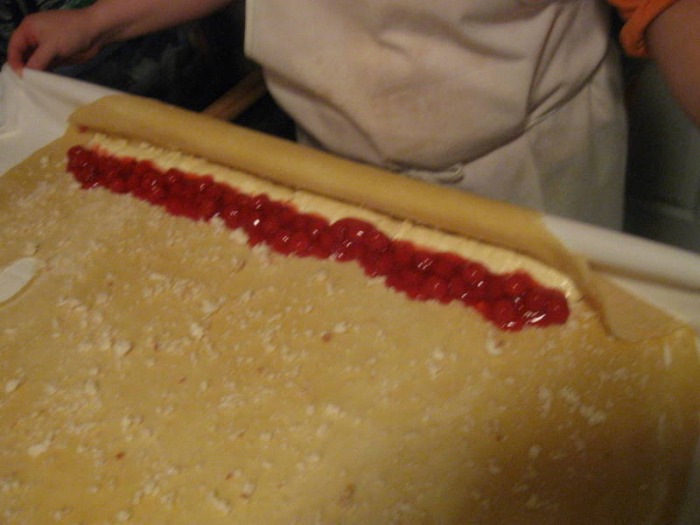
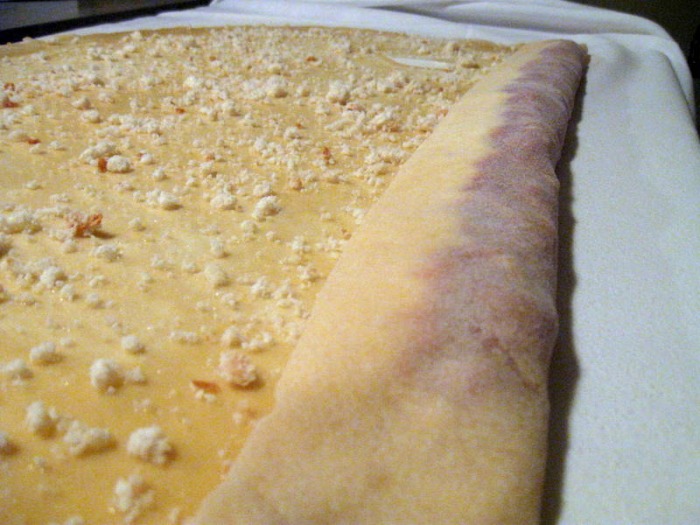
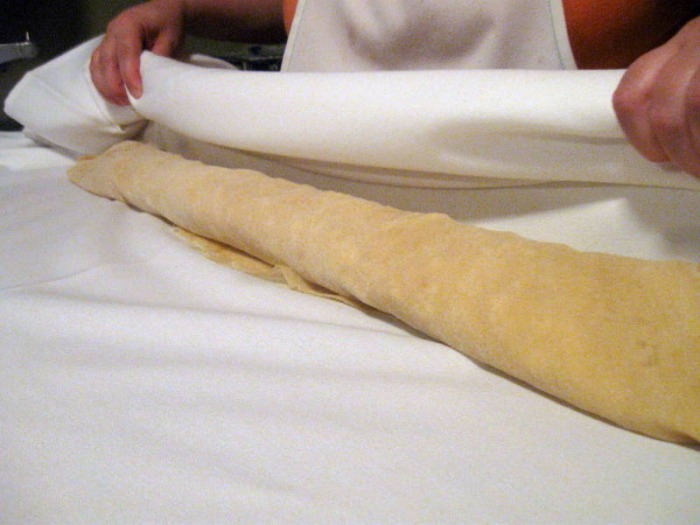
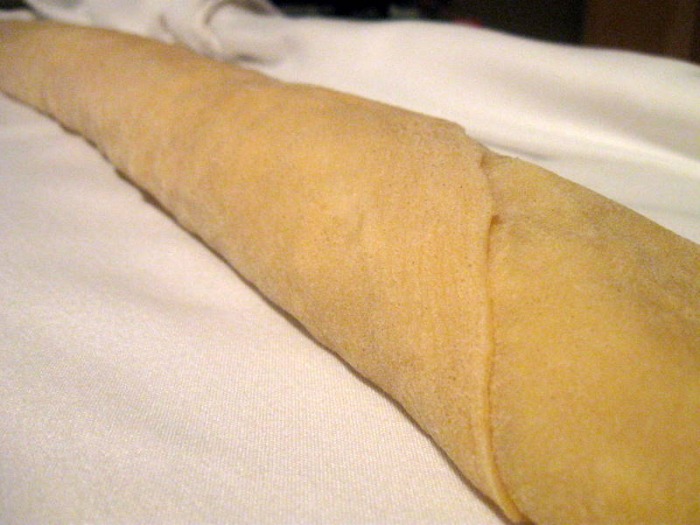
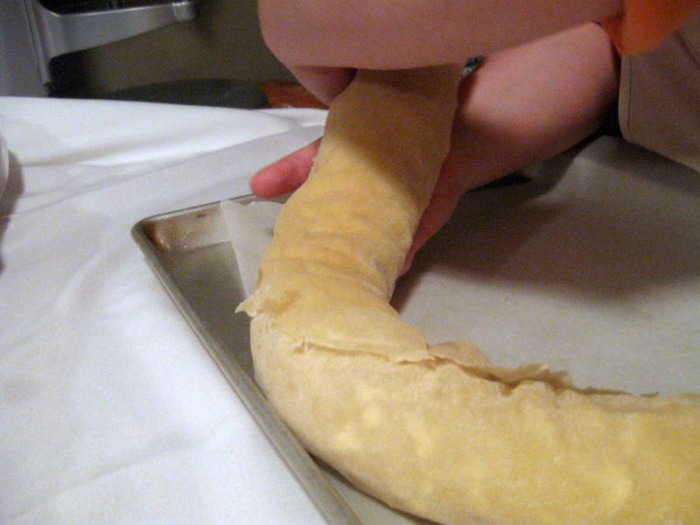
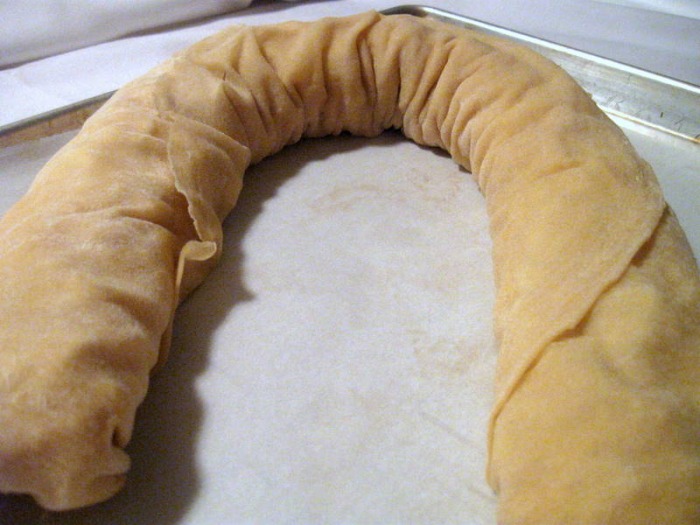
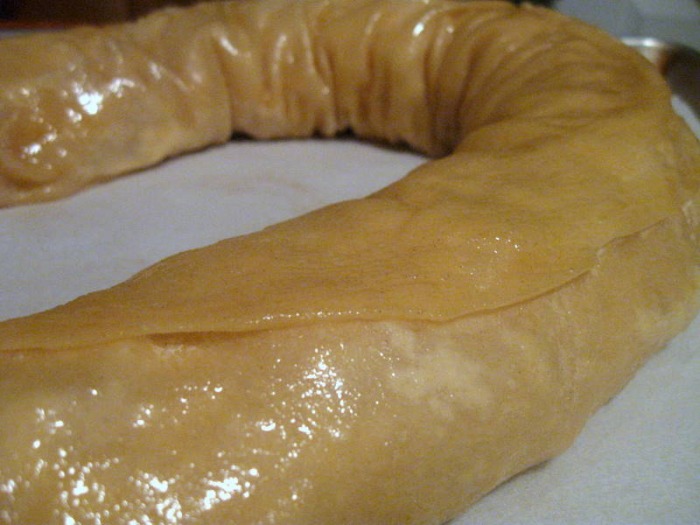
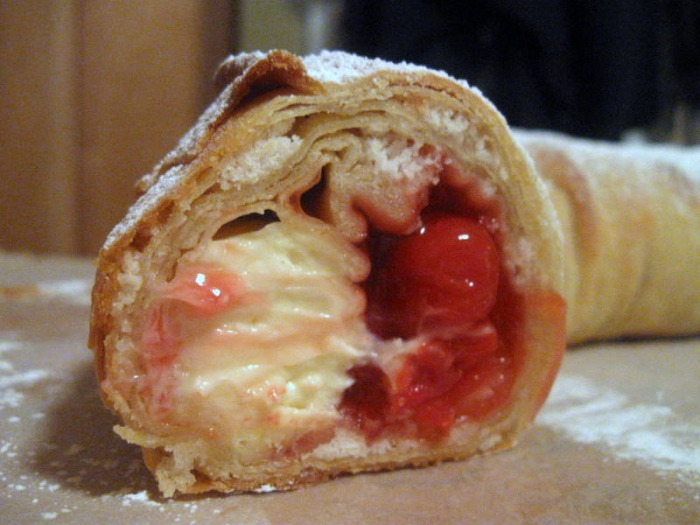
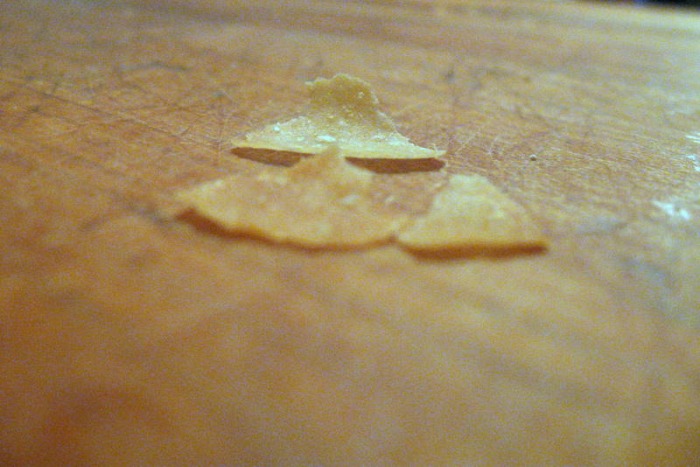
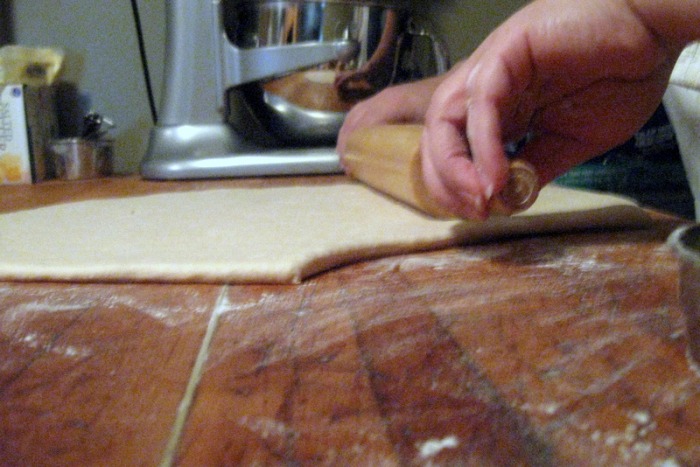
The key to strudel is to make the dough so thin you can read a newspaper through it. This is accomplished by gently stretching the dough with your hands. And patience. A lot of patience. The very thin dough is then rolled up around a filling and the thin dough becomes many many layers of flaky dough. In making this strudel I kind of "Americanized" the dough. I added eggs for some richness, which you will never find in a true European strudel.
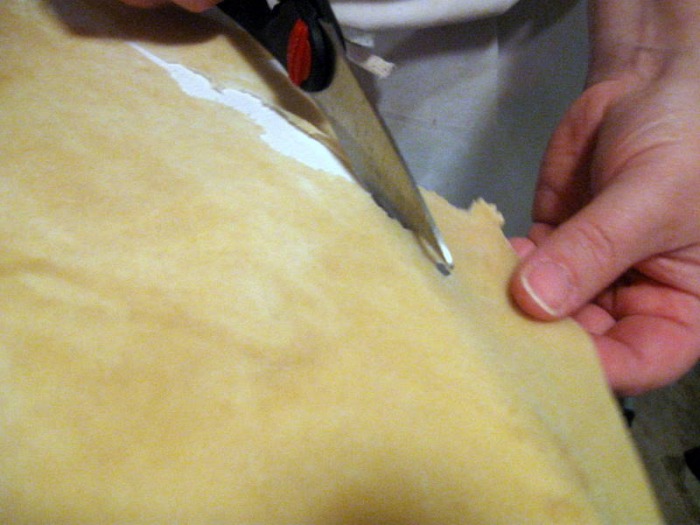
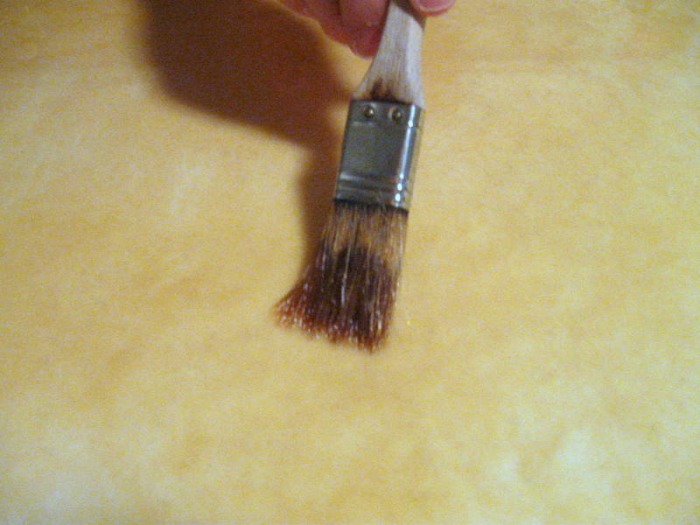
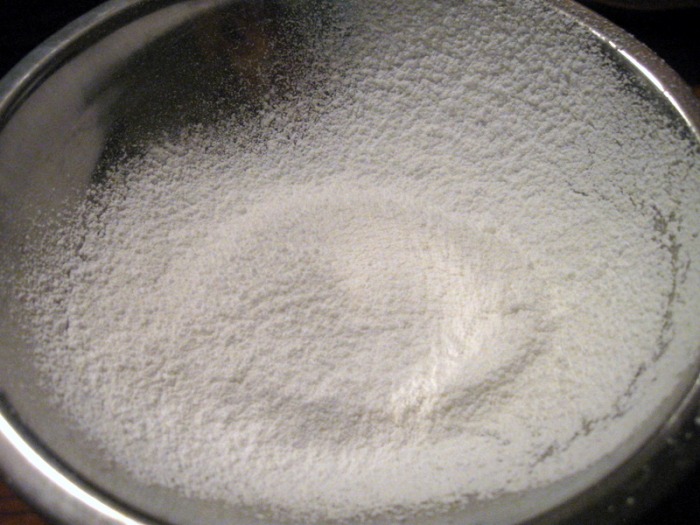
When you are ready to roll out the strudel work on a large table that you can walk all the way around. That will help you to evenly stretch the dough. Cover the table with a large table cloth and liberally dust it with flour. When you think you've dusted it with enough flour add a little bit more. Trust me, it will make your life infinitely easier.
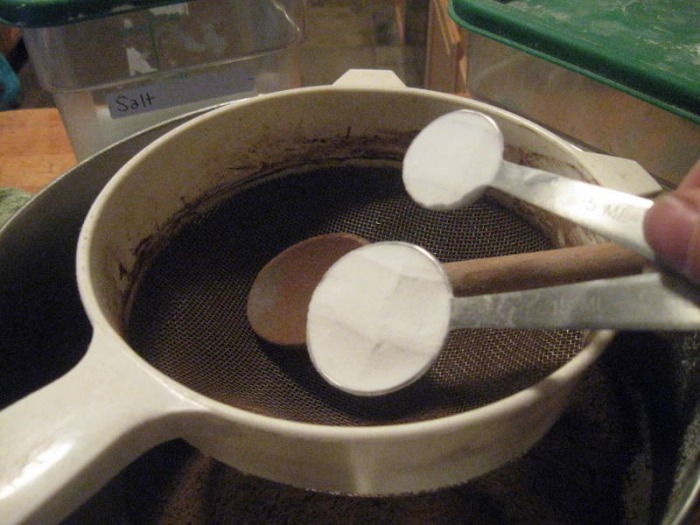
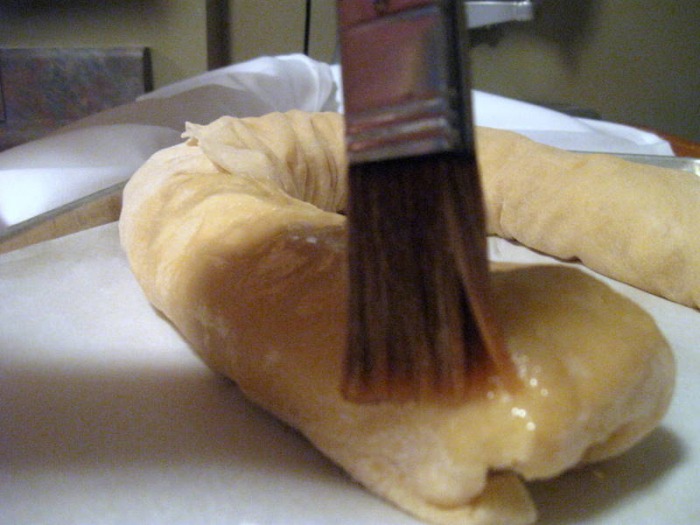
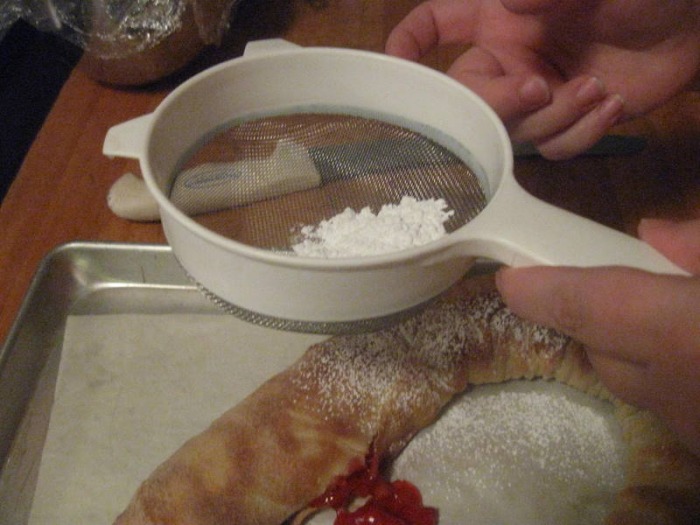
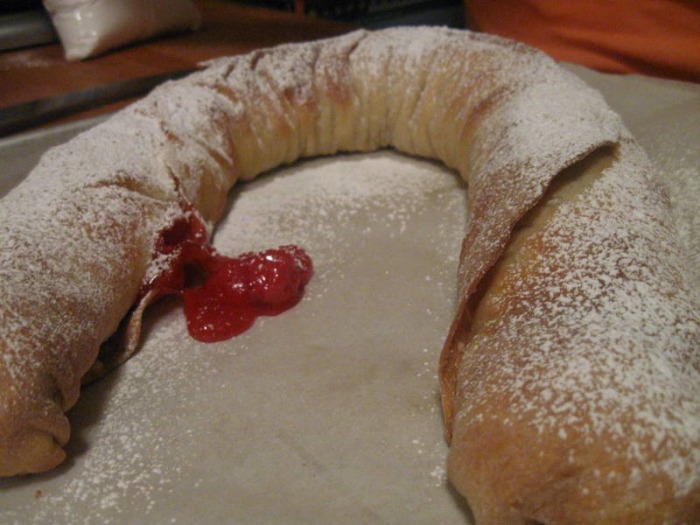
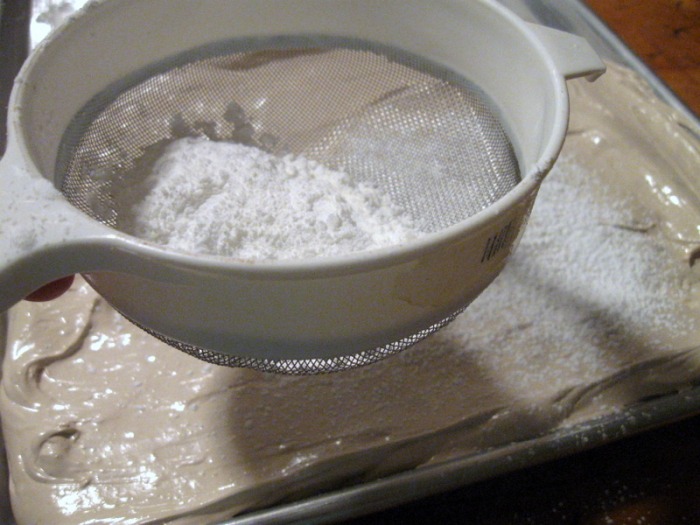
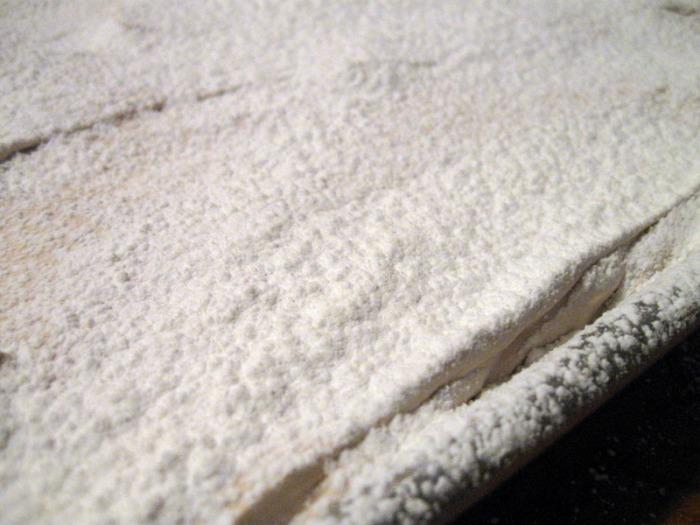
After you've baked the strudel let it cool just a little bit and dust it with some powdered sugar. Then cut yourself a nice thick slice... you've earned it! It's best enjoyed the day you bake it so share with your neighbors. The more you make it the better you'll get at stretching the dough. If you have kids you can rope them into helping you and start a new family tradition that they can pass onto their children.
-The Baker
STRUDEL DOUGH:- 2 1/2 C All-Purpose Flour
- 1/2 t Baking Powder
- 1/2 t Salt
- 1 T Sugar, granulated
- 3 Eggs
- 3 T Vegetable Oil
- 1/4 C Water
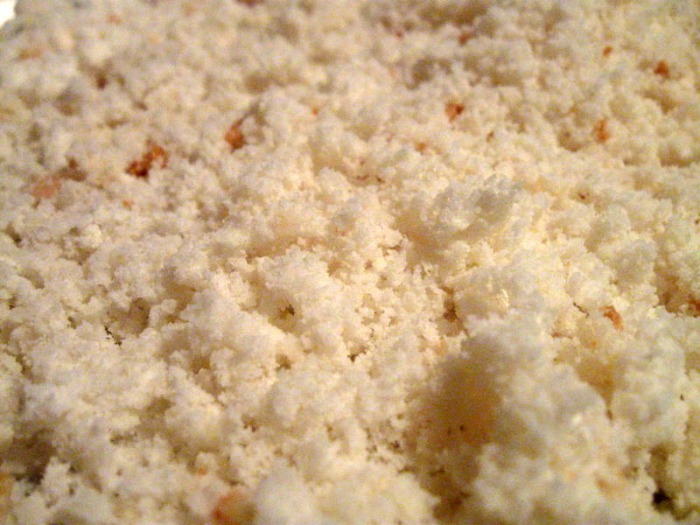
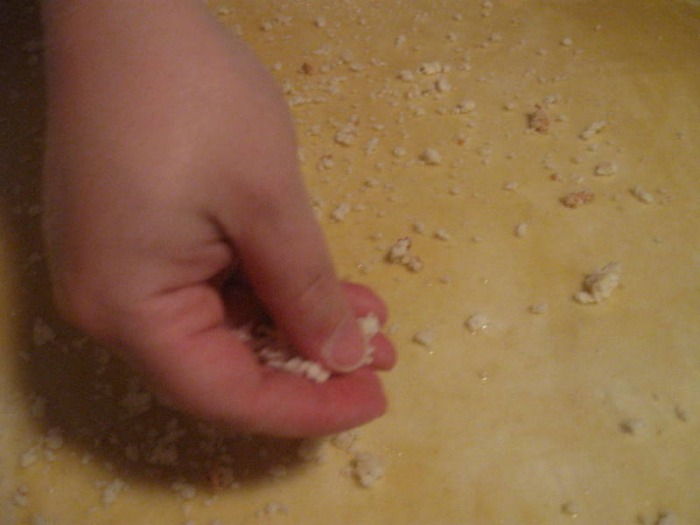
- 1 1/2 C Cake Crumbs (or bread crumbs)
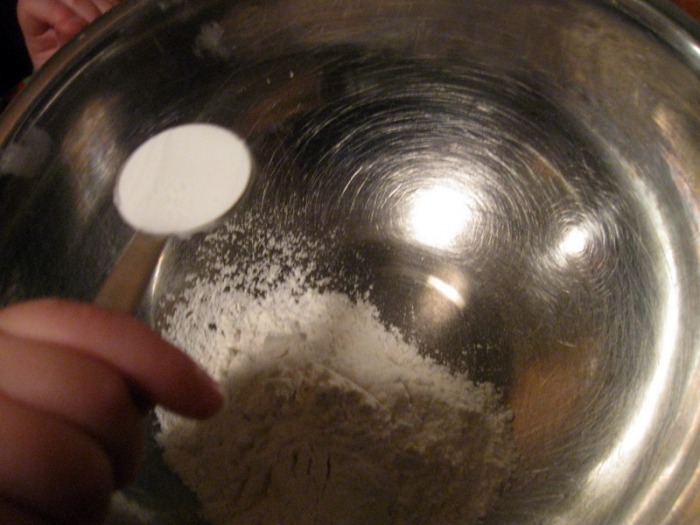
- sift together the flour, baking powder and salt into a mixing bowl
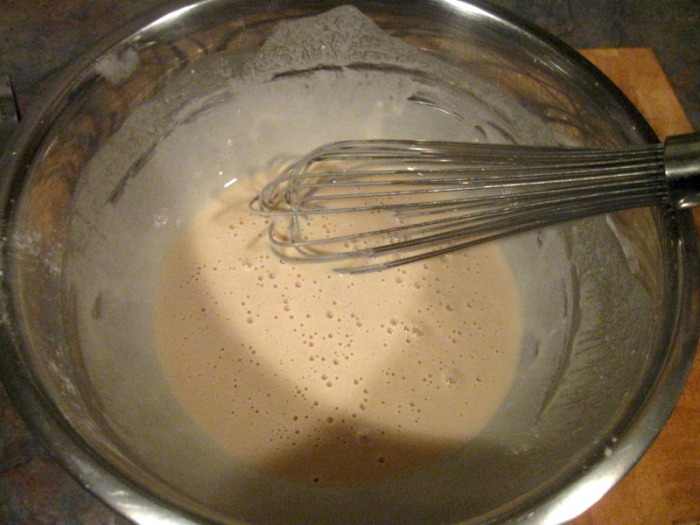
- in a separate bowl whisk together the sugar, eggs and oil
- using a dough hook combine the egg mixture with the flour mixture; knead until it looks very shaggy
- add the water and continue to knead with the dough hook until a soft and pliable dough is formed
- remove from the mixing bowl and knead a few times by hand on a lightly floured work surface
- wrap in plastic and let the dough relax for at least an hour, but two or more is even better (the longer you let it sit the easier it will be to work with)
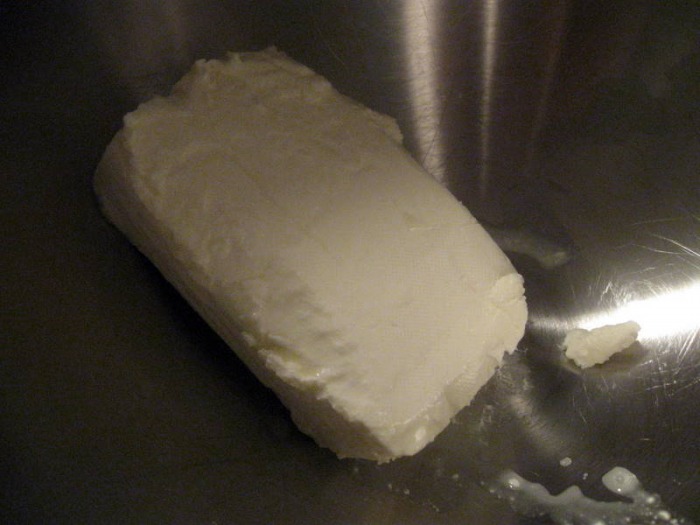
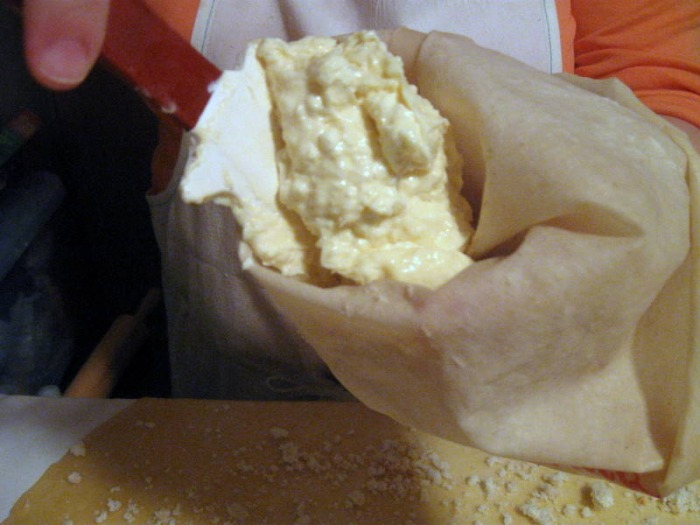
CHEESE FILLING:- 8 oz Cream Cheese, softened
- 1 Egg Yolk
- 1/4 C Sugar
- 1 t Vanilla Extract
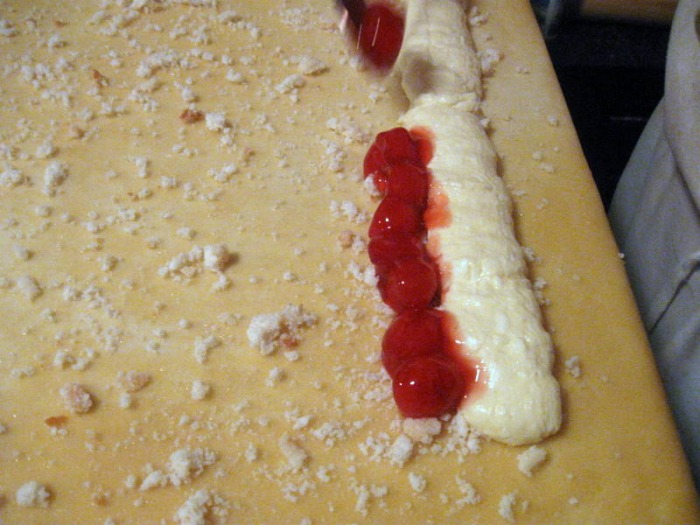
- 16 oz can Pie Filling
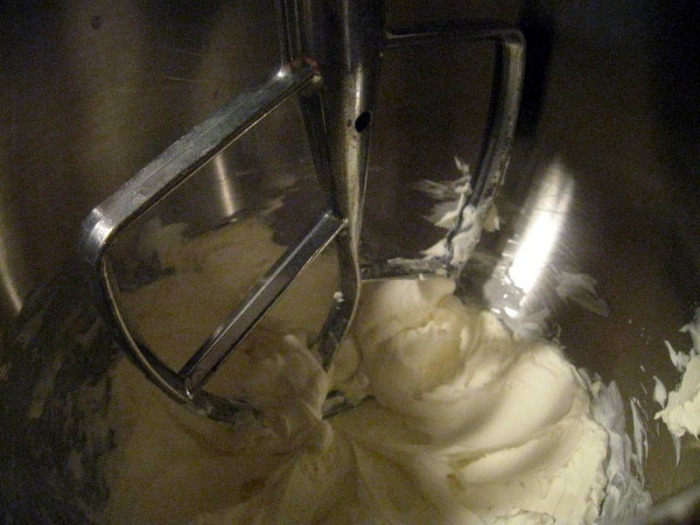
- in mixer blend cream cheese until soft; don't over mix it or it will be grainy
- add egg yolk, mixing just until incorporated; again, don't over mix
- add sugar and vanilla; it's better to under mix slightly because once the egg and the sugar are added too much mixing will cause the mixture to become liquid
 I'm a huge fan of 'Fish and Chips'. As I've said in previous posts, Friday was our fish day when I was growing up. The only fish my mother ever ate was either fish sticks or the McDonald's fish filet sandwich. Even to this day, my mother doesn't really eat fish. Once I enrolled in Culinary school though I knew I would have to expand my horizons. To make a long story short, I've since tried a ton of fish and found that I pretty much like them all.
The first time I had fish and chips was at an Irish Pub close to where I was living at the time. I had no idea what to expect, but The Baker wanted to go so we went. To this day, that was some of the best fish and chips I've ever had. Practically every table in there was eating the Friday night fish fry. I was totally excited and nervous with anticipation all at the same time.
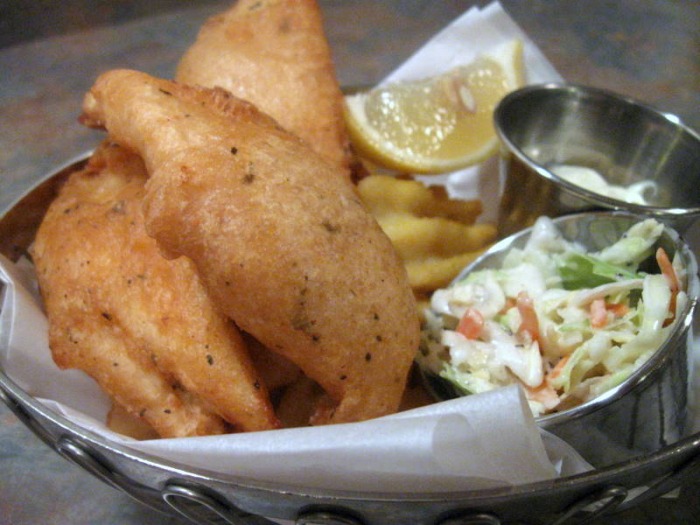
The waitress finally brought it out. It was beer battered Cod with waffle cut fries, homemade coleslaw and tartar sauce. I ordered my first Black and Tan, and also had my first experience with Malt vinegar. Let me tell you, it goes great with fried fish! The waitress comes by after a little while and asks how we are doing. "Fine," I think I said. She replied, "can I bring you some more?" I just looked at her......."huh?" "It's all you can eat," she said. Well, in that case... I ordered two more pieces of fish and decided not to get any more fries. It was a great meal! The fish was fresh. The batter was light and flaky, but you could totally taste the beer. I left there stuffed, and with a huge smile on my face. I fell in love with fish and chips!
-The Chef
BEER BATTER FOR FISH FRY:- 1/2 cup all purpose flour
- 1/2 cup cornstarch
- 1 tsp baking powder
- 1 tsp kosher salt
- 4 oz beer (your choice, but I used Budweiser American Ale this time)
- Combine dry ingredients in bowl and mix well
- Add beer and mix with a wire whisk until there are no lumps
- Refrigerate 30 minutes
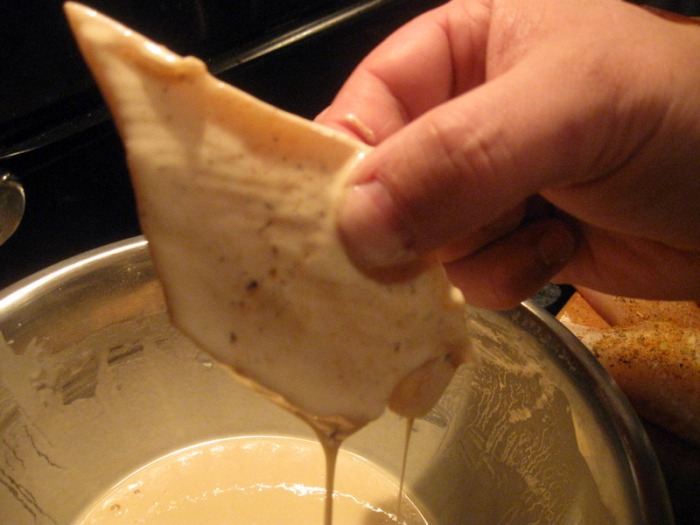
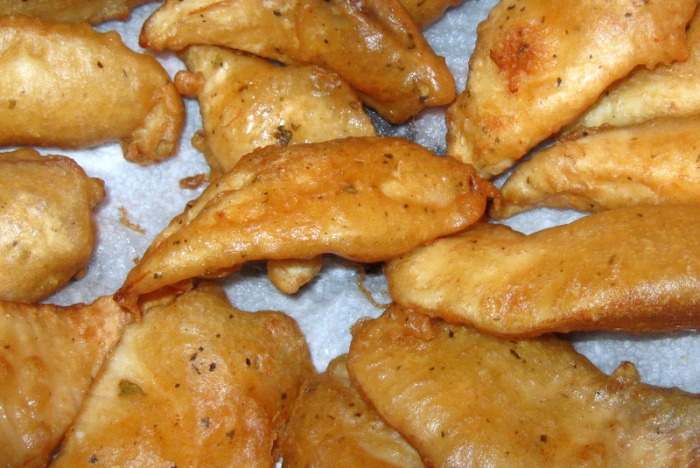
Battering fish: - cut fish into equal sized pieces; season with Cajun seasoning on both sides; (salt and pepper are fine as a substitute)
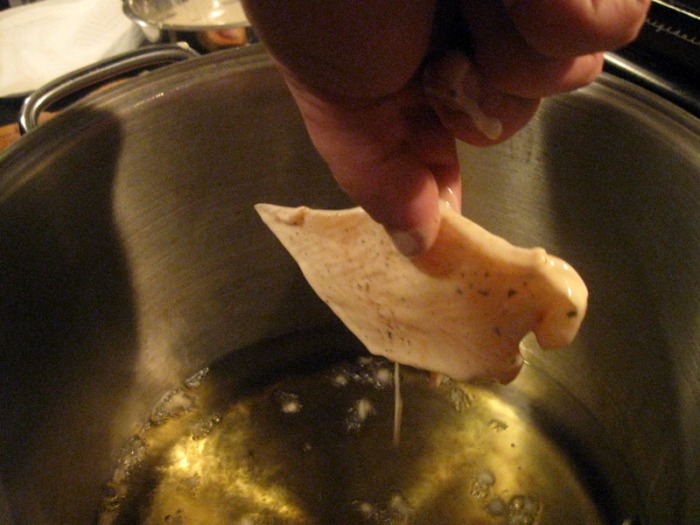
- dip fish into batter, and shake off excess; gently drop into preheated pot of oil set at 360 degrees
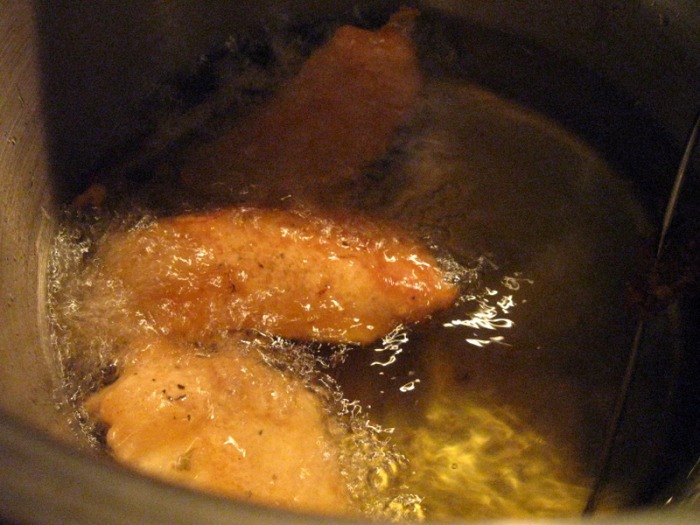
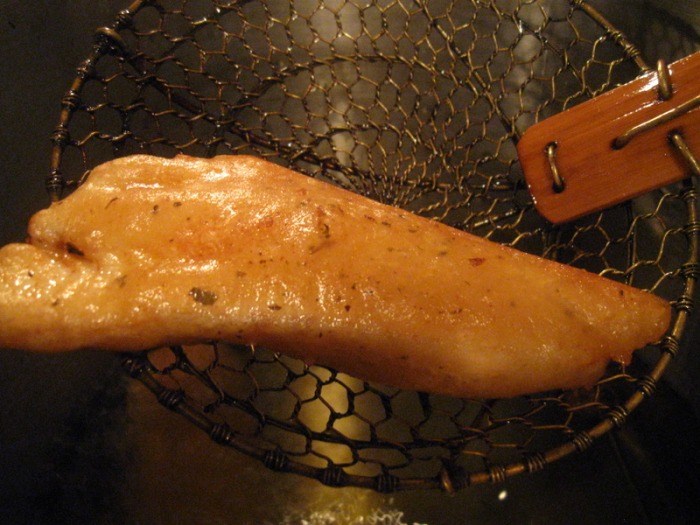
- cook until light golden brown on both sides; remove with a slotted spoon or a spider onto paper towels and immediately season with salt and pepper
- serve immediately or the crust will start to loose it crispness
- serve with coleslaw, lemon wedges, fries or chips, tartar sauce and malt vinegar
- oh, and a nice cold beer!
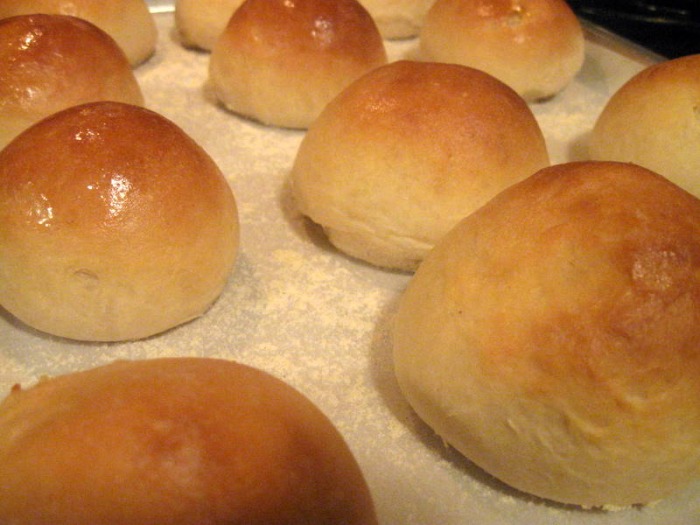
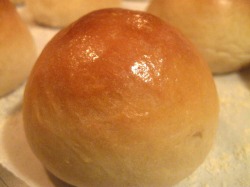 Breads from other countries are very hearty and dense. There are certainly some hearty American breads, but soft rolls I think are very classically American. It's the epitome of comfort food. The house fills with the yeasty smell of rising bread and then as it bakes it your mouth waters from the smell of it freshly baking. They're best piping hot right out of the oven, then carefully torn open while trying to avoid burning your fingers and then smeared with softened butter.
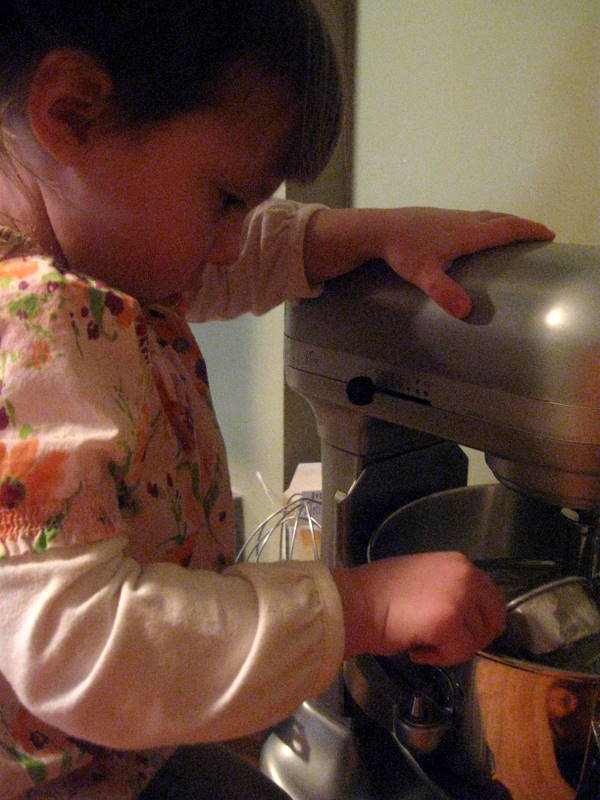
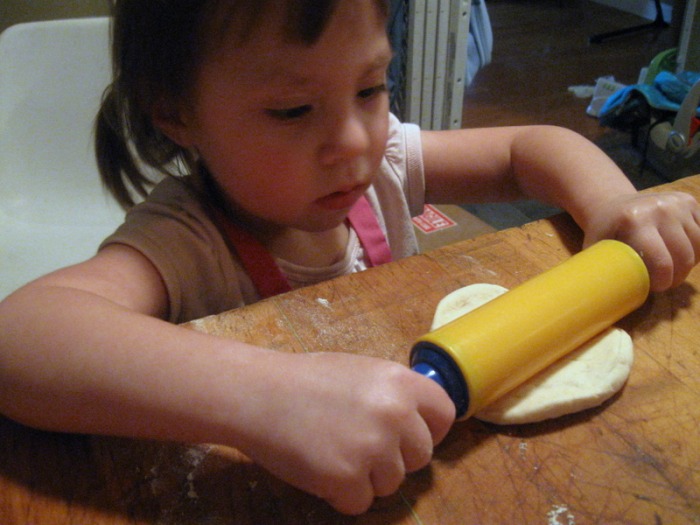
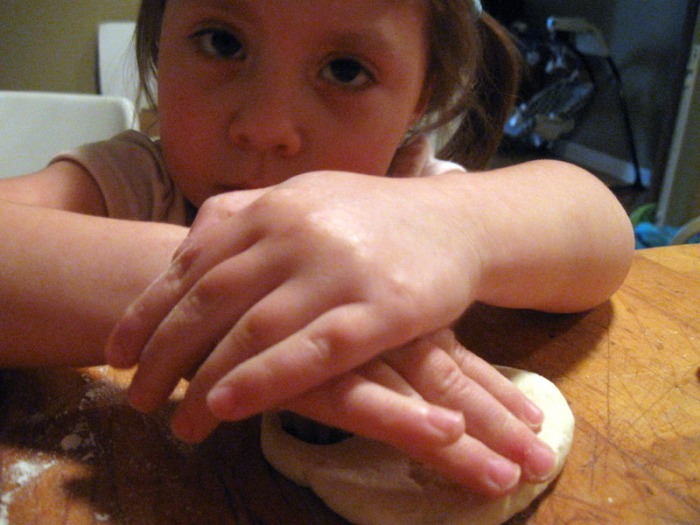
For me soft rolls also remind me of my baking classes in culinary school. We made rolls every class to serve in the dining room with the dinner the food prep students made. Just like a real restaurant one or two people would make a huge batch of dough and when it was ready to be rolled we would all gather round and talk while we shaped the rolls. It was a good way to get to know each other as we worked our way through the dough. At home it's a good way to get your kids into the kitchen and talking to you.
A lot of people are intimidated by bread baking. Unlike most baking it's not exact and precise. Ask any food professional what the difference is between a hot food chef and a baker and they will tell you that a baker is extremely precise. In a lot of ways baking is like chemistry. Every ingredient in your recipe is there in a specific amount to create a chemical reaction. Baking recipes are "balanced". Bread recipes, however, are not. A lot of bread baking is done by feel. That can be intimidating. But, if you practice you will eventually develop the feel for the bread and you will find yourself looking forward to making bread. It's a very sensuous experience.
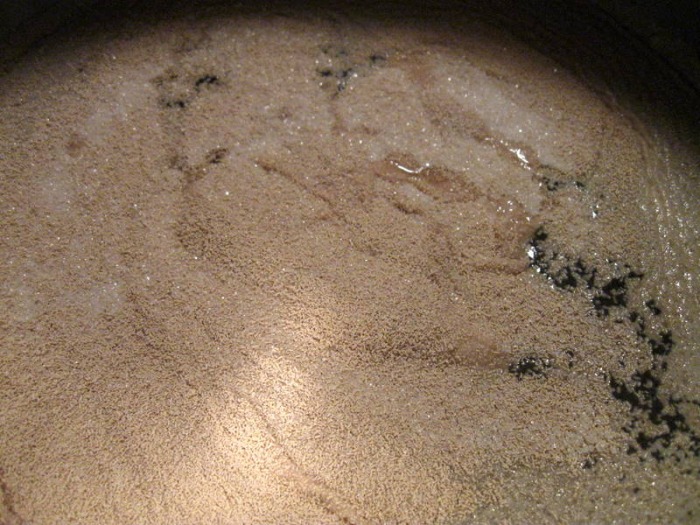
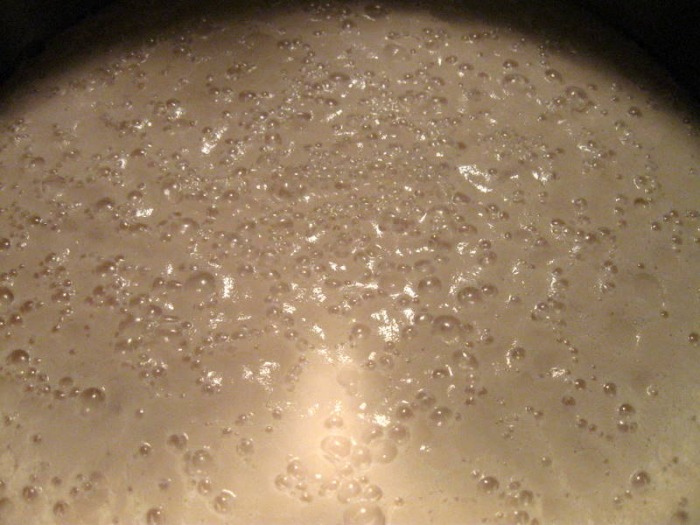
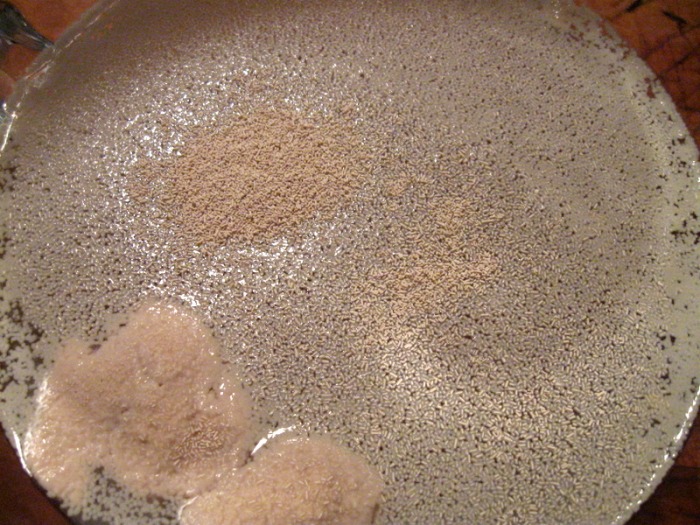
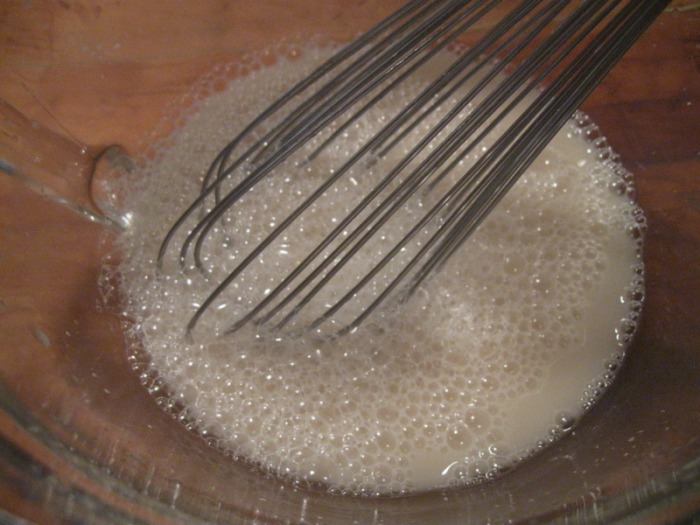
A few key points to follow when bread making: proof your yeast in 110 F water. Water that is much hotter than that will kill the yeast. Remember, yeast is alive. Water much cooler won't sufficiently wake up the yeast. You will still be able to make bread, but it will take quite a bit longer as the yeast will be slow and lazy. Take the time to proof the yeast, even if your recipe doesn't specifically call for you to do so. As I said, yeast is alive, and if your yeast has been sitting around for a while it may have died. You don't want to go through the whole process of preparing the bread dough (or waste all the ingredients) only to discover that your bread didn't rise because the yeast was dead.
Another important concept is the use of salt. Salt is necessary in bread making because it's a flavor enhancer, but it also inhibits the growth of the yeast. Without it your dough would rise like crazy. Dough that's over-risen doesn't just give you multiple loaves, it gives you multiple loaves of bad tasting bread. But, be careful with the salt. If you dump it directly onto the yeast you run the risk of killing it off. Instead, mix in some of the flour with the yeast before you add your salt.
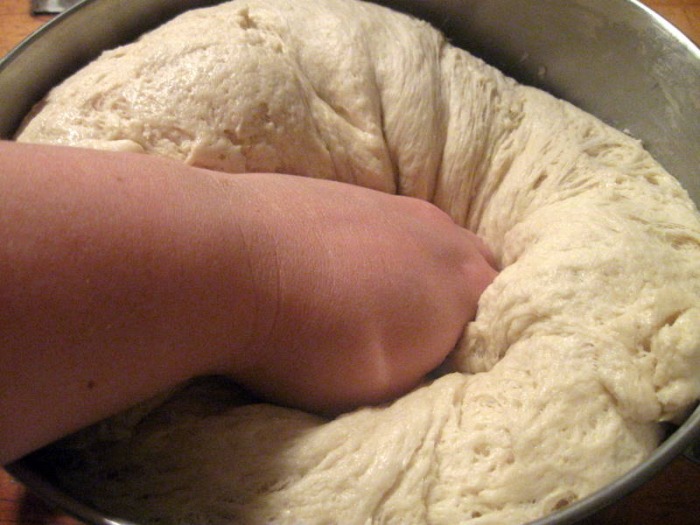
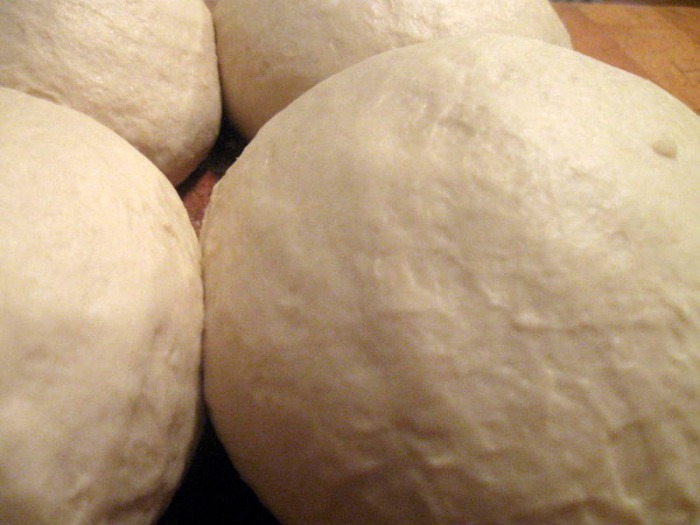
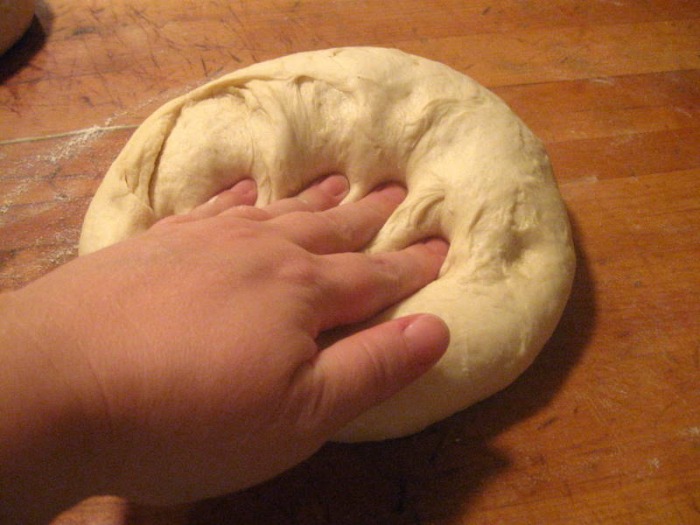
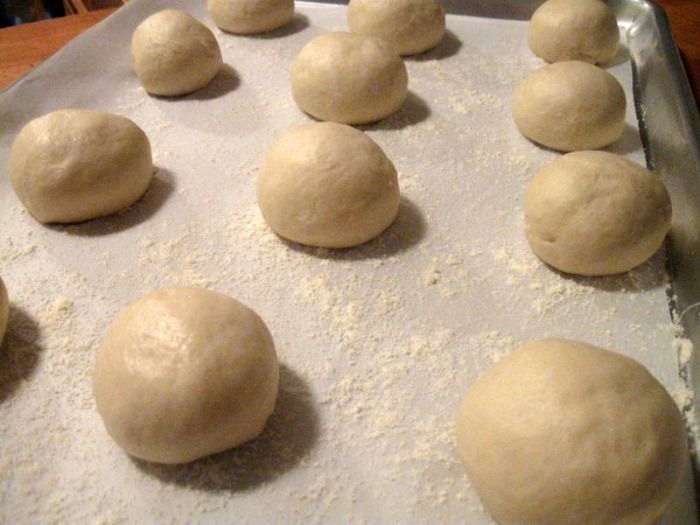
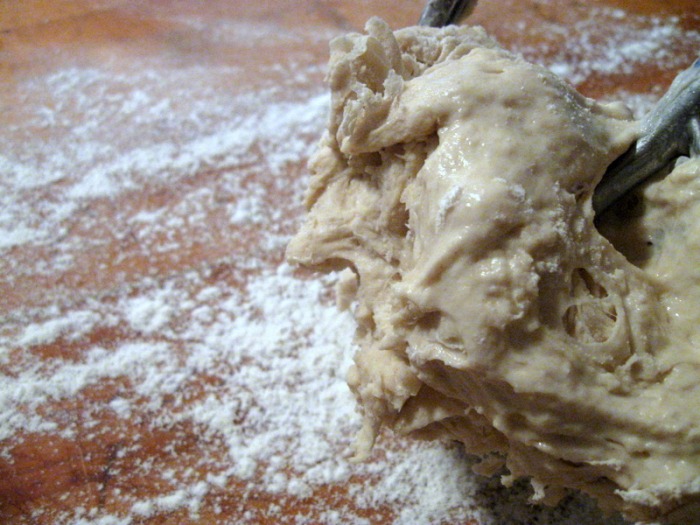
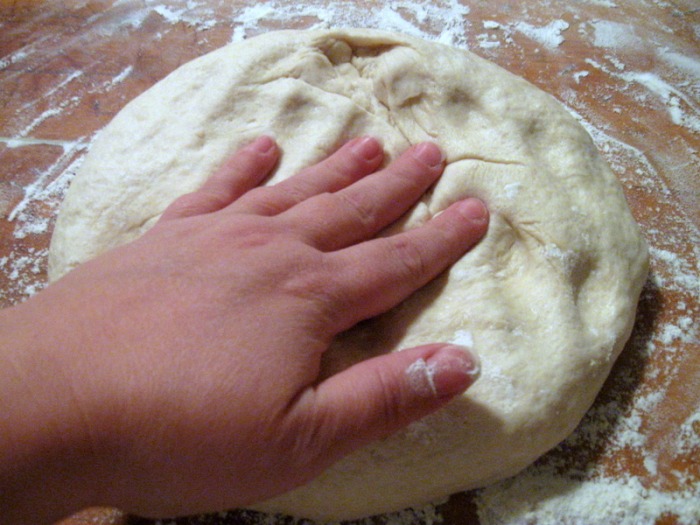
After your dough has risen the first thing you want to do is "punch" it down. On television you often seen a very comedic scene where the character is literally punching the dough. This isn't what you want to do. Bread dough is a living thing, and like all living things, should be treated gently. What you really want to do is gently work the big pockets of air out of the dough that have formed during the rising. You're also redistributing the gases and evening out the temperature of the dough. Stick your fingers in the dough before you punch it down and you will feel that it's warm.
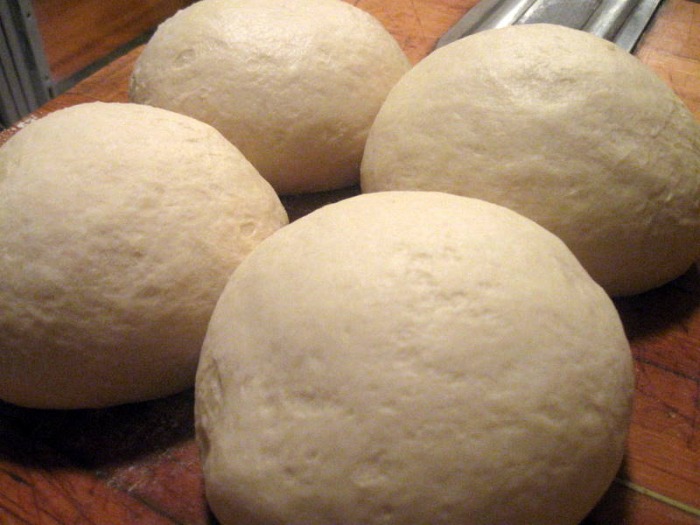
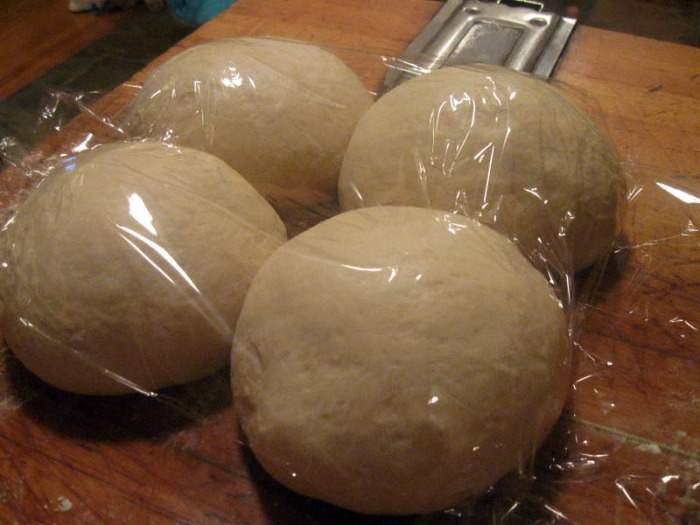
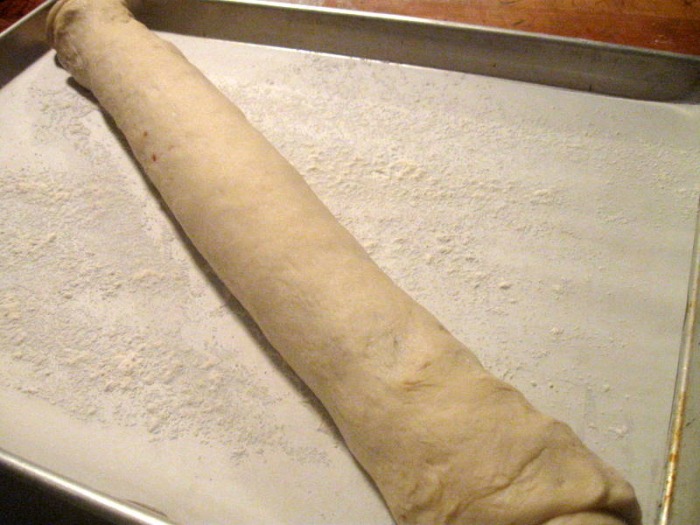
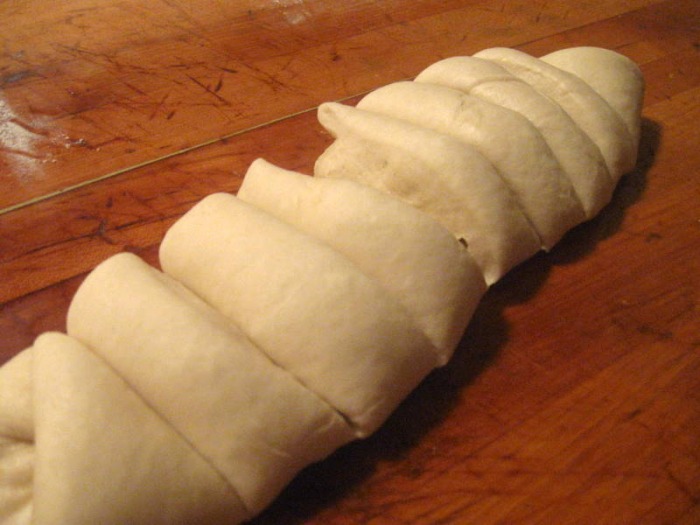
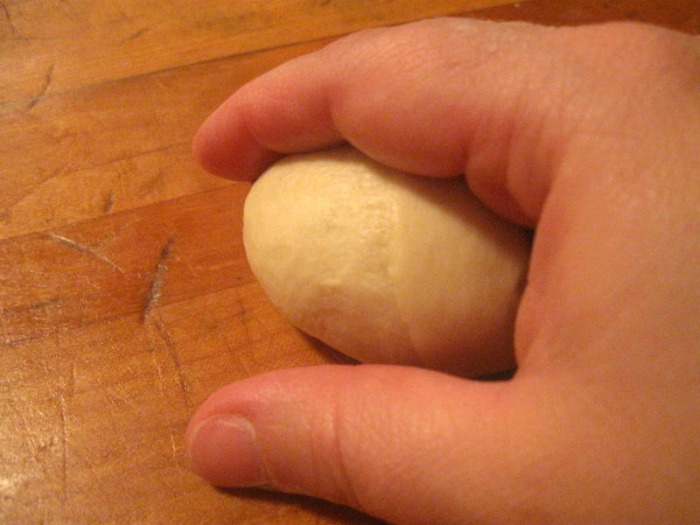
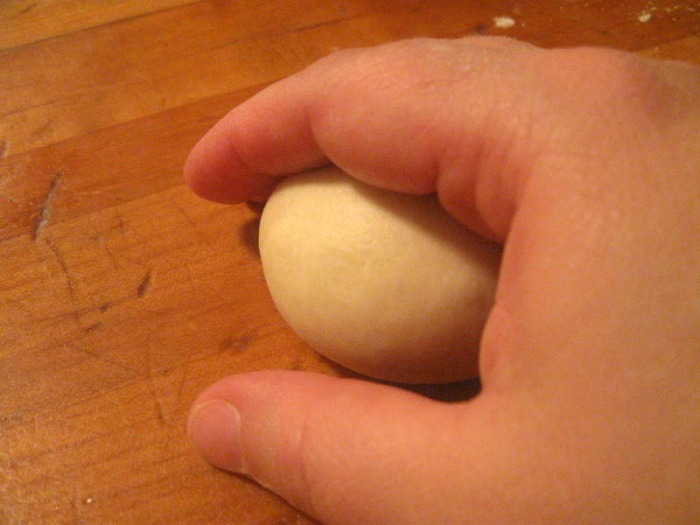
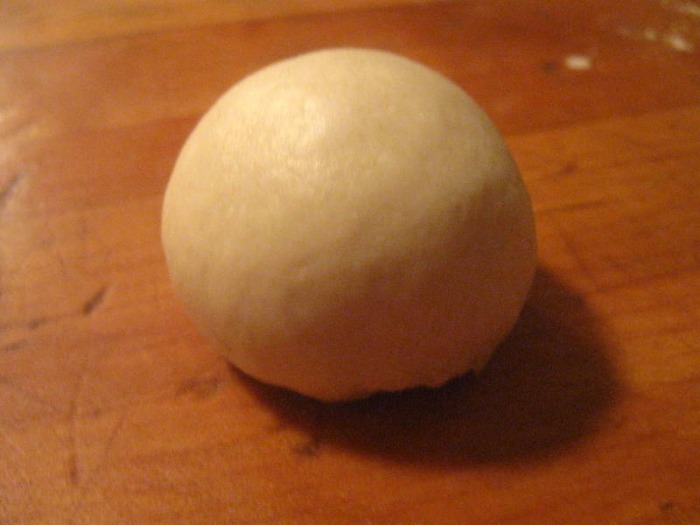
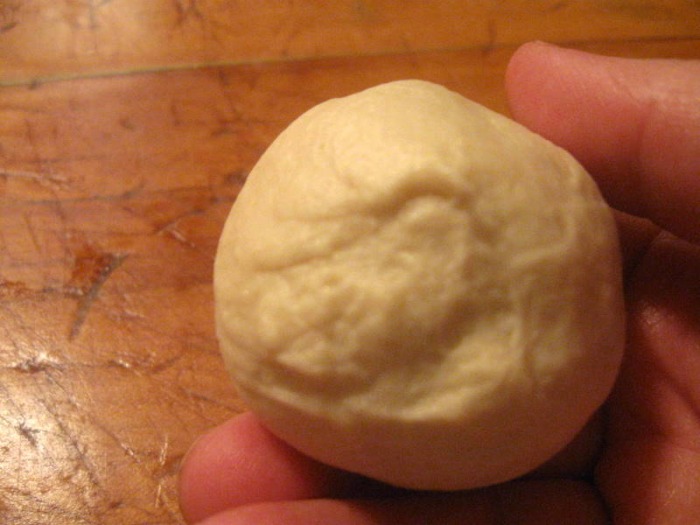
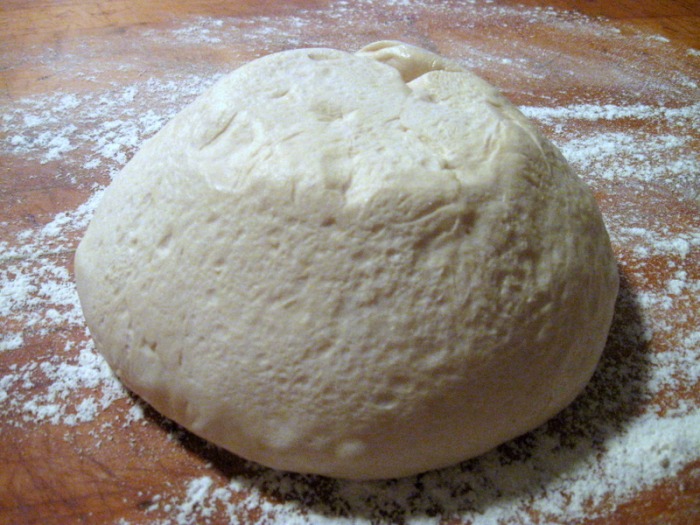
When you've finished punching down the dough divide it into more manageable sizes and roll into rounds (boules) and let it rest, under plastic, on your work table. This allows the strands of protein (gluten) to relax. If you don't allow the proteins to relax your dough will be stiff and hard to work with and will tend to bounce back from whatever shape you're trying to make.
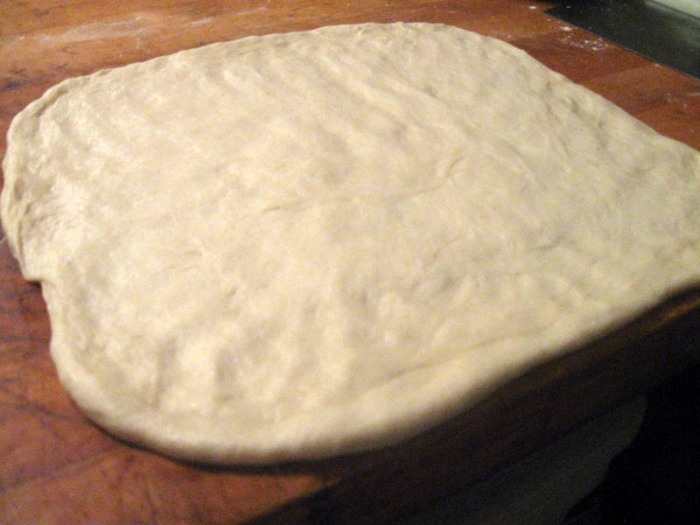
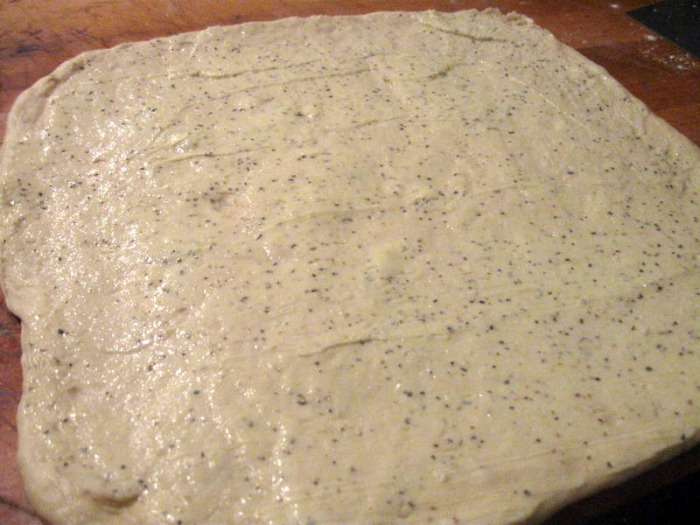
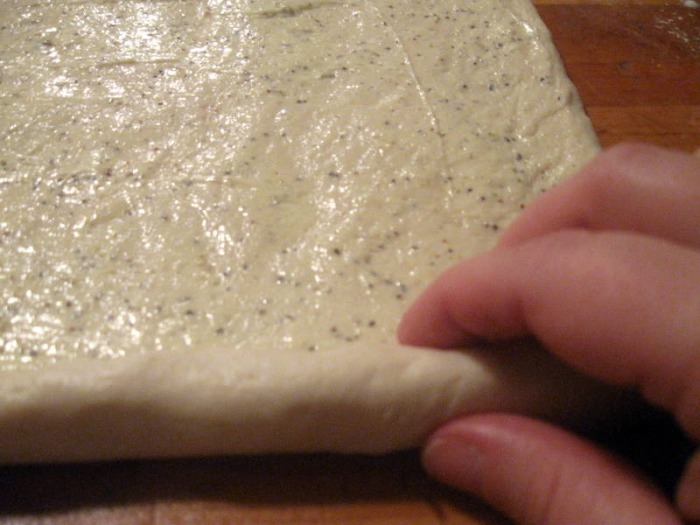
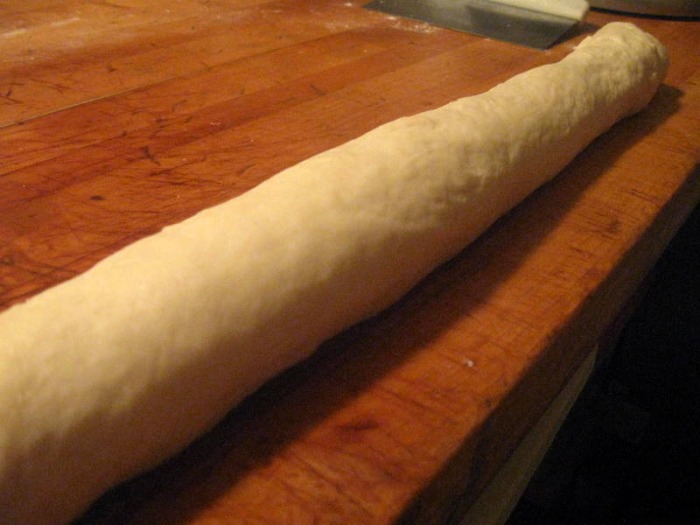
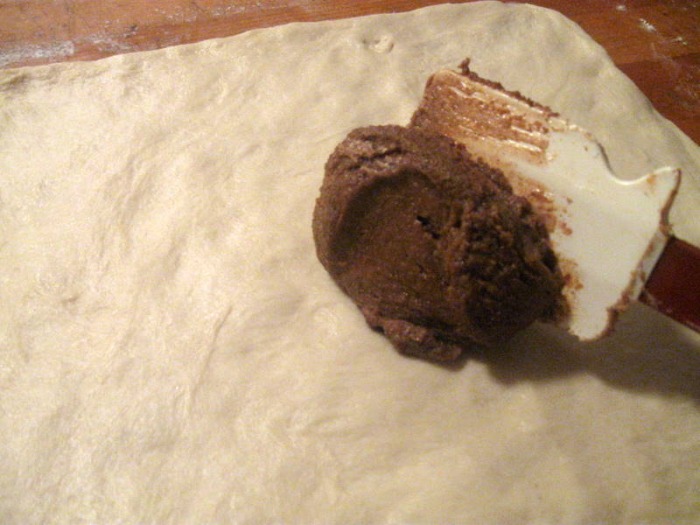
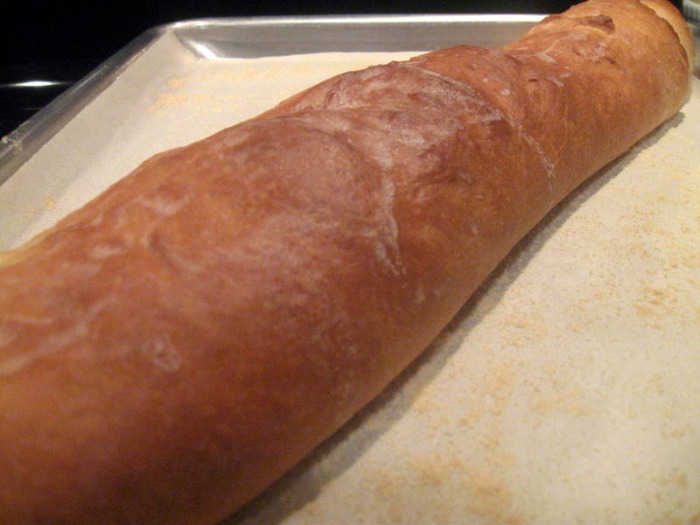
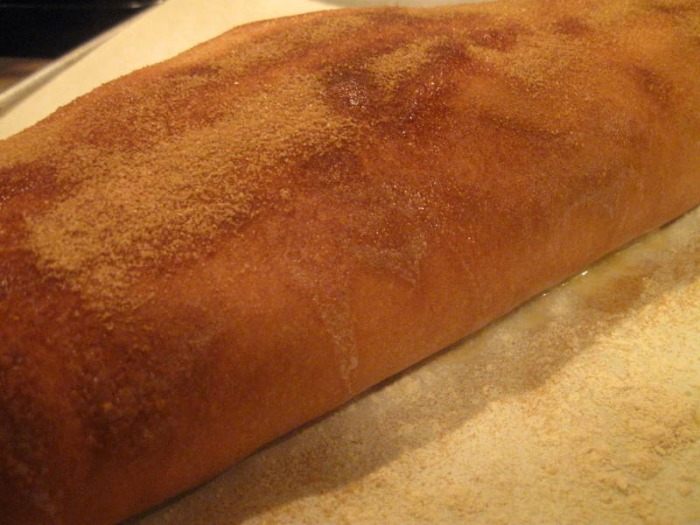
After it's relaxed you can begin shaping it. In this particular recipe I was doing a few things. I wanted to make some cinnamon bread to have for breakfast, and I wanted to make some garlic bread to have with our dinner. I also wanted to make some soft rolls to have with our Thanksgiving turkey. As you can see, the soft roll dough is extremely versatile. I very rarely bake bread in a loaf pan and prefer a more free form loaf, but you can do whatever you prefer. Depending on what type of bread you're making you will dust your pan with flour or cornmeal, or butter it if it's a loaf pan.
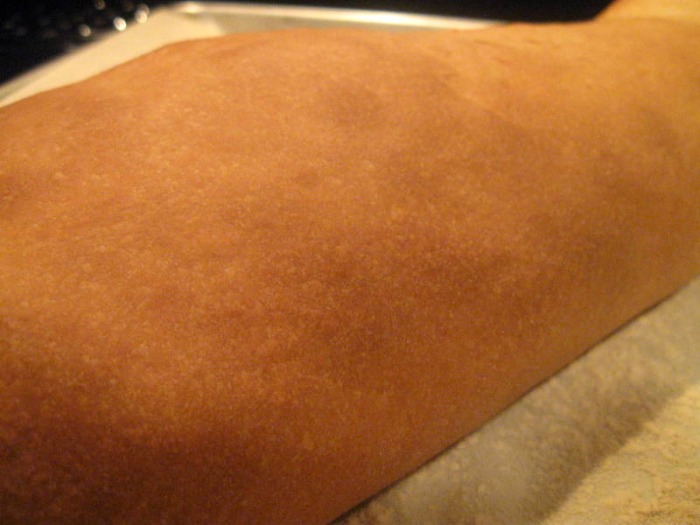
You can also put a wash on the top of your bread. You can use a variety of washes. You can paint the top with milk to get a golden brown top, or you can paint it with an egg wash (an egg mixed with a little water) for a shiny golden brown finish. You can use water, or nothing at all. You can also top the rolls with a variety of seeds (like poppy or sesame) or with cinnamon sugar, pretty much anything that sounds good to you. It's an easy way to make one dough but end up with a variety of finished rolls for an interesting bread basket.
After you've shaped your bread allow it to rest again. If you don't allow for this resting period the bread will shrink when you put it into the oven. After it's done resting put the bread into a hot 400 F oven and bake. How long the bread takes to finish will depend on whether you're making small rolls or large loaves. The way to test the bread for doneness is to wait for it to be a nice golden color and for it to be fairly sturdy. Gently flip the bread over (be careful because it will be hot) and thump the bottom side. If the thumping makes a hollow sound the bread is done. If it sounds dull then the bread needs more time.
When the bread is finished baking you can use it right away or you can freeze it and use it later. If you do decide to freeze it do not wrap it until it's completely cool. If you wrap it before it's cool the heat from the bread will create steam in the wrapping and make your bread soggy. It's best to leave the wrapped bread out on the counter or freeze it, but don't stick it in the refrigerator. Refrigeration actually speeds up staling and your bread won't last as long. But, remember, if you do end up with stale loaves you can always make french toast (pain perdu)!
SOFT ROLLS: yield: 5 lbs raw dough - 24 oz (720 g) Water, 110 F
- 1 1/2 oz (44 g) Yeast
- 1 lb 10 oz (1250 g) Bread Flour
- 4 t (24 g) Salt
- 4 oz (120 g) Sugar
- 2 oz (60 g) Powdered Milk
- 2 oz (60 g) Shortening
- 2 oz (60 g) Butter
- proof the yeast in the warm water
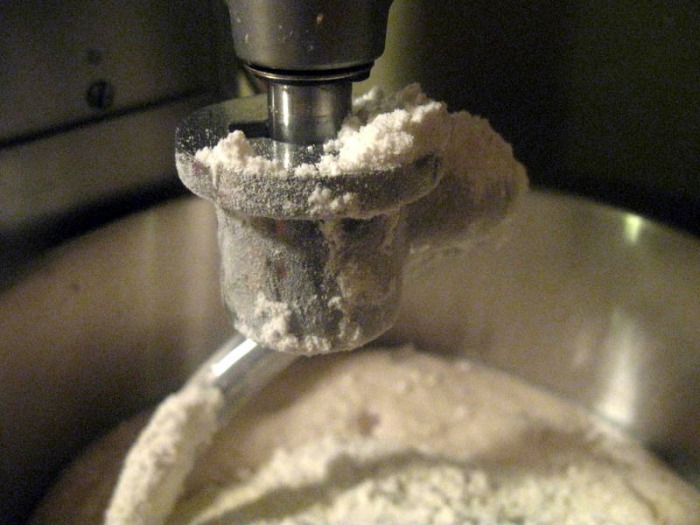
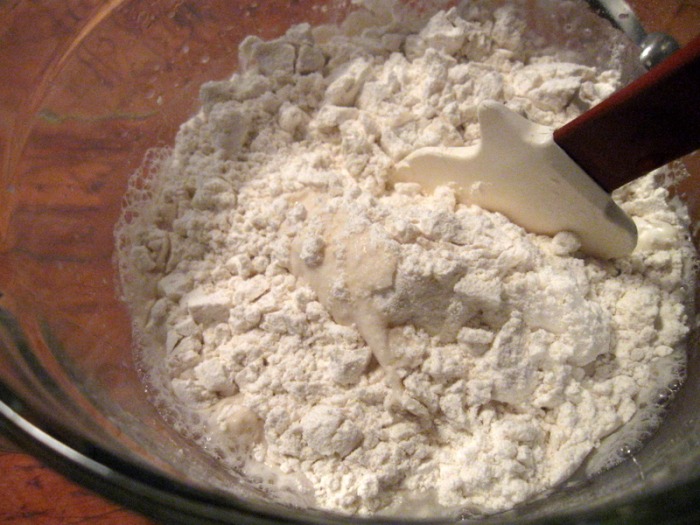
- while the yeast is proofing, scale half of the bread flour, the salt, sugar, powdered milk, shortening and butter into a bowl
- combine the scaled ingredients with the proofed yeast and begin mixing with a dough hook
- slowly begin adding the remaining bread flour, adding only as much as necessary (and sometime you may need more)
- mix for approximately 10-12 mins on low
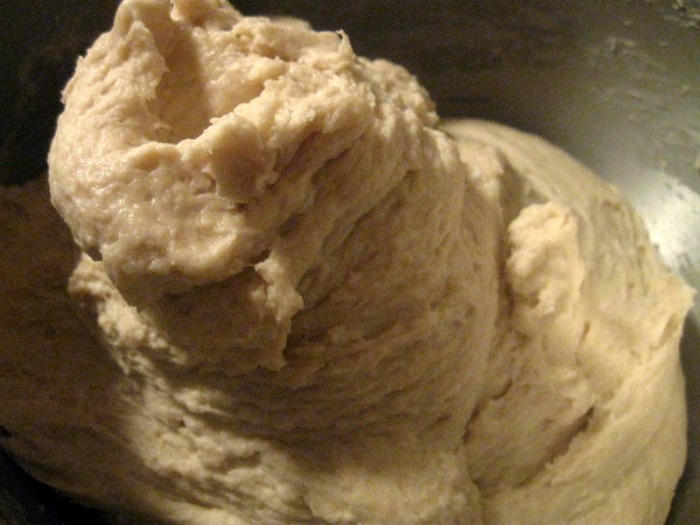
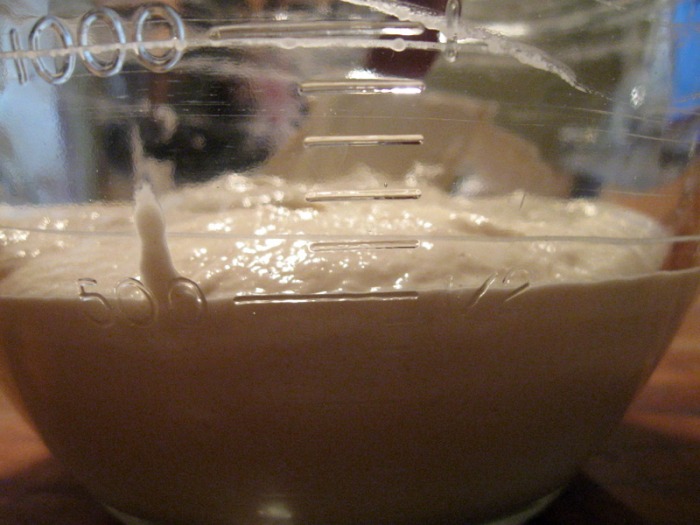
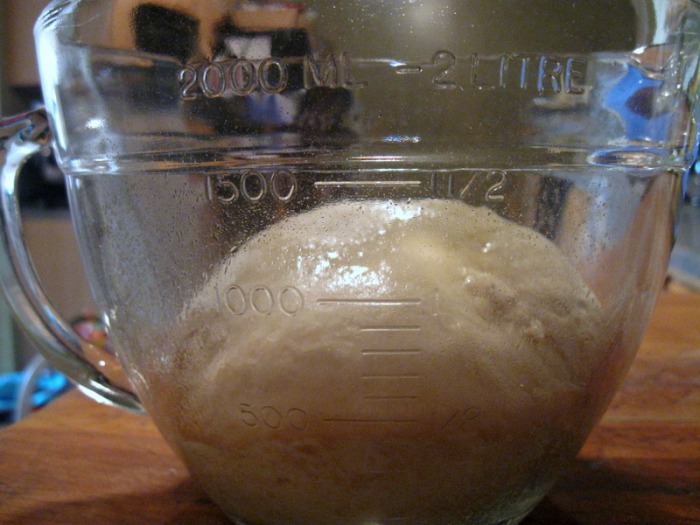
- loosely cover the bowl with plastic and rise in the bowl until doubled in size (approximately 60-90 mins)
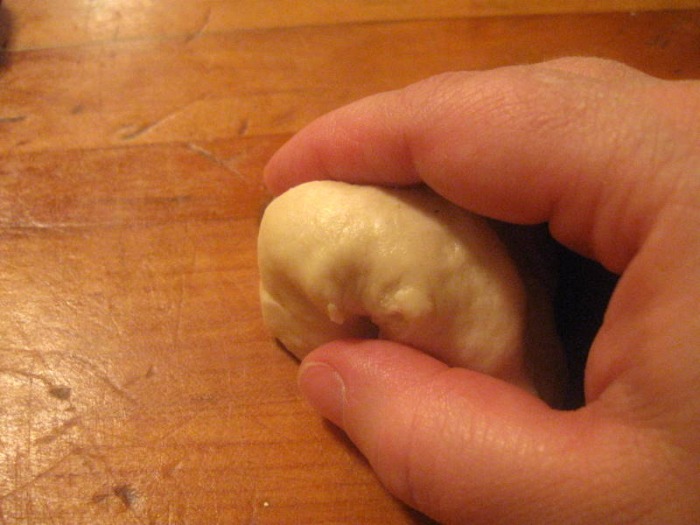
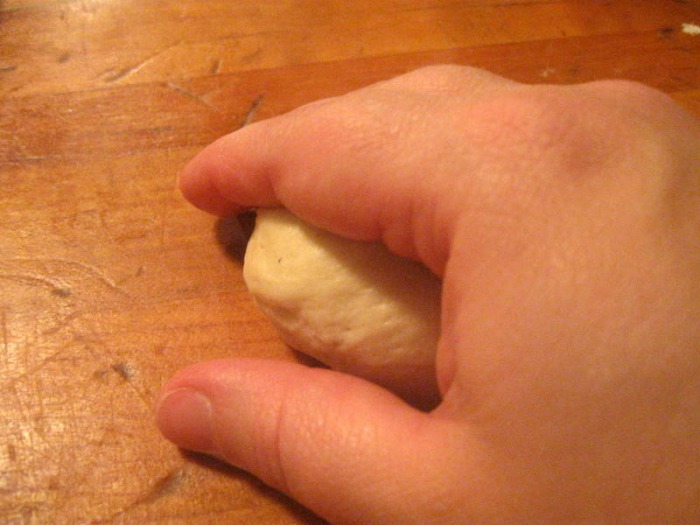
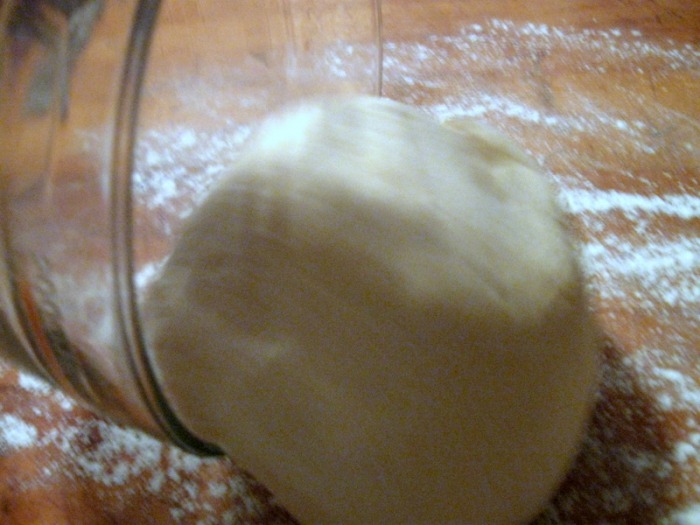
- after the dough has risen punch down the dough and shape into four rounds (or boules) and allow to rest on the work table for approximately 10 mins
- after resting, shape the bread into loaves or divide them into rolls and all put on a flour or cornmeal dusted pan; allow to rest again for 10 mins
- bake in a 400 F oven until the underside of the bread sounds hollow when thumped; an exact time cannot be given because it will depend on what size loaf or roll you're baking
The captions stopped working (again) as I was writing them. Now when I go in and try to edit the captions I get a message basically telling me I can't edit them. I'm not sure what the problem is, but I'm working on it. If you have any questions please ask, I'll gladly answer!
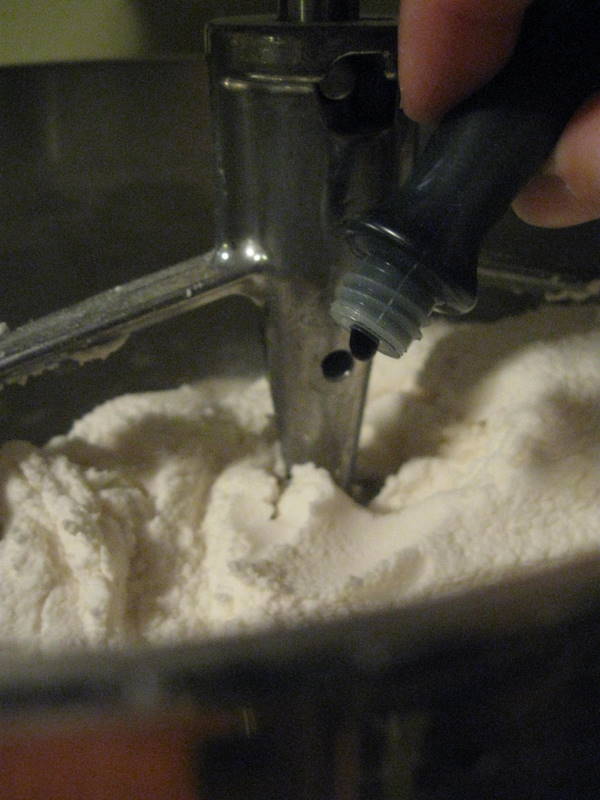
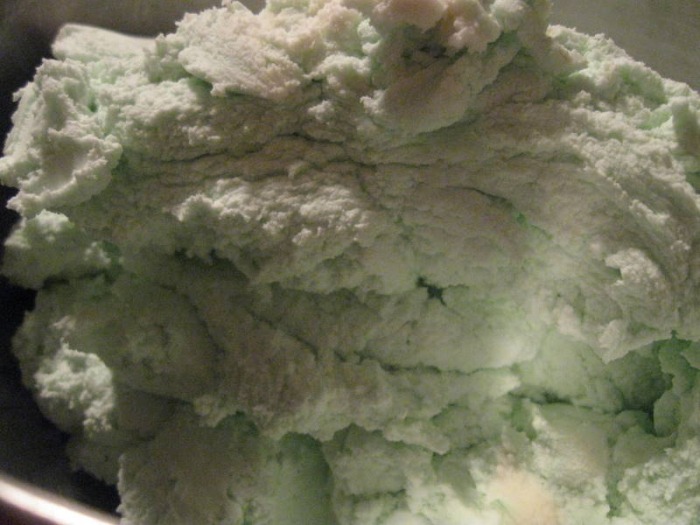
 It's that time of year to do holiday cooking. I love this time of year! When it comes to holiday dinners I'm very traditional. There are certain things that must be on the table for me to feel like the holiday was a success. I love turkey, and even on Christmas when it's traditional to serve ham, I still prefer turkey. I also have to have "pink stuff" and "green stuff". Pink and green stuff is a concoction that my mother came up with years ago and it's become a staple at every holiday meal.
Another holiday staple is egg nog. My extended family has a "take it or leave it" attitude when it comes to egg nog and so it's hit or miss if it will make it to the dinner table. My immediate family loves it, especially M1, who can drink an entire quart in a matter of minutes.
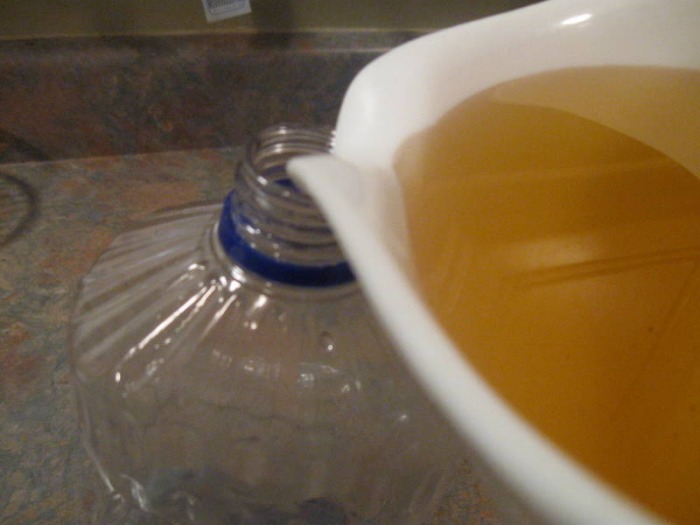
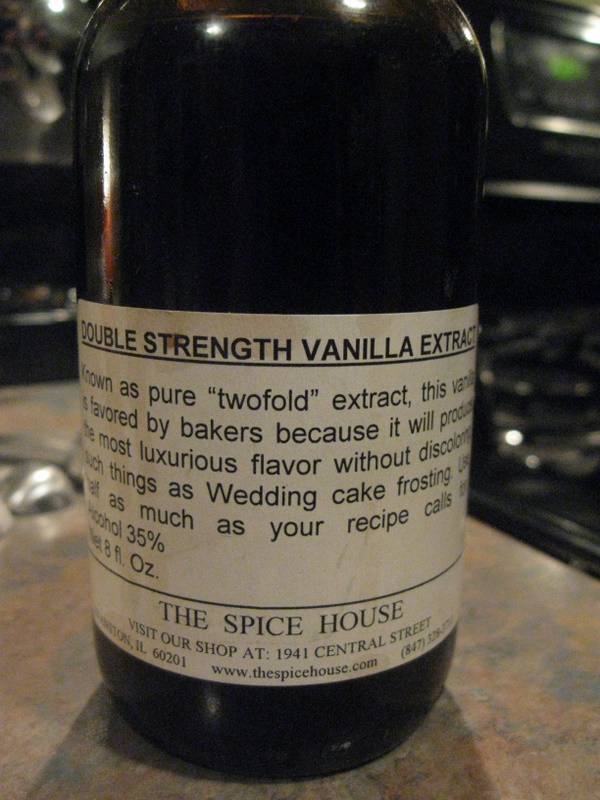
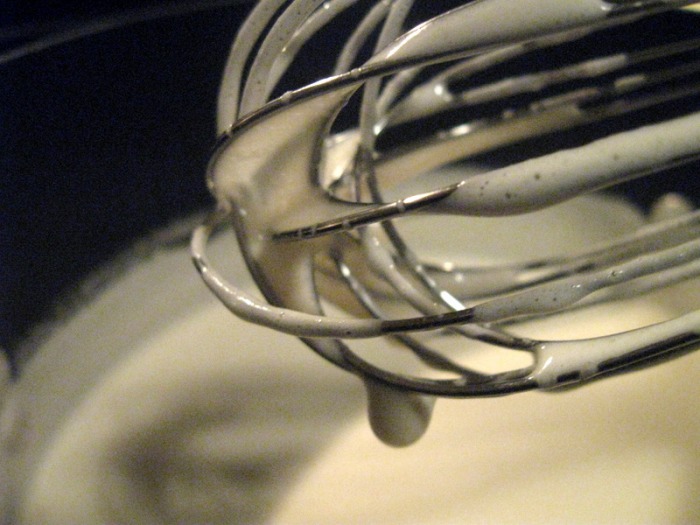
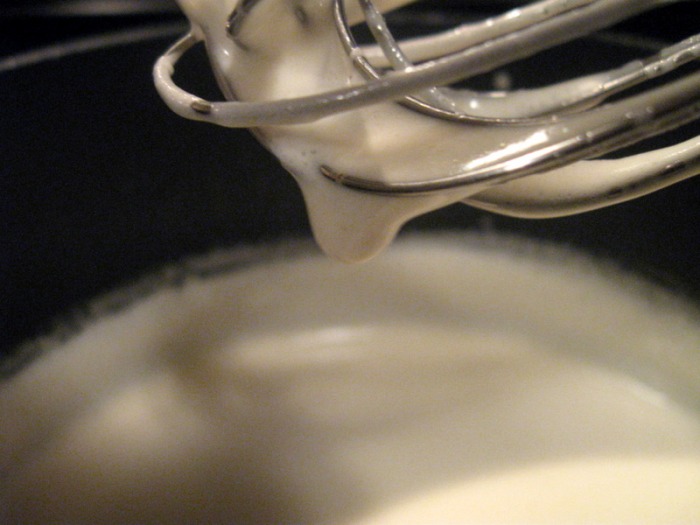
In keeping with my tendency to re-work classic dishes, I thought I'd give making homemade egg nog a shot this year. I'm so glad I did! Compared to the commercial egg nog the homemade nog is so much lighter and more refreshing. You can drink it with the rum or without. We went without because it was mainly for the kids and me to drink, although I forced everyone to at least try it!
I also chose to cook the eggs to not run the risk of anyone getting sick. That would really ruin the holiday! The key is to gently cook everything so as not to end up with scrambled eggs. Just like when making the pastry cream, it's critical to keep everything clean and get into the refrigerator very quickly.
I definitely recommend trying to make your own egg nog this year. Especially for those people who claim not to like it, this will change your mind. It's delicious and such a decadent treat!
HOMEMADE EGG NOG: yield: 80 oz - 4 c Milk
- 1 1/2 t Pumpkin Pie Spice
- 1/2 t Vanilla
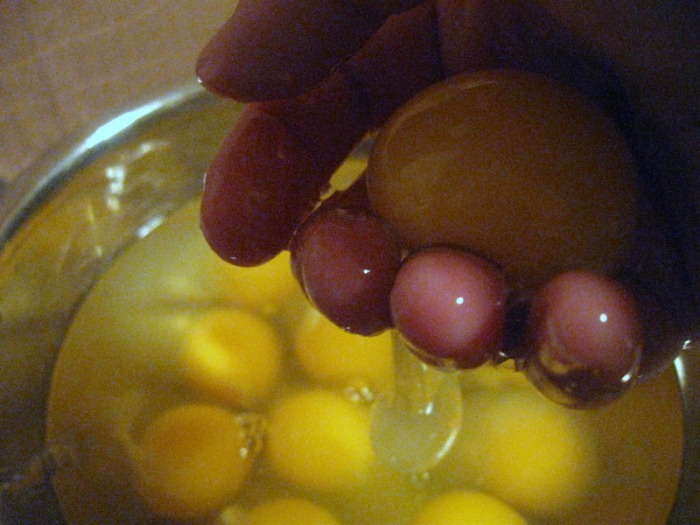
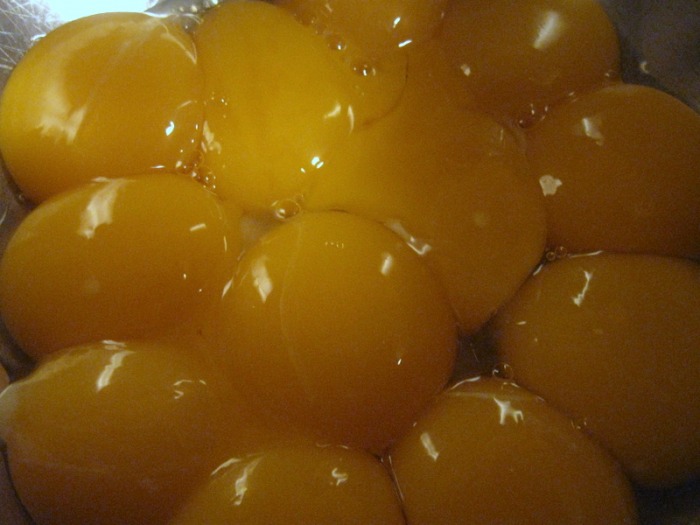
- 12 Egg Yolks
- 1 1/2 C Sugar
- 2 C Rum (optional)
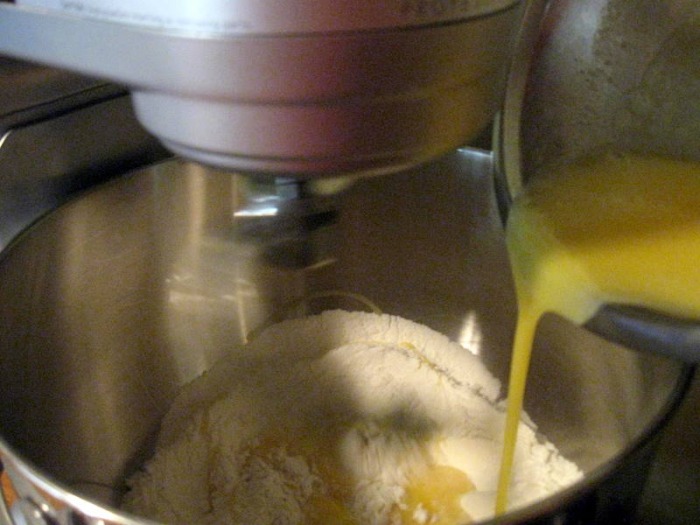
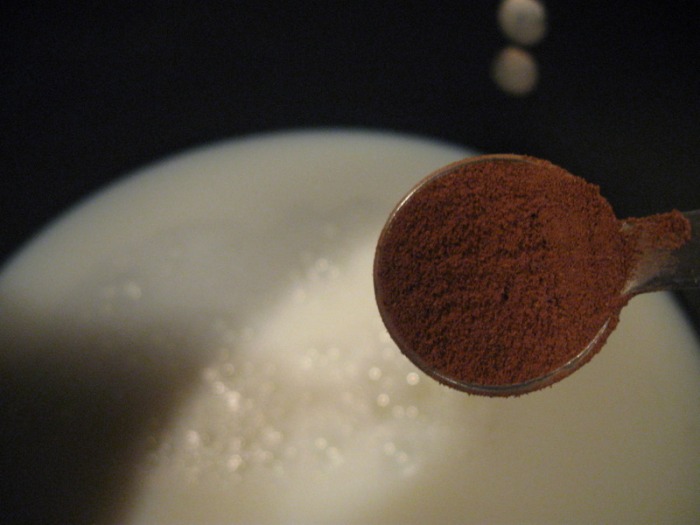
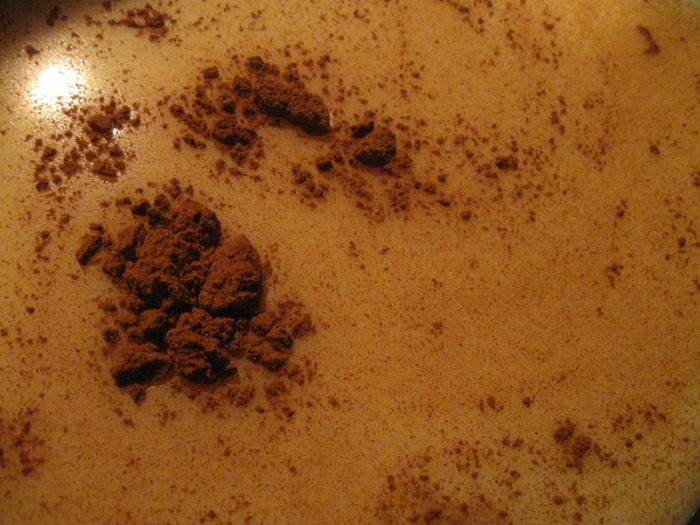
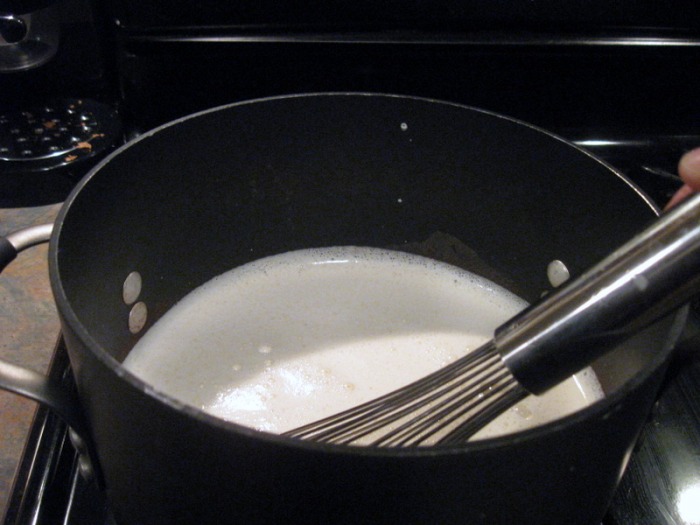
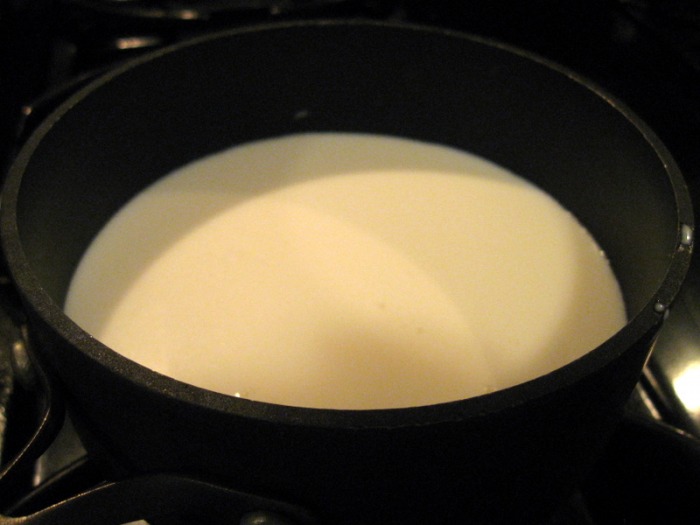
- combine milk, pumpkin pie spice, and 1/2 teaspoon vanilla, in a saucepan, and heat over lowest setting for 5 minutes; slowly bring milk mixture to a boil
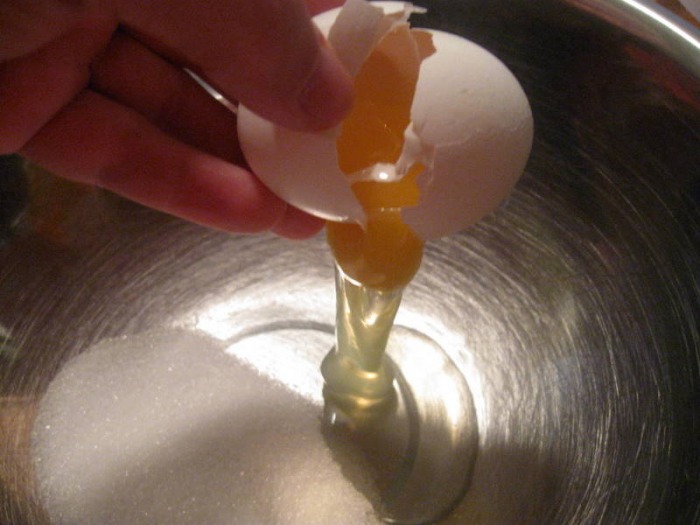
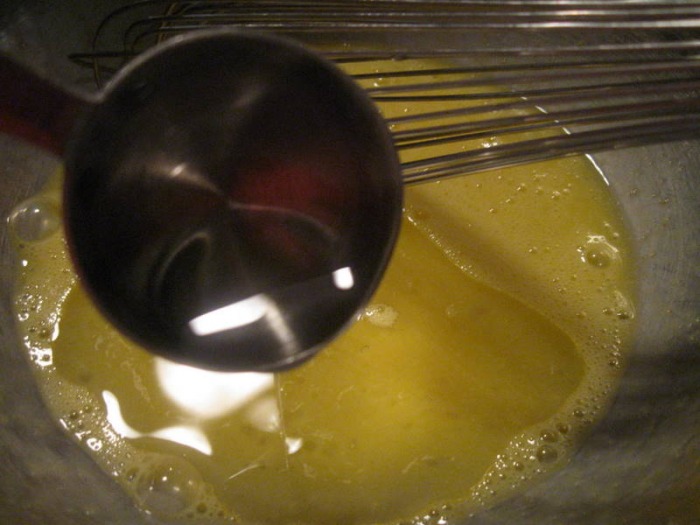
- in mixing bowl, combine egg yolks and sugar; whisk until fluffy
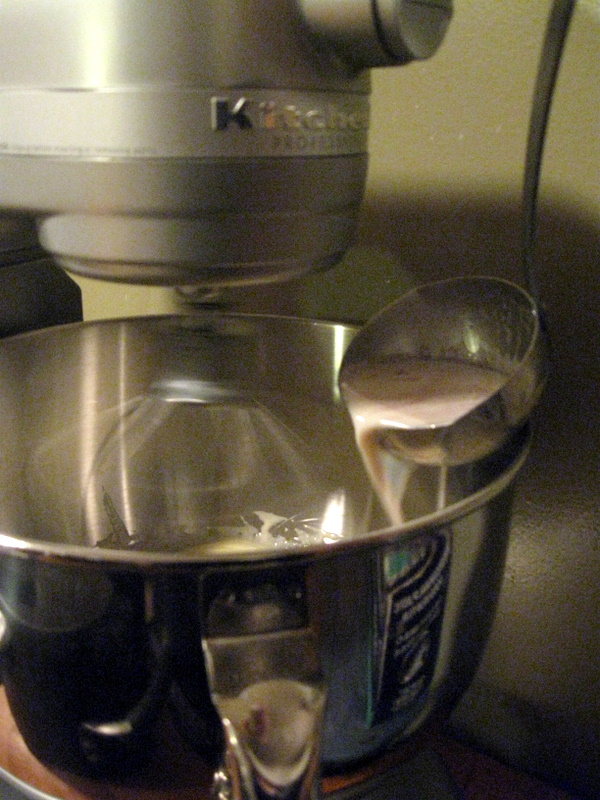
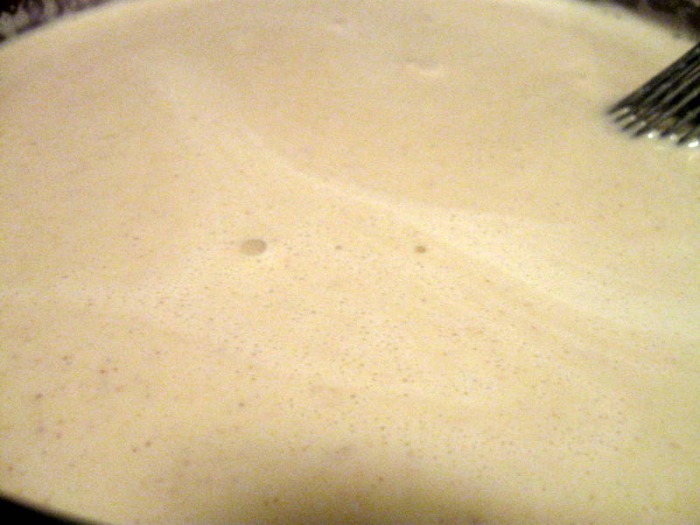
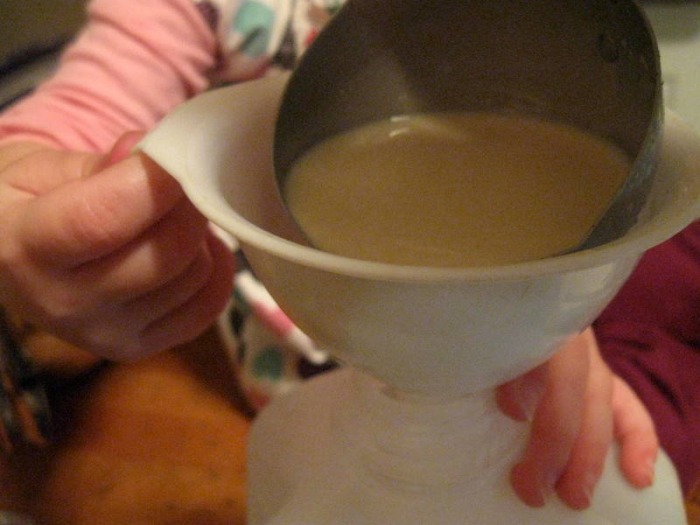
- temper the hot milk mixture slowly into the eggs; pour mixture back into the saucepan; cook over medium heat, stirring constantly until slightly thickened; do not allow mixture to boil; let cool for about an hour
- stir in rum (if using) and cream; refrigerate overnight before serving; shake well before serving
- top with a dash of cinnamon
 The other day I was waiting in line and my mind drifted off. I was thinking about what I would like to make later that day. I didn't want to make anything huge because we were going out of town and I didn't want to be forced to eat an entire pan of something or have to let it go to waste. I was also thinking about maybe making a stop at Starbucks.
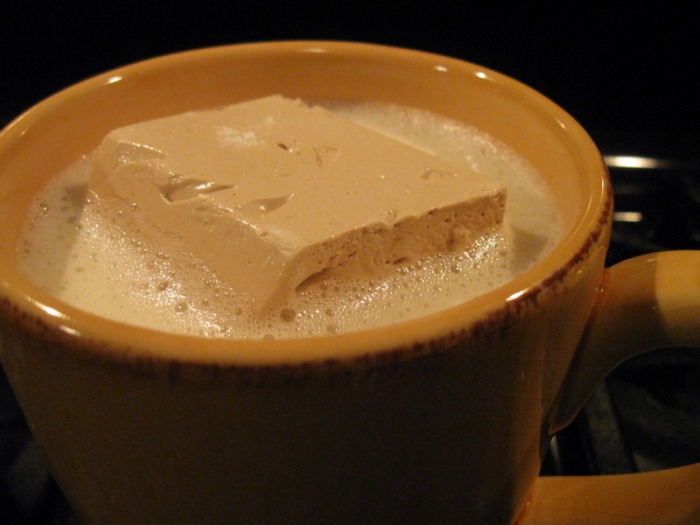
Then it came to me... I could make a white hot chocolate but instead of whipped cream or a regular marshmallow I could make a brown sugar marshmallow. I sent a text to The Chef to ask him if he thought that sounded good and he gave me an emphatic "YES" in reply.
I dashed home so I could make the marshmallows. The marshmallows need ten hours to set up so I needed to get those done. I make my own marshmallows when I make Rice Krispie Treats and people ask me why mine are so much better than theirs. When I tell them it's because I make my own marshmallows... well, they look at me like I'm crazy. Oh well. It's a food thing. You either get it or you don't!
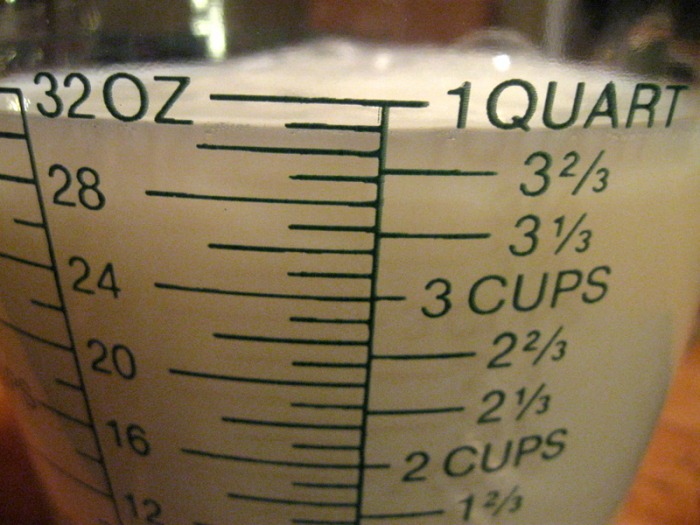
After making the marshmallows and letting them set for most of the day I made the white hot chocolate. Usually when I make a (regular) hot chocolate I either make it with a mix or I use cocoa powder. I figured I would have to use white chocolate as there isn't a white cocoa powder. I knew the drink needed some richness that had to come from somewhere other than just dumping in a bunch of white chocolate. If I did that it would just taste like a melted candy bar, which isn't bad, but not what I was going for.
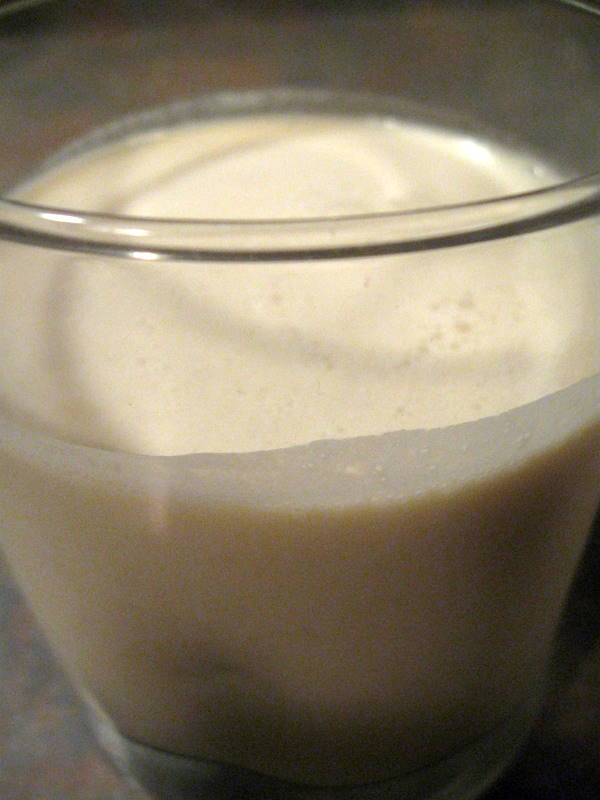
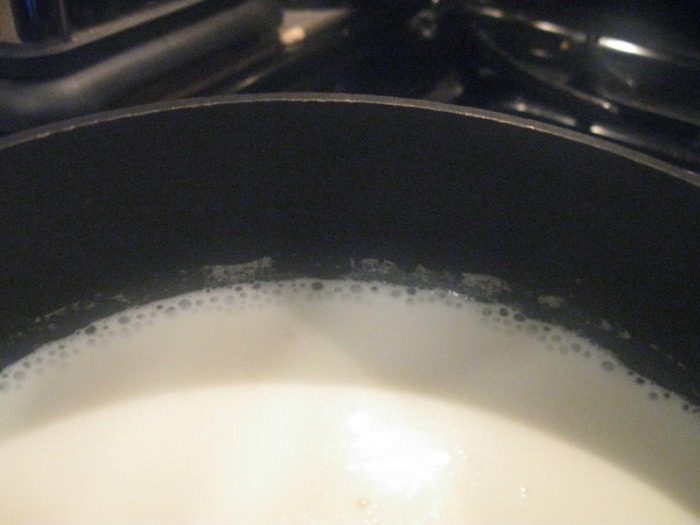
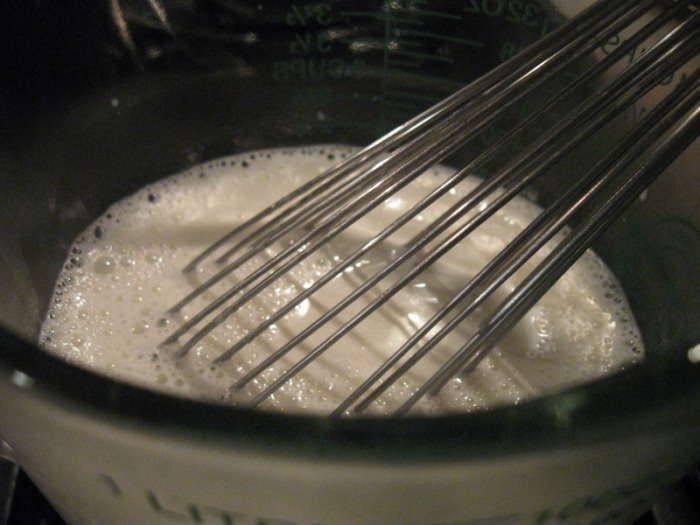
I decided to add some heavy whipping cream to the milk. I gently warmed the milk and cream and then poured it over the chocolate and stirred it together, completely melting the chocolate. Then I whisked in a very high quality vanilla and continued whisking to get the top a little foamy. I then added the brown sugar marshmallow, let it sit for a minute so the marshmallow could melt a little and took a sip. It was fantastic! So, if it's a cold night and you're looking for a special treat this is a great one! It's quick and simple but you and whoever you make it for will love it.
-The Baker
WHITE HOT CHOCOLATE: yield: 32 oz - 2/3 C White chocolate, good quality, coarsely chopped
- 3 C Whole milk
- 1/2 C Heavy Cream
- 1 t Vanilla extract
- place white chocolate in a medium heat-proof bowl; set aside
- in a medium saucepan over medium heat, combine the milk and heavy cream; heat until bubbles begin forming around the edge of the pan, about 4 minutes
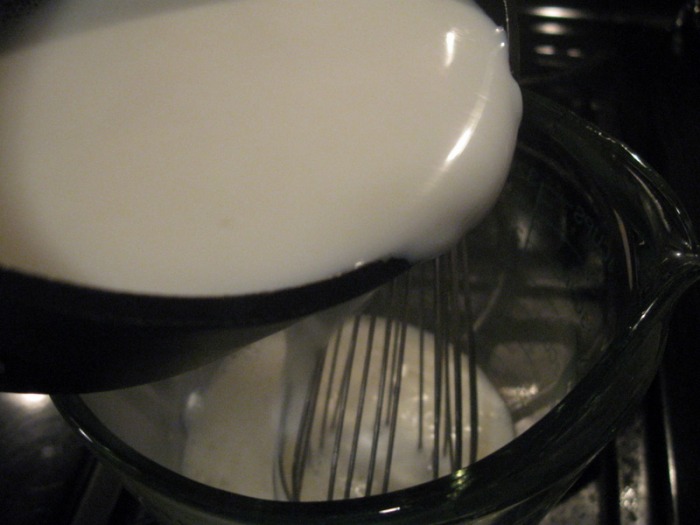
- immediately pour the hot cream mixture over the white chocolate pieces; when the chocolate begins to melt, stir the mixture to combine
- whisk in the vanilla extract; continue to whisk until a light foam forms on the top
- pour the hot chocolate into serving mugs; garnish with marshmallow
BROWN SUGAR MARSHMALLOWS: Yield: 13" x 9" pan Prep: butter or spray (very well) sheet pan - 2 envelopes Gelatin
- 80 g Water
- 1 t Vanilla
- 323 g Sugar
- 200 g Light Corn Syrup
- 80 g Water
- 1 g Salt
- Powdered Sugar (for dusting) equal portion to corn starch
- Corn Starch (for dusting) equal portion to powdered sugar
- Put 1st portion water and vanilla in mixing bowl and sprinkle gelatin over to bloom
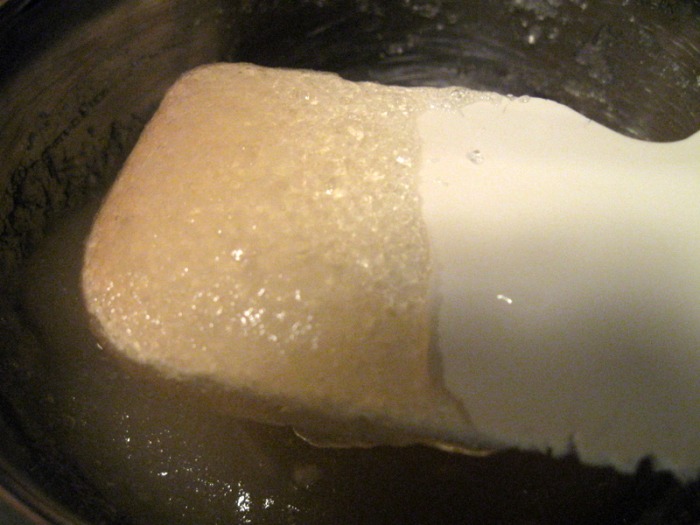
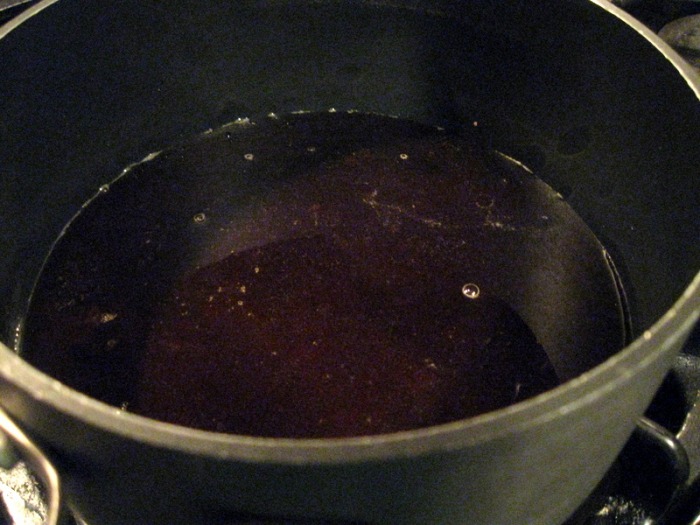
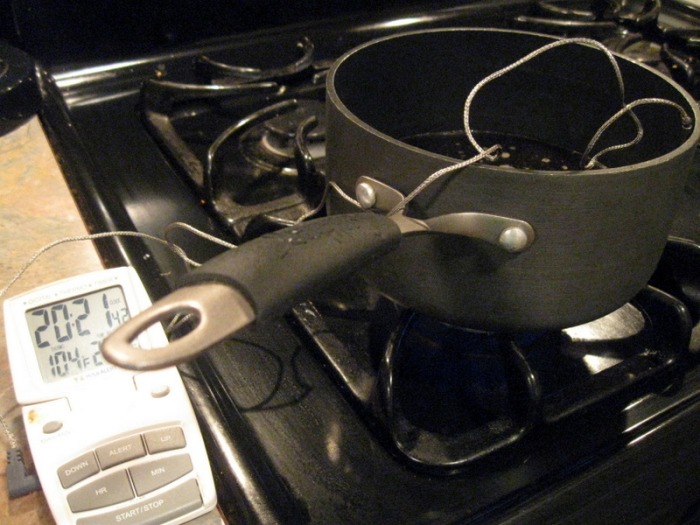
- Put sugar, corn syrup, 2nd portion water and salt in a heavy saucepan; bring to a boil and cook to 236 F
- Using whisk attachment, with the mixer at full speed, pour all of the hot syrup slowly down the side of the bowl (this is the bowl with the gelatin in it); be very careful as mixture is extremely hot and may splash out
- Whip until mixture is very fluffy and stiff (approx 8 – 10 mins)
- Pour mixture into buttered or sprayed pan and smooth with an oiled offset spatula
- Allow the mixture to sit, uncovered, at room temp for 10 – 12 hours
- Mix equal parts powdered sugar and corn starch and sift generously over top of marshmallow slab
- Turn slab out onto a cutting board and dust that side with powdered sugar and corn starch mixture
- Cut into desired shapes; dip exposed edges in sugar/starch mixture or colored sugar
I apologize, but the captions aren't working. For some reason when I put in the captions all of my pictures get deleted. Very frustrating! Unfortunately I can't explain what's happening in every picture, so if you're confused please ask questions and I'll gladly answer them!
-The Baker
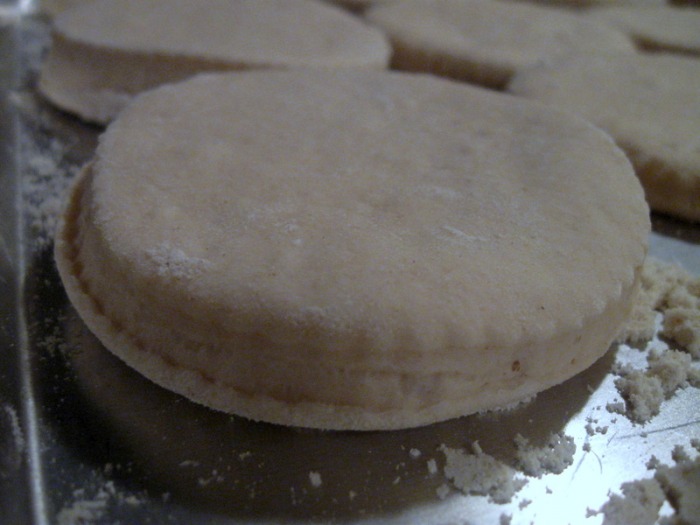
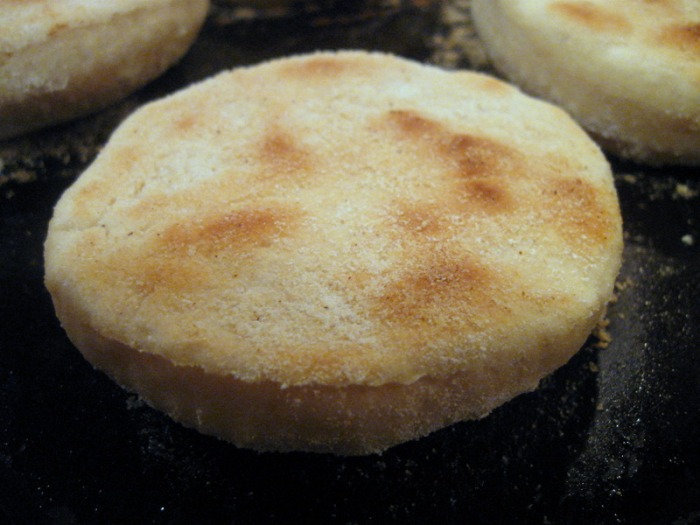
 I decided to try to make some English Muffins. See, I like to try to make things at home that you would normally buy at the store. I've been wanting to make English Muffins for a while but I'd been putting it off because I thought there was no way I would be happy with the results. English Muffins have such a distinctive flavor and texture that I assumed was directly related to being mass produced in a factory. I thought I'd end up with a strange biscuit that was completely different than what I was looking for.
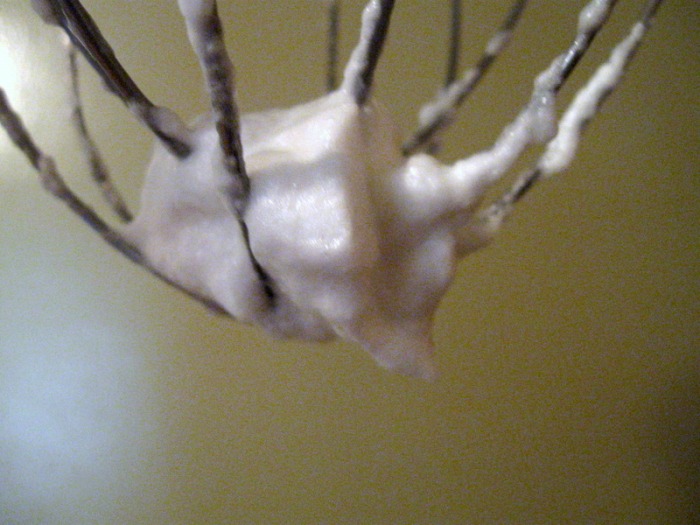
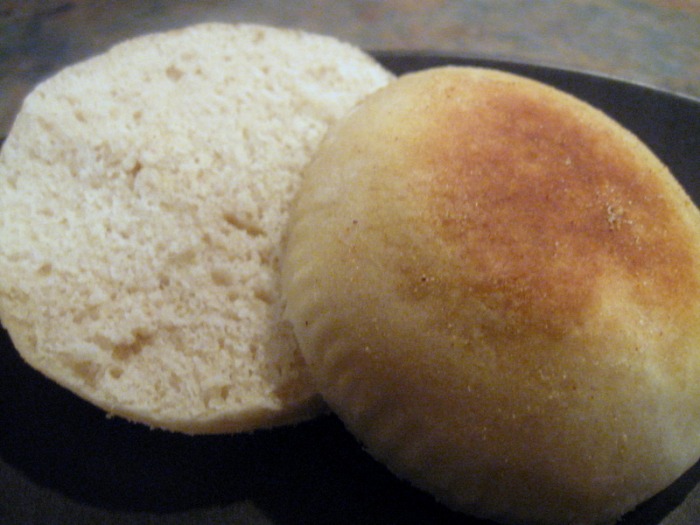
Yesterday I finally decided to give them a try and at least then I'd be able to take them off my to do list. It's a very simple yeast raised dough, but it also has baking soda and folded in egg whites... that's a lot of leavening! No wonder there are so many nooks and crannies when you cut one open!
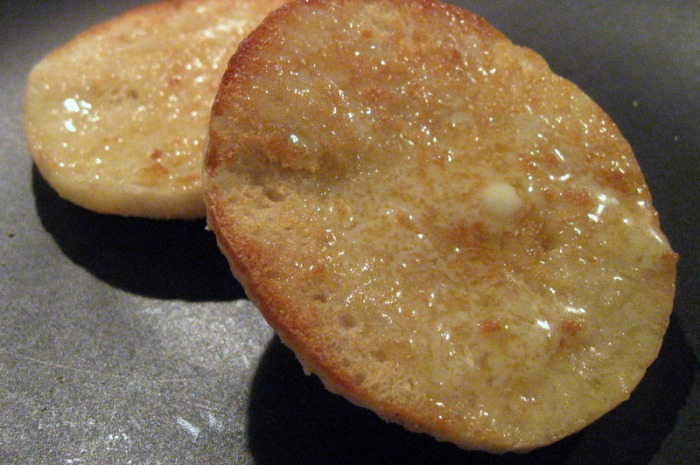
So, now that I've finally made them what's my verdict? I'm kicking myself that I didn't make them sooner. And I'm also kicking myself that I didn't have the confidence to know they would be good and experiment a little. I played it safe and just made a plain English Muffin. Plain like you can buy at any store at any time... boring! Like I said, I was assuming I wouldn't like them and I didn't want to waste any more ingredients than I already was. Now I know better! Next time I'm going to infuse some rosemary in the water and serve them filled with chicken salad... or I'm going to put chives in them and serve them with a scrambled egg sandwich... or I'll put mini chocolate chips in them and serve them toasted with peanut butter... or... well, you get the idea!
They were so good that when The Chef came home and tried one he said, and I quote, "I'm really impressed with these, and I'm not easily impressed." Well, that was a back-handed compliment if I ever heard one, but I understood the sentiment! They were surprisingly good and made the house smell delicious, but when you toast them the nutty smell of the toasted cornmeal just makes your mouth water!
-The Baker
ENGLISH MUFFINS: yield: 16 - 3" muffins - 1 1/4 C Water, 110 F
- 4 C AP Flour
- 2 1/2 t Yeast
- 1/2 t Baking Soda
- 1 1/2 t Salt
- 2 Egg whites
- Cornmeal, as needed
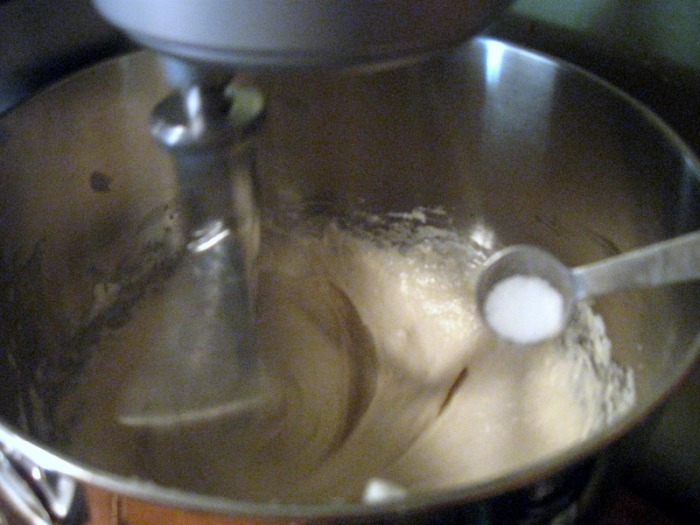
- pour water in a large bowl; add yeast, baking soda and 2 cups of bread flour; mix until smooth; allow to sit for 5 minutes uncovered
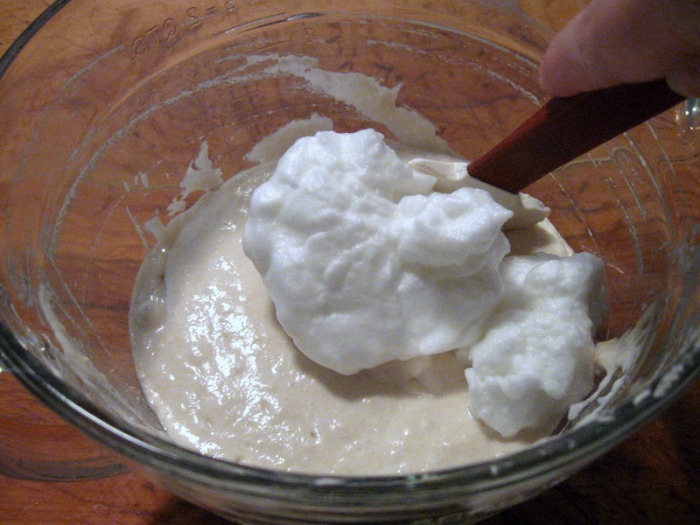
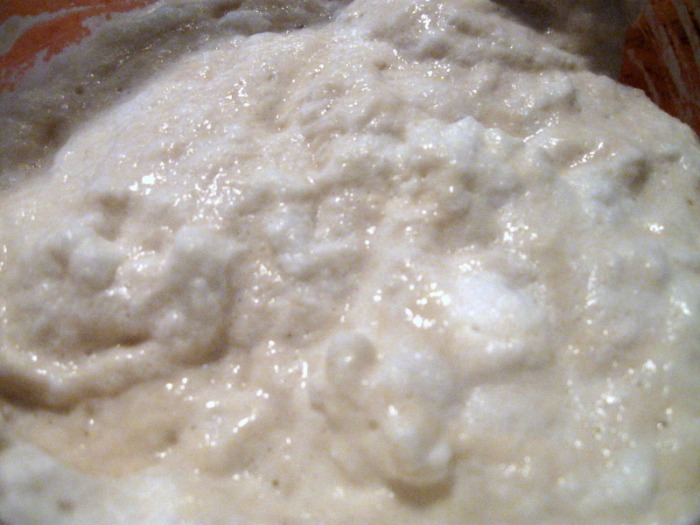
- while the yeast is proofing, whip egg whites until they become stiff and moist; when the egg whites have formed stiff peaks fold into dough batter using a rubber spatula until incorporated
- return to the mixer and add in the rest of the flour, a 1/4 cup at a time; after the first 1/4 cup mix in salt
- mix until dough becomes smooth; oil a bowl and place the dough into the bowl, turn dough over till all sides are very lightly coated; cover with plastic wrap and allow to rest till double in bulk, about 1 hour
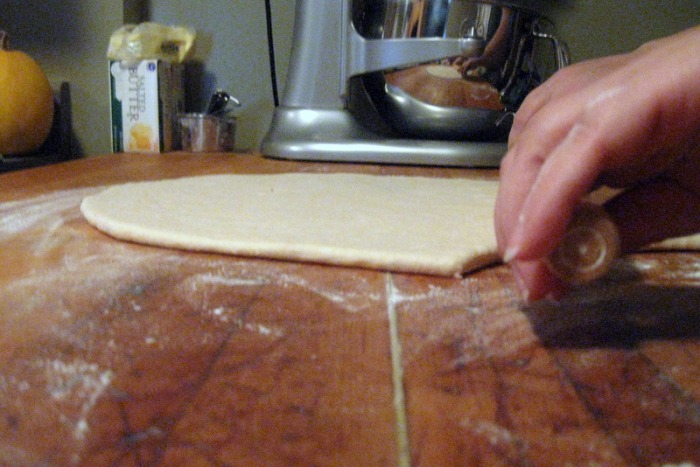
- afterwards, pour out onto a flour dusted flat surface; gently press to release some of the air from the dough
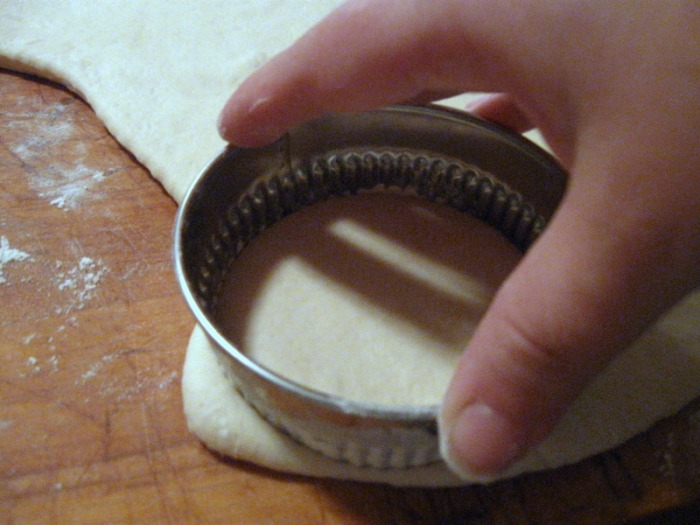
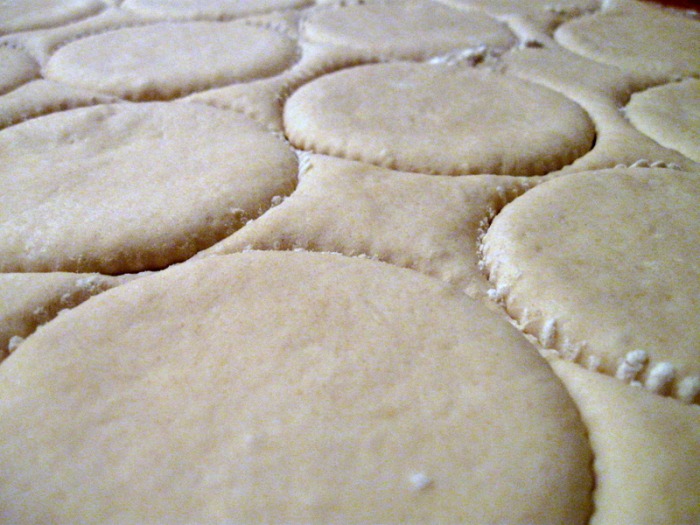
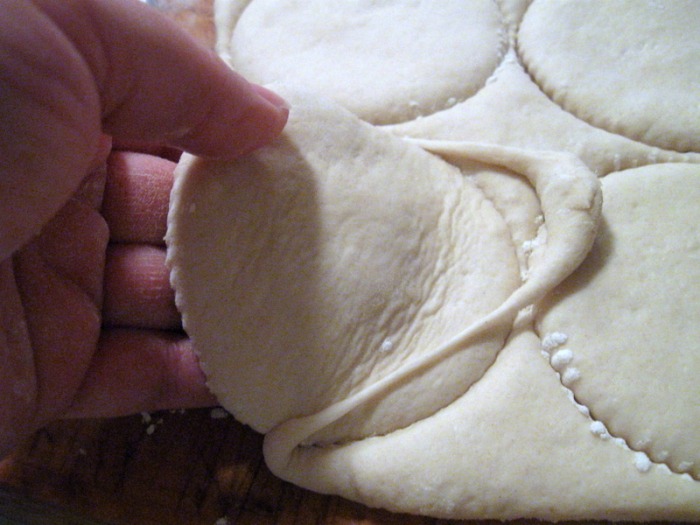
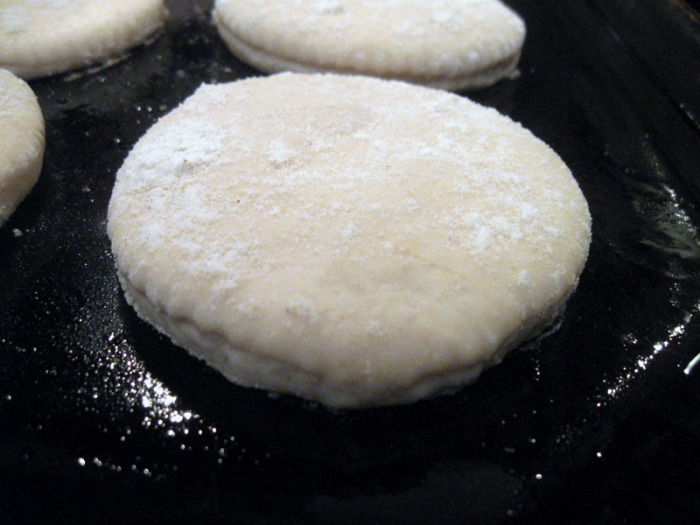
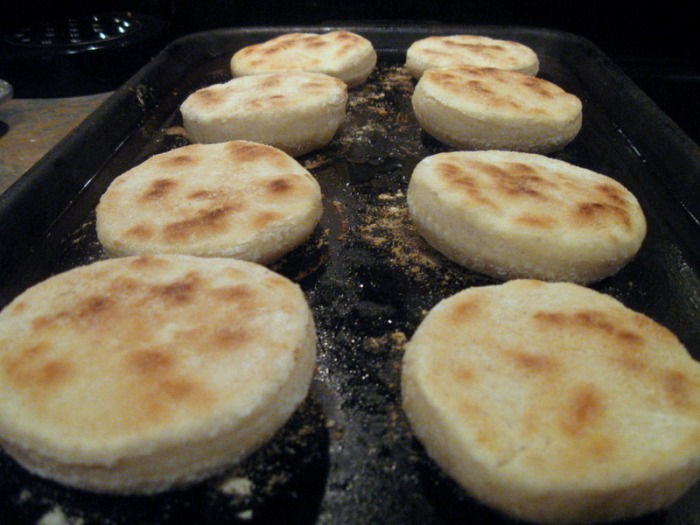
- using a rolling pin roll out to a 1/2 inch thick; allow dough to rest for 3 minutes to relax; using a 3" cookie cutter, cut out circles; place the cut out pieces onto some cornmeal; you can re-roll the dough scraps; sprinkle the tops with more cornmeal
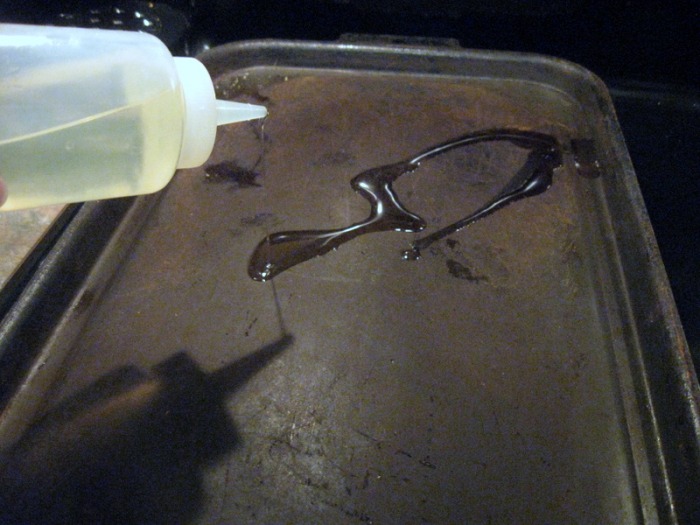
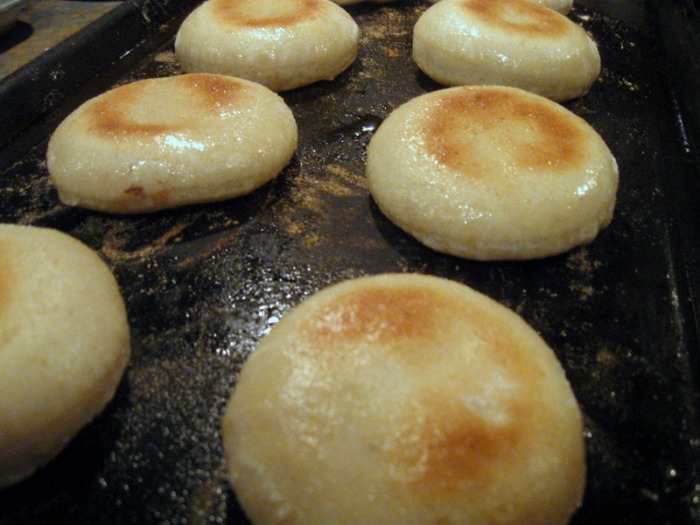
- cover with plastic wrap and allow to rest for 45 minutes; about 5 minutes before you are ready to cook the English Muffins turn on your griddle or frying pan to a medium heat; when the griddle is hot lightly oil it; place the muffins on and fry; if you are using a frying pan you may only be able to fry 3-4 at a time; fry on one side for about 4 minutes; then turn over and fry for another 4 minutes; do this once more to a total of 16 minutes
|


 RSS Feed
