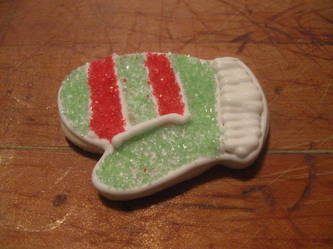
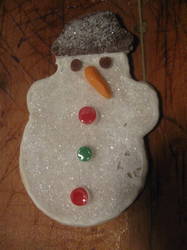
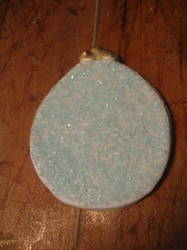
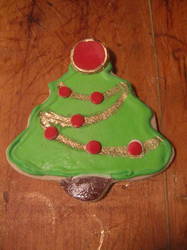
 I love the beautiful sugar cookies you see in magazines at holiday time. I've never actually made them because they are a lot of work and I've never found a sugar cookie dough that was good enough to make all that work worthwhile. I guess I'm not a huge fan of sugar cookies. Then, a friend asked me if I would make her some undecorated sugar cookies for her son to take to school to decorate with his classmates for a school project. Sure, no problem! I can roll and cut out dough all day long... easy breezy! But then... she asked would I make some more for her own holiday parties. Uh-oh. I knew I would have to find a better recipe and then I would have to actually *GULP* decorate them! The thing I've been avoiding all these years! I was a little stumped what to do about the recipe. I mean, I've been searching for years for a good one and I've never found one. Why did I think I would suddenly find it now? Oh, man, did I finally bite off more than I could chew with this little project? The problem with sugar cookies, well any recipe, is if you ask people if they have a recipe they always tell you the one they use is "the best", but I've always found sugar cookies to be dull and bland. A few days later I was trolling the internet looking for new food blogs to read when I stumbled across a site with sugar cookies. Hmm... I loved her description and the fact that the recipe was her grandmother's. These might be a possibility. I decided to try the recipe out. Wow! Were they delicious! And, I'm talking about the raw dough. Seriously delicious! I couldn't wait to taste the baked cookie. Needless to say, the baked cookie was also delicious. Holy cow-after all these years of searching I had actually found a delicious sugar cookie recipe! I couldn't believe it. (Go check out the site, which is filled with all sorts of wonderful recipes and stories: www.wiseanticsoflife.blogspot.com and tell her The Baker sent you!) The recipe Kristen gave also included a frosting, but I knew that I wanted the finished cookies to be very high-end and not homemade looking, so I wanted to use a royal icing. But, again, I was in the same boat... I've never found a royal icing that I really liked. Again, fate intervened and brought me to www.joyofbaking.com for a fantastic royal icing recipe. The key difference between their recipe and all the other royal icings I've made is that they beat the icing for a solid ten minutes, which really thickens it and makes it the consistency of lightly whipped cream. I've always just stirred together some egg whites and powdered sugar, and wound up with some super sweet sludge... yuck! The other difference was that the recipe called for a small amount of lemon juice. I was afraid I was going to end up with lemon cookies, which are good, but definitely not what I was going for. But, the lemon juice was like the magic ingredient! When first mixed up, you can taste the lemony flavor, but as the icing sits and ripens it mellows out and the lemon juice just adds a bright fresh flavor but the actual taste of lemon disappears. It's absolutely delicious! Honestly the best royal icing I've even eaten. The process of baking and decorating the cookies took many, many days and I was very lucky that my sister was in town for a visit and came to help me. We had a great time and ate quite a few cookies in the process. Hey, somebody has to do quality control around here, right? The decorating process is the same no matter what the holiday is, so while it's too late to make these for this holiday season, you can certainly make these for Easter or Valentine's Day. It's definitely something that the more you do the better you'll get at it, so find lots of reasons to make them! -The Baker
Grandma's Sugar Cookies (taken from: www.wiseanticsoflife.blogspot.com) Christmas Cutout Cookies: - 3 C All-Purpose Flour
- 1 t Baking Powder
- 1/2 t Salt
- 8 oz Butter
- 3/4 C Sugar
- 1 Egg
- 2 T Milk
- 1 1/2 t Vanilla Extract
- cream butter and sugar; add egg, milk and vanilla, beating until smooth
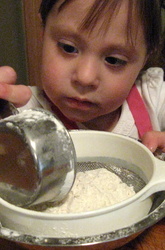
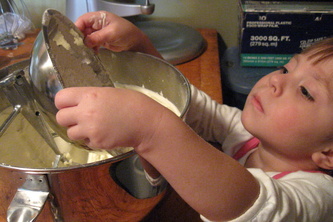
- sift dry ingredients and gradually add; chill 1 hour
- roll 1/2 inch thick and cut into shapes
- bake on an ungreased cookie sheet 400 F for 5-8 minutes; don't let them get brown
- frost when cool
Note: these cookies freeze well (unfrosted) and you can double or triple the recipe with great results
Royal Icing ( www.joyofbaking.com) - 2 Egg whites (large)
- 2 t Lemon juice
- 3 C (330 g) Powdered sugar, sifted
- in the bowl of your electric mixer (or with a hand mixer), beat the egg whites with the lemon juice, until light and frothy
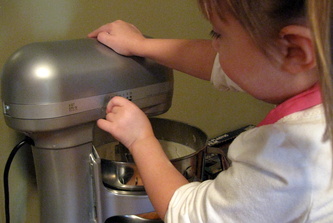
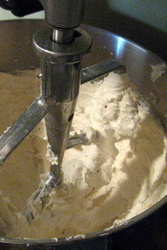
- add the sifted powdered sugar and beat on low speed until combined and smooth; then turn the mixer up to medium-high and beat it for at least ten minutes; it will be thick and very creamy; thin it down with a few drops of water at a time until it is the consistency of whipped cream
- the icing needs to be used immediately or transferred to an airtight container as royal icing hardens when exposed to air; cover with plastic wrap when not in use
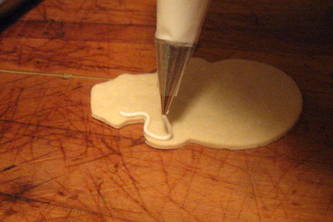
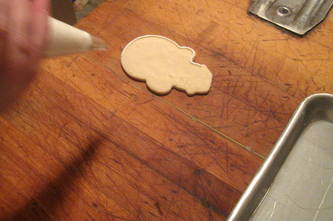
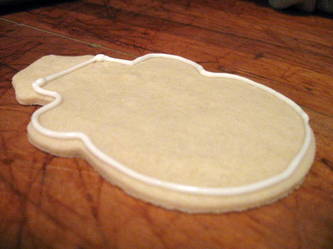
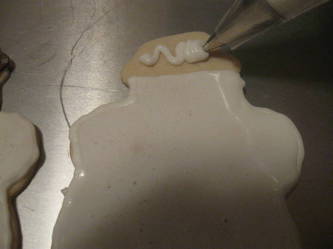
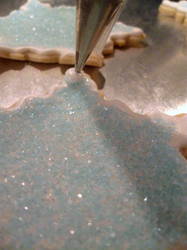
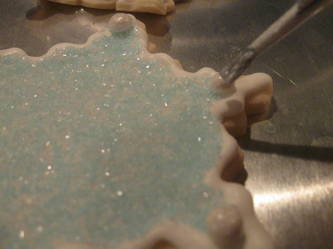
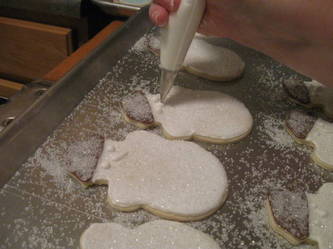
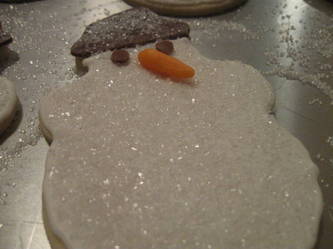
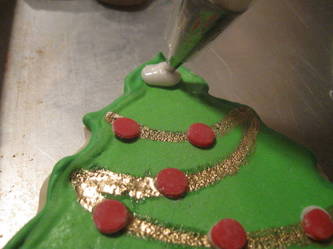
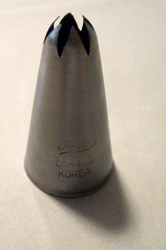
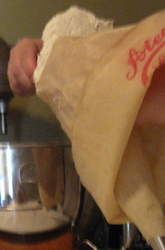
Decorating the cookies: - outline - after the cookies have cooled, outline the edge of the cookie using the royal icing; if you're planning on filling in the body of the cookie with a color other than white you'll want to color the icing that color; if you don't you'll have a white outline; use a disposable plastic piping bag fitted with a #2 or #3 tip, that way you can easily refill and keep going; you want the icing to be just stiff enough to hold it's shape but fluid enough that it easily flows out of the tip; to get the best outlines you want to hold the tip about 1/2" above the cookie; it takes a bit of practice to get used to not working right on top of the cookie
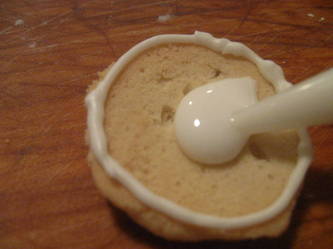
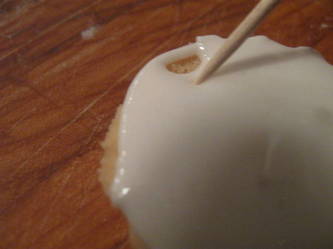
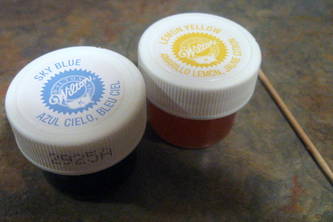
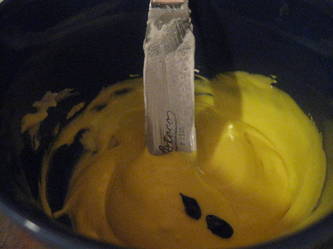
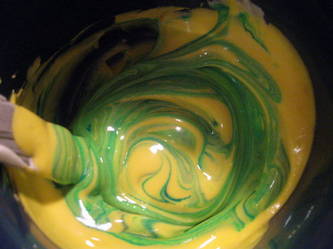
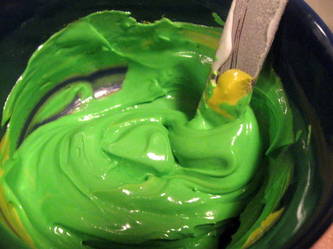
- flooding - let the outline dry until it's sturdy enough to be handled and dry enough to act as a dam for thinner icing; thin down icing to fill in the dam; tint the icing to the color you want (colors will darken the longer they sit); you can thin the icing by adding drops of water; you can use a pastry bag to flood the cookies, but I found it much easier to use squeeze bottles, which can be found at any craft store in the cake decorating section; you don't need to fill the entire area, you can fill in any holes with a paint brush sized pastry brush or a toothpick
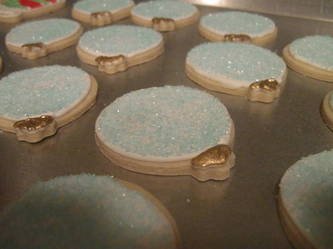
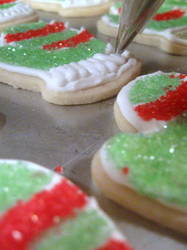
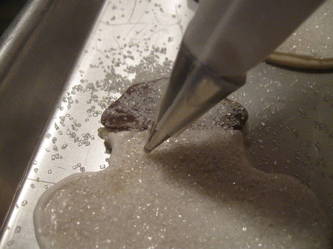
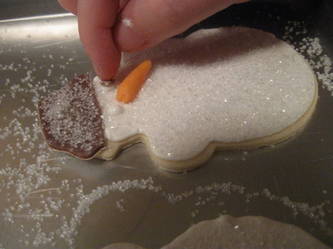
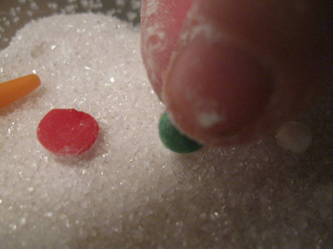
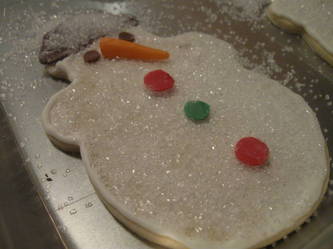
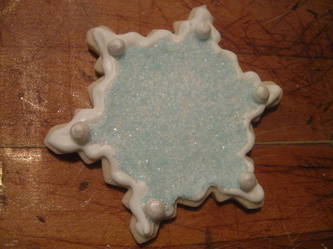
- let the flooded icing dry overnight unless you're dipping the cookies in sanding sugar; if you're dipping in sanding sugar you want to let the icing dry until it's tacky and then dip the cookie in sugar that you've got spilled into a wide shallow dish; keep in mind that some of the sugar will spill off once the icing is completely dry so dip a little heavy; if you want to do multiple colors of sanding sugar (like stripes) then you will need to flood the different sections separately and dip them in the sugar, let them dry completely and then flood the next section and dip, etc
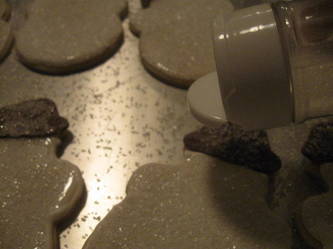
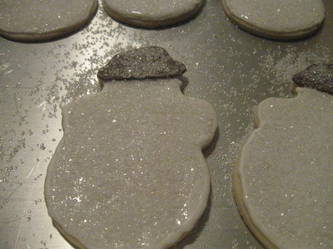
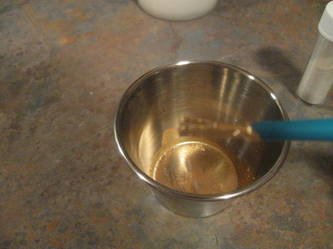
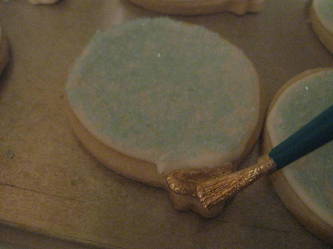
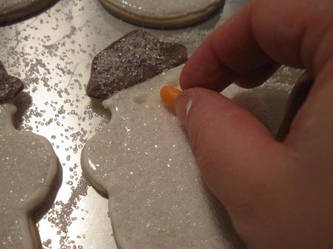
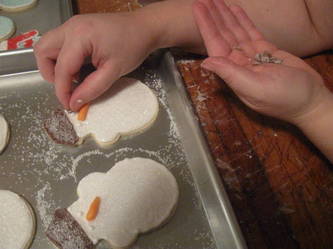
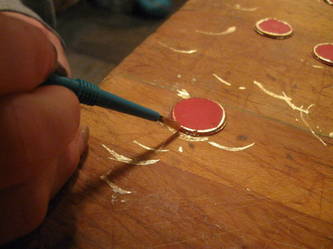
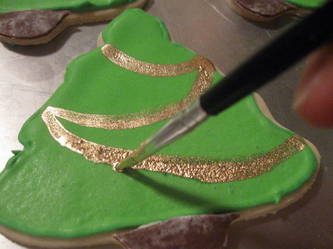
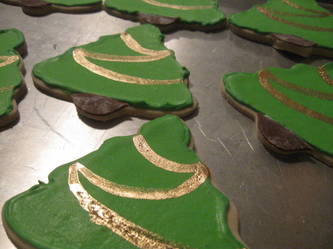
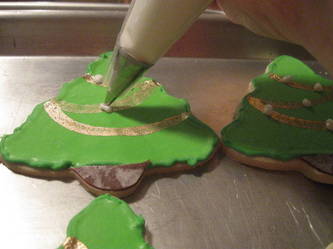
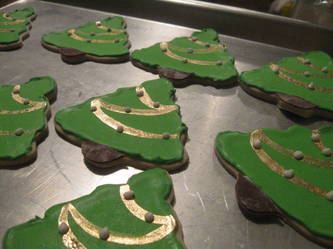
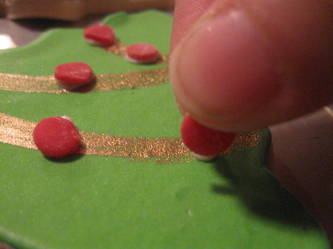
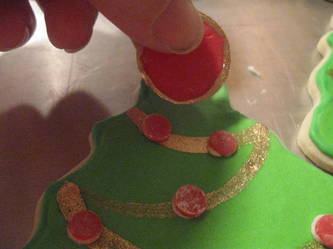
- once the icing is completely dry you can pipe decorations over it, you can paint on gold or silver dust or you can use markers that are made from edible ink to draw on decorations
- the biggest key to successfully decorating the cookies without pulling out your hair or giving up is to have a plan and stick with it... choose the shapes you're making ahead of time, plan how you want to decorate each design, decide on the colors you'll use and if you'll be using sanding sugar; make a list of everything you need and get it all ready before you start to decorate; trust me-it will simplify the process and keep it enjoyable!
- keep in mind that this can be a long process, so give yourself enough time to do the different steps and your cookies will turn out beautiful
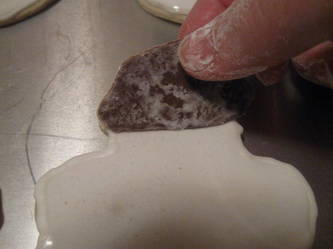
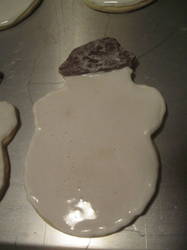
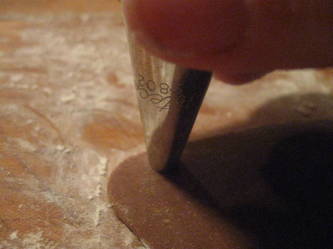
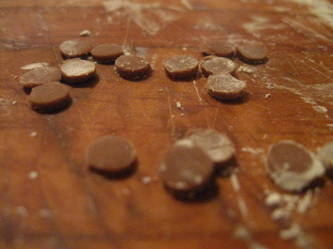
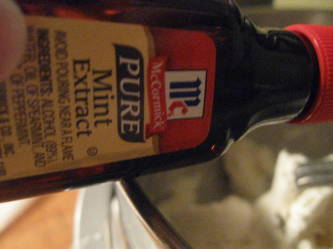
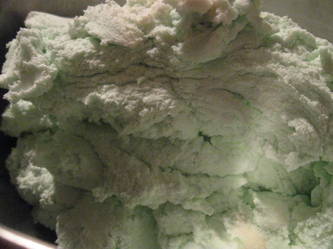
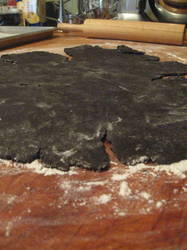
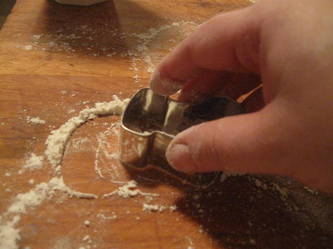
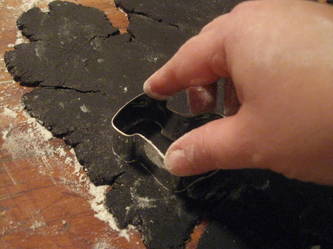
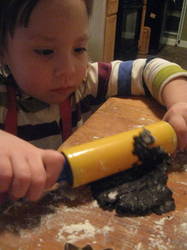
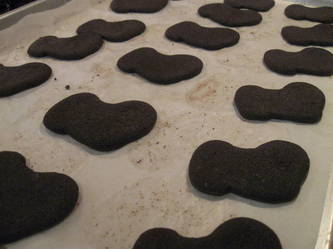
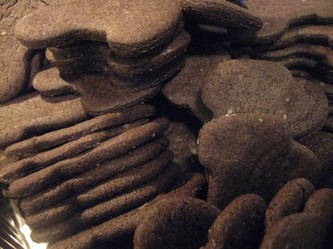
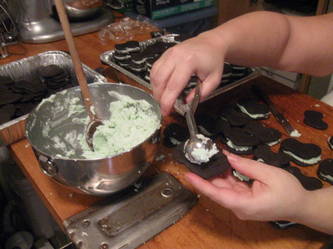
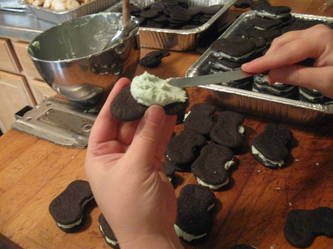
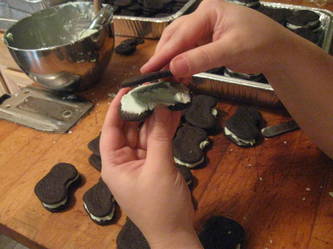
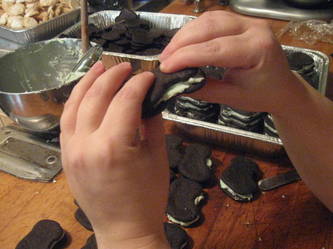
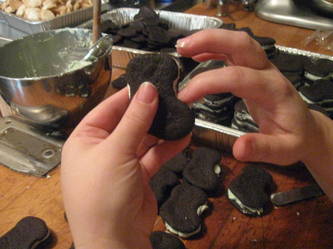
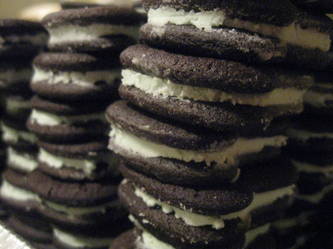
 I'm sure a lot of you read Smitten Kitchen's blog. If not, you need to go there right now and start reading. I'll wait here... okay, are you back? She is a huge inspiration and one of the many reasons I started writing this blog. A few years ago I found her blog accidentally when I wanted to make some homemade oreos and started googling. She has the most fantastic oreo recipe and I've made it several times. It's always been in the back of my mind that the dough would be great for cut out cookies. So, this year when I was narrowing down my choices for the cookies I was going to make for various cookie exchanges I decided to try out my idea. I decided to use a stocking cookie cutter and make the filling mint, in keeping with the holiday theme. The dough really held together well, and I think you could easily use it to cut out pretty much any shape. The filling itself is so neutral that you could easily flavor it with any extract to really customize your cookies. Of course, you could just leave the recipe as is to make traditional oreos! I found the dough was easier to roll out when it wasn't super cold right out of the refrigerator. It's pretty easy to roll even when it's warm, but I noticed that the cookies that I baked from the room temperature dough poofed up a lot more while they baked. They still looked like stockings, but the cookies cut from the cooler dough retained their shape better. Depending on what you're doing with them you may not care. Just be sure to liberally flour your work surface so the dough doesn't stick; or if you don't want to add more flour you can always roll the dough out between two pieces of plastic, use powdered sugar or you could use cocoa. As I said, I got this recipe from Smitten Kitchen's blog, and I don't think I made any changes, except for cutting them out, and making the filling mint. So go make some oreos and enjoy! -The Baker
Homemade Oreos (from www.smittenkitchen.com) Yield: 41 cookies (this will vary depending on how big the cookies you make are) Prep: Preheat oven 375 F CHOCOLATE WAFER COOKIE: - 1 ¼ C AP Flour
- ½ C Dutched cocoa (unsweetened)
- 1 t Baking Soda
- ¼ t Baking Powder
- ¼ t Salt
- 1 C Sugar
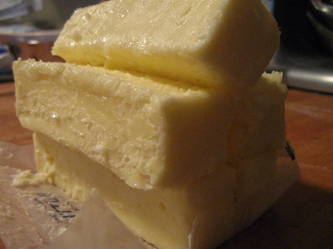
- ½ C + 2 T (1 ¼ sticks) Butter
- 1 Egg
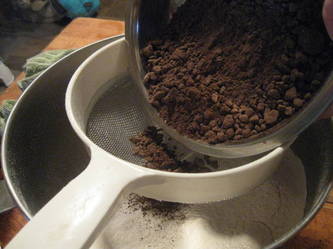
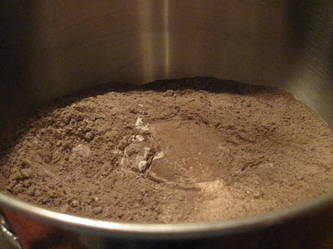
- sift together flour, cocoa, baking soda, baking powder, salt and sugar into mixing bowl
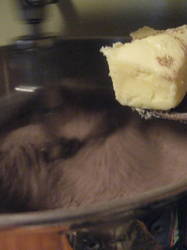
- on low speed add butter until it looks “sandy”
- add egg; mix until dough comes together
- scoop (using #70 scoop; will make 41 balls)
- divide balls in ½ and roll into a disk (can fit 24-4X6-on a ½ sheet)
- bake for 8 minutes
- *To use this wafer cookie for making ice cream sandwiches increase the sugar to 1 ½ C*
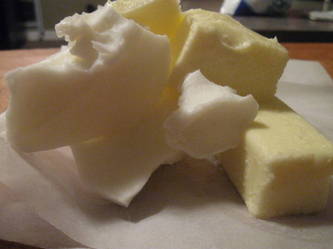
CREAM FILLING: - ¼ C (½ stick) (57 g) Butter
- ¼ C (57 g) Vegetable Shortening
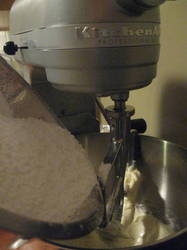
- 2 C (358 g) 10X (sifted)
- 2 t Vanilla Extract
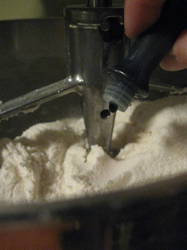
- in mixing bowl add all ingredients
- in low, mix until filling comes together; be sure it's not too dry because the cookies won't stick together; if dry add a bit more vanilla
- then turn mixer on high and beat for 2 minutes until filling is light and creamy
To assemble:- half of the baked cookies will be tops and the other half will be bottoms
- scoop filling (using #70 scoop) and put on the bottoms
- place the tops on the filling and gently squeeze to spread the cream to the edges
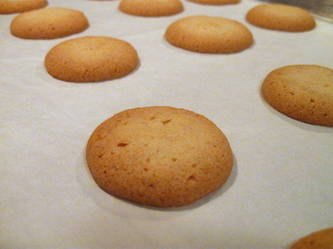
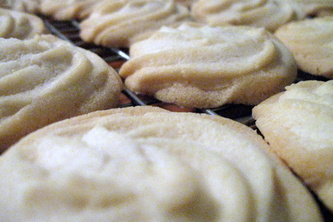
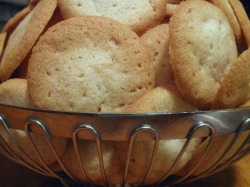 So you know how I'm constantly harping at you to try to make things yourself? How I insist homemade is so much better. How I look down my nose at store bought treats. Well, I'm going to let you in on a little secret... I have a major "thing" for Nabisco 'Nilla Wafers. I can eat the whole box. I don't mean, "oh, I can eat the whole box," but I eat just a handful. I mean literally, I can eat the whole box... and I have... several times... oh, all right, every single time I've bought them. I can't stop myself. I can't take the pressure of loading them into my cart and promising myself I won't eat the whole box in one sitting. But, by the time I've gotten to my car I've opened the box. By the time I get the groceries in the house it's halfway gone. As the last of the groceries are put away there are only a few cookies left. It's a pet peeve of mine to leave just a couple pieces of something in a box just so you can say you weren't the one who finished it. ( DO YOU HEAR ME M1???) So I feel compelled to finish the few stragglers. And once again I've eaten the whole box. So I've stopped buying them. But lately I've been craving them. I can't break my promise and go buy them so I decided to try my hand at making them. I scoured the internet and found quite a few recipes, but when I made them they were really just butter cookies. They were lacking the crunchy snap that 'Nilla Wafers have. They were also missing the way they seem to almost dissolve in your mouth and the golden color that I associate with 'Nilla Wafers. Until I found this recipe. From the pictures it seemed to be exactly what I was looking for. So I made a batch. They were super simple and quick to make. And WOW, were they good. So, what did I do? I ate the entire batch! Try these cookies out and fall in love with them like I did. They don't taste exactly like the Nabisco ones, they're so much better! You'll hate me but your kids will thank you! You can use them in puddings, or fill them and sandwich them together, or just eat them right off the pan! -The Baker
VANILLA WAFERS: (taken from www.seriouseats.com) yield: approx 10 dozen - 8 oz (224 g) Butter, softened
- 1/2 t (3 g) Salt
- 2 C (420 g) Sugar
- 2 Egg Whites
- 1 T (16 g) Vanilla Extract
- 2 T (32 g) Milk
- 2 2/3 C (320 g) All-Purpose Flour
- 1 1/2 t (6 g) Baking Powder
- with an electric mixer, cream butter, salt, sugar
- beat in egg whites until well incorporated
- beat in extract and milk until well incorporated
- whisk together flour and baking powder and add to butter mixture; mix just to incorporate
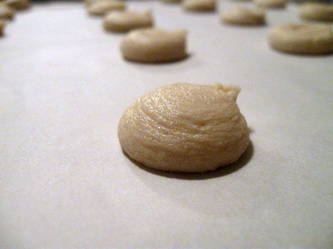
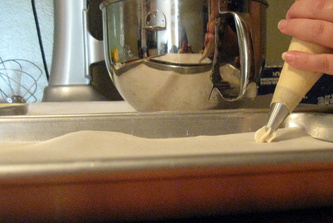
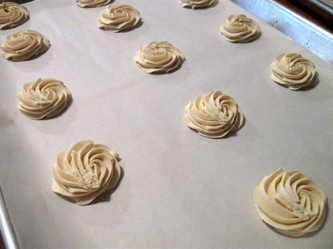
- fit a piping bag with a large, plain pastry tip; pipe batter into nickel-sized mounds, about 1 inch apart
- bake at 350 F for about 20 minutes, until cookies are lightly browned, rotating trays after the first 10 minutes for even coloring, cool completely before storing; cookies will keep in an airtight container for at least a week
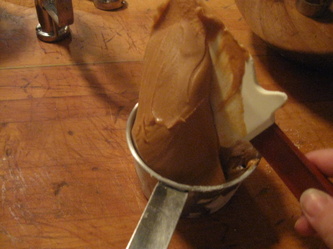
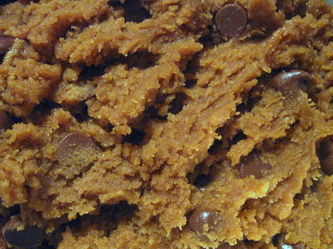
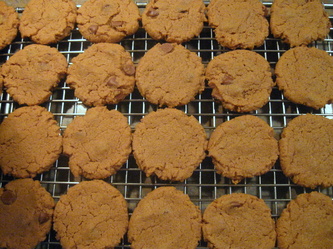
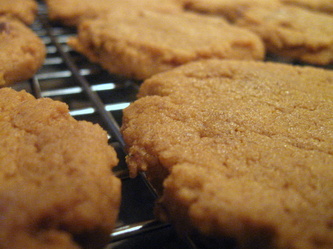
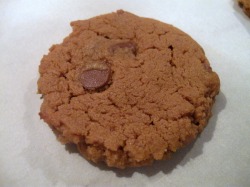 It's really hard to improve on a classic. Especially one as ingrained in us as the peanut butter cookie. There's no need to reinvent the wheel. So the other day when M2 wanted to make some cookies I managed to talk her out of our old stand-by, the chocolate chip, and convinced her to make some Peanut Butter cookies.
We use a fairly standard recipe, but I do like to add some almond extract to the dough to boost the nutty flavor. I like to make a flourless cookie, so this recipe is a nice option if you're gluten intolerant or just choosing to limit your flour intake. These are nice and dense and full of peanut flavor.
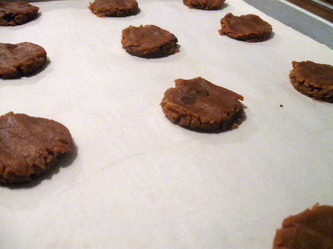
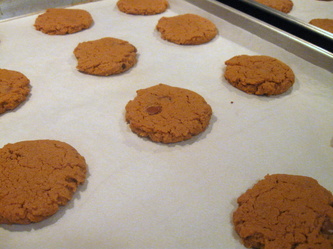
Be sure to bake the cookies just until set and then leave the cookies on the pan to continue baking a bit before removing them to a rack to cool all the way. For a really decadent cookie dip in some melted milk chocolate. Grab a big cold glass of milk and enjoy these!
-The Baker
PEANUT BUTTER COOKIES: yield: 48 cookies - 2 C Peanut Butter, creamy
- 1 C Sugar, granulated
- 1/2 C Dark Brown Sugar
- 2 Eggs, whole
- 2 t Vanilla Extract
- 1 t Almond Extract
- 1 t Baking Soda
- 1/2 t Salt
- 1/2 C Milk Chocolate Chips
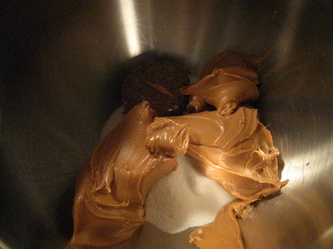
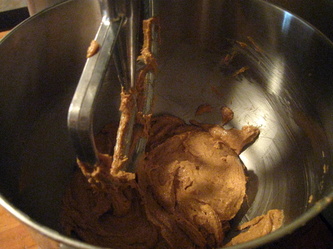
- Cream together the peanut butter, sugar and brown sugar
- Add the baking soda and salt
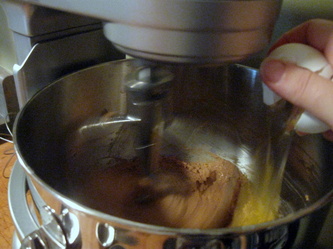
- Add the eggs, one at a time, stirring just until completely mixed in
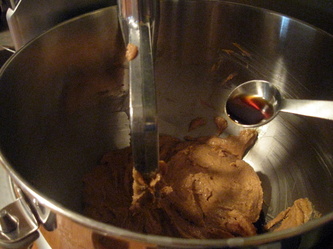
- Stir in the extracts
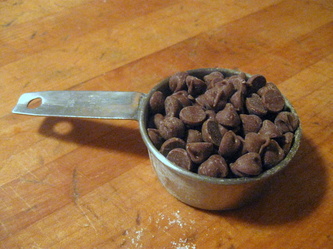
- Stir in the chips
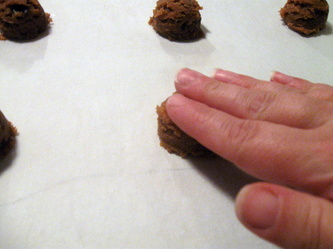
- Scoop onto parchment lined pans
- Bake at 350 F for 10 mins
- Let cool on pan for 5 mins then move to a rack to finish cooling
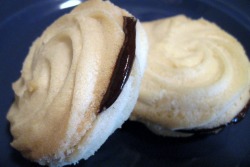 I get my sweet tooth from my mother. She always has a stash of something hidden in a drawer. When I was a kid I didn't know about her stash and, except for holidays, my sisters and I didn't get candy or cookies all that often. Mostly if we wanted some cookies someone better make some.
The other thing I get from my mother is my love for reading. At the end of the day I love to lay in bed with a book and read until I doze off. My mother and I used to get into her huge bed and burrow ourselves under the blankets and read. Eventually she let me in on her secret. I was a little bit older and not as inclined to pass out within five minutes of getting into bed and she couldn't disguise the crinkling of wrappers for the pages of a book!
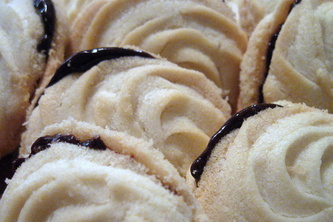
I loved when she had M&M's because you could take a big handful and go back to your book without having to put your book down to unwrap something. Twizzlers were pretty good too. But what I hated was when she had Milano Cookies. First of all, there weren't that many in the bag so you couldn't really pig-out on them. But, secondly, they were filled with dark chocolate... ewww! What kid likes dark chocolate? I'm not even sure if my mother knows that I didn't really like the cookies. I always managed to eat a couple because it was our special time and I didn't want to ruin it, but I sure appreciated it more when she had milk chocolate!
Now that I'm "growed" up (as M2 says), I have an appreciation for dark chocolate, and Milano Cookies. I very rarely buy them though, because my kids don't share my childhood dislike of dark chocolate and they would eat the entire bag in a few minutes, and these cookies are way too expensive for that. They're an indulgence and should be savored. I decided that if I could figure out how to make them we could have them any time we, well I, wanted. And that's how this recipe came to be.
To get the right texture you really need to let the dough mix. Follow the mixing instructions carefully, otherwise you'll end up with a dough that is very crumbly. It will still taste good, but it won't be a Milano cookie. Bake them until the edges have turned a nice golden brown. Usually with lighter colored cookies (like a sugar cookie, for example) if the edges have gone brown they're slightly over-baked, but not this time. These are such delicate cookies that they need a little baked in sturdiness. If you don't want to fill them with ganache, as I've used, fill them with a high quality jam, nutella, or top them with a quartered maraschino cherry before baking. Or you could always eat them plain.
-The Baker
COOKIE DOUGH:- 8 oz Butter, softened
- 1 1/2 C AP Flour, sifted
- 1 1/2 C Powdered Sugar, sifted
- 1 t Vanilla Extract
- 1/2 t Almond Extract
- Cream the softened butter by itself on high for 5 mins
- Stir in the Vanilla and Almond extracts
- Add the sifted Powdered Sugar; slowly bring the mixer speed up to high; cream for 10 mins
- Add the AP flour; slowly bring the mixer speed up to high; cream for 10 mins
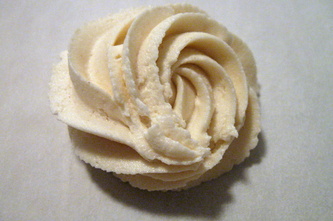
- Using a pastry bag and a star tip, pipe your desired shape onto parchment lined pans
- Bake at 350 F for 16 mins
- Let cool on the pan for 5 mins; then move to a rack to finish cooling
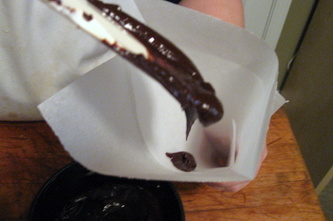
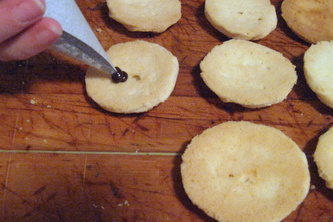
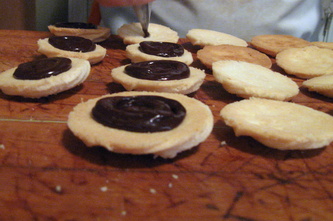
- When completely cool fill one cookie with ganache and sandwich shut with another cookie; let the ganache set before stacking
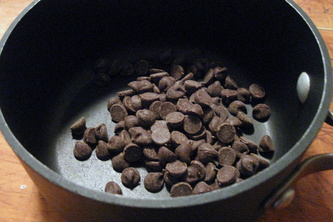
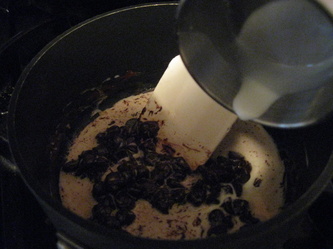
*Notes: If you don't have a pastry bag you can just scoop the dough onto the pan using a spoon. GANACHE:- 1 oz Heavy Whipping Cream
- 5 oz Dark chocolate
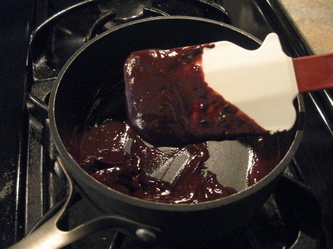
- Gently warm the cream and chocolate; don't get it too hot
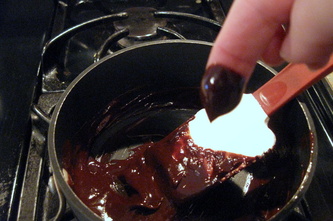
- Stir together the cream and chocolate until it's very shiny
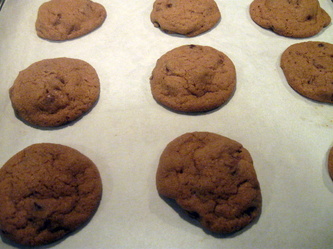
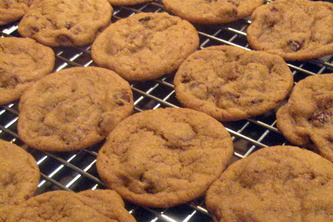
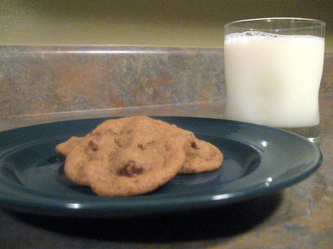
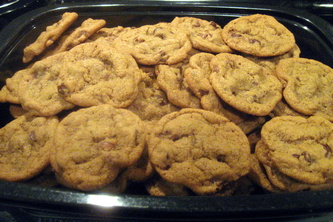
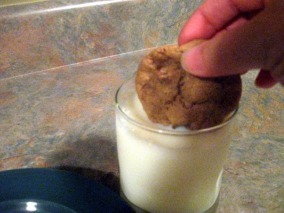 Chocolate Chip cookies may not be the most exciting cookie out there, but at our house when I say I'm going to make cookies, that's what is expected to come out of the oven. If I make something else it's usually greeted with, "you didn't make chocolate chip cookies?" Plus, I personally, have an affinity for chocolate chip cookies. I survived my entire high school career by eating two chocolate chip cookies and a pint of chocolate milk every day from the cafeteria. (How was I so skinny then, and not so much anymore???) They were always fresh out of the oven and still mostly raw. They were served on a couple of napkins and by the time I finished the napkins were soaked with grease... mmmm... The cookies were so good that my older sister and her best friend snuck back into our old school several years after they graduated to go to the cafeteria to buy some!
Needless to say, I've had a lot of experience making chocolate chip cookies. As a kid, during the holidays, we always made a variety of cookies to be given as gifts and I was always in charge of making the chocolate chips. Sometimes they would turn out fantastic and other times they were so-so and I never knew why. Many years (and many batches) later, I've learned some important points about cookie making.
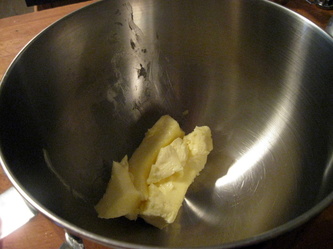
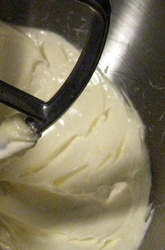
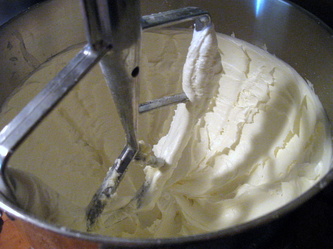
The number one thing I've learned is the importance of creaming. That's the single most important thing you can do to ensure you end up with good cookies. If you don't thoroughly cream your butter you won't introduce the tiny air bubbles that are essential for the structure of your cookie.
Start with your ingredients at room temperature. If you decide at the last minute to make cookies and all of your butter is in the fridge just pop it in the microwave for a few seconds until it softens up, but isn't melted. Then put your butter in the mixer and let it start mixing, which is introducing air into the butter. Then add your sugars. Let the butter and sugars cream at high speed until they've become a lighter color and it looks to be about double in volume. WALK AWAY IF YOU HAVE TO! Seriously, it's that important.
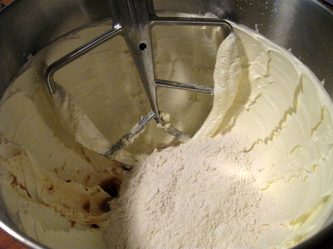
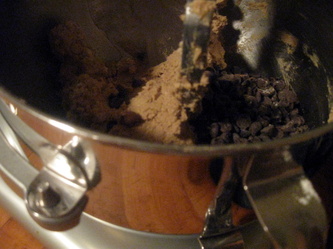
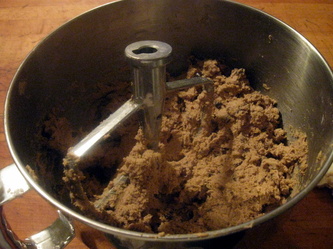
The next very important step to keep in mind is to add all of your dry ingredients ALL AT THE SAME TIME. Don't add a little of the flour, then mix, then add a little more, then mix... by doing this you're developing the gluten (a protein in the flour). If you develop the gluten too much you will have very heavy bread-like cookies and not the tender cookie you're looking for. Very slightly under-mix the flour and then add your chips and nuts (if you're using any). The reason for this is that you'll continue to develop gluten when you mix in your chips, but if you under-mix the flour, by the time the chips are mixed in the dough will be perfectly mixed.
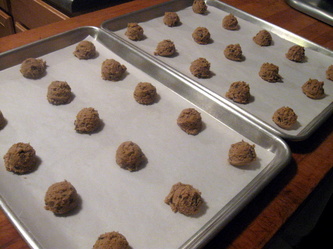
Then scoop and bake! I use a small scooper to keep the cookies all the same size and that way they all bake in the same amount of time. If you don't have a scooper just use two spoons. If you don't want all the cookies you can scoop them into little balls, line them up on a cookie pan (they don't need any space between them), wrap them really well and freeze them. Then you can just pop a few out at a time and bake them fresh for a nice little treat. You can also roll the cookies into a log, wrap in plastic and freeze. Then slice off a few or the whole tube when you're ready to bake. (Neither of those methods have ever been used at our house.)
-The Baker
CHOCOLATE CHIP COOKIES
yield: approximately 6 dozen 2" cookies- 1 C Butter
- ½ C Sugar
- 1 ½ C Dark Brown Sugar
- 2 ea Eggs
- 2 ½ C AP Flour
- ¾ t Salt
- 1 t Baking Powder
- 1 t Baking Soda
- 2 t Vanilla Extract
- 2 C Chocolate Chips (I use a mix of semi-sweet and milk chocolate)
- Cream softened butter; add sugars until light and fluffy.
- Add room temperature eggs, one at a time; just until incorporated.
- Sift together all dry ingredients; add to mixer on low; mix just until incorporated.
- Stir in chocolate chips.
- Scoop onto sheet pans and bake at 350 F for 12 minutes.
|












 RSS Feed
