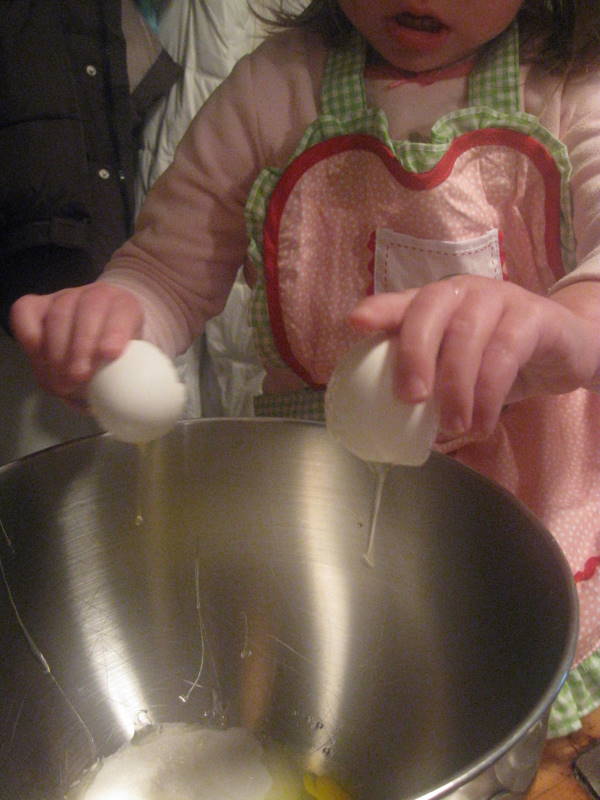
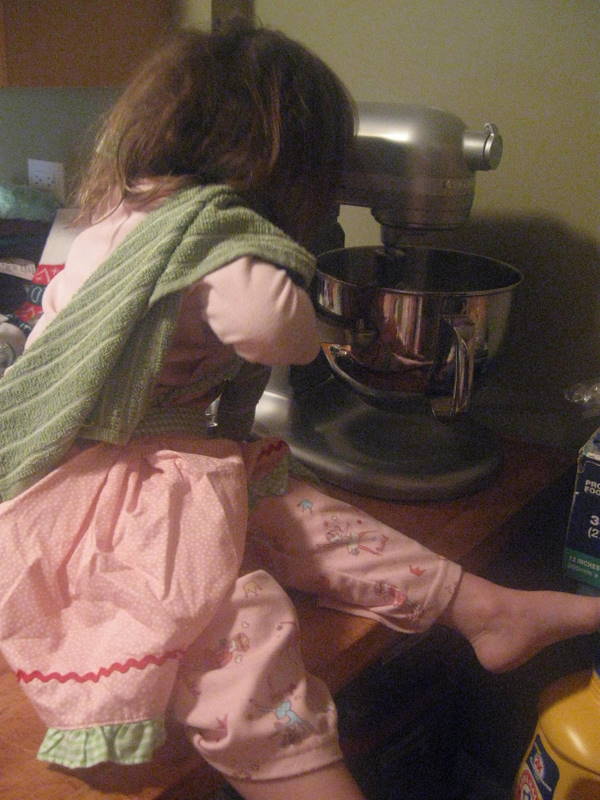
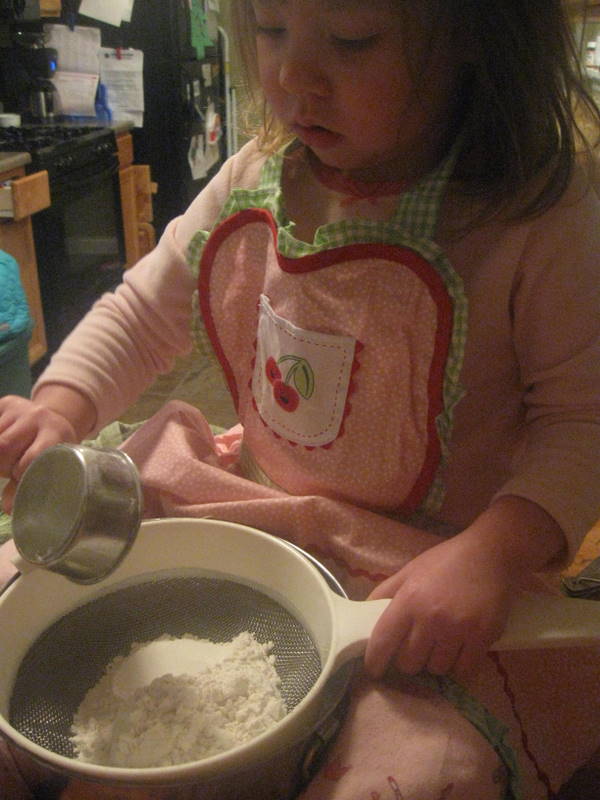
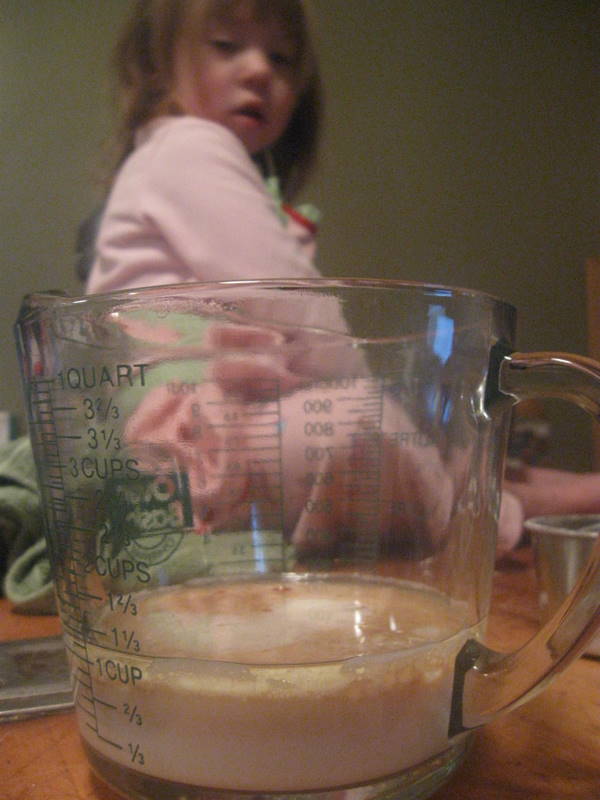
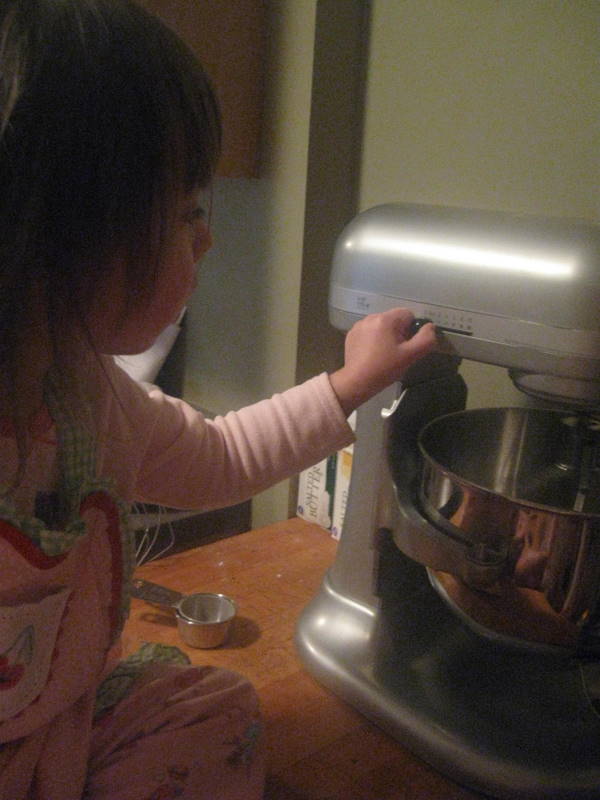
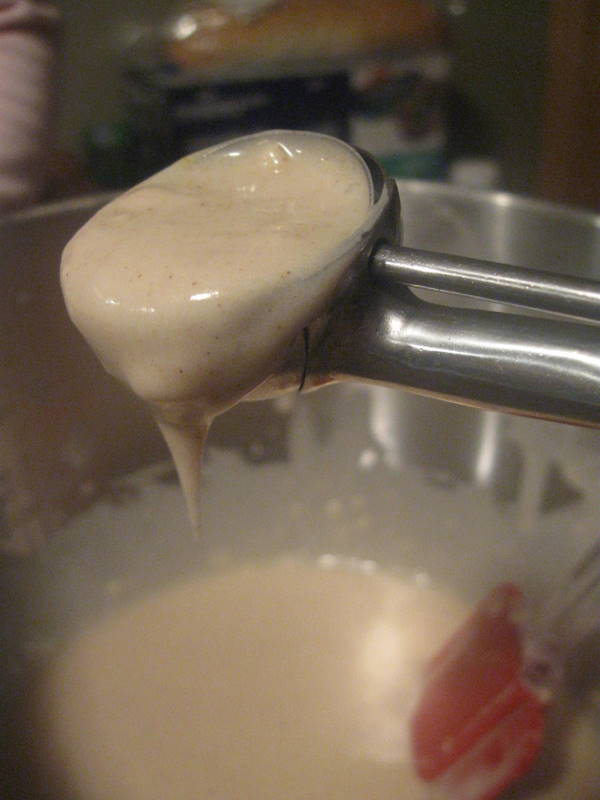
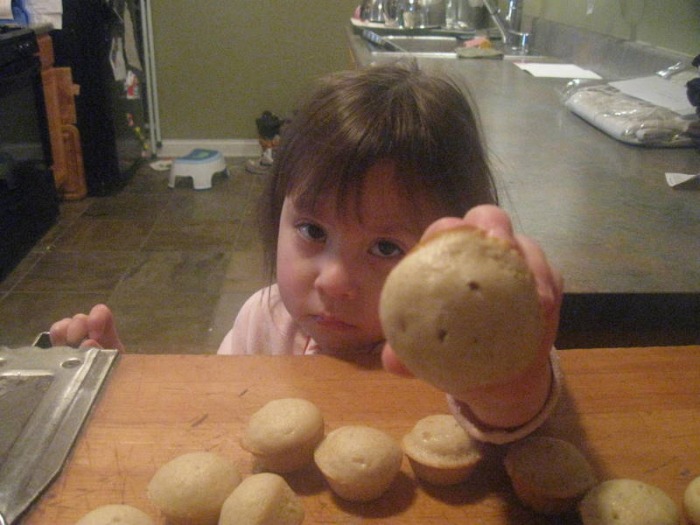
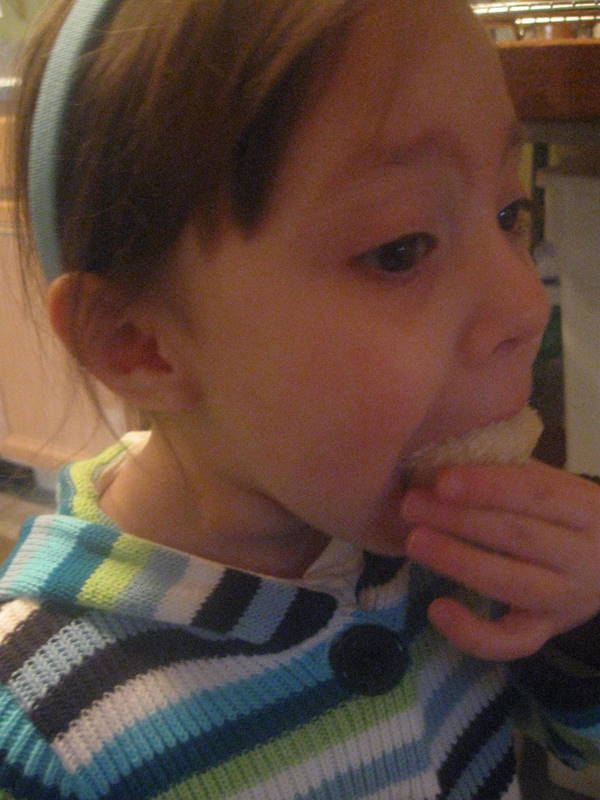
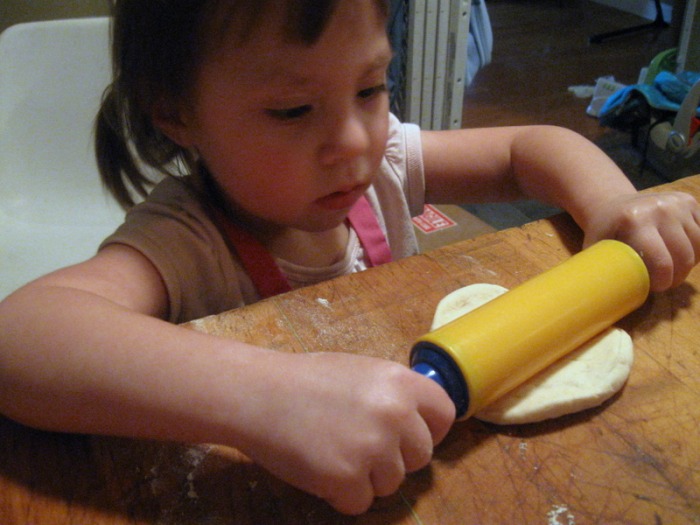
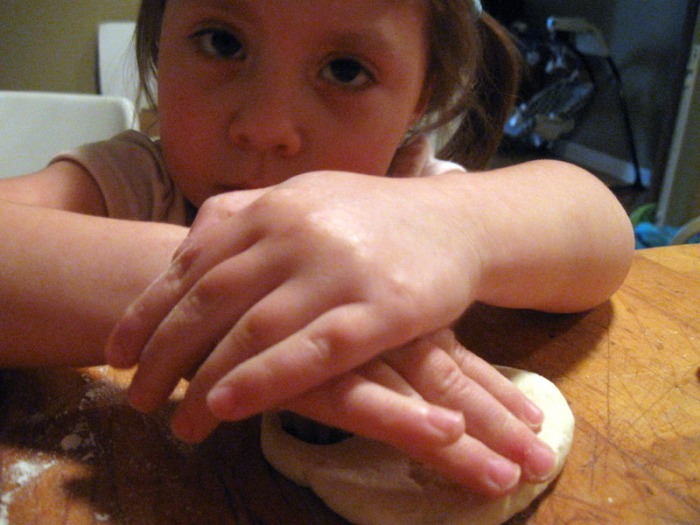
 New Years Day we woke up to a wintry Chicago morning with fresh snow falling from the sky. The refrigerator was empty from being picked clean of all the delicious food we had made for friends and family. There was no way I was going to venture out into the wintry wonderland in search of breakfast. The Chef was at work and M1 is still four months away from being able to drive. Time to get creative! Everybody loves a good donut for breakfast, but they're a mess to fry, and to be honest I never know what to do with the oil once I've fried in it, so I tend to not make donuts at home. I remembered that in culinary school we would sometimes whip up little donut imposters called Sugar Donut Muffins that we would eat for breakfast. Unfortunately I didn't save the recipe, but I remembered the process and I didn't think it would be that hard. I decided to do a quick google search to see if there were any recipes and I couldn't believe how many there were! I had no idea these were so popular! I thought my instructor had come up with the concept. Go figure! After reading through several different recipes I decided to use the one from Baking Bites. It had the simplest ingredients, and most importantly, I had all of the ingredients! I did change just a couple of things. The first being that I used Pumpkin Pie Spice in place of nutmeg. I'm not a huge fan of nutmeg, especially when it's the primary flavor. Pumpkin Pie Spice contains some nutmeg as well as cinnamon and ginger so it has a nicer flavor. It's really versatile, and I use it in a lot of things. The other change I made was that the Baking Bites recipe just has you brush the butter on and I have you dip the whole muffin in the melted butter. If you're going for lower fat (notice I didn't say "low fat") then brush the butter on rather than dip the muffins. These are quick to make and very easy to make. If you look at the pictures you'll see that M2 made the entire muffin by herself. All I did was scoop them into the pan and put them in and out of the oven. Definitely a good recipe to make with your kids! -The Baker
Sugar Donut Muffin yield: 10 full size muffins; 32 mini muffins MUFFIN BATTER: - 3/4 C Sugar
- 1 Egg
- 1 1/2 C All-Purpose Flour
- 2 t Baking Powder
- 1/4 t Salt
- 1/4 t Pumpkin Pie Spice
- 1/4 C Vegetable Oil
- 3/4 C Milk
- 1 t Vanilla Extract
- preheat oven to 350 F
- spray muffin tin
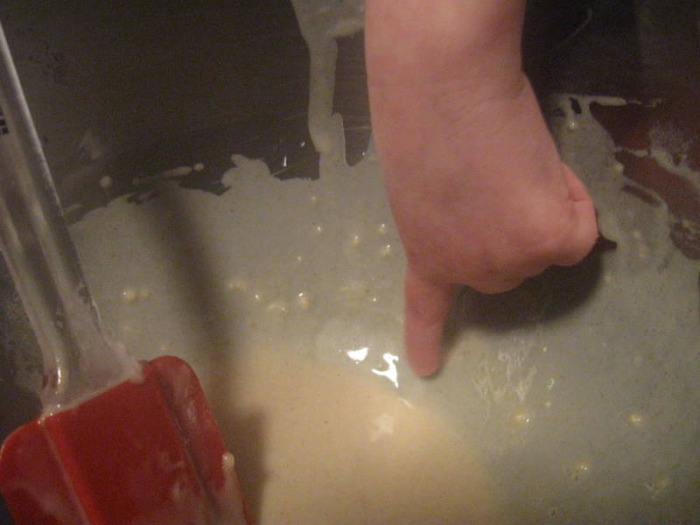
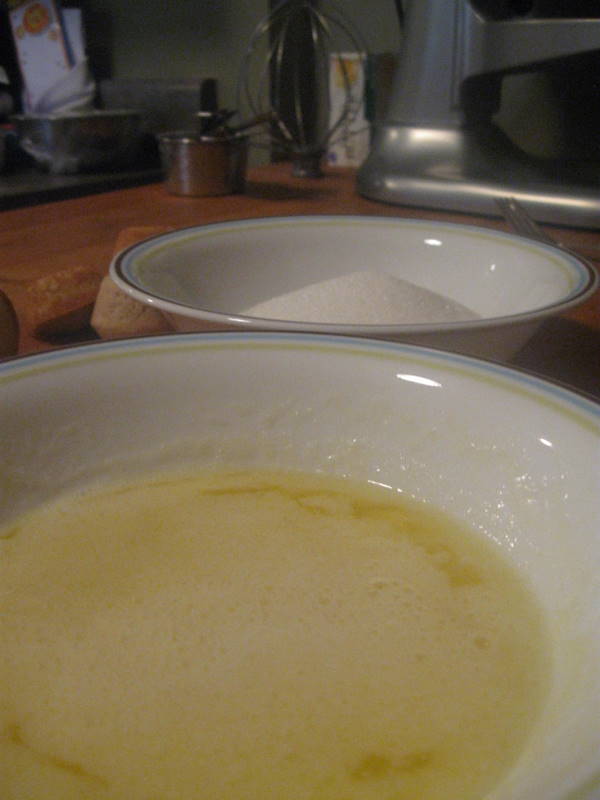
- in a mixing bowl, beat together sugar and egg until light and creamy
- in a separate bowl, sift together flour, baking powder, salt and Pumpkin Pie Spice
- pour dry ingredients into egg mixture and stir to combine
- add oil, milk and vanilla
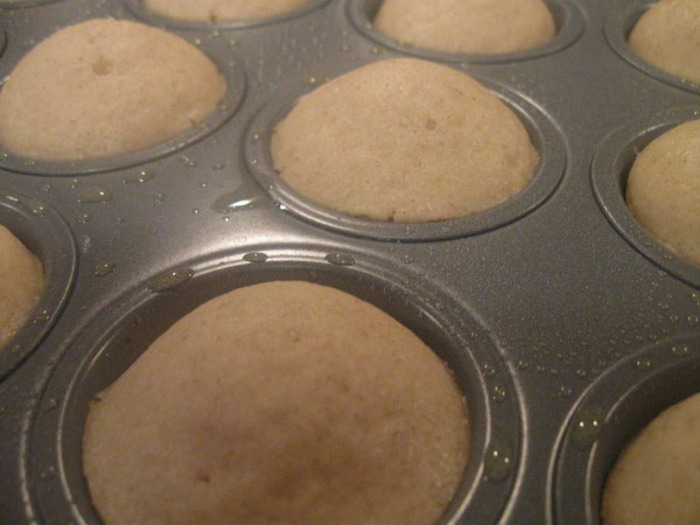
- scoop batter into mini muffin pan; fill about 3/4 full
- bake for 15 mins, until a toothpick comes out clean
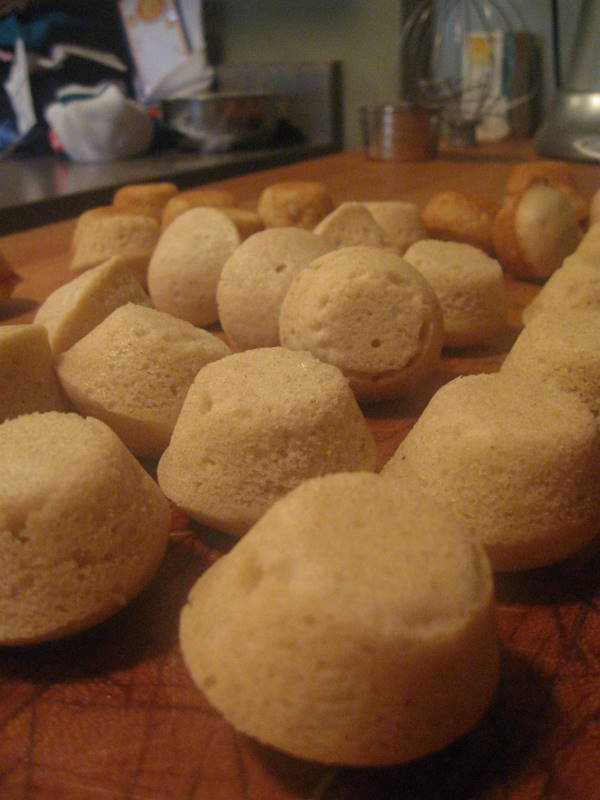
- pop out of the pan while still warm so they don't get soggy
DIP: - 4 oz Butter, melted
- 3/4 C Sugar, for rolling
- melt butter and pour remaining sugar into a small bowl
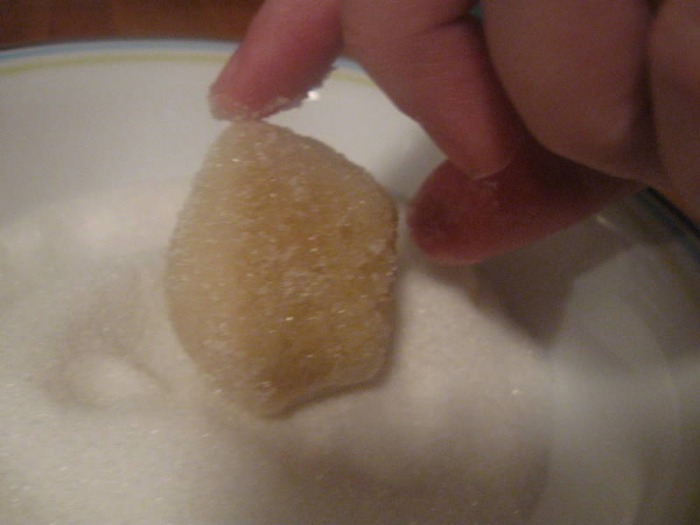
- while muffins are still warm, dip them in the melted butter, and then immediately roll them in the sugar
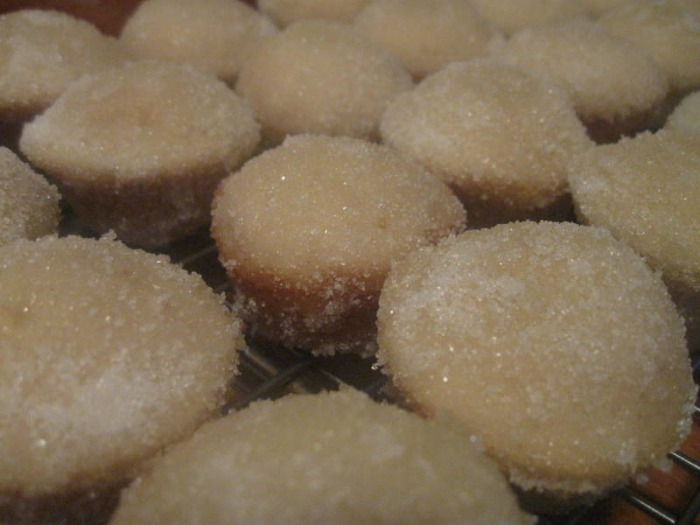
- cool and dry on a rack
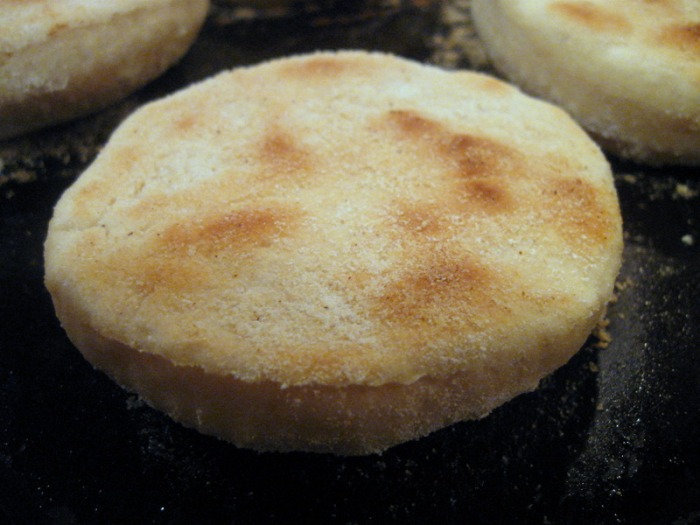
 I decided to try to make some English Muffins. See, I like to try to make things at home that you would normally buy at the store. I've been wanting to make English Muffins for a while but I'd been putting it off because I thought there was no way I would be happy with the results. English Muffins have such a distinctive flavor and texture that I assumed was directly related to being mass produced in a factory. I thought I'd end up with a strange biscuit that was completely different than what I was looking for.
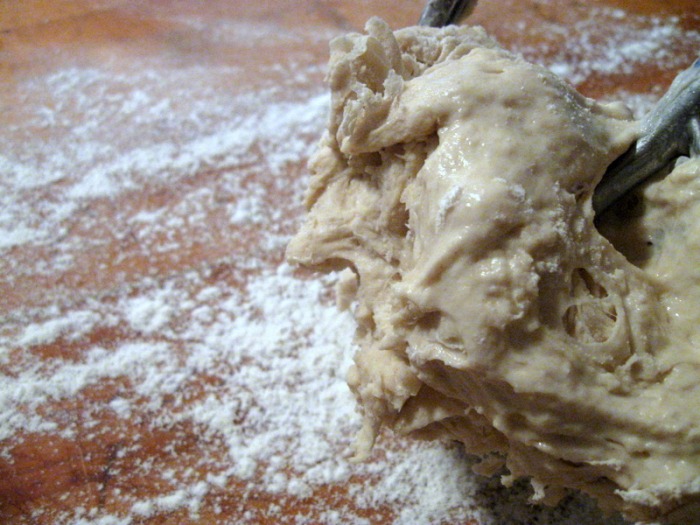
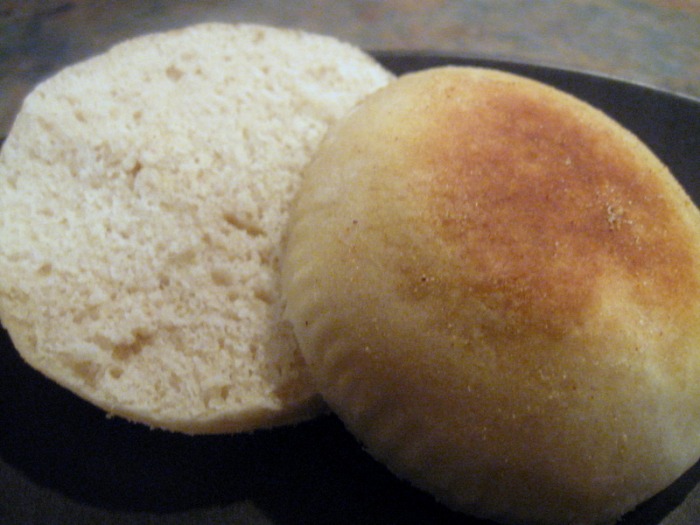
Yesterday I finally decided to give them a try and at least then I'd be able to take them off my to do list. It's a very simple yeast raised dough, but it also has baking soda and folded in egg whites... that's a lot of leavening! No wonder there are so many nooks and crannies when you cut one open!
So, now that I've finally made them what's my verdict? I'm kicking myself that I didn't make them sooner. And I'm also kicking myself that I didn't have the confidence to know they would be good and experiment a little. I played it safe and just made a plain English Muffin. Plain like you can buy at any store at any time... boring! Like I said, I was assuming I wouldn't like them and I didn't want to waste any more ingredients than I already was. Now I know better! Next time I'm going to infuse some rosemary in the water and serve them filled with chicken salad... or I'm going to put chives in them and serve them with a scrambled egg sandwich... or I'll put mini chocolate chips in them and serve them toasted with peanut butter... or... well, you get the idea!
They were so good that when The Chef came home and tried one he said, and I quote, "I'm really impressed with these, and I'm not easily impressed." Well, that was a back-handed compliment if I ever heard one, but I understood the sentiment! They were surprisingly good and made the house smell delicious, but when you toast them the nutty smell of the toasted cornmeal just makes your mouth water!
-The Baker
ENGLISH MUFFINS: yield: 16 - 3" muffins - 1 1/4 C Water, 110 F
- 4 C AP Flour
- 2 1/2 t Yeast
- 1/2 t Baking Soda
- 1 1/2 t Salt
- 2 Egg whites
- Cornmeal, as needed
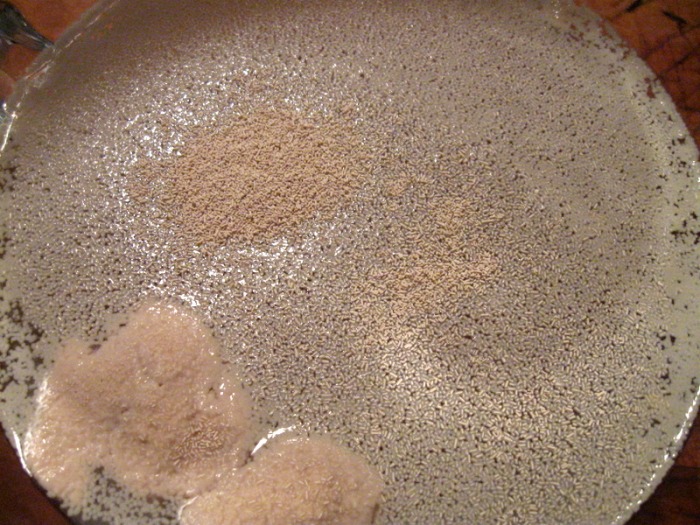
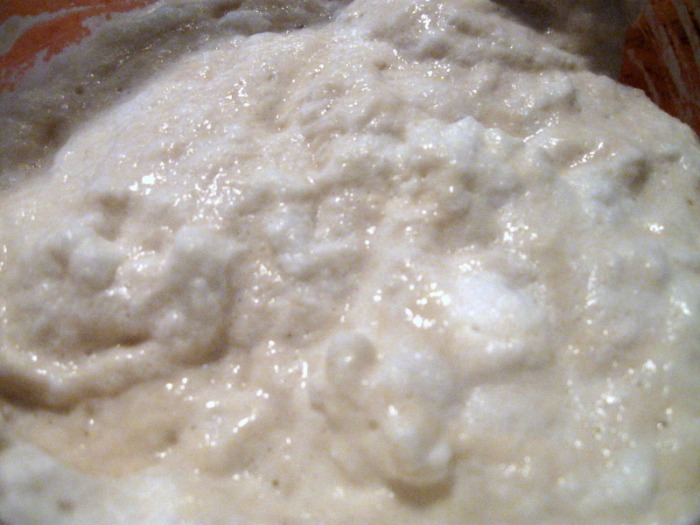
- pour water in a large bowl; add yeast, baking soda and 2 cups of bread flour; mix until smooth; allow to sit for 5 minutes uncovered
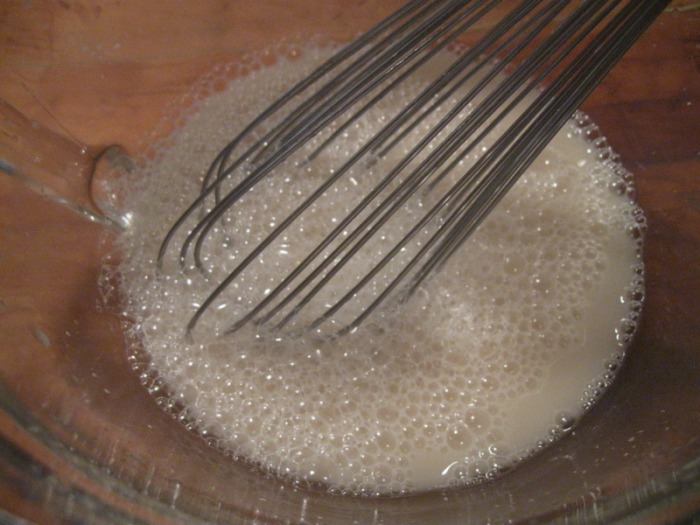
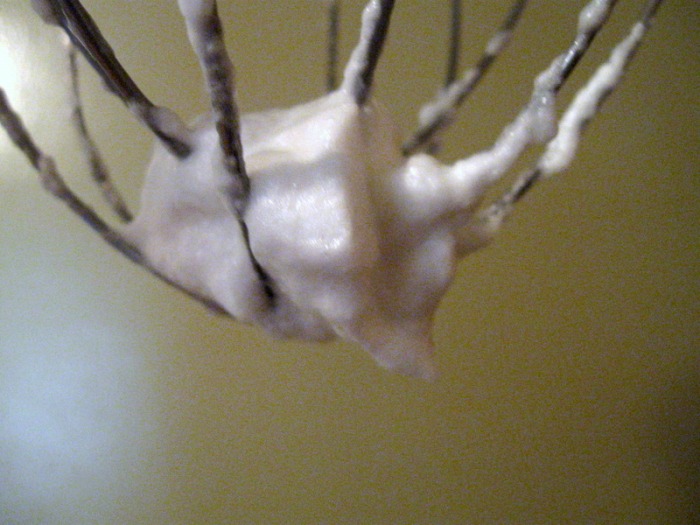
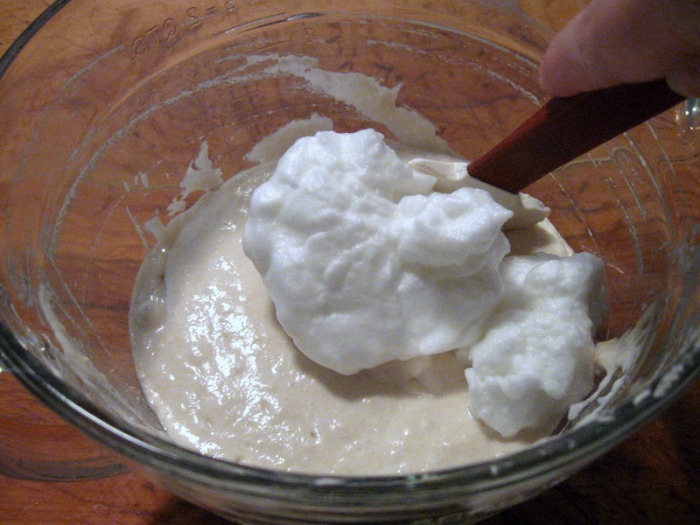
- while the yeast is proofing, whip egg whites until they become stiff and moist; when the egg whites have formed stiff peaks fold into dough batter using a rubber spatula until incorporated
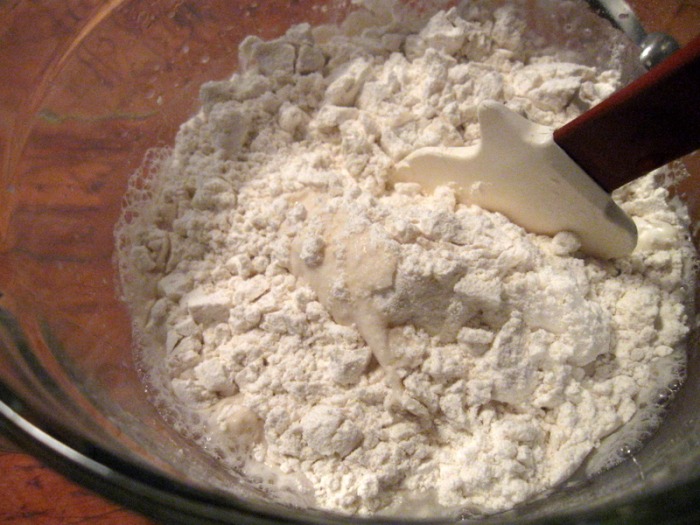
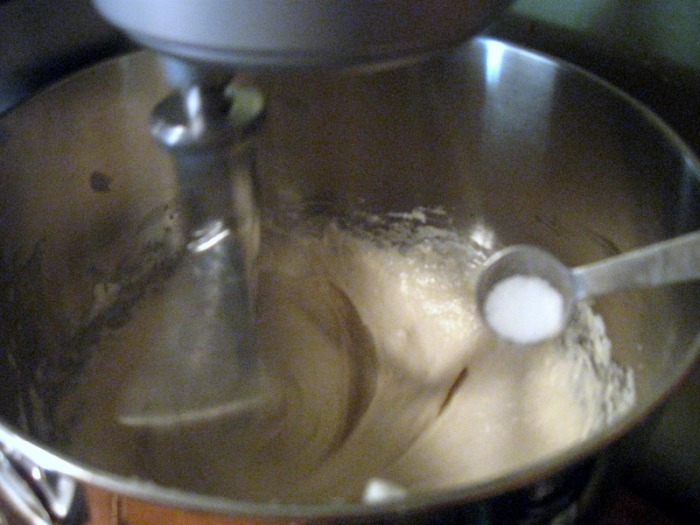
- return to the mixer and add in the rest of the flour, a 1/4 cup at a time; after the first 1/4 cup mix in salt
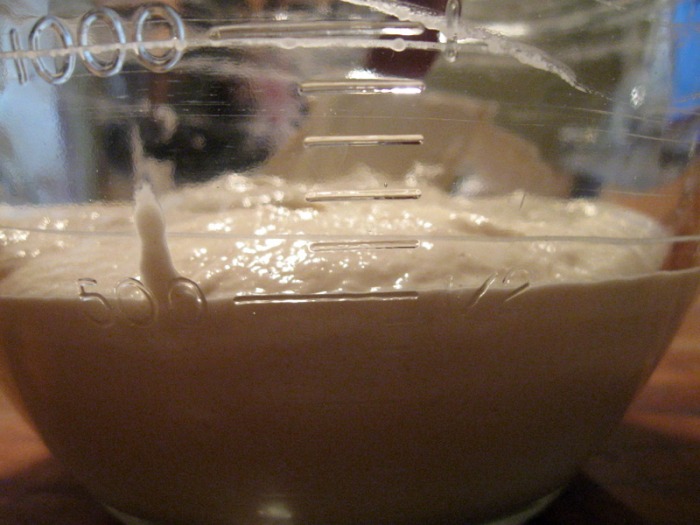
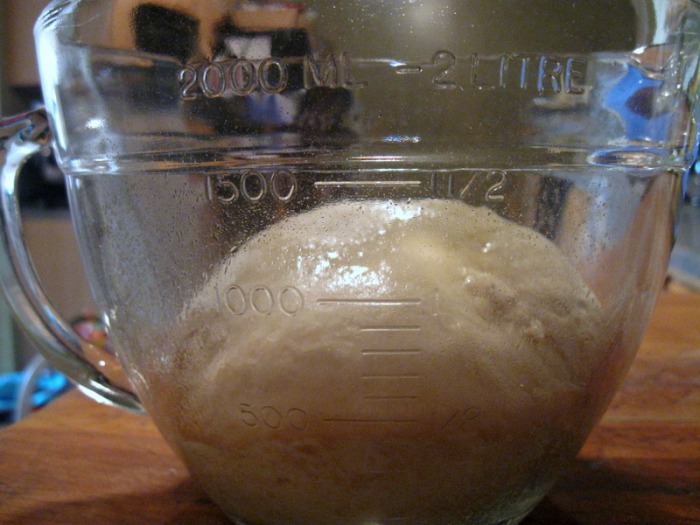
- mix until dough becomes smooth; oil a bowl and place the dough into the bowl, turn dough over till all sides are very lightly coated; cover with plastic wrap and allow to rest till double in bulk, about 1 hour
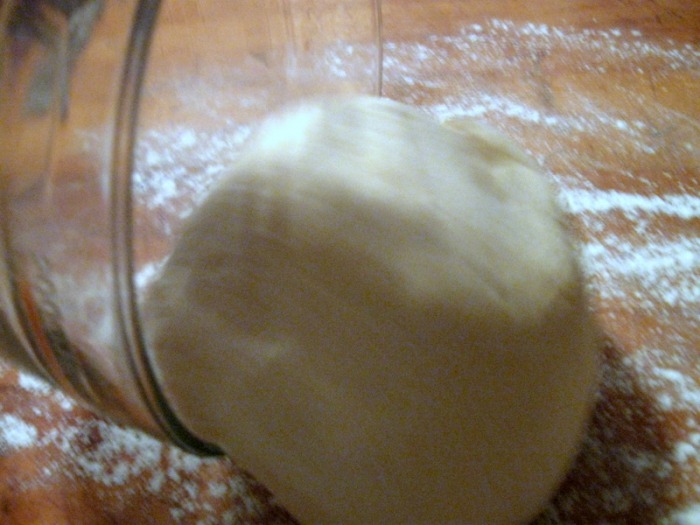
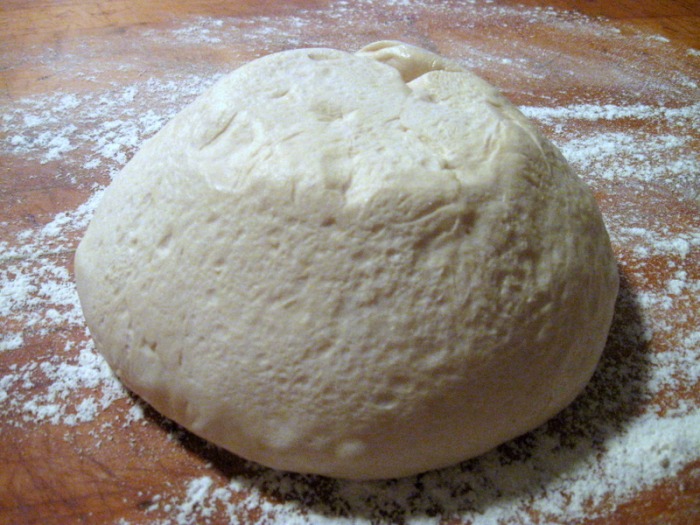
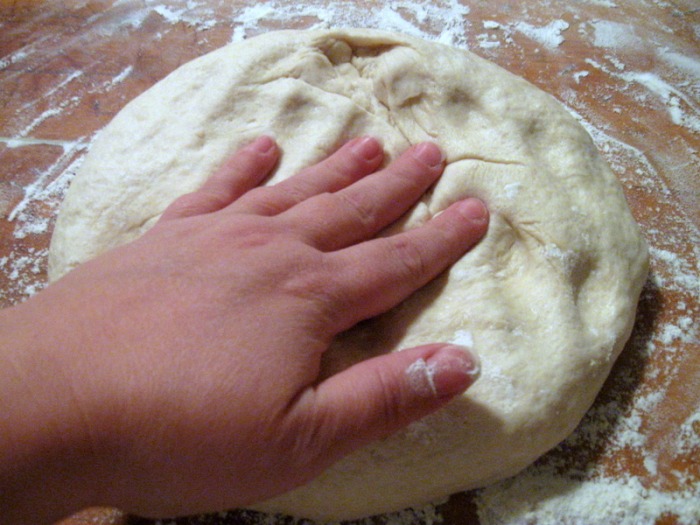
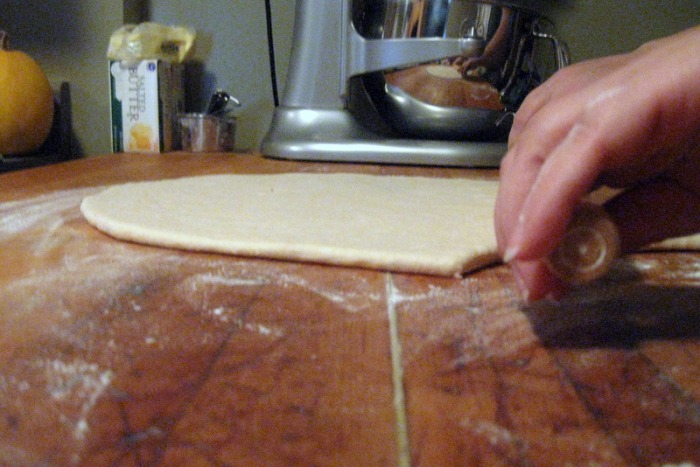
- afterwards, pour out onto a flour dusted flat surface; gently press to release some of the air from the dough
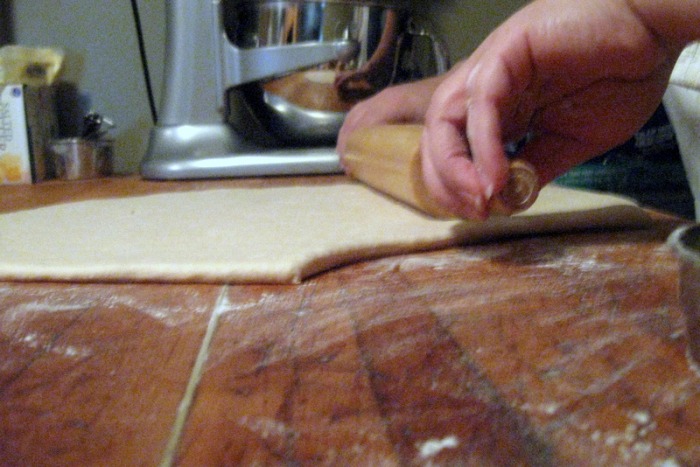
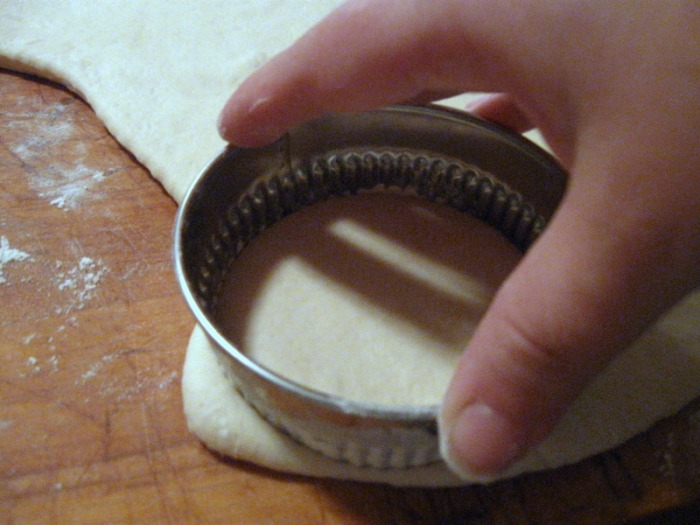
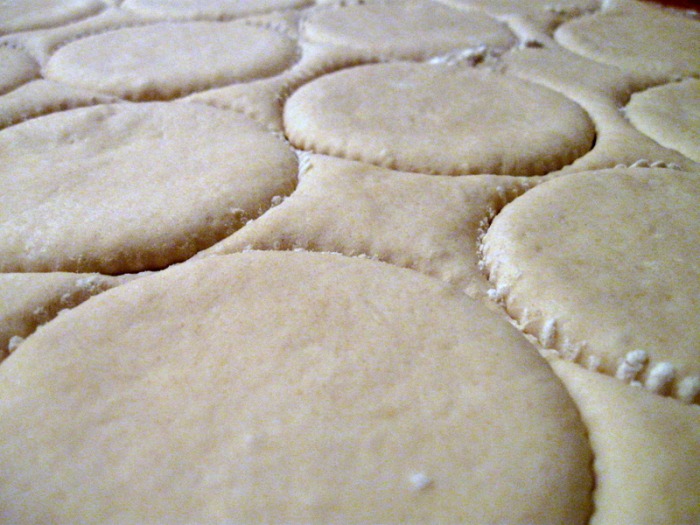
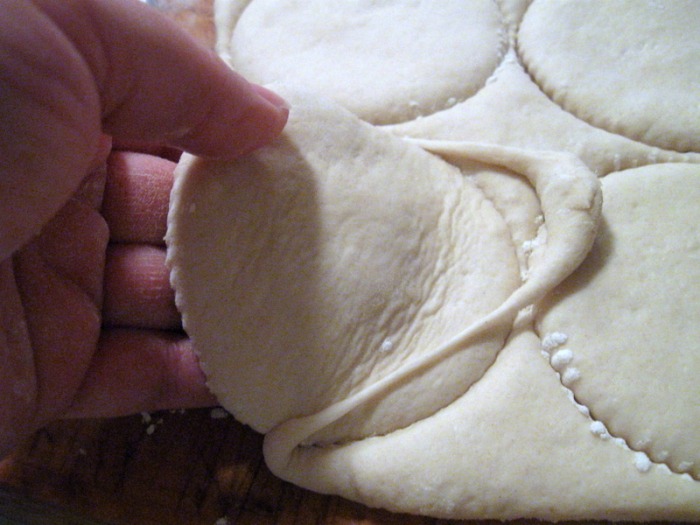
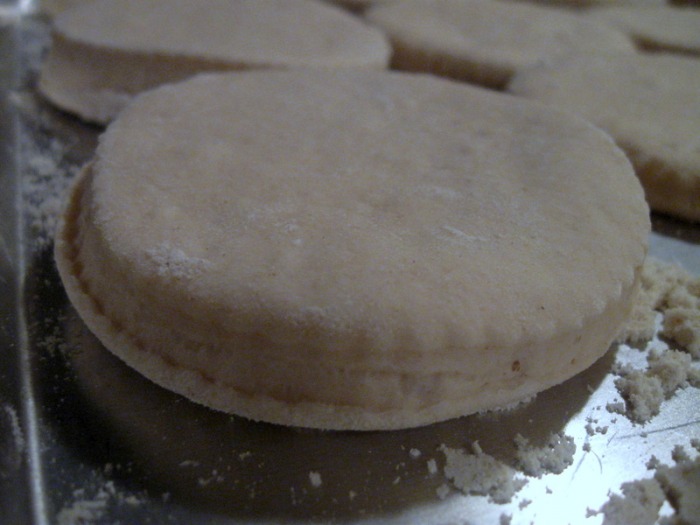
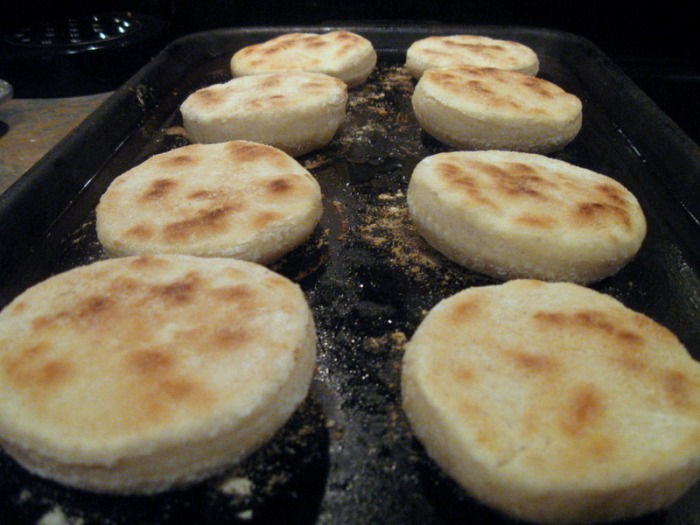
- using a rolling pin roll out to a 1/2 inch thick; allow dough to rest for 3 minutes to relax; using a 3" cookie cutter, cut out circles; place the cut out pieces onto some cornmeal; you can re-roll the dough scraps; sprinkle the tops with more cornmeal
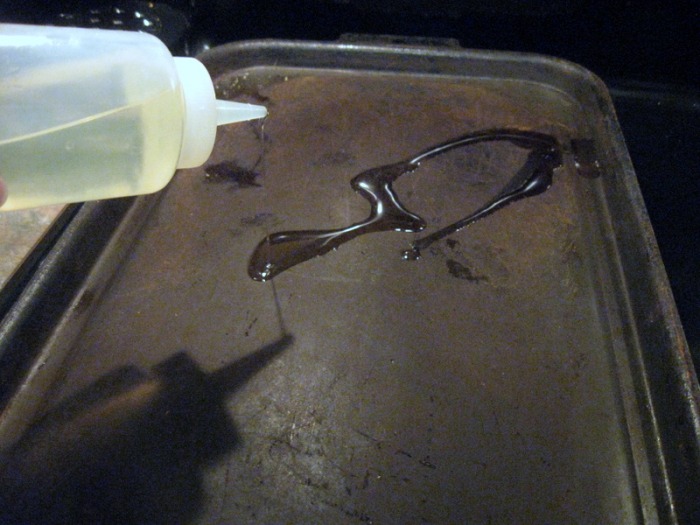
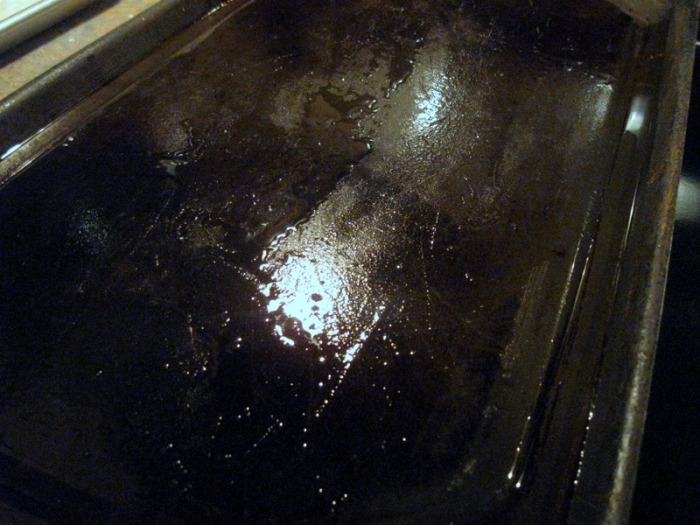
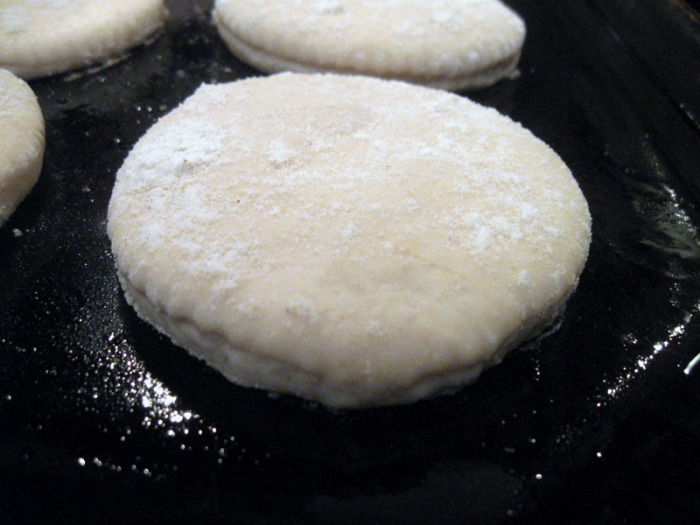
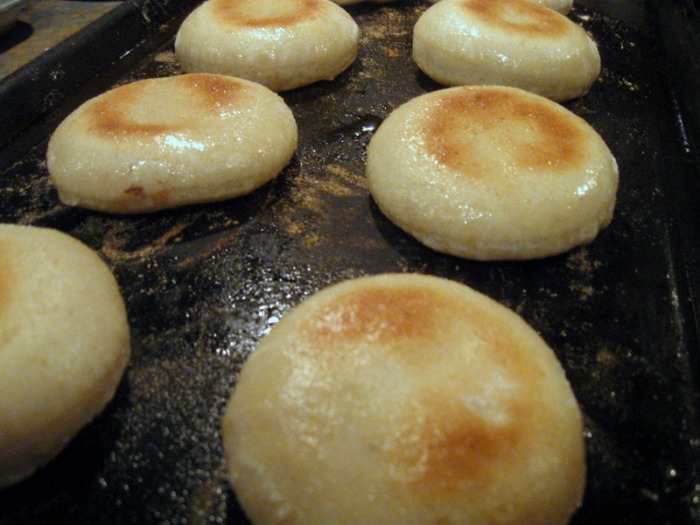
- cover with plastic wrap and allow to rest for 45 minutes; about 5 minutes before you are ready to cook the English Muffins turn on your griddle or frying pan to a medium heat; when the griddle is hot lightly oil it; place the muffins on and fry; if you are using a frying pan you may only be able to fry 3-4 at a time; fry on one side for about 4 minutes; then turn over and fry for another 4 minutes; do this once more to a total of 16 minutes
 let's dig in! I'll be the first to admit that I don't do much cooking. Yes, I went to culinary school, but I really only went for the baking; the hot food side of it was interesting and fun, but that's not where my heart lies. I like to cook "occasion" meals, like Thanksgiving or Christmas dinner, but I find trying to figure out what my family wants for dinner each and every night to be a huge challenge. That's The Chef's job when he's home! Since my kids have this crazy need to eat and insist on dinner every night I do have to make something, however, I tend towards a lot of "breakfast for dinner" type meals.
We have kind of a crazy schedule once evening hits. M1 (the oldest kid) has swim practice every night and we have to drop him off at the pool. The Chef is usually at work, so I come back home with M2 and M3 (the middle and the youngest). I've got two and a half hours to get dinner together, eat, get M2 showered and then both kids into their jammies. Then we load back into the car to pick M1 up from practice. Occasionally I'll forget to think of something for dinner. (Okay, that's a total lie, I pretty much never think about dinner until it's almost time to eat).
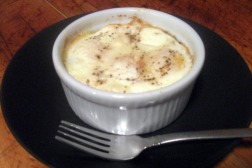
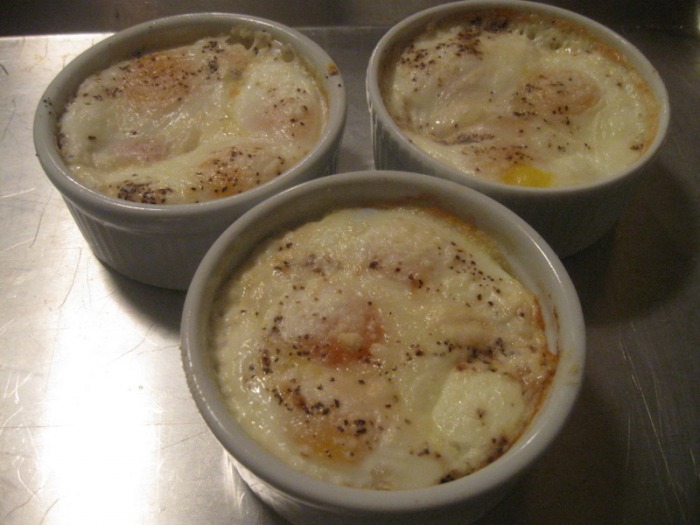
Times like those require me to think quickly and throw together something that can be whipped-up and cook un-monitored so I can help M2 with her shower. So the other night we surprisingly found ourselves in that very position. I took a quick look in the refrigerator and pulled out the eggs, whipping cream, ham, cheese, and a few other things and put together shirred eggs to bake in the oven while she showered. ("Shirred eggs" sounds so fancy, but really it just means "baked egg", but I like to show off my culinary school education.)
By the time M2's shower was done and the little kids were both in their jammies the eggs were finished cooking and we ate and left to pick M1 up. Mission accomplished!
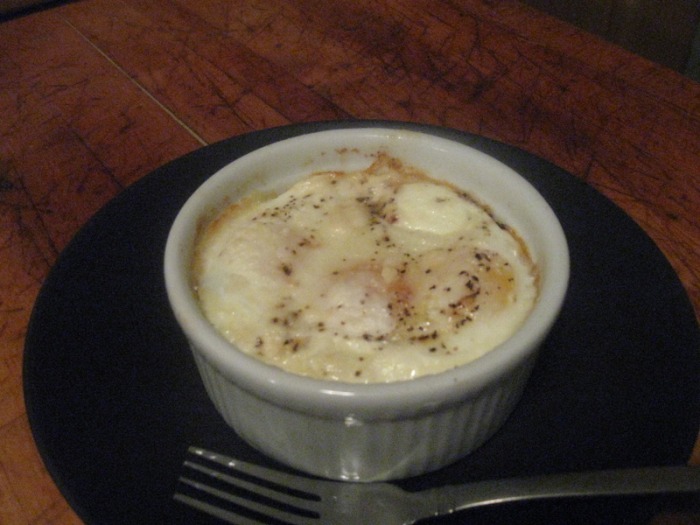
Now, for the rest of you "normal" folks out there that would never in a million years serve this for dinner, it makes a fabulous breakfast, particularly for a special occasion, like Mother's Day, or Easter.
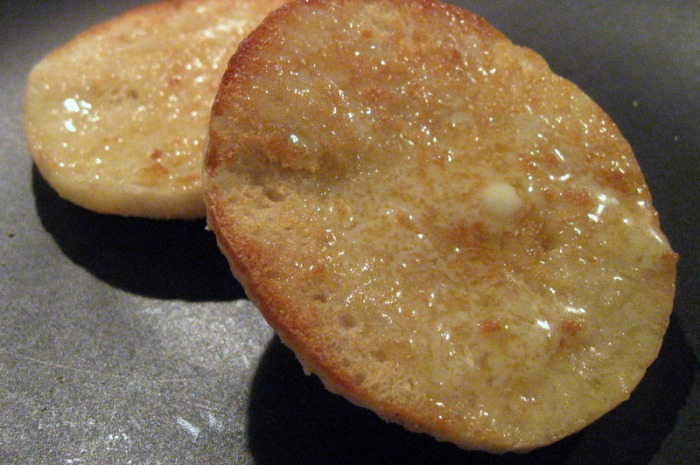
These are very versatile, and you can put pretty much anything you want in the dish. You can also go as simple as just butter and eggs. They're so quick and easy you'll find lots of variations in no time! Enjoy with a fresh croissant and top the baked eggs with something decadent like caviar and sip a mimosa and it's a party! (We just ate some toasted wheat bread, but it was still a party!)
-The Baker
SHIRRED EGGS- 1 T Butter
- 1 clove Roasted garlic (optional)
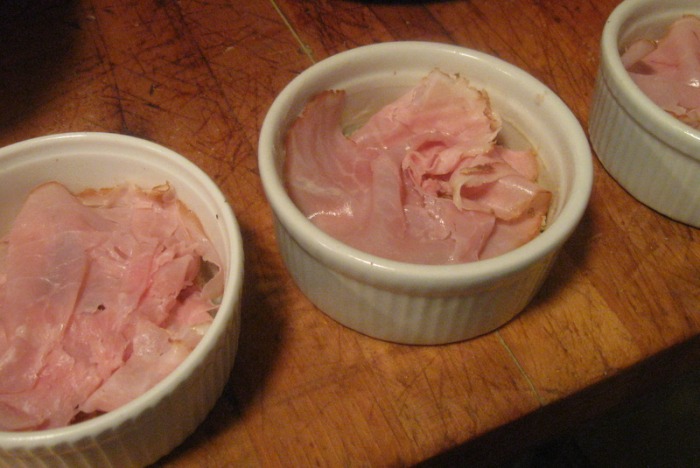
- 2 slices Ham, thinly sliced
- 1 slice Cheese (use any that you like)
- 3 Eggs, whole
- 1 T Whipping cream
- Salt, to taste
- Pepper, to taste
- 1 T Parmesan cheese, grated
- Butter the inside of the ramekin
- If using, smear roasted garlic into ramekin
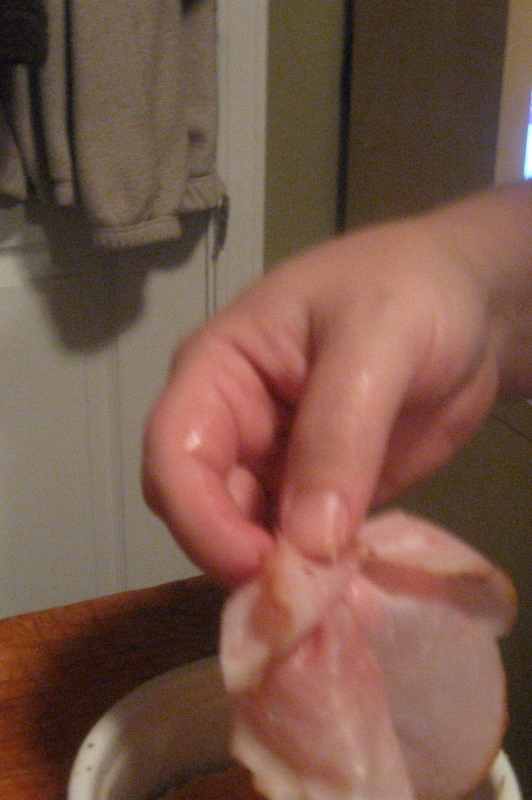
- Lay the slices of ham into the bottom
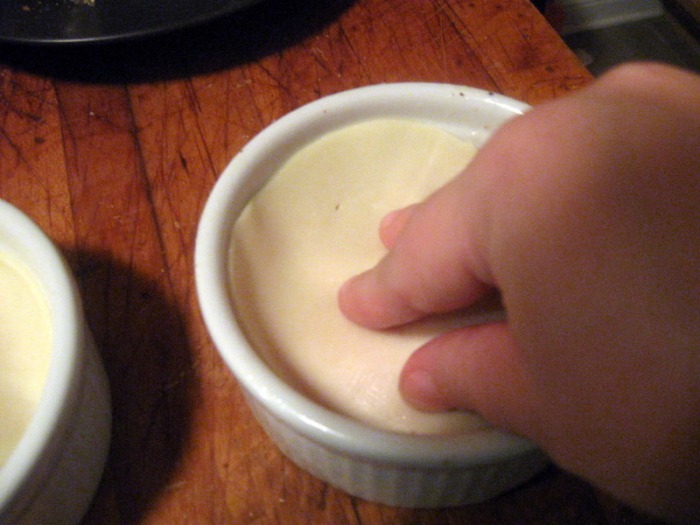
- Put the slice of cheese on top of the ham
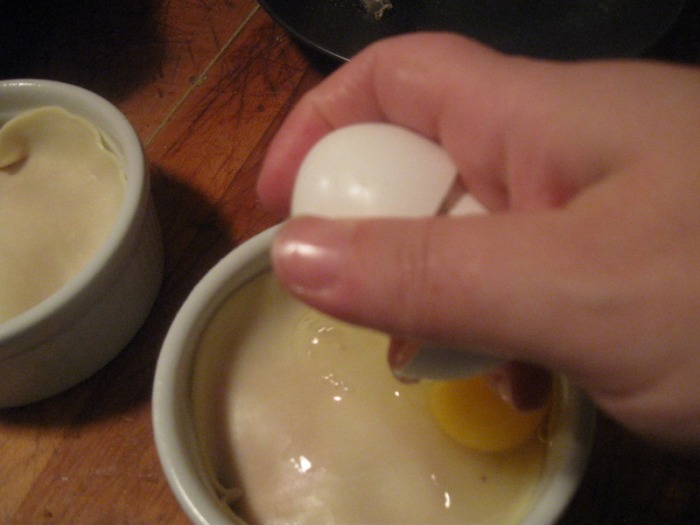
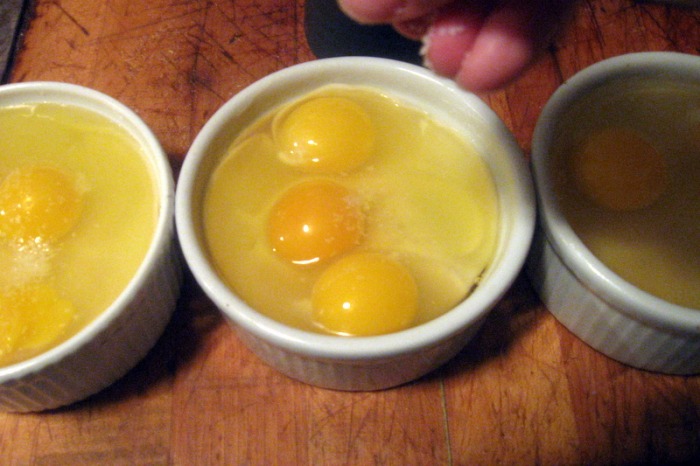
- Crack the eggs on the ham
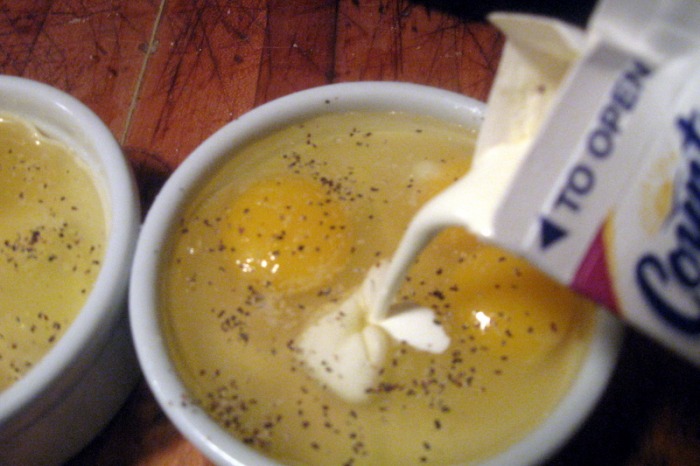
- Pour the whipping cream over the eggs
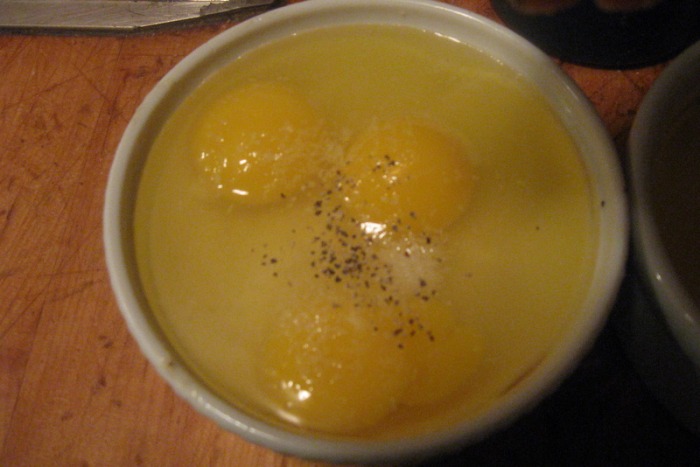
- Season with salt and pepper
- Sprinkle the Parmesan cheese over the top
- Bake at 350 F for approximately 15 minutes, however, the length of time will depend on how cooked you like your eggs, so start checking them at about 10 minutes
- You can top the finished eggs (with salsa or sour cream, for example)
- Serve with toast
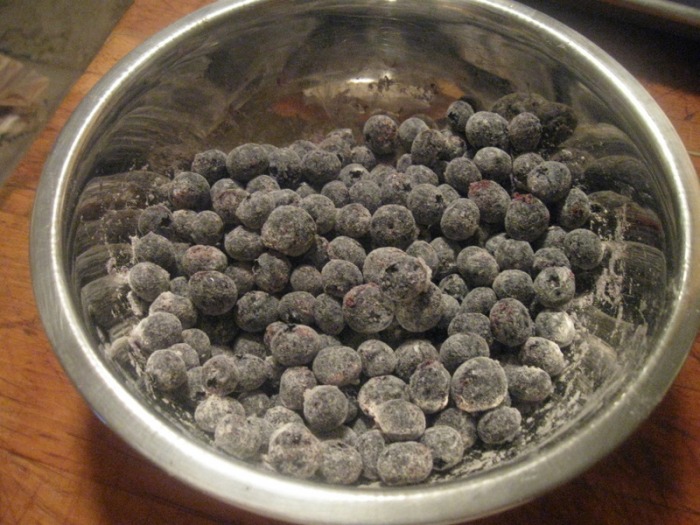
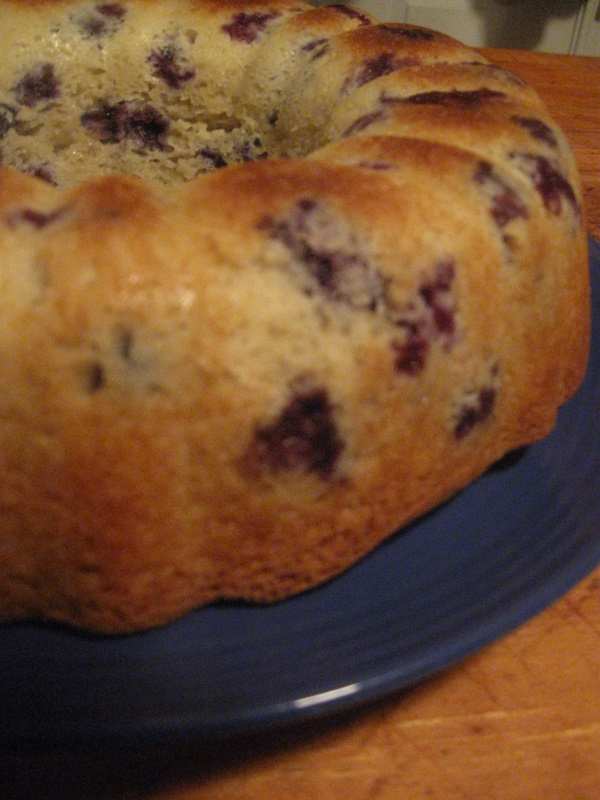
 The Chef was home yesterday and we decided to tackle cleaning out the refrigerator. (Cue scary music.) We found all sorts of things that we'd forgotten about. Lots of expired salad dressing and moldy slop that was once food. Yuck. When we got to the freezer I found the blueberries that my friend Abbi had given me a while back that I stuck in the freezer and forgot all about. Now that it truly is fall the produce isn't as tasty as it was just a few weeks ago and my mouth watered thinking about what I could do with them.
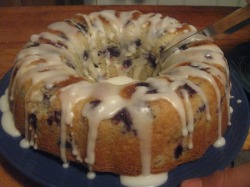
An obvious choice would be blueberry muffins, but Abbi and I (with the kids) did that already. How about a bundt cake so I can use that bundt pan I insisted on buying but have never used? I reached into the cobwebs of my mind for a recipe from a bakery I used to work at and stirred it all together and popped it into the oven.
This is such a versatile recipe, you could make muffins, mini-muffins, muffin tops or loaves out of it. You also could use other fruit or even cinnamon chips. (Unfortunately cinnamon chips aren't carried in many stores, although they used to be, but you can still find them at King Arthur's Flour, www.kingarthurflour.com, and several other online places.)
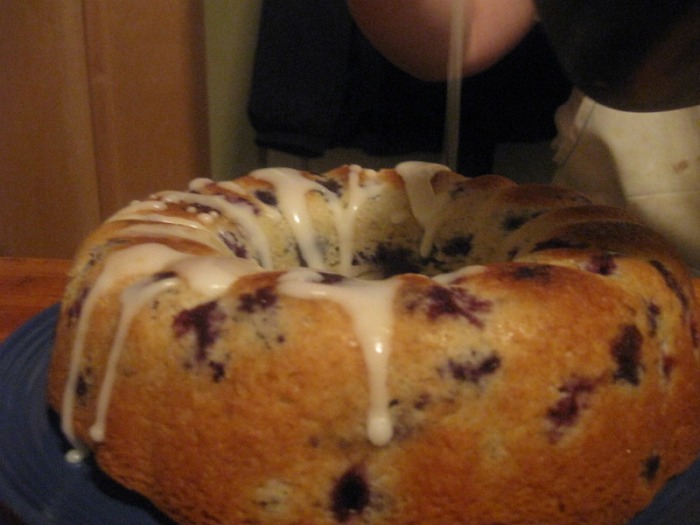
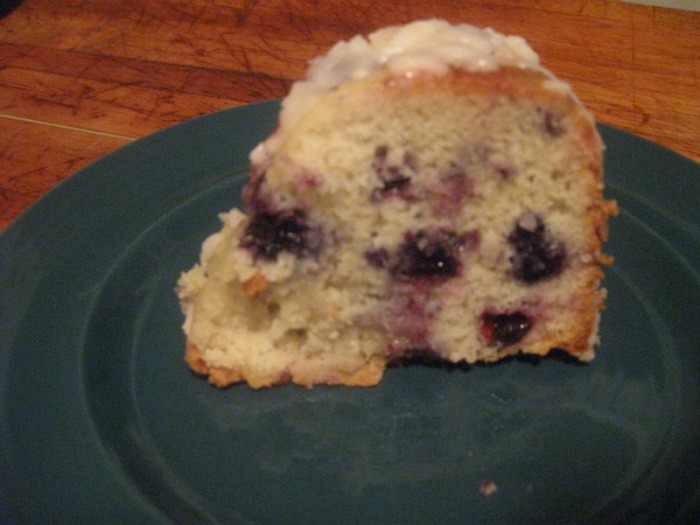
Fresh out of the oven the cake looked delicious, but I decided to add a lemon glaze since I'd also rescued a lemon in the "Great Refrigerator Clean-Up of 2009". Blueberry and lemon is a match made in Heaven as far as I'm concerned! If you use a different fruit that doesn't go with lemon, or a chip, just leave the cake plain or use an appropriate Streusel. A nice neutral Streusel is: 2/3 C brown sugar, 1/4 C All-purpose flour, 1/4 t cinnamon, 2 T butter. Mix with a fork until it has nice coarse texture.
This is a great dessert or a really decadent breakfast. There's enough that you could have it for both, which is what we did!
-The Baker
Cake Base:- 3 C (400 g) All-purpose Flour
- 1 1/2 C (295 g) Sugar, granulated
- 1 t (7) Salt
- 1 T + 1 t (16 g) Baking Powder
- 2/3 C (130 g) Vegetable Oil
- 2 ea (100 g) Egg
- 2/3 C (165 g) Milk
- 2 C Blueberries
- Toss the blueberries in a small amount of the flour (this will prevent them from sinking to the bottom of the pan); set aside
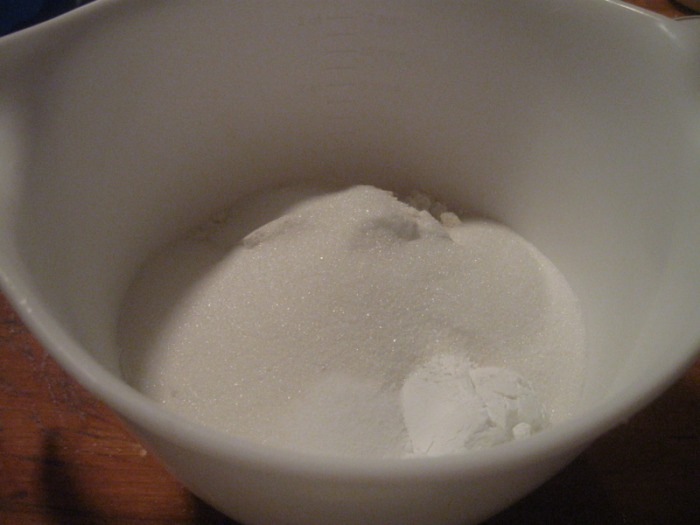
- Sift flour, sugar, salt and baking powder into a bowl; set aside
- Combine oil, egg and milk in another bowl and whisk together
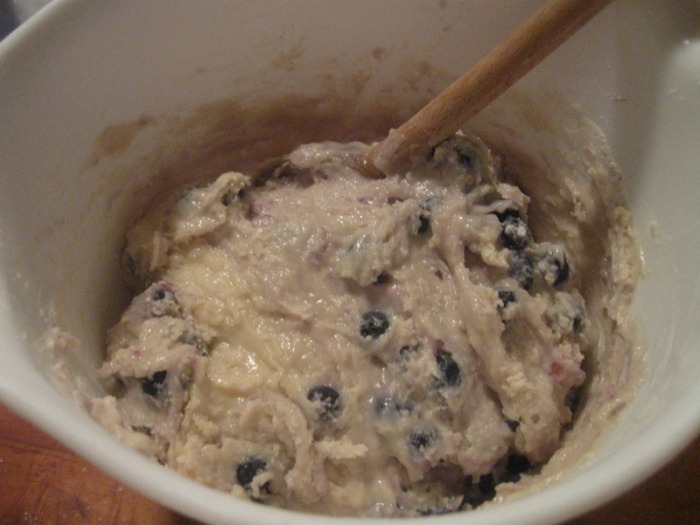
- Mix together all the dry ingredients with the wet; stop mixing before it's completely combined; stir in the floured blueberries; stir just until just barely mixed, streaks of flour is all right (over-mixing will cause the cake to be very heavy and dry)
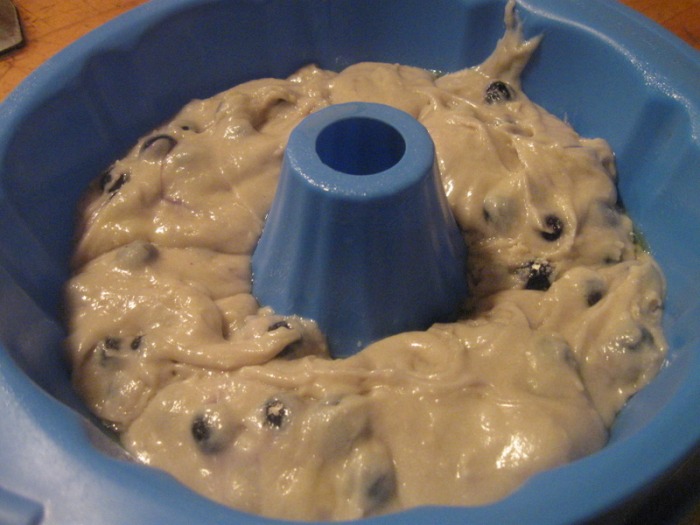
- Spoon into prepared 9" x 3" bundt pan
- Bake at 350 F for 65 minutes
- Let the cake cool in the pan and then flip out onto a platter
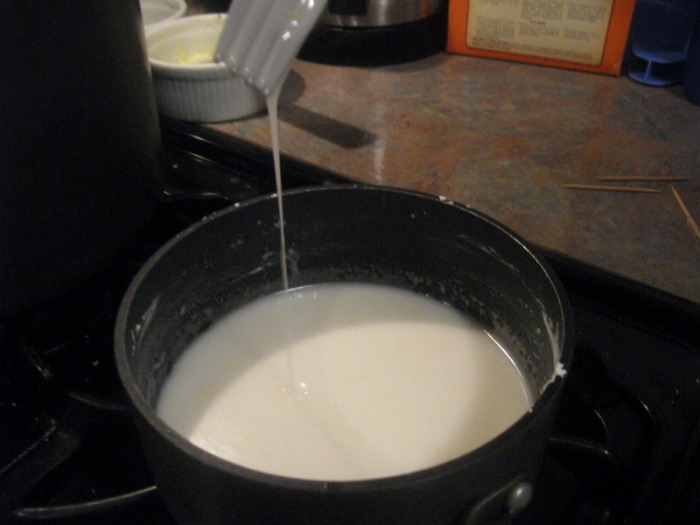
- Drizzle the warm glaze over the cake
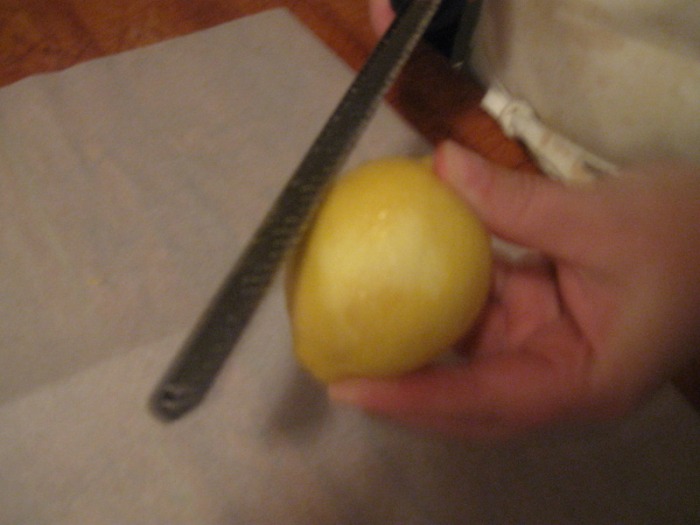
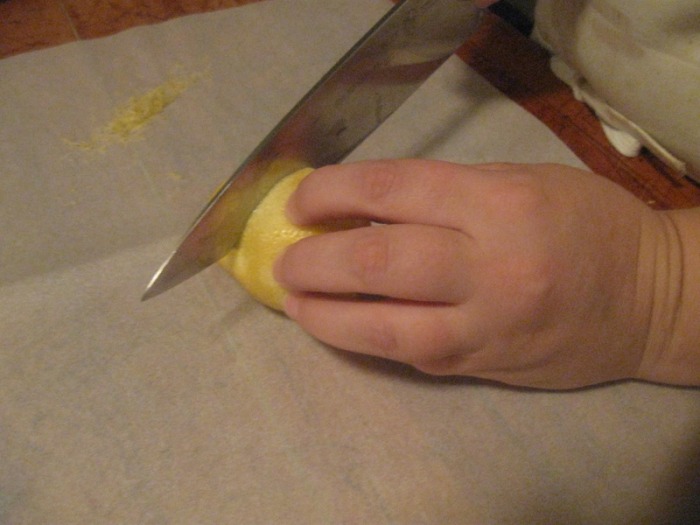
Lemon Glaze:- Zest from 1 lemon
- Juice from 1 lemon
- 1 C Powdered Sugar
- 1 T Water
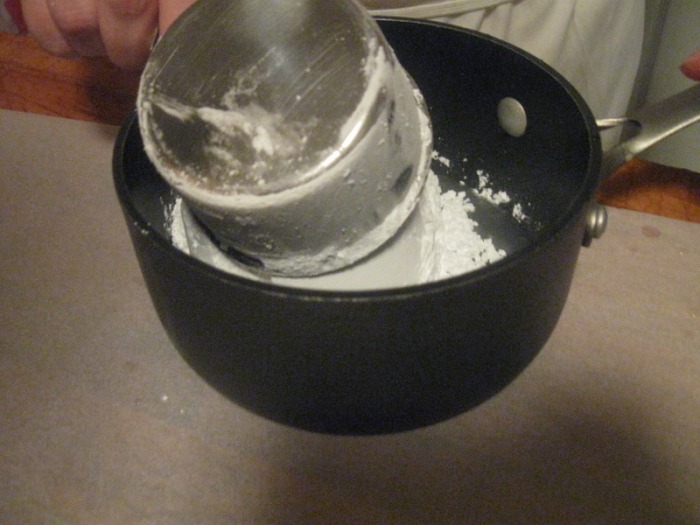
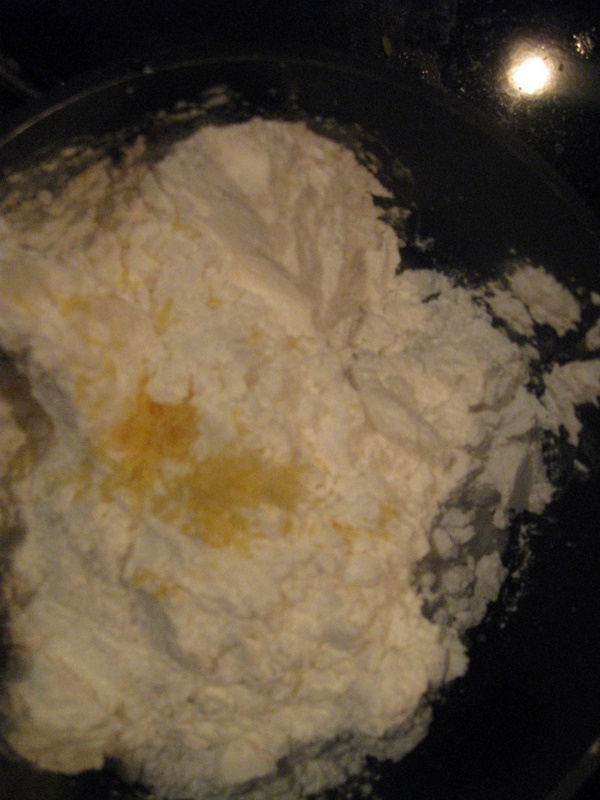
- Zest and juice lemon into a small pot
- Add the powdered sugar; stir
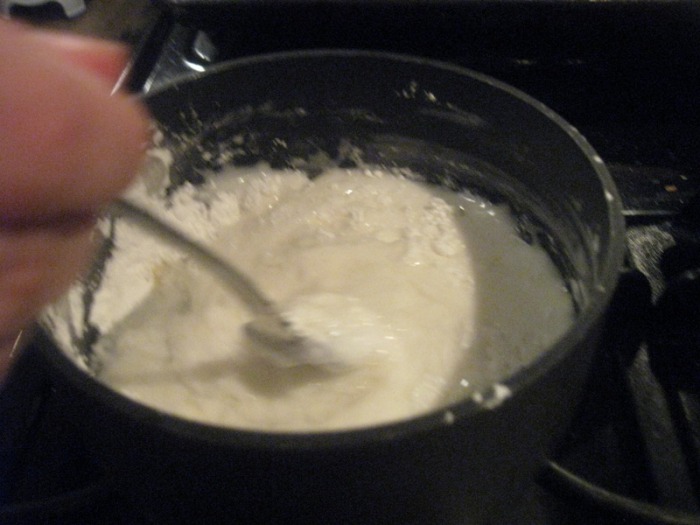
- Place pot over low heat; add the water to help dissolve the sugar; if you want the glaze to be thinner add more water, thicker add less water
|


 RSS Feed
